Diamond dust nail design offers a dazzling, subtle shimmer that elevates any manicure. This beginner-friendly guide shows you how to achieve this stunning look with easy steps, essential tools, and pro tips for a professional finish at home.
Ever scroll through nail art and feel a little intimidated by all the glitter and gems? You’re not alone! Achieving that perfect, sophisticated sparkle doesn’t have to be complicated. Today, we’re diving into the magical world of diamond dust nail design. Think of it as the ultimate subtle shimmer, like a whisper of starlight on your fingertips. It’s elegant, versatile, and surprisingly easy to do yourself!
This design is perfect for anyone wanting a touch of glamour without being over the top. Whether you’re heading to a special event or just want to brighten your everyday look, diamond dust is your new best friend. We’ll walk you through everything you need to know, from the essential tools to different ways you can wear this chic trend. Get ready to create nails that truly sparkle!
What is Diamond Dust Nail Design?
Diamond dust nail design, often referred to as “diamond powder” or “shimmer dust,” is a type of nail art that uses ultra-fine, highly reflective glitter particles to give nails a radiant, multidimensional sparkle. Unlike chunky glitters or large rhinestones, diamond dust is so fine that it creates a smooth, almost ethereal glow rather than a bumpy texture. It catches the light beautifully, mimicking the way light reflects off a diamond, hence the name.
This effect is achieved by applying a special powder over a base coat or gel polish. The powder adheres to the sticky layer of the polish, creating a glossy, shimmering finish. It can be applied all over the nail for a full-coverage shimmer or used as an accent for a more subtle touch. Its versatility makes it a favorite for both everyday wear and special occasions.
Why You’ll Love Diamond Dust Nails

- Subtle Elegance: It delivers a sophisticated shine that isn’t overpowering. It’s the perfect way to add a hint of luxury to your nails.
- Versatility: Works with almost any nail polish color, from deep blues and purples to soft pastels and classic nudes. It can enhance solid colors, French manicures, or gradient designs.
- Ease of Application: Once you have the basic tools, applying diamond dust is straightforward and doesn’t require advanced artistic skills, making it ideal for beginners.
- Long-Lasting: When applied correctly, especially over gel polish, diamond dust can last for weeks, maintaining its sparkle.
- Customizable Sparkle: You can control the intensity of the shimmer, from a light dusting to a full, dazzling effect.
Essential Tools for Your Diamond Dust Manicure
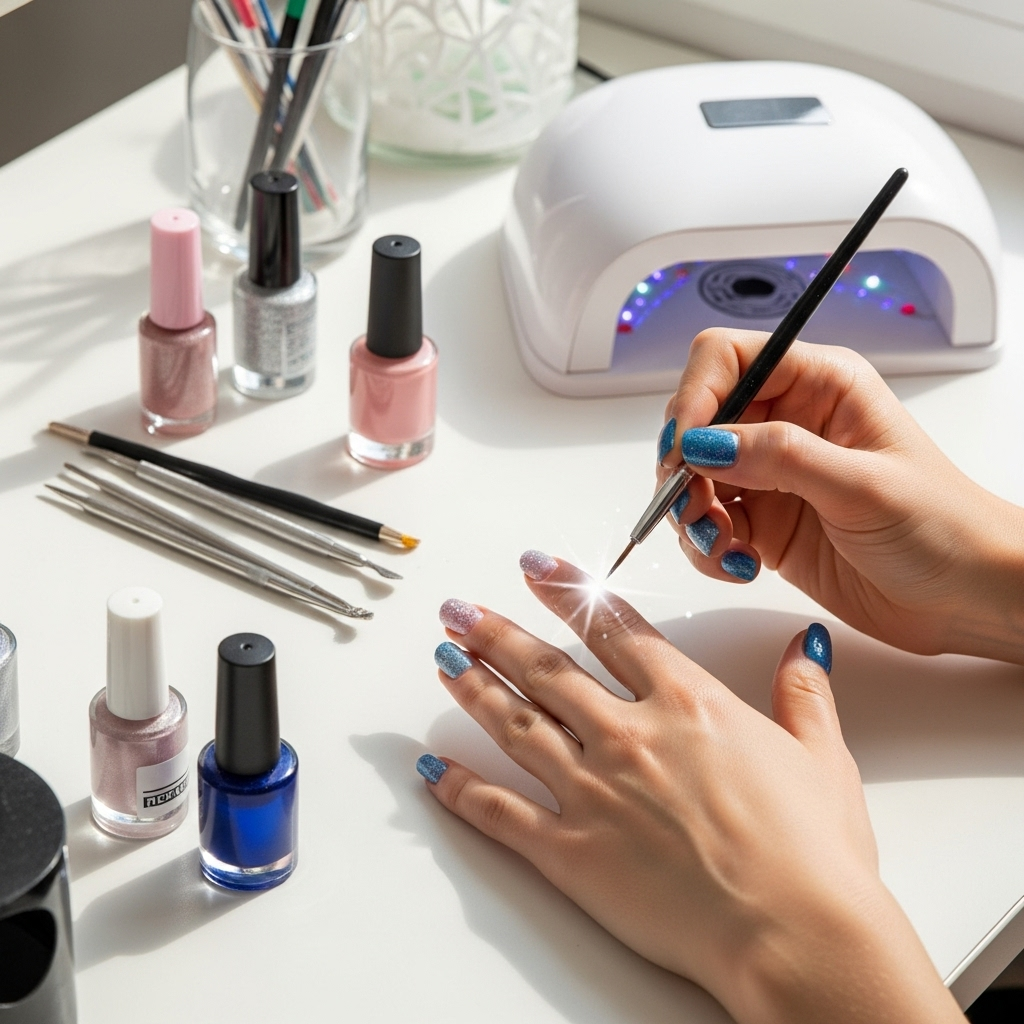
To achieve that beautiful diamond dust effect, you’ll need a few key items. Don’t worry, most of these are staples in any nail art enthusiast’s kit!
The Must-Haves:
- Base Coat: A good quality base coat helps your polish adhere better and protects your natural nails.
- Colored Nail Polish or Gel Polish: This is the canvas for your diamond dust. Choose your favorite shade!
- Top Coat: Crucial for sealing in the diamond dust and adding shine. A gel top coat is recommended for longer wear.
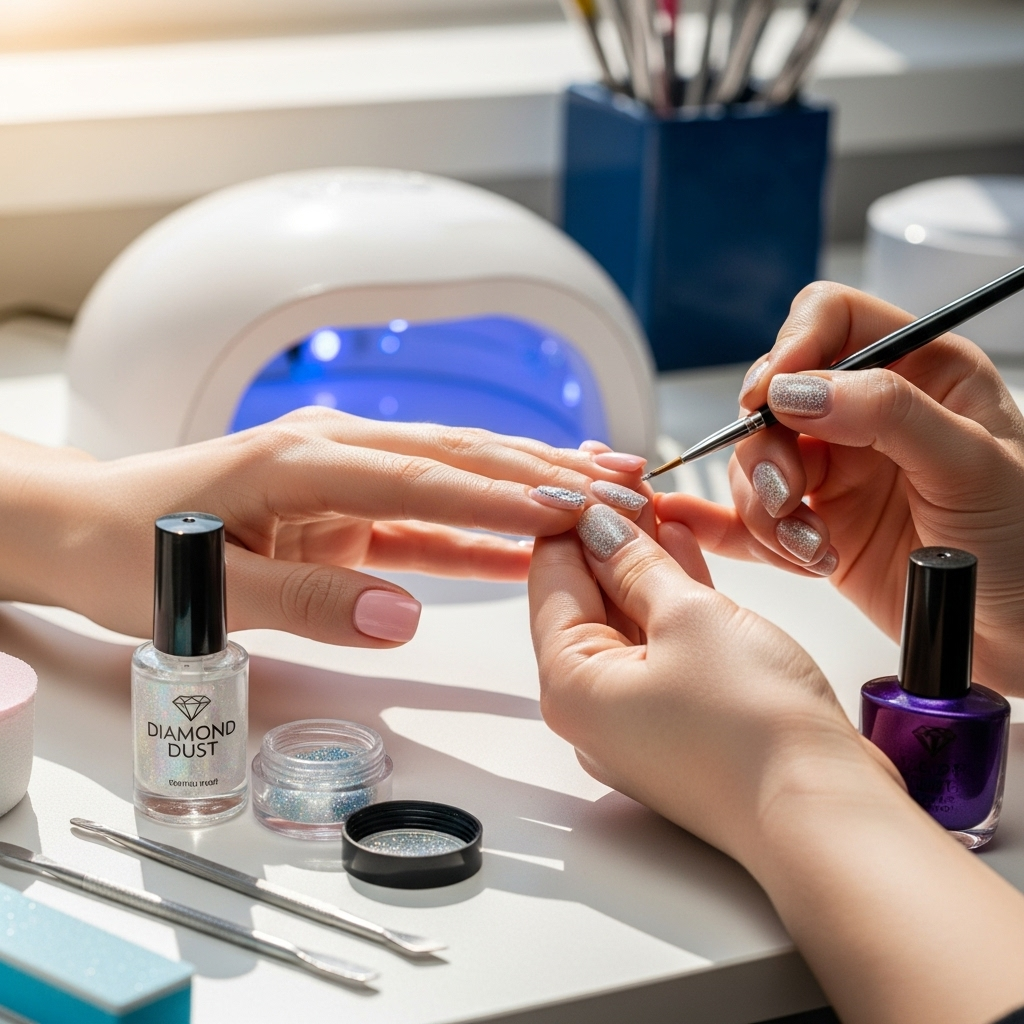
- Diamond Dust Powder: This is the star of the show! It comes in various colors and finishes – iridescent, holographic, and solid metallics are popular choices.
- Applicator Tool: This can be a small eyeshadow brush, a silicone tool, or even your fingertip (if using gel without causing skin irritation). A soft, dense brush works best for even application.
- Alcohol Wipes or Lint-Free Cloth: For cleaning up any excess powder or residue.
- UV/LED Lamp (for Gel Polish): If you’re using gel polish, you’ll need a lamp to cure the polish between layers.
Having the right tools makes all the difference. Think of it like a painter needing the right brushes. For diamond dust, a soft, fluffy brush is your best friend for dusting on the powder smoothly.
Step-by-Step Guide: Achieving the Diamond Dust Sparkle

Let’s get sparkling! Here’s how to create a stunning diamond dust nail design at home. We’ll cover both regular polish and gel polish methods.
Method 1: Using Regular Nail Polish
This method is great for a quick, temporary shimmer. While beautiful, it might not last as long as the gel method.
- Prep Your Nails: Start with clean, dry nails. File them into your desired shape and push back your cuticles. Apply your regular base coat and let it dry completely.
- Apply Color: Apply one or two thin coats of your chosen colored nail polish. Allow each coat to dry almost completely, aiming for a tacky surface. This is key for the powder to adhere.
- Apply Diamond Dust: While the last coat of color is still slightly tacky, dip your applicator brush (or fingertip) into the diamond dust powder. Gently pat and rub the powder onto the nail surface. Work it in evenly until you achieve your desired level of shimmer.
- Clean Up Edges: Use a small brush dipped in nail polish remover or an alcohol wipe to carefully clean any excess powder from around your cuticle and sidewalls.
- Seal the Sparkle: Wait a few minutes for the powder to really set into the polish. Then, apply a generous layer of your top coat to seal in the shimmer. Two thin coats of top coat are often better than one thick one.
- Let it Dry: Allow your nails to dry thoroughly. Be patient, as the top coat needs time to harden completely to prevent smudging the dust.
Method 2: Using Gel Polish (Recommended for Longevity)
This method offers a more durable and longer-lasting shine. It’s the secret to that salon-quality sparkle that stays put!
- Prep and Base Coat: Start with clean, prepped nails. Apply a thin layer of your gel base coat and cure under your UV/LED lamp according to the manufacturer’s instructions.
- Apply Color: Apply your chosen gel color polish in thin coats. Cure each coat under the lamp. Generally, two coats are needed for opaque coverage.
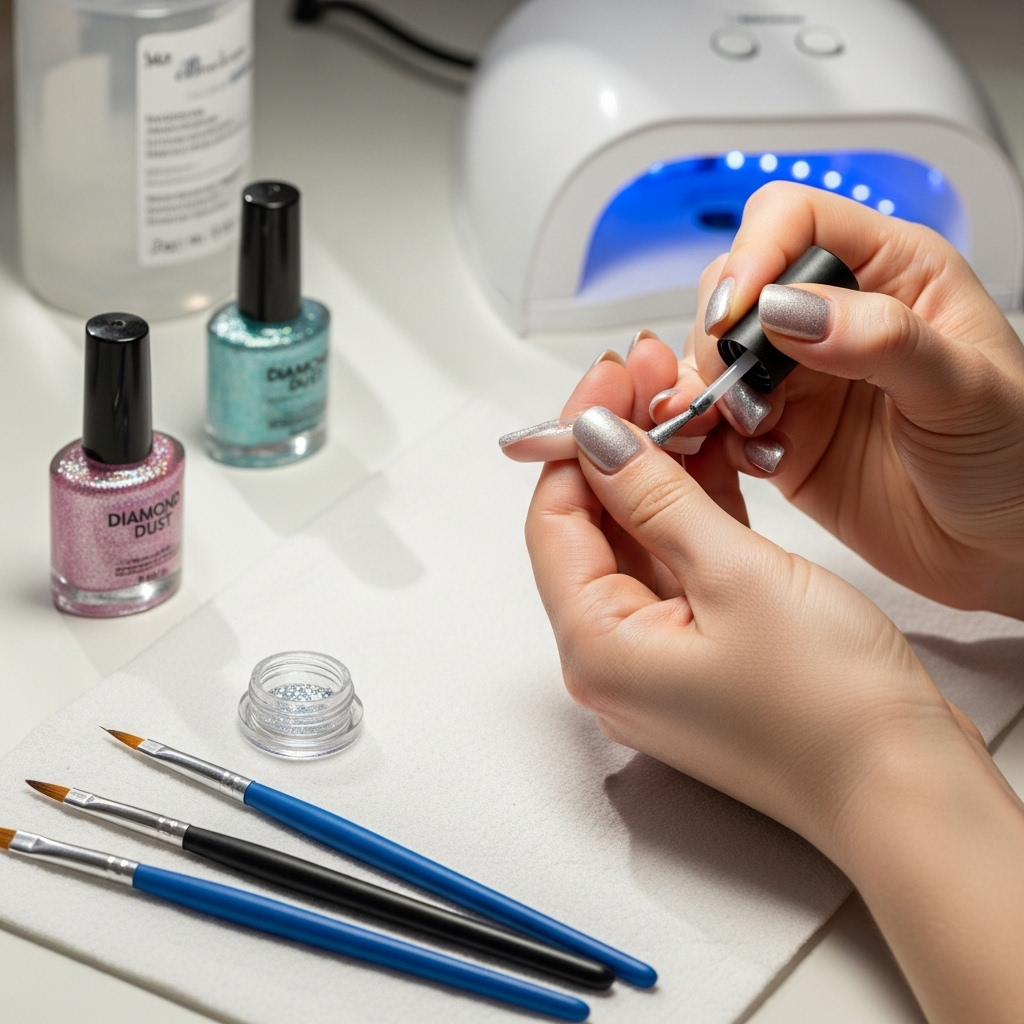
- No Wipe Top Coat is Key: Apply a layer of your gel top coat labeled “No Wipe” or “No Cleanse.” Crucially, do NOT cure this layer yet. This sticky, uncured surface is what the diamond dust will adhere to.
- Apply Diamond Dust: While the uncured “no wipe” top coat is still wet on your nails, gently take your applicator tool and dip it into the diamond dust. Carefully pat and rub the powder over the uncured top coat. Ensure you get an even application all over the nail.
- Clean Excess: Gently brush away any loose powder using a soft brush. It’s important not to touch the uncured top coat with your fingers at this stage.
- Cure the Final Layer: Once you’re happy with the coverage and have brushed away excess powder, cure your nails under the UV/LED lamp as per your top coat’s instructions. This step cures the top coat and permanently locks in the diamond dust.
- Optional: Second Top Coat: For extra protection and a super glossy finish, you can apply another layer of “no wipe” gel top coat after curing and cure again. This adds another layer of durability.
- Wipe if Needed: If you somehow ended up with a slightly tacky surface after curing (this shouldn’t happen with a good “no wipe” top coat), you can use an alcohol wipe to remove any residue.
Creative Ways to Wear Diamond Dust
Diamond dust isn’t just a one-trick pony! Its subtle sparkle can be incorporated into many designs. Here are a few ideas to get your creative juices flowing:
- Full Shimmer Nails: Cover every nail for an all-out glamorous look. This works beautifully on its own or as a base for other accents.
- Accent Nail Sparkle: Apply diamond dust to just one or two nails (like the ring finger) for a sophisticated touch.
- Shimmer French Tips: Instead of white tips, create a French manicure using diamond dust for a modern, dazzling twist. Apply it over a nude or sheer pink base.
- Ombre/Gradient Effect: Fade diamond dust from the cuticle to the tip, or vice-versa, for a beautiful, flowing shimmer.
- Underneath or Over Art: Apply a thin layer of diamond dust under delicate stamped or hand-painted art for a glowing background, or over solid color polish to add a subtle sparkle that enhances the base color.
- Encapsulated Sparkle: If you use acrylic or builder gel, you can encapsulate diamond dust within the acrylic/gel layer for a permanent, embedded sparkle that won’t rub off.
Don’t be afraid to experiment! The beauty of diamond dust is in its adaptability. Consider the occasion and your personal style when choosing how to apply it.
Diamond Dust vs. Other Glitters: What’s the Difference?

It can be confusing to differentiate between various sparkly nail products. Here’s a quick breakdown:
| Type of Glitter | Particle Size | Texture | Application Method | Typical Look |
|---|---|---|---|---|
| Diamond Dust/Shimmer Powder | Ultra-fine | Smooth, sometimes a slight raised feel depending on application | Dusted/rubbed onto a tacky surface (polish or uncured gel top coat) | Subtle, radiant glow; catches light subtly |
| Chunky Glitter | Larger particles, varied shapes (hexagons, squares) | Bumpy, requires multiple top coats to smooth | Can be sprinkled, pressed, or picked up with a brush onto wet polish/gel | Bold, festive, highly visible sparkle; can be textured |
| Glitter Polish Top Coat | Fine to medium particles suspended in a clear or colored polish | Smooth to slightly textured | Painted on like regular polish | Adds specks of glitter to the base color; varying density |
| Rhinestones/Gems | N/A (solid pieces) | Raised, dimensional | Glued on with nail adhesive or builder gel | 3D accents, focal points, very dimensional |
As you can see, diamond dust offers a unique fine shimmer that stands apart from chunkier glitters or nail gems. It’s all about that sophisticated, light-reflecting glow.
Tips for a Flawless Diamond Dust Finish
Even simple designs can benefit from a few pro tips. These little tricks will help ensure your diamond dust manicure looks polished and stunning!
- Work with a Tacky Surface: This is the MOST important rule. Whether using regular polish or gel, the diamond dust needs a slightly sticky surface to adhere to. For regular polish, this means not letting it dry completely before applying the dust. For gel, use the uncured “no wipe” top coat.
- Apply in Thin Layers: Whether it’s your colored polish or your top coat, thin layers cure better and apply more evenly. This is especially true for gel polish.
- Gentle Application: Don’t scrub the diamond dust on. Pat and gently rub it in to ensure an even distribution without creating bald spots or rough patches.
- Cleanliness is Key: Always clean up excess powder around your cuticles and sidewalls before curing (for gel) or before the final top coat dries (for regular polish). This prevents a messy, unprofessional look.
- Consider the Base Color: White, pastels, light grays, and even black can be excellent canvases for diamond dust. Experiment to see how different colors make the shimmer pop! An iridescent or holographic dust can look spectacular over a deep jewel tone.
- Top Coat Strength: Ensure your top coat is good quality and fully cures (for gel). A weak or improperly cured top coat can cause the diamond dust to lose its sparkle or even rub off prematurely. For regular polish, a good quick-dry top coat can help seal the deal.
- Practice Makes Perfect: If you’re new to using powders, practice on a nail tip or an old nail that’s no longer attached to your hand. This allows you to get a feel for the application without any pressure.
Nail care and design often involve a bit of trial and error. The key is to be patient with yourself and enjoy the process. Most nail supply stores carry fine glitter powders, and reputable online retailers are also a great source. For instance, brands like Madam Glam and Beetles Gel Polish offer a variety of high-quality gel polishes and accessories suitable for this technique.
Maintaining Your Diamond Dust Nails

To keep your diamond dust nails looking their best for as long as possible, follow these simple maintenance tips:
- Be Gentle: Avoid using your nails as tools. Don’t scrape or pry with them, as this can lift the polish and the dust.
- Moisturize: Keep your cuticles and hands hydrated with cuticle oil and lotion. Healthy cuticles make your manicure look neater and last longer.
- Wear Gloves: When doing chores that involve water or chemicals (like washing dishes or cleaning), wear rubber gloves. This is one of the best ways to protect your manicure.
- Avoid Harsh Chemicals: Some cleaning products can dull the shine or even break down the polish. Always protect your nails.
With a little care, your gorgeous diamond dust nails can stay dazzling for weeks!
Frequently Asked Questions About Diamond Dust Nail Design
Here are some common questions beginners have about creating diamond dust nail designs:
Q1: Can I use any brush to apply diamond dust?
It’s best to use a soft, dense brush, like an eyeshadow applicator or a specialized silicone nail art tool. A fluffy brush works well for dusting off excess. Avoid stiff or scratchy brushes that can remove polish.
Q2: How do I remove diamond dust nails?
For regular polish, simply use your favorite acetone-based nail polish remover. For gel polish, follow the standard gel removal process: soak with acetone (preferably wrapped in foil) or use an electric nail file (e-file) to gently remove the gel layer.
Q3: Does diamond dust get everywhere?
It can! Be prepared for some fallout, especially when applying. It’s a good idea to have a tray or a piece of paper under your hands to catch excess powder. Working over a clear surface or in a designated nail art area helps with cleanup.
Q4: Can I use diamond dust on my natural nails?
Yes, you can! The process is largely the same as using regular polish. Ensure you have a good base coat and a sturdy top coat to seal it in. However, for the longest-lasting, most durable results, gel polish is generally recommended.
Q5: How much diamond dust should I use?
This is totally up to your preference! For a subtle shimmer, use a light dusting. For a more intense sparkle, pat and rub the powder in more thoroughly. You can always build up the intensity gradually.
Q6: Can I mix diamond dust with regular nail polish?
You can try, but it’s not the recommended method. The best adhesion and smoothest finish come from applying the dust to a slightly tacky surface (regular polish) or an uncured gel top coat. Mixing it directly into polish can affect the polish’s formula and drying time, often resulting in clumpy or uneven application.
Q7: What’s the difference between chrome powder and diamond dust?
Chrome powder creates a mirror-like, metallic finish. Diamond dust, on the other hand, provides a sparkly, shimmering effect. While both are fine powders applied similarly, the final look is distinct: chrome is sleek and reflective like a mirror, while diamond dust is dazzling and glittery like a gem.
Conclusion
There you have it! Diamond dust nail design is an accessible yet incredibly impactful way to add sparkle and sophistication to your manicure. Whether you’re a seasoned nail art pro or just starting your DIY journey, this technique is a fantastic skill to have in your arsenal. Remember, the key is patience, the right tools, and a willingness to experiment.
From subtle elegance for a wedding to a touch of everyday glamour, diamond dust nails can truly transform your look. So grab your favorite polish, your shimmering powder, and get ready to shine. You’ve got this, and your sparkling nails are waiting to be created!
