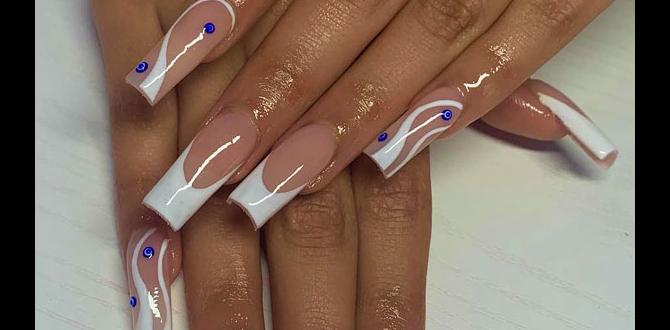
Learn how to create stunning designer nail designs at home! This guide breaks down essential looks, simple techniques, and must-have tools to elevate your manicure game. Get ready to express your style with confidence, from a chic accent nail to intricate patterns.
Dreaming of salon-worthy nails but feeling a little intimidated by all the art? You’re not alone! Achieving beautiful designer nail designs might seem tricky, but it’s totally doable with the right tips and a sprinkle of creativity. We’re here to make nail art fun and easy for everyone, no matter your skill level. Get ready to transform your nails into miniature masterpieces!
Your Designer Nail Designs Journey Starts Here
Welcome to Nailerguy! I’m Lisa Drew, and I believe that amazing nail designs are for everyone. Forget complicated jargon; we’re talking about simple steps and creative ideas that’ll make your nails pop. Whether you’re a total beginner or just looking for fresh inspiration, this guide is your go-to resource for essential and stunning designer nail designs. We’ll cover everything from the basic tools you’ll need to some seriously chic looks that are easier than they seem.
Ready to dive in? Let’s get those nails looking fabulous!
What Are Designer Nail Designs?
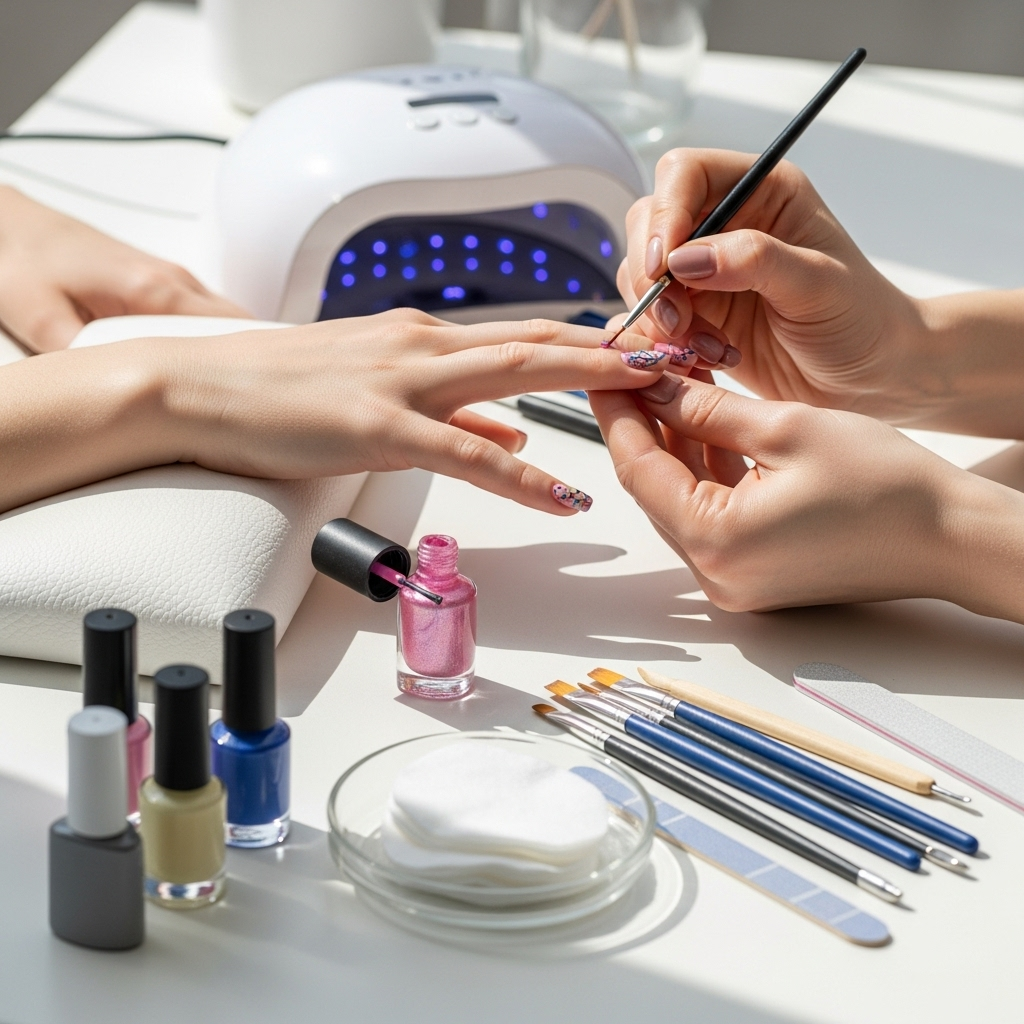
Designer nail designs are essentially any nail art that goes beyond a single solid color. Think of them as tiny canvases where you express your personal style. This can range from simple patterns like dots and stripes to more elaborate artwork like florals, abstract shapes, or even tiny illustrations. The beauty of designer nails is their versatility – they can be as subtle or as bold as you like!
Essential Tools for Designer Manicures
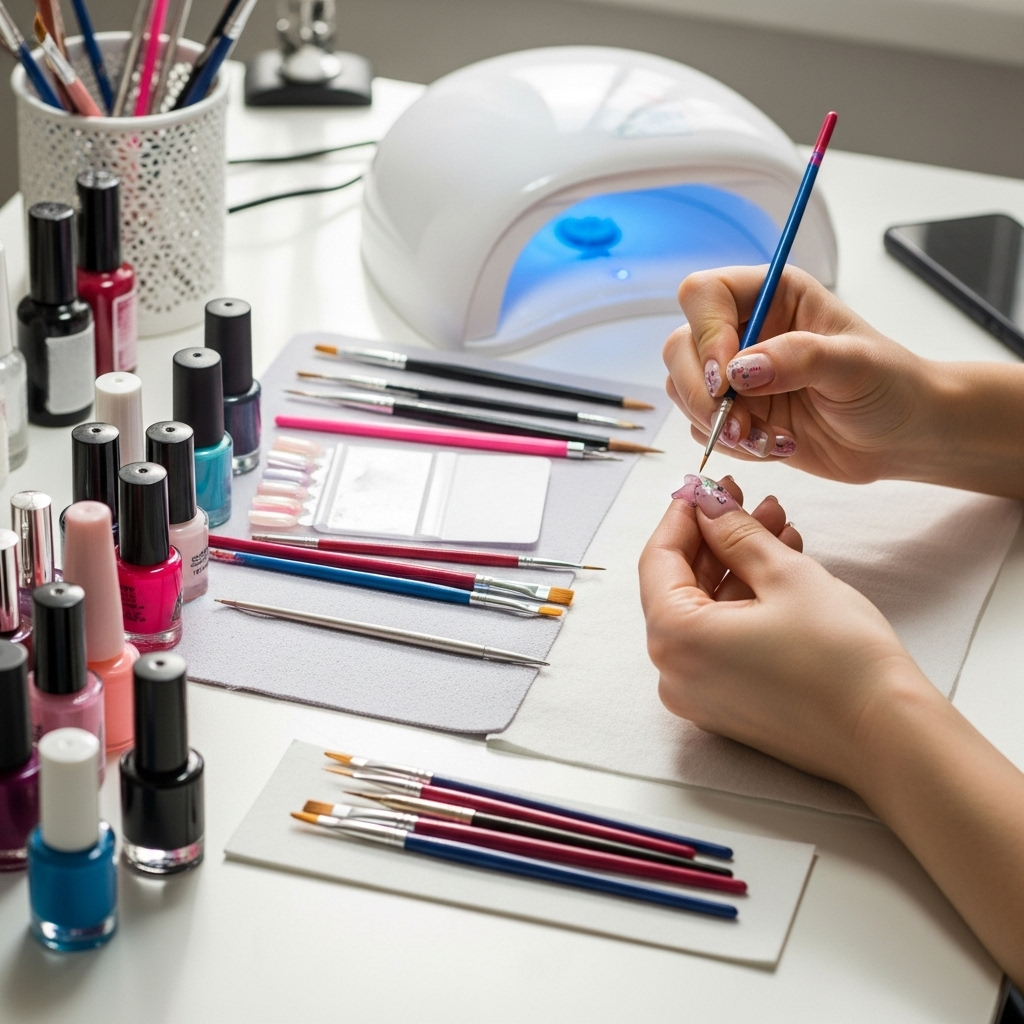
Before we jump into the fun part – the designs! – let’s gather our essential toolkit. You don’t need a professional salon’s worth of equipment to create beautiful designs. Here are some must-haves:
- Nail File & Buffer Block: For shaping and smoothing your natural nails or tips. A good buffer will give you a smooth surface for polish application.
- Base Coat: This is crucial! It protects your natural nails from staining and helps your polish last longer. Try to use polishes free from harmful chemicals for optimal nail health, as recommended by organizations like the U.S. Food & Drug Administration (FDA) for cosmetic product information.
- Top Coat: Seals your design and adds a glossy shine. A good top coat also prevents chipping.
- Nail Polish in Various Colors: Start with a few of your favorite shades, plus a good black and white for versatile design work.
- Dotting Tools: These come in various sizes and are perfect for creating dots, circles, and simple floral patterns.
- Thin Nail Art Brushes: Essential for drawing fine lines, details, and intricate patterns. A set with different tip sizes is ideal.
- Toothpicks or a Fine-Tipped Applicator: Great for small details, cleaning up edges, or creating tiny dots in a pinch.
- Nail Polish Remover & Cotton Swabs: For quick clean-ups and corrections during the design process.
- Optional: Glitter, Rhinestones, Stickers: For adding extra sparkle and dimension to your designs.
Beginner-Friendly Designer Nail Designs to Try
Let’s get creative! Here are some essential and stunning designer nail designs that are perfect for beginners. We’ll break them down into easy steps.
1. The Chic Accent Nail
This is the simplest way to add a designer touch. Pick one nail on each hand (usually the ring finger) and give it a special design while the others have a solid color.
How to Create:
- Apply your base coat to all nails.
- Paint your non-accent nails with your chosen solid color and let them dry completely.
- On your accent nail, paint a contrasting or complementary color. Let it dry thoroughly.
- Now, add your design! Some easy ideas for the accent nail:
- Simple Glitter Gradient: While the polish is still slightly wet, brush glitter polish onto the tip of the nail, blending downwards.
- A Single Dot or Stripe: Use a dotting tool or fine brush to add one or a few well-placed dots or a clean, straight line.
- Half Moon: Use your nail polish brush to create a curved line at the base of your nail, or use a small circular sticker as a guide.
- Once your accent nail design is dry, apply a top coat to all nails to seal everything in.
2. Polka Dots Galore
Polka dots are a classic for a reason – they’re fun, playful, and incredibly easy to achieve!
How to Create:
- Apply base coat, then your base polish color. Let it dry completely.
- Dip a dotting tool (or the rounded end of a toothpick) into a contrasting polish color.
- Gently press the dotted tool onto your nail to create a perfect dot.
- Continue adding dots, varying the size with different dotting tools or by picking up more or less polish. You can make them uniform or scatter them randomly.
- For a more advanced look, try different sized dots or create rows of color.
- Once dry, finish with a top coat.
3. Effortless Stripes
Lines can be super chic and modern. Experiment with thin, thick, vertical, or horizontal stripes.
How to Create:
- Apply base coat and your base color. Let it dry completely.
- For straight lines, you can use nail tape. Apply strips of tape across your nail, leaving a gap for the stripe. Paint within the gap. Carefully peel off the tape once the polish is slightly dry but not fully cured to avoid smudging.
- Alternatively, use a thin nail art brush. Dip your brush into a contrasting color and carefully draw a straight line across the nail. For practice, start with vertical stripes as they tend to be easier to control.
- Experiment with different colors and line placements. You can create a French tip with a colored line, or a full nail stripe.
- Let the stripes dry completely before applying a top coat.
4. The Simple French Twist
A modern take on the classic French manicure. Instead of white, use a fun color for the tips!
How to Create:
- Apply base coat.
- Paint your nails with a nude or sheer pink polish for a clean base. Let it dry.
- Using a colored polish and a fine nail art brush, carefully paint a line along the free edge of your nail. You can also use French tip guides for a cleaner line.
- Choose vibrant colors, metallics, or even chunky glitter for a bold twist!
- Apply a top coat once everything is dry.
5. Glitter Accents
Glitter is an instant mood booster! Adding a touch of sparkle is easy and super effective.
How to Create:
- Apply base coat and your base color. Let it dry.
- Glitter Tips: Apply your base color and let it dry. Then, paint the tips of your nails with a glitter polish. For a more intense glitter, you can use a sponge to dab the glitter onto the tips.
- Glitter Full Nail: Apply a layer of clear polish or gel, then dip your nail into loose glitter or use a glitter polish over the entire nail. Be sure to brush away excess glitter.
- Glitter Stripe or Dot: Use glitter polish with a fine tip brush to add a sparkling line or dots over a dry solid color.
- Always seal with a top coat to keep all that sparkle in place!
Intermediate Designer Nail Designs (Level Up!)
Feeling a bit more confident? Let’s try some designs that require a little more precision but are still totally achievable!
6. Marble Effect Nails
This sophisticated look mimics natural stone and is surprisingly simple to create.
How to Create:
- Apply base coat and a white or light-colored polish as your base. Let it dry completely.
- On a piece of foil or a palette, add a few drops of your desired marble colors (e.g., black, grey, gold) next to each other.
- Add a drop of clear polish or nail art medium.
- Swirl the colors gently with a toothpick or fine brush. Don’t over-mix; you want distinct veins.
- Dip a clean brush (a slightly stiffer, flat brush works well) into the swirled mixture.
- Gently swipe the brush across your nail, creating a marbled pattern. You can repeat this carefully a few times.
- Alternatively, for a simpler marble: Paint your nail with the base color. While it’s still wet, carefully add a few small “blobs” of contrasting colors. Then, use a toothpick to gently swirl them together.
- Clean up any stray polish around the cuticle with a cotton swab dipped in remover.
- Apply a top coat once dry.
7. Floral Accents
Small, dainty flowers can add a beautiful touch of femininity to any manicure.
How to Create:
- Apply base coat and your base color. Let it dry.
- Using a fine nail art brush and a contrasting color, create simple petals. You can do this by making small dots in a circle, or by pulling small strokes from a center point.
- For a simple daisy: use a tiny dotting tool to make a yellow center dot, then use a white polish and a thin brush to create five small petal dots around it.
- For a more abstract floral: use multiple colors to create scattered dots or short strokes that suggest petals.
- Don’t worry about perfection! The charm is in the hand-painted look.
- Allow to dry fully and seal with a top coat.
8. Geometric Patterns
Clean lines and shapes can create a modern, edgy look.
How to Create:
- Apply base coat and your base color. Let it dry.
- Use nail tape to create sections for your geometric shapes. Think triangles, squares, or stripes.
- Paint within the taped-off areas with contrasting colors.
- Carefully peel off the tape when the polish is slightly tacky but not fully dry to avoid tearing or smudging.
- For freehand geometric designs, use a fine nail art brush and a ruler or guide-like object (like the edge of another polish bottle) to help you paint straight lines.
- Let dry completely and finish with a top coat.
Tips for Long-Lasting Designer Nails

Creating beautiful designs is only half the battle; keeping them looking great is the other! Here are some pro tips:
- Always use a base coat: This protects your nails and helps polish adhere better, preventing premature chipping.
- Apply thin coats of polish: Thick coats take longer to dry and are more prone to smudging and chipping. Two thin coats are better than one thick one.
- Let each layer dry: Patience is key! Ensure one color or design layer is completely dry before adding the next or moving to a top coat. This is where quick-dry drops or sprays can be a lifesaver.
- Cap the free edge: When applying your base, color, and top coats, run the brush along the very tip of your nails. This seals the polish and prevents chipping from the edge.
- Use a good quality top coat: A glossy, protective top coat is your best friend for extending the life of your manicure. Reapply every couple of days if needed.
- Gloves are your friend: Wear gloves when doing household chores, washing dishes, or anytime your hands will be exposed to water for extended periods or harsh chemicals.
- Moisturize: Keep your cuticles and nails hydrated with cuticle oil and hand cream. Healthy nails are less prone to breakage, which can ruin a design.
Designer Nail Designs: A Quick Comparison of Techniques
To help you choose the best technique for your next design, here’s a quick look at popular methods:
| Technique | Best For | Skill Level | Pros | Cons |
|---|---|---|---|---|
| Dotting Tools | Dots, simple flowers, uniform patterns | Beginner | Easy to use, creates clean dots, versatile sizes | Limited to dot-based designs |
| Thin Nail Art Brushes | Lines, intricate details, swirls, freehand art | Beginner to Intermediate | High precision, wide range of design possibilities | Requires a steady hand and practice |
| Nail Tape | Geometric shapes, clean lines, French tips | Beginner to Intermediate | Creates super sharp, straight lines; easy to use | Can lift polish if not applied/removed carefully; limits design complexity |
| Stamping | Complex patterns, intricate motifs, quick full nail designs | Intermediate | Achieves detailed designs quickly; repeatable | Requires specific stamping plates and stamper, practice needed to align |
| Hand Painting (Advanced) | Portraits, detailed landscapes, complex illustrations | Advanced | Ultimate creative freedom, unique artistry | Requires significant skill, time, and artistic talent |
Common Beginner Nail Art Mistakes (And How to Avoid Them!)
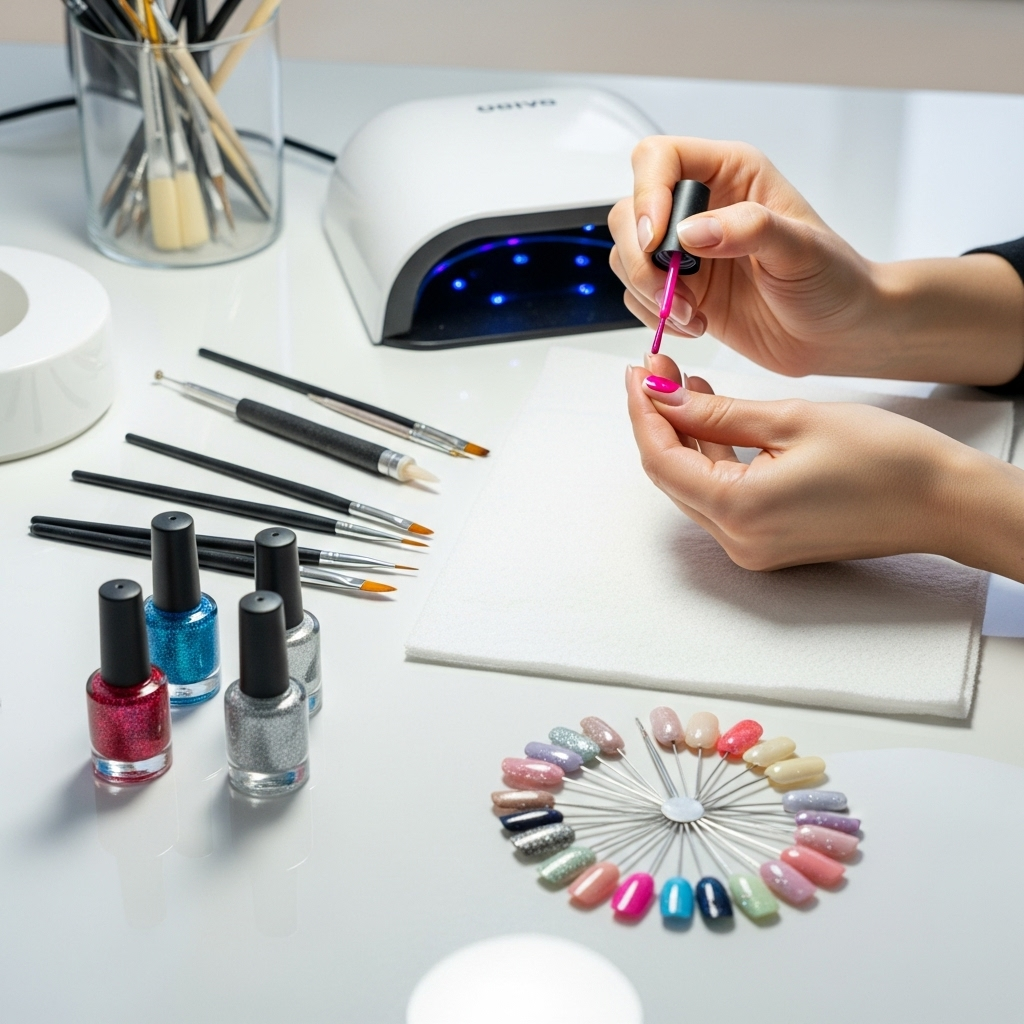
We’ve all been there! Learning nail art involves a few oopsies along the way. Here are some common pitfalls for beginners and how to navigate them:
- Applying polish too thickly: This leads to uneven drying, smudging, and bubbles. Solution: Stick to thin, even coats.
- Not waiting for layers to dry: Smushed designs are frustrating! Solution: Be patient. Use quick-dry drops or a fan to speed up drying time.
- Over-mixing marble or swirl designs: This can result in a muddy, unappealing pattern. Solution: Swirl gently and sparingly to maintain distinct colors.
- Using old, thick polish: It’s difficult to work with and doesn’t apply smoothly. Solution: Refresh your polish collection. If a polish is too thick, some can be thinned with a dedicated polish thinner.
- Forgetting the top coat: This leaves your design vulnerable to chipping and dulls the shine. Solution: Always finish with a good top coat!
- Not cleaning up edges: Polish on the skin can make even the most beautiful design look messy. Solution: Keep a fine-tipped brush dipped in nail polish remover handy for precise clean-ups.
Frequently Asked Questions About Designer Nail Designs
Q1: How long does it take to learn designer nail designs?
It varies from person to person! Simple designs like dots and stripes can be mastered in an afternoon. More complex techniques like detailed freehand art or marble might take several practice sessions over weeks. The key is consistent practice and patience.
Q2: Can I do designer nail designs on short nails?
Absolutely! Short nails are great canvases. Simpler designs, like accent nails, dots, or thin stripes, often look fantastic on shorter lengths. Just be mindful of scale when choosing your design elements.
Q3: What’s the difference between nail polish and gel polish for nail art?
Regular nail polish air dries and can be easily removed with acetone. Gel polish requires a UV/LED lamp to cure, is more durable, and lasts longer. For beginners, regular polish is easier to work with because you have more time before it dries, allowing for corrections.
Q4: How do I get my nail art to last longer than a few days?
The secret lies in proper prep and sealing! Always use a good base coat, apply thin layers, let each layer dry, cap the free edge, and finish with a high-quality, glossy top coat. Reapplying top coat every 2-3 days can also help extend wear.
Q5: Can I reuse nail art stickers or decals?
Generally, nail art stickers and decals are designed for single use. Once they are removed from their backing and applied, they lose their adhesiveness. For the best look and longevity, it’s usually recommended to use them once.
Q6: My nail art brushes are getting clumpy. How do I clean them?
Clean your brushes immediately after use with nail polish remover. Gently wipe them on a lint-free cloth until all polish is gone.

