Date Night Nail Designs: Get stunning, easy-to-create nail art perfect for any date. From subtle elegance to a touch of glam, find your next go-to look for that special occasion. We’ll guide you through essential techniques and stylish ideas for a flawless manicure that boosts your confidence.
Planning a special date night? Your nails can be the perfect finishing touch! Sometimes finding the right nail design can feel a little overwhelming, especially when you want something that’s both chic and easy to achieve. You want your nails to look amazing without spending hours in front of the mirror or breaking the bank at a salon. This guide is here to help! We’ll explore beautiful, achievable date night nail designs that will make you feel confident and ready for anything.
First, let’s set you up for success by getting your nails prepped and ready. A beautiful design starts with healthy, well-maintained nails.
Getting Started: The Foundation for Fabulous Nails
Before diving into any fancy designs, a little prep goes a long way! Think of it as building a strong canvas for your artwork.
Essential Nail Prep Steps
1. Cleanse: Start with clean nails. Remove any old polish thoroughly.
2. Shape: File your nails into your desired shape. Almond, square, and oval are popular choices that work well for most date night looks. Remember to file in one direction to prevent splitting.
3. Cuticle Care: Gently push back your cuticles. Be very careful not to cut them, as this can lead to infection. A cuticle remover and a soft pusher are your best friends here.
4. Buffing: Lightly buff the surface of your nails to create a smooth, even base. This also helps polish adhere better.
5. Moisturize: Apply hand cream and cuticle oil. Hydrated nails and skin look and feel their best.
Must-Have Tools for Your Manicure Kit
Having the right tools makes all the difference, even for simple designs.
Nail Polish Remover: For a clean slate.
Cotton Pads/Balls: To apply the remover.
Nail File: To shape your nails.
Cuticle Pusher: For gentle cuticle maintenance.
Nail Buffer: To smooth the nail surface.
Base Coat: Protects your natural nail and helps polish last longer.
Top Coat: Seals your design and adds shine.
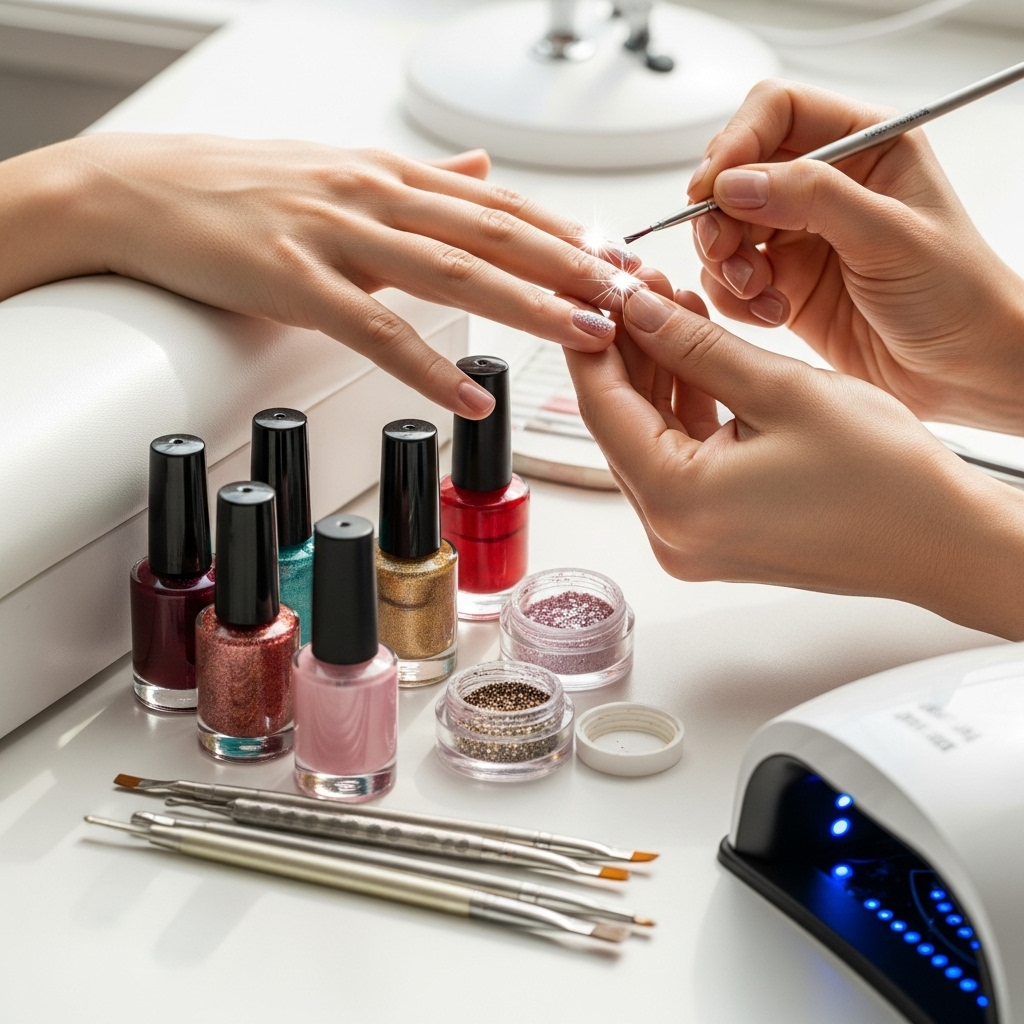
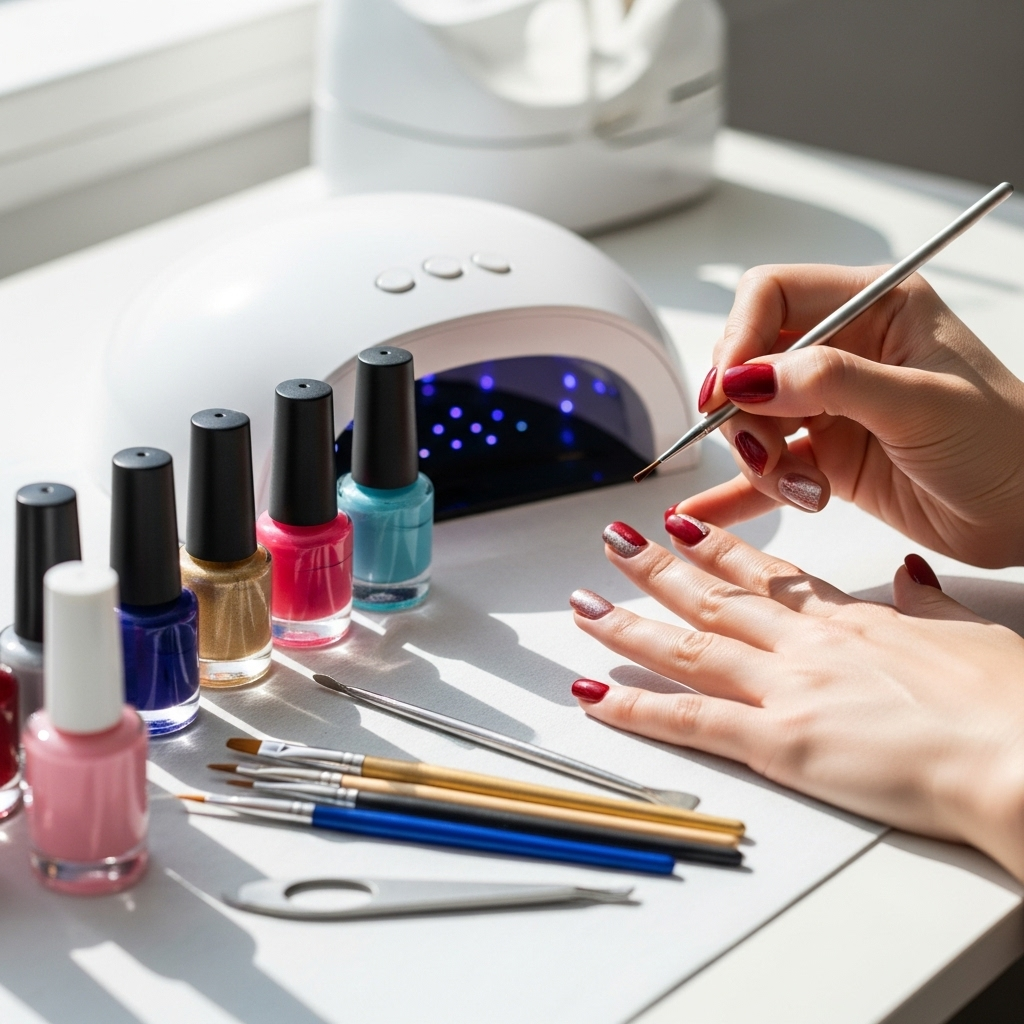
Assorted Nail Polishes: In your preferred colors.
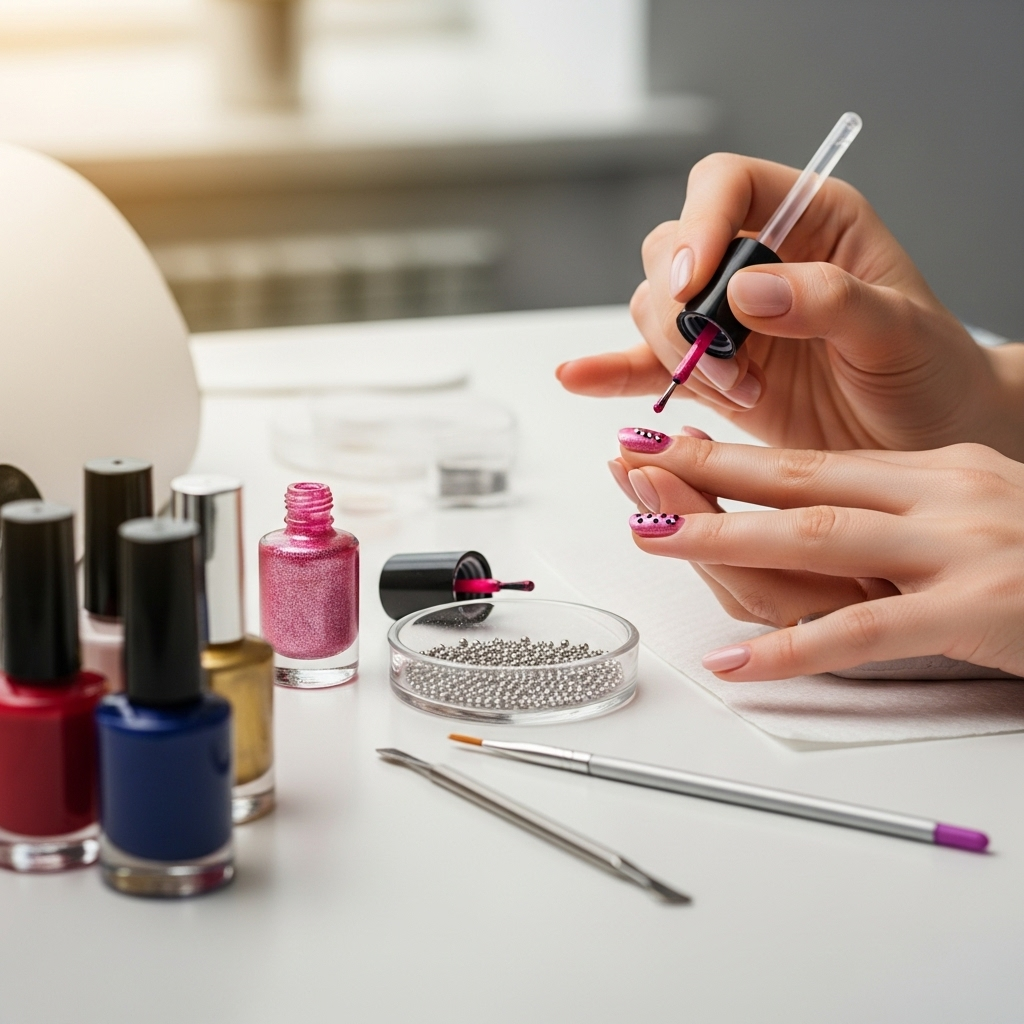
(Optional) Dotting Tools: For creating perfect dots and small designs.
(Optional) Thin Nail Art Brushes: For finer lines and details.
(Optional) Nail Stickers/Decals: For quick, easy accents.
Effortless Date Night Nail Designs (Under 30 Minutes!)
These designs are perfect for beginners and busy bees! They offer a polished look without complicated techniques.
Design 1: The Classic Elegance (Solid Color with a Twist)
Sometimes, simplicity is key. A flawless solid color can be incredibly chic and sophisticated.
How to do it:
1. Prep: Complete your nail prep steps.
2. Base Coat: Apply one thin layer of your favorite base coat. Let it dry completely.
3. Color: Apply two thin coats of your chosen polish color. A deep red, classic nude, or a rich jewel tone like emerald green or sapphire blue are perfect for a date night. Allow each coat to dry fully.
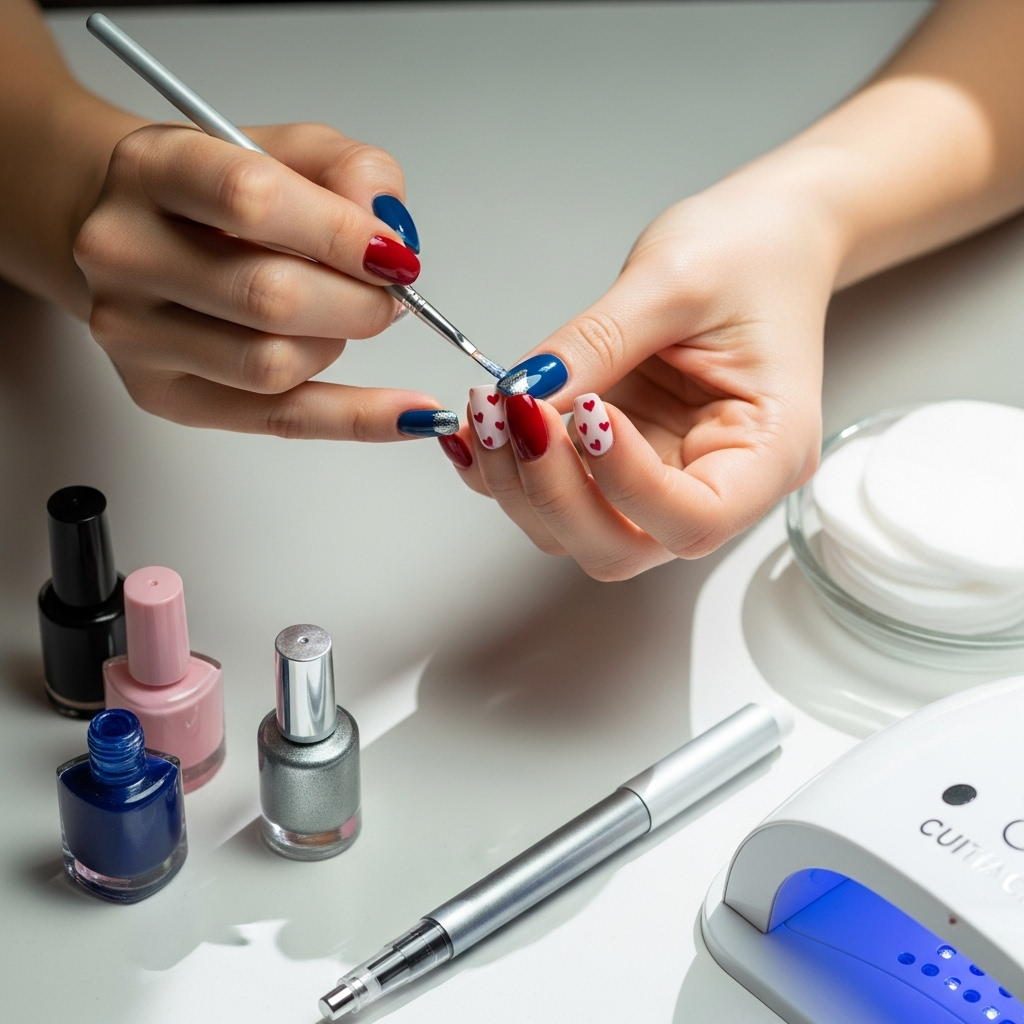
4. The Twist: Once the color is dry, use a fine-tip brush or a dotting tool with a contrasting metallic polish (like gold or silver) to add a tiny dot at the base of your nail, near the cuticle. Or, paint a thin metallic line across the tip of one or two accent nails.
5. Top Coat: Cap off your masterpiece with a glossy top coat. This seals the polish and adds a beautiful shine that catches the light.
Tips for Success:
Apply polish in thin, even coats. This prevents streaking and chipping.
Use a clean-up brush (an old makeup brush with a stiff, angled tip dipped in remover) around your cuticles for a super neat finish.
Design 2: The Subtle Sparkle
A little shimmer can add a touch of magic to your look.
How to do it:
1. Prep: Start with clean, prepped nails.
2. Base Coat: Apply your base coat and let it dry.
3. Color: Paint your nails with your desired base color. Think of softer shades like blush pink, soft grey, or a sheer milky white. Let it dry thoroughly.
4. Sparkle Time:
Option A (Full Sparkle): Apply a coat of glitter polish over your base color. You can opt for a sheer glitter top coat for subtle shimmer or a densely packed glitter polish for more impact.
Option B (Accent Sparkle): On one or two accent nails (like your ring fingers), apply a thin layer of glitter polish over the entire nail.
Option C (Subtle Shimmer): Use a fine brush with a metallic polish to draw a delicate line at the tip of your nails or at the base.
5. Top Coat: Finish with a sealing top coat. If you used a heavy glitter, you might need two coats of top coat to smooth out the texture.
Design 3: The Accent Nail Chic
This is a foolproof way to add personality to your manicure without a lot of effort.
How to do it:
1. Prep: Get your nails prepped and ready.
2. Base Coat: Apply your base coat and let it dry.
3. Main Color: Paint all your nails except your ring fingers with one color. A sophisticated shade like navy, burgundy, or a deep plum works beautifully.
4. Accent Nails: On your ring fingers, paint them with a coordinating or contrasting color. This could be a metallic shade, a lighter pastel, or even a black polish if your main color is light.
5. Optional Accent: You can elevate your accent nails further by adding a simple design:
A few strategically placed rhinestones using a dot of top coat as glue.
A delicate stripe or swirl with a thin brush and metallic polish.
A tiny heart shape near the cuticle with a dotting tool.
6. Top Coat: Apply a top coat to all nails to protect your design and add shine.
Taking it Up a Notch: Intermediate Date Night Designs
Feeling a little more adventurous? These next designs involve slightly more detail but are still totally doable!
Design 4: The Delicate French Manicure
The French manicure is timeless, but we can give it a modern, date-night-worthy update.
How to do it:
1. Prep: Ensure your nails are clean and prepped.
2. Base Coat: Apply a sheer nude, pink, or milky white polish as your base color. Let it dry.
3. The Tip:
Method A (Freehand): Use a thin nail art brush and a white or metallic polish to carefully paint a smile line across the tip of each nail. Take your time!
Method B (Stickers): Use French tip guide stickers for a cleaner line. Place the sticker just below where you want your white tip to start, paint the tip, and carefully remove the sticker while the polish is still slightly wet.
4. The Twist: For a date night twist, use a metallic polish (gold, silver, rose gold) or a soft pastel for your tips instead of plain white. You could also do a “double French,” where you add a thin metallic line right above the colored tip.
5. Top Coat: Seal everything with a glossy top coat.
Design 5: The Gradient/Ombre Effect
This look creates a beautiful, blended color effect that’s very eye-catching.
How to do it:
1. Prep: Prep your nails.
2. Base Coat: Apply base coat and let dry.
3. Base Color: Apply a light, neutral color to all nails. This helps the gradient blend smoothly. Let it dry.
4. Creating the Gradient:
Method A (Sponge): On a makeup sponge (a dense cosmetic sponge works best), paint two or three colors next to each other. Start with the lightest color at the bottom and the darkest at the top. Gently dab the sponge onto your nail, working from the cuticle to the tip. Roll the sponge slightly for better coverage. Clean up the excess polish around your skin with your clean-up brush. Repeat for opacity.
Method B (Brush): Use a flat brush and two colors. Paint one color on your nail from cuticle to tip. Then, paint the second color on the tip of the nail. Use a clean brush with a tiny bit of nail polish remover on it to very gently blend the line between the two colors. This takes practice!
5. Top Coat: Once dry, apply a solid top coat to smooth the surface and add shine.
Tip: Practice the sponge method on paper first to get the hang of the pressure and color application!
Design 6: Minimalist Geometric Accents
Clean lines and simple shapes can be incredibly sophisticated.
How to do it:
1. Prep: Prep nails and apply your base coat.
2. Base Color: Paint all nails with a solid color. A classic choice is a soft grey, nude, or a deep berry.
3. Design Time: Once the base color is completely dry, use a thin nail art brush and a contrasting color (like black, white, or metallic gold) to add simple geometric shapes. Think:
A single thin line across one nail.
A tiny triangle at the base of the nail.
A small dot with a line extending from it.
A simple checkered pattern on an accent nail.
4. Top Coat: Seal your design with a top coat.
Where to Find Inspiration: Pinterest and Instagram are treasure troves for minimalist nail art. Search for #minimalistnails or #geometricnails.
Advanced Date Night Nail Designs (For the Ambitious Creative!)
Ready to truly impress? These designs might take a little more patience, but the results are stunning.
Design 7: The Celestial Sparkle
Stars, moons, and cosmic vibes are incredibly romantic and chic.
How to do it:
1. Prep: Clean and prep your nails. Apply a dark base color like navy, deep purple, or black. Let it dry completely.
2. Stardust Effect:
Option A (Glitter Polish): Apply a sheer glitter polish (silver, holographic, or gold) over your dark base. You can do a full coat or just a gradient effect at the tips.
Option B (Nail Art Brush): Use a fine nail art brush with a metallic or white polish to create tiny dots and speckles all over your nails, mimicking a starry sky.
3. Celestial Motifs: Using a fine brush or dotting tool and a contrasting metallic or white polish, add small stars, tiny crescent moons, or dots to one or two accent nails. You can find small stampers or decals for perfect star shapes if freehand is too tricky.
4. Top Coat: Seal with a good top coat.
Design 8: The Subtle Texture/3D Effect
Adding a subtle texture can elevate a simple design.
How to do it:
1. Prep: Prep nails and apply your desired base color (a nude, cream, or pastel often works best for texture). Let it dry.
2. Matte Top Coat: Apply a matte top coat to all your nails. This is key for the textured look. Let it dry completely.
3. Adding Detail:
Option A (High-Gloss Accents): Use a glossy top coat and a fine brush to paint small patterns or lines over the matte surface. The contrast between matte and gloss is very elegant. Think delicate swirls, tiny dots, or thin stripes.
Option B (Velvet Effect): You can buy “velvet” or “flocking” powder. Apply a bit of regular top coat where you want the texture, dip your nail into the powder, and tap off the excess. Brush away any loose powder. This creates a soft, fuzzy texture.
Option C (Small Gems/Pearls): Apply a tiny dot of strong nail glue or a thick top coat to your matte nail and carefully place a small pearl or gem using tweezers. Ensure it’s secure. Place these strategically on an accent nail.
4. Top Coat (Carefully): Apply a regular glossy top coat around, but not directly on, any textured areas or gems. If you used velvet powder, avoid top coat entirely on those areas.
Design 9: The Abstract Swirls
Embrace a bit of artistry with flowing, abstract designs.
How to do it:
1. Prep: Clean, prep, and apply a base coat.
2. Base Color: Choose a sophisticated base color (e.g., a deep teal, a dusty rose, or a creamy beige). Apply two coats and let dry completely.
3. Abstract Art: With a fine nail art brush and a contrasting polish (white, black, gold, or a complementary color), start painting abstract swirls, lines, and shapes. Don’t overthink it! The beauty is in the organic, flowing nature of the design. You can make them thin and wispy or bolder.
4. Accent Nail Focus: You might choose to do this on just one or two accent nails for a more minimalist look.
5. Top Coat: Seal the artistic creation with a good top coat for shine and durability.
Tips for Longevity and Maintenance
A beautiful date night manicure deserves to last! Here’s how to keep it looking fresh.
Always Top Coat: This is your shield against chipping and dullness. Reapply every 2-3 days if needed.
Careful with Your Hands: Avoid using your nails as tools (e.g., to scrape or pry). Wear gloves when doing dishes or cleaning.
Moisturize Daily: Keep your hands and cuticles hydrated with hand cream and cuticle oil. This prevents dryness that can lead to snags or breaks.
Touch-Ups: For small chips, you can sometimes carefully dab a bit of polish on the spot and seal with a top coat. However, for best results, it’s often better to reapply the whole nail if a significant chip occurs.
Understanding Nail Polish Ingredients & Safety
When you’re choosing colors and tools, it’s helpful to know a little about what goes into them. Many polishes are formulated with a “X-free” system, meaning they exclude certain common chemicals. For example, an important step in healthy nail care involves understanding the components in your products. The National Cancer Institute provides information on cosmetics and cancer risk, noting that while studies are ongoing, a link between common nail products and cancer hasn’t been firmly established. Many brands now offer “3-free” (free from formaldehyde, toluene, and DBP), “5-free,” “7-free,” or even “10-free” polishes, which exclude additional potentially harmful chemicals. Choosing these can be a great step towards safer beauty practices.
Date Night Nail Design Inspiration Table
Here’s a quick reference to help you pick your perfect look!
| Design Type | Key Elements | Occasion Fit | Difficulty Level | Time Estimate |
| :———————- | :—————————————- | :——————————- | :————— | :———— |
| Classic Elegance | Solid color, subtle metallic accent | Any date, formal or casual | Beginner | 15-20 min |
| Subtle Sparkle | Glitter, metallic polish | Dinner dates, cocktail parties | Beginner | 20-25 min |
| Accent Nail Chic | Two-tone, simple embellishment | Versatile, from casual to dressy | Beginner | 20-25 min |
| French Manicure (Modern)| White/metallic tips, clean lines | Classic, elegant dates | Beginner-Int. | 25-30 min |
| Gradient/Ombre | Blended colors | Trendy, stylish evenings | Intermediate | 30-40 min |
| Minimalist Geometric | Lines, dots, simple shapes | Modern, sophisticated dates | Intermediate | 25-30 min |
| Celestial Sparkle | Dark base, glitter, stars, moons | Romantic, evening events | Advanced | 40-50 min |
| Subtle Texture/3D | Matte/gloss contrast, pearls, flocking | Unique, high-fashion dates | Advanced | 45-60 min |
| Abstract Swirls | Freehand organic lines and shapes | Artistic, edgy dates | Advanced | 40-50 min |
Frequently Asked Questions (FAQs)
Q1: What are the easiest date night nail designs for beginners?
A1: The easiest designs are solid colors with a subtle accent (like a metallic dot or stripe), simple glitter applications, or the accent nail technique where one or two nails have a different color/design. These require minimal intricate work.
Q2: How can I make my nail polish last longer for a date?
A2: Always start with clean, dry nails and apply a good base coat. Use thin, even coats of color polish, allowing each layer to dry. Finish with a high-quality top coat and “cap” the free edge of your nail by running the brush along the tip. Avoid using your nails as tools.
**Q3:
