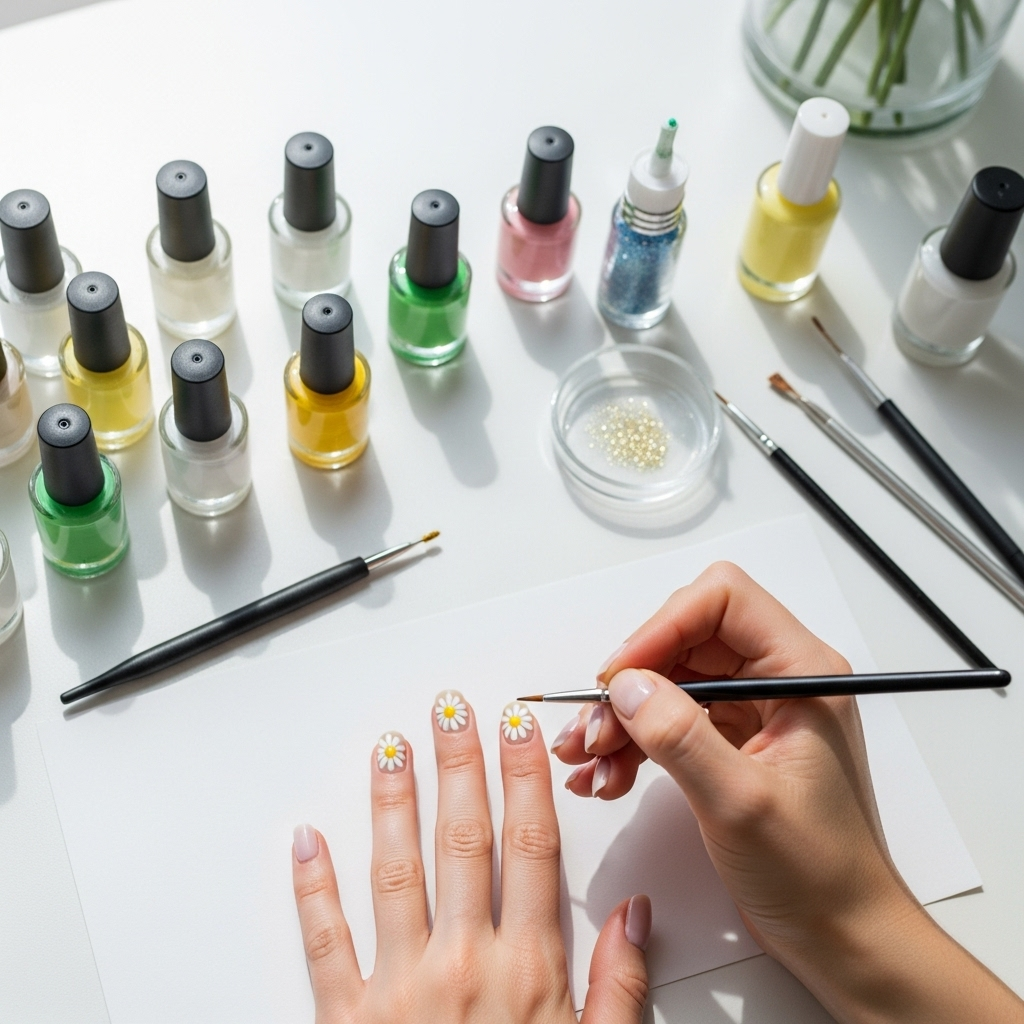
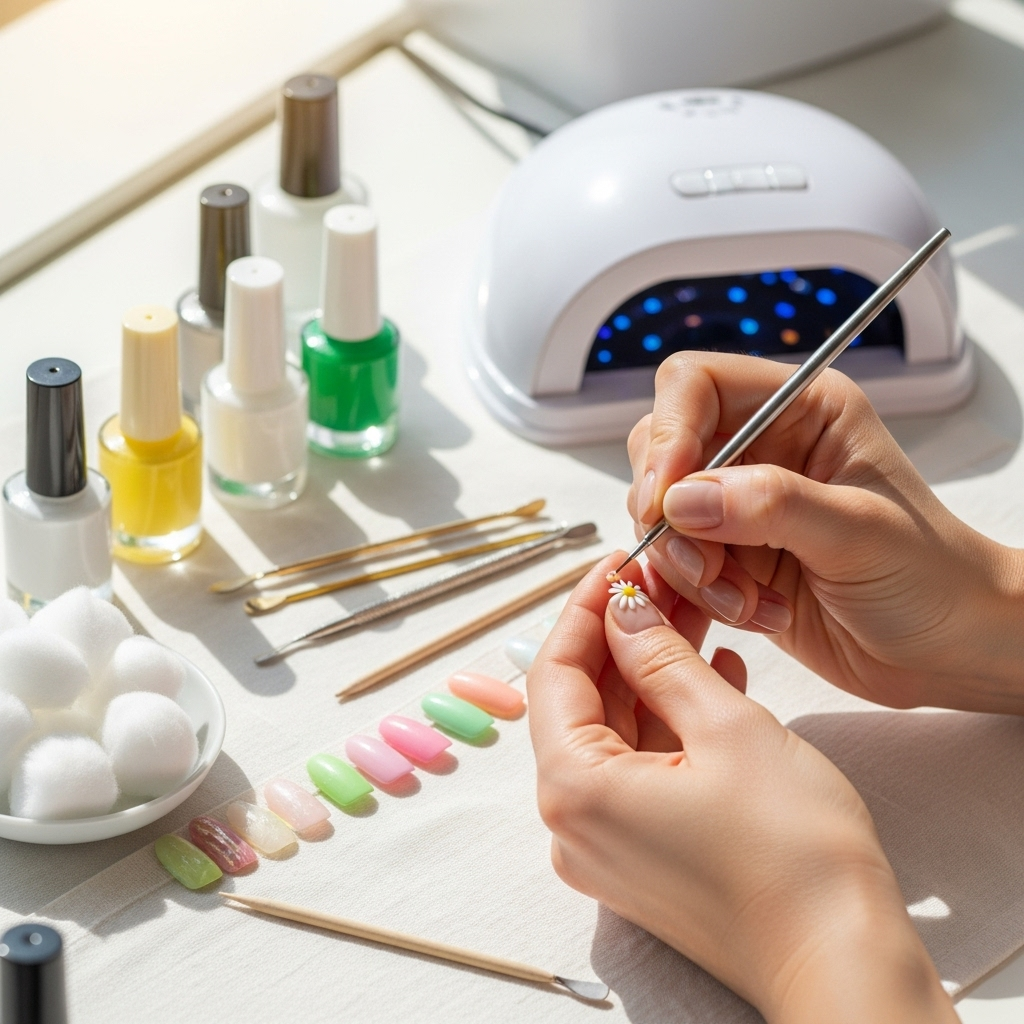
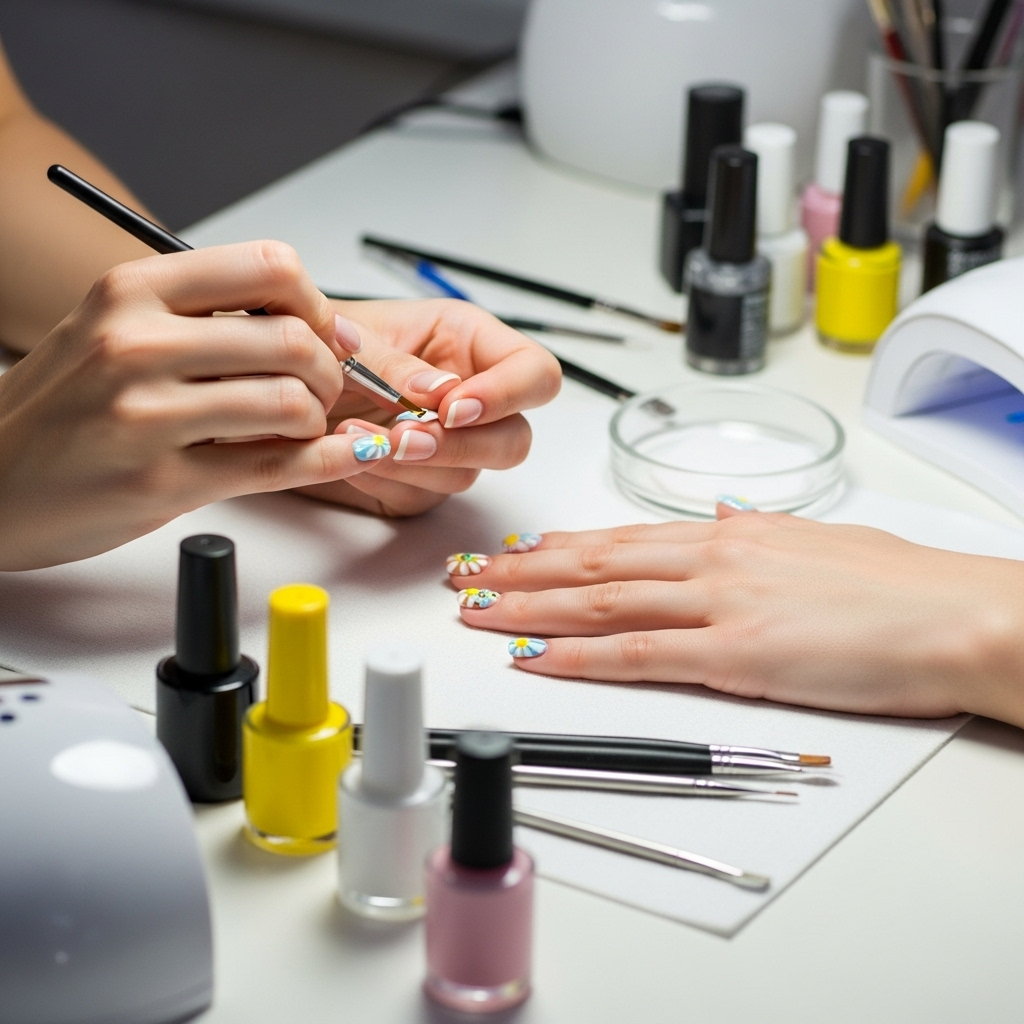
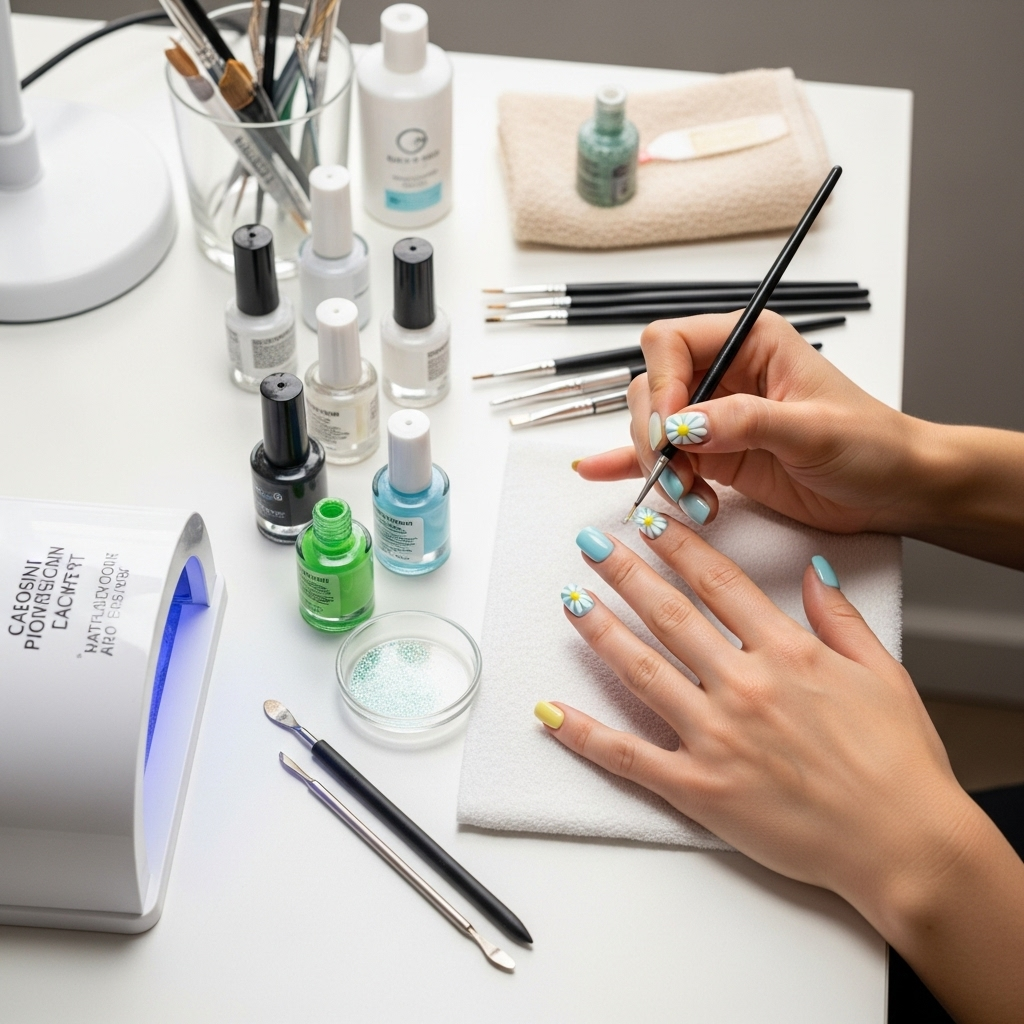
A simple daisy nail design tutorial turns your fingertips into a canvas for sweet, summery blossoms. Perfect for beginners, this guide breaks down creating adorable daisy art with essential tools and easy steps, ensuring you achieve a charming, professional look in no time.
Spring and summer just got a whole lot cuter! Want to add a touch of sunshine and whimsy to your look? Daisy nails are your answer! They’re cheerful, timeless, and surprisingly easy to achieve, even if you’re new to nail art. Forget complicated techniques; we’re talking about simple steps that deliver big on charm. Whether you’re heading to a picnic, a wedding, or just want to brighten your everyday, this tutorial will guide you through creating beautiful daisy nail art that’ll have everyone asking, “Where did you get your nails done?” Let’s get those fingers blooming!
Tools You’ll Need to Create Your Daisy Masterpieces
Gathering the right supplies is half the fun! Don’t worry if you don’t have every single item; we’ll chat about easy substitutions. Having these basics, though, will make your daisy nail art journey super smooth. Think of this as your starter kit for adorable nails!
Essential Nail Polish
- Base Coat: This is your nail’s best friend! It protects your natural nail from staining and helps your color last longer.
- Top Coat: The shiny finale! A good top coat seals your design, adds a glossy finish, and prevents chips.
- Your Base Color: White is classic for daisies, but feel free to get creative! Pastel pinks, blues, or even a soft yellow work beautifully.
- Yellow Polish: For the perfect little center of your daisy.
- White Polish: This is for the daisy petals!
Application Tools
- Dotting Tool: These are fantastic! They have a little ball at the end, perfect for making uniform dots and petals. If you don’t have one, a toothpick or the tip of a bobby pin can work in a pinch.
- Thin Nail Art Brush: A brush with a very fine tip is great for refining shapes or adding extra detail.
- Clean-up Brush: A small brush (like an old, clean makeup brush or a fine-tipped art brush) dipped in nail polish remover is a secret weapon for tidying up any wobbly lines or smudges.
Nail Prep and Care Items
- Nail Polish Remover: For correcting mistakes and cleaning up.
- Cotton Balls or Pads: To apply the remover.
- Cuticle Pusher or Orange Stick: To gently push back your cuticles before you start painting for a cleaner look.
- Nail File: To shape your nails.
It’s always a good idea to keep your nails healthy. Check out these tips from the National Center for Complementary and Integrative Health on maintaining healthy hair, skin, and nails; good nail health makes for the best canvas!
Step-by-Step Genius: How to Create Your Daisy Nail Art

Ready to get artistic? Follow these simple steps, and soon you’ll be rocking the cutest daisy nails around! Remember, practice makes perfect, so have fun with it!
Step 1: Prep Your Nails for Perfection
This is probably the most important step for a long-lasting, beautiful manicure. Start by removing any old polish. Gently push back your cuticles with a cuticle pusher or orange stick. Shape your nails with a nail file to your desired shape. For the best adhesion, give your nails a quick wipe with nail polish remover or rubbing alcohol to remove any oils. This helps the polish stick!
Step 2: Apply Your Base Coat and Color
Apply one coat of your base coat and let it dry completely. This step is crucial for protecting your nails. Next, apply your chosen base color. This could be a soft pink, a sky blue, or a classic white. You’ll likely need two thin coats of your color for an even, opaque finish. Allow each coat to dry thoroughly before moving on.
Step 3: Create the Daisy Center
Now for the fun part! Grab your yellow nail polish and your dotting tool (or a toothpick). Dip the tip of the dotting tool into the yellow polish. Gently place a small dot in the center of where you want your daisy to be. This will be the heart of your flower. Don’t worry if it’s not perfectly round; a little imperfection adds character!
Step 4: Add the Petals
Using your white nail polish and your dotting tool (or a very fine brush), start adding the petals around the yellow center. Here are a couple of ways to do it:
- The Dot Method: Dip your white polish and dotting tool. Place a dot next to the yellow center. Then, gently pull the dot outwards slightly to create a petal shape. Repeat this around the yellow center, overlapping the dots slightly. Aim for 5-8 petals, depending on the size of your center dot.
- The Brush Method: Dip your thin nail art brush into white polish. Create small, curved strokes around the yellow center to form petal shapes. Again, aim for that classic daisy look with slightly rounded petals.
Remember to wipe your dotting tool or brush clean between colors or as needed. If a petal isn’t quite right, use your clean-up brush dipped in remover to gently erase it and try again. Patience is key here!
Step 5: Refine and Add Details (Optional)
Once your white petals and yellow center are dry, you can add a few subtle details if you like. Use your dotting tool with a tiny bit of white polish to add a small white dot at the base of each petal, giving it a little dimension. Or, use your fine brush and a touch of green polish to add a tiny leaf or two near the base of the flower.
Step 6: Apply Your Top Coat for Shine
After your daisy design is completely dry, it’s time for the grand finale! Apply one or two generous coats of your top coat. Make sure to coat the entire nail, including over the design and along the tip. This will seal your artwork, give it a beautiful shine, and help prevent chips, making your daisy nails last longer.
Step 7: Clean-up Your Edges
Using your clean-up brush dipped in nail polish remover, carefully neaten up any polish that got onto your skin around your nails. This step makes a huge difference in achieving that professional, salon-quality finish. Just a gentle wipe around the cuticle area and the sides of your fingers will do the trick!
Genius Tips for Even Cuter Daisies & Longer-Lasting Wear
Want to elevate your daisy game? Here are some pro tips from my own nail art adventures to make your designs pop and last!
Color Combinations and Variations
- Ombre Base: Before adding your daisies, try an ombre effect with two pastel colors fading into each other as your base.
- Color Pop Centers: Instead of yellow centers, try a contrasting color like pink, blue, or even a metallic shade for a unique look.
- Reverse Daisies: Paint white petals on a colored background, with a yellow center. Or, try painting a colored flower on a white base!
- French Tip Daisies: Add tiny daisies along the free edge of a French manicure for a sweet, subtle twist.
- Accent Nail Fun: You don’t need daisies on every nail. Try them on one or two accent nails and keep the rest of your nails a solid color.
Petal Shapes and Sizes
- Vary Petal Count: Some daisies have more petals than others. Don’t be afraid to experiment with 5, 7, or even 9 petals.
- Petal Shape: While classic daisies have rounded petals, you can try slightly more pointed or elongated petals for a different vibe.
- Double Petals: For a fuller look, you can try adding a second, slightly smaller layer of petals over the first.
Making Your Daisy Nails Last
- Thin Coats are Key: Thicker coats of polish take longer to dry and are more prone to smudging and peeling. Aim for thin, even layers.
- Cap the Edges: When applying your base coat, color, and definitely your top coat, brush a little polish along the free edge (the tip) of your nail. This helps seal the polish and prevent chipping. Check out why capping your nails is important from nail care experts at the Good Housekeeping Institute.
- Be Gentle: Avoid using your nails as tools! Don’t scrape things or pry lids open.
- Wear Gloves for Chores: When washing dishes or doing any cleaning, wear rubber gloves to protect your manicure from harsh chemicals and water.
- Keep Cuticles Moisturized: Dry cuticles can lead to hangnails, which can snag and ruin your polish. Apply cuticle oil regularly.
Tool Alternatives If You’re Missing Something
Don’t have a dotting tool? No problem! Here are some common household items that step up to the plate:
| Desired Tool | Easy Alternatives | Tips for Use |
|---|---|---|
| Dotting Tool (for dots/petals) | Toothpicks | Use the pointed end for drawing thin lines or details, and the blunt end for making dots. Clean between colors. |
| Dotting Tool (for dots/petals) | Ballpoint pen tip (clean, new pen) | The metal tip can create uniform dots. |
| Dotting Tool (for dots/petals) | Bobby pin (the rounded end) | The rounded end is great for creating medium-sized dots. |
| Thin Nail Art Brush | Fine-tipped eyeliner brush (clean, never used for makeup) | Perfect for drawing delicate lines and details. |
| Clean-up Brush | Small, stiff makeup brush | Dip in remover and gently brush away excess polish. |
| Clean-up Brush | Small, pointed craft brush | Use for precise clean-up around the cuticle. |
Frequently Asked Questions About Daisy Nail Designs

Q1: How long does a daisy nail design usually take to do?
A1: For a beginner, creating daisy nail art on all ten fingers can take anywhere from 45 minutes to 1.5 hours, depending on your speed and how intricate you get. If you’re just doing accent nails, it will be much quicker, likely 20-30 minutes.
Q2: Can I do daisy nails on short nails?
A2: Absolutely! Daisy designs look adorable on short nails. You’ll just need to make your daisies smaller. Use a smaller dotting tool or the tip of a toothpick for the center and petals to ensure they fit proportionally on your nail.
Q3: My daisy petals look messy, what can I do?
A3: Don’t worry, this happens to everyone when they’re learning! Use a clean-up brush dipped in nail polish remover to carefully erase any stray lines or messy petals. Allow the polish to dry for a minute, then try again. Smaller, more controlled strokes with your dotting tool or brush can also help.
Q4: What color polish should I use as a base?
A4: White is a classic and makes the yellow center and white petals pop beautifully. However, soft pastels like baby pink, light blue, lavender, or even a pale mint green make for a lovely, subtle base. You can even try a nude or sheer polish for a very natural look.
Q5: How do I make my nail art last longer?
A5: The secret to longevity is a good base coat, thin coats of polish, capping the free edge of your nail with each polish layer (especially the top coat), and a high-quality top coat. Avoiding harsh chemicals and water without gloves will also help prevent chipping.
Q6: Can I use gel polish for daisy designs?
A6: Yes, you can! Gel polish works wonderfully for nail art like daisies. Apply your base gel color, cure it, then use gel polish or gel art paint for your white and yellow details. Remember to cure each layer of gel polish according to its instructions. Gel polish offers incredible durability.
Conclusion: Blooming Beauty at Your Fingertips
And there you have it – your guide to creating the most charming daisy nail designs! We’ve covered everything from the essential tools to the precise steps, and even shared some genius tips to make your artwork extra special and long-lasting. Remember, nail art is all about expressing yourself and having fun. Don’t strive for absolute perfection on your first try; embrace the process and enjoy watching your nails transform into little works of art. These simple, cheerful daisies are perfect for any occasion and are sure to bring a smile to your face every time you look down at your hands. So grab your polishes, get creative, and let your inner artist bloom! Happy polishing!


