Cyberpunk nail designs offer a futuristic, edgy aesthetic with metallic finishes, neon accents, and geometric patterns. They’re essential for anyone looking to make a bold statement and express their creativity through a unique, high-tech manicure.
Welcome to the vibrant, neon-drenched world of cyberpunk nail designs! Feeling a little bored with your everyday polish? Ready to inject some serious futuristic flair into your look? You’ve come to the right place! This trend is all about embracing the unexpected, blending bold colors with metallic sheens and sharp, geometric lines. It’s a fantastic way to express your inner rebel and add a touch of high-tech cool to your style, no matter your skill level. Let’s dive in and discover how to create stunning cyberpunk nails that will turn heads!
What Exactly is Cyberpunk Nail Art?
Think sleek, think bold, think futuristic! Cyberpunk nail art is inspired by the science fiction genre that explores gritty, dystopian futures often filled with advanced technology, neon lights, and a rebellious spirit. When we translate this to nails, it means ditching the subtle and embracing the dramatic. We’re talking about colors that pop, textures that intrigue, and designs that look like they’ve been beamed straight from a digital dimension!
It’s characterized by a few key elements that give it that unmistakable cyberpunk vibe:
- Metallic Hues: Silver, chrome, gunmetal, and iridescent finishes are staples.
- Neon & Electric Colors: Think vibrant pinks, electric blues, shocking greens, and fiery oranges that glow.
- Geometric Shapes: Sharp lines, circuits, grids, and angular patterns.
- Holographic Finishes: For that extra otherworldly shimmer.
- Matte & Glossy Contrasts: Combining different textures adds depth.
- Dark Bases: Often deep blues, purples, blacks, or greys to make the brights and metallics stand out.
Why Are Cyberpunk Nails Essential?
In a world always moving forward, your nails can be a powerful form of self-expression, a miniature canvas for your personality. Cyberpunk nail designs are essential right now because they perfectly capture a modern, forward-thinking aesthetic. They’re not just a trend; they’re a statement. They allow you to:
- Express Individuality: Stand out from the crowd with a look that’s uniquely you.
- Embrace Futuristic Vibes: Tap into the excitement of technological advancement and a cool, digital aesthetic.
- Add Edge to Your Style: Perfect for concerts, themed events, or just adding a pop of personality to your everyday outfits.
- Boost Confidence: There’s something incredibly empowering about rocking a bold, expertly crafted manicure.
And the best part? You don’t need to be a professional artist to achieve these looks. We’ll break down some easy-to-follow steps and suggest tools that will make creating these stunning designs accessible for everyone.
Getting Started: Essential Tools and Materials
Before we start crafting our futuristic masterpieces, let’s gather our supplies! Having the right tools makes all the difference, transforming a potentially frustrating attempt into a fun and successful DIY project. Don’t worry if you don’t have everything; we’ll discuss some beginner-friendly alternatives too.
Core Nail Polish & Tools
Here’s what you’ll want to have on handy:
- Base Coat: This protects your natural nails and helps polish adhere better.
- Top Coat: Crucial for sealing your design, adding shine, and making your manicure last longer.
- Nail Polish Remover: For any mistakes or clean-up.
- Cotton Pads/Balls: For removing polish and cleaning up edges.
- Orange Stick or Cuticle Pusher: To tidy up cuticles and clean polish from the skin around your nails.
- Nail Files & Buffers: To shape your nails and smooth the surface.
Cyberpunk Specifics
Now for the fun stuff that brings the cyberpunk aesthetic to life:
| Tool/Material | Purpose | Beginner Tip |
|---|---|---|
| Metallic Polishes (Silver, Chrome, Gunmetal) | Create futuristic backgrounds, accents, or detailed lines. | Look for ‘chrome effect’ or ‘mirror finish’ polishes – they give a fantastic metallic look easily. |
| Neon Polishes (Electric Blue, Pink, Green, Orange) | Add vibrant pops of color, highlights, or abstract designs. | Apply over a white base coat for maximum brightness and neon impact. |
| Black or Dark Grey Polish | Forms a perfect base for metallics and neons to shine, or for drawing sharp details. | A good quality matte black polish can create amazing contrast. |
| Fine-Tipped Nail Art Brush | For drawing precise lines, circuits, or small geometric shapes. | You can buy these online or at beauty supply stores. Even a clean-up brush with stiff bristles can work for short lines. |
| Dotting Tools | Create small dots for a pixelated or techy look. | Various sizes mean you get different dot diameters. Handy! |
| Stencils or Tape (Optional) | Create clean geometric shapes and lines. | Use regular scotch tape cut into strips or geometric shapes for crisp edges. |
| Holographic Glitter Polish or Flakes (Optional) | Add an iridescent, otherworldly shimmer. | A little goes a long way! Brush on lightly or dab for different effects. |
| UV/LED Lamp & Gel Polish (Optional) | For a high-gloss, long-lasting finish. Requires specific gel polishes and a lamp. | If you want salon-quality durability, this is the way to go, but regular polish works great too! |
Remember, practice makes perfect! Don’t be afraid to experiment. You can find great nail art supplies at most drugstores, beauty supply stores, and vast online retailers. For more on nail care best practices, the NHS provides excellent general advice on keeping your nails healthy.
Beginner-Friendly Cyberpunk Nail Designs
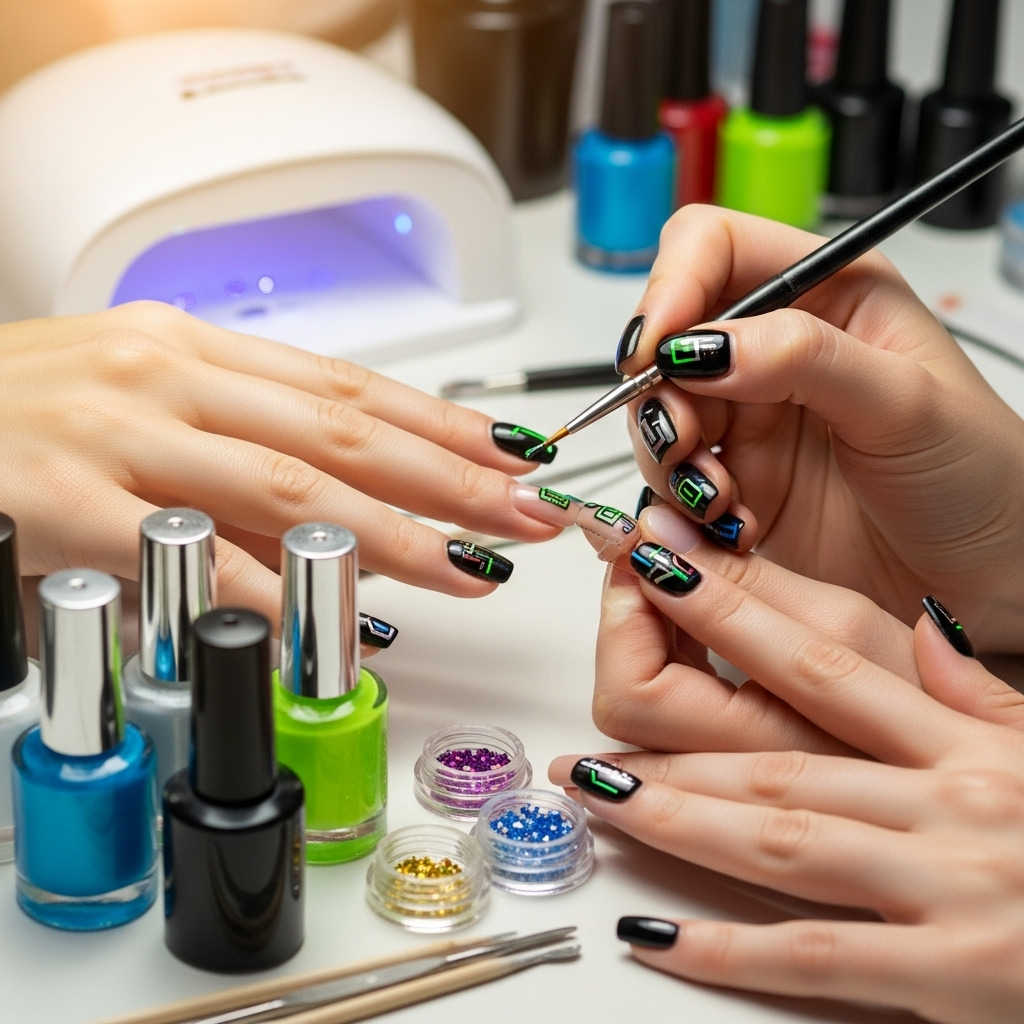
Ready to create some stunning looks? We’ll start with designs that are easy to achieve, even if you’re new to nail art. These will give you that essential cyberpunk feel without requiring intricate freehand skills.
Design 1: The Chrome and Neon Accent
This design is all about high impact with minimal effort. It uses a sleek metallic base with a pop of electric color on one or two nails.
Steps:
- Prep Your Nails: Start with clean, shaped nails. Apply a thin layer of base coat and let it dry completely.
- Apply The Base Color: Paint all your nails with your chosen metallic polish, like silver or a gunmetal grey. Apply two thin coats for even coverage. Allow each coat to dry thoroughly.
- Add The Neon Accent: On one or two nails (your accent nails), paint a bold neon color on top of the dry metallic polish. You can paint the whole nail, or just a portion (like the tip or a curve).
- Clean Up: Use an orange stick dipped in nail polish remover to clean up any smudges around your cuticles and nail edges.
- Seal Your Masterpiece: Once everything is completely dry, apply a generous layer of top coat to all nails. This will seal the design and add a beautiful shine.
Why it works for beginners: This design relies on simple color blocking and doesn’t require precise lines. The metallic base provides the core cyberpunk feel, while the neon accent adds that futuristic pop.
Design 2: Geometric Tape Magic
Strips of tape are your best friend for creating sharp, clean geometric patterns. This design looks intricate but is surprisingly easy!
Steps:
- Prep and Base Coat: Apply your base coat and let it dry.
- Apply Your Base Color: Paint your nails with a dark base color, like black, deep navy, or dark grey. Let it dry completely.
- Apply Tape: Once the base color is bone dry, carefully place strips of tape onto your nails to create geometric shapes. You can do diagonal lines, triangles, or even create a grid effect. Press the tape down firmly to prevent polish from bleeding underneath.
- Paint Over the Tape: Apply your accent color(s) over the taped areas. Metallic silver or a vibrant neon works great here. You can cover the whole nail with the accent color or just the taped sections.
- Remove Tape: While the accent color is still slightly wet (but not completely wet, or it will smudge!), carefully peel off the tape. Peeling it while slightly wet helps create crisp lines.
- Clean Up and Top Coat: Clean up any stray polish with your orange stick and remover. Once your nails are completely dry, apply a top coat.
Variation: Try using a chrome powder over a sticky (not fully cured) gel polish layer on the taped-off sections for a super sleek mirrored effect.
Why it works for beginners: The tape does all the hard work of creating the sharp lines. You just need patience to place the tape and remove it at the right time.
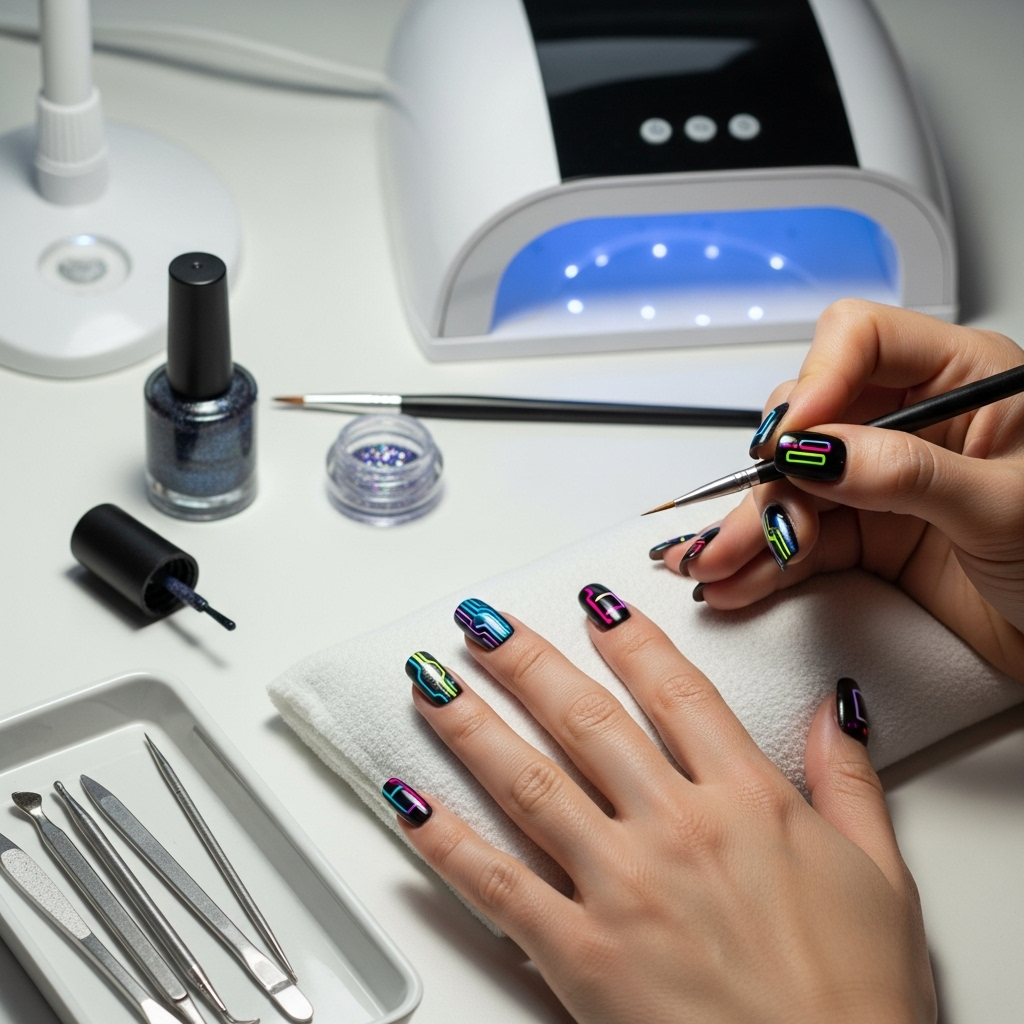
Design 3: The Circuit Board Lines
This design mimics the look of futuristic circuitry, using fine lines to create intricate patterns. It’s all about precision, but we’ll make it manageable!
Steps:
- Prep and Base: Start with a base coat.
- Dark Base Color: Apply a dark color like black, deep blue, or purple. Apply two thin coats for good coverage and let it dry thoroughly.
- Draw the Lines: Using a very fine-tipped nail art brush and a metallic polish (silver or chrome), carefully draw straight lines and small dots. Think about creating a simplified circuit board pattern. You can experiment with connecting dots or creating angular pathways.
- Add Small Details (Optional): You can use a dotting tool to add small dots in strategic places to represent components on the circuit board.
- Clean Up: Dip a fine brush or an orange stick into nail polish remover to clean up any wobbly lines or stray dots.
- Top Coat: Once completely dry, seals the design with a glossy top coat.
Pro Tip: If freehand drawing is too daunting, you can find nail vinyls or stickers that resemble circuit board patterns to place over a dark base, then paint over them.
Why it works for beginners: While it requires a steady hand for the lines, the pattern itself can be kept simple. Focus on a few well-placed lines and dots rather than an overly complex design. Using a dark base makes any small imperfections less noticeable.
Design 4: Holographic Shimmer and Matte Contrast
This design plays with finishes – a smooth matte base with holographic accents for a dynamic, futuristic effect.
Steps:
- Prep and Base Coat: Start with your base coat and let it dry.
- Apply Matte Polish: Paint your nails with a matte polish – black, a deep metallic, or even a dark jewel tone works well. Apply two thin coats and let them dry completely.
- Apply Holographic Elements: This is where the magic happens!
- Option A (Holographic Polish): Apply a holographic glitter polish over the dried matte nails. You can do a full cover, or just the tips for a subtle shine.
- Option B (Holographic Flakes/Chrome Powder): If using holographic flakes or chrome powder, apply them over a sticky top coat (a top coat that hasn’t fully cured) or a gel top coat. Dab them on gently with a sponge or brush until you get the desired shimmer.
- Clean Up: Tidy up any edges.
- Top Coat (Carefully!): If you used regular polish and want to keep the matte finish on the base, apply a matte top coat. If you want a glossy holographic effect on top of the matte, use a regular glossy top coat, but be aware it might slightly reduce the matte effect of the base. For gel polish, apply a glossy top coat over the cured holographic layer.
Why it works for beginners: Applying sheer holographic polish or tapping on flakes is forgiving. The contrast between matte and shimmer is striking and inherently cyberpunk.
Taking Your Cyberpunk Nails to the Next Level
Once you’re comfortable with the basics, you can start incorporating more advanced techniques and elements. These ideas will add even more depth and futuristic flair to your manicures.
Advanced Techniques and Elements:
- Chrome Powder Application: For that perfect mirror-like finish, chrome powder is indispensable. It requires a specific application method, often over a gel polish base. You can cover the whole nail or create chrome French tips.
- Holographic Chrome: This takes the chrome effect a step further by adding a rainbow shimmer to the metallic finish. It’s incredibly eye-catching and futuristic.
- Gradients and Ombre: Blend neon colors together or transition from dark to metallic for a dreamy, digital feel.
- 3D Nail Art Elements: Consider adding small metallic studs, tiny chains, or geometric charms for a tactile, high-tech look. Ensure these are securely adhered with strong nail glue or acrylic.
- Glow-in-the-Dark Polishes: For a truly unexpected twist, incorporate glow-in-the-dark polishes into your designs. They add a hidden layer of cyberpunk magic that reveals itself in low light.
- Abstract Neon Splatters: Use a stiff brush to flick neon polish across a dark or metallic base for an abstract, energetic effect.
- Edgy Shapes: Explore different nail shapes like coffin or stiletto nails, which naturally lend themselves to a more dramatic, futuristic aesthetic.
Remember, ‘advanced’ doesn’t always mean ‘difficult.’ It often just means adding another layer of detail or using a specific product like a chrome powder which, with a bit of practice, is quite straightforward.
Maintaining Your Cyberpunk Manicure
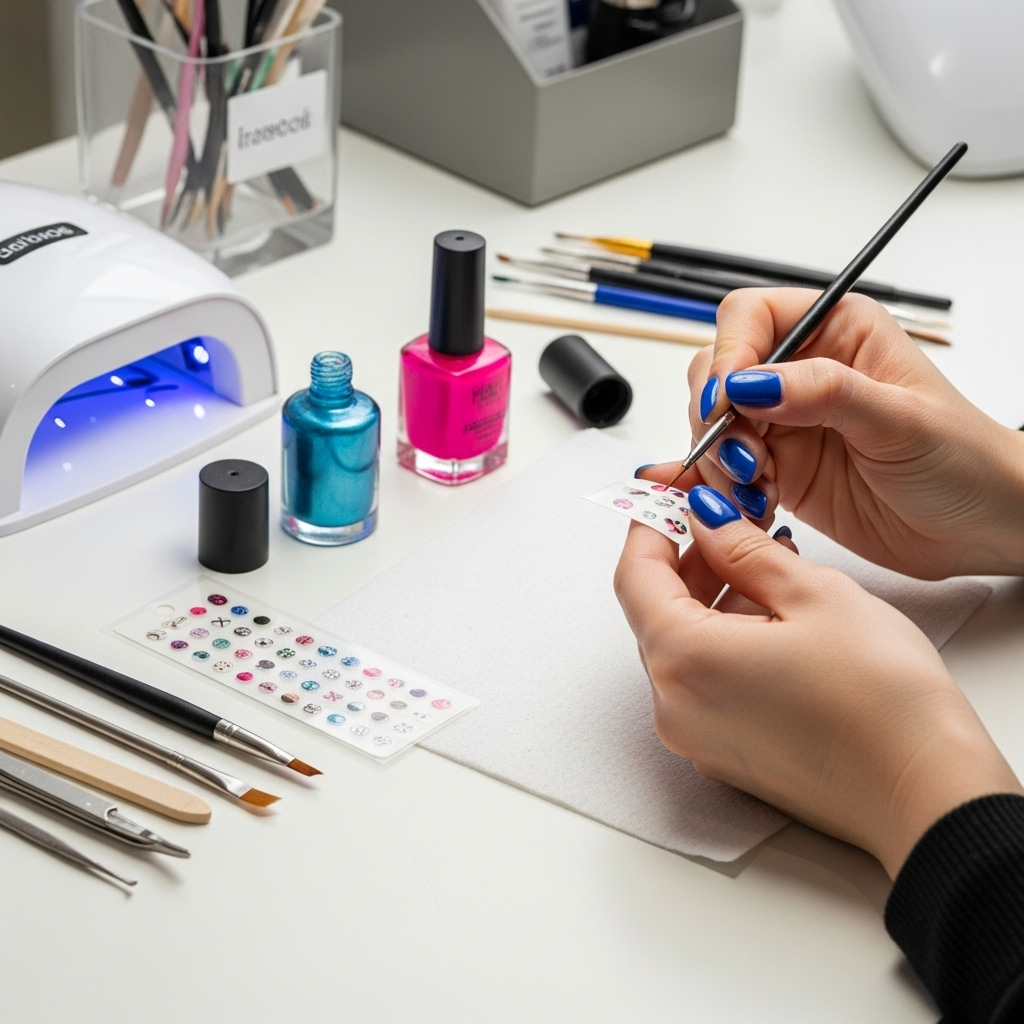
You’ve created a stunning cyber-ready look – now, let’s make it last! Proper maintenance will keep your nails looking sharp and futuristic for as long as possible.
Daily Care Tips:
- Wear Gloves: Whenever you’re doing chores, washing dishes, or anything that involves prolonged water exposure, wear rubber gloves. Water can weaken polish and lift edges.
- Avoid Harsh Chemicals: Try to limit contact with harsh cleaning products, acetone (other than for removal), and even some hand sanitizers, as they can dull the finish or break down the polish.
- Reapply Top Coat: Every 2-3 days, apply a fresh layer of top coat. This reinforces your design, adds shine, and helps prevent chips. Be sure to cap the free edge (paint along the tip of your nail) for extra protection.
- Be Gentle: Avoid using your nails as tools to open things, scrape surfaces, or pick at labels.
- Moisturize: Keep your cuticles and hands moisturized. Dry, cracked skin around the nails can make even the coolest design look less polished. Use a good cuticle oil daily.
Touch-Ups:
If you notice a small chip or a bit of wear along the edge:
- Clean the Area: Gently swipe the chipped area with nail polish remover on a fine brush to remove any debris.
- Apply Polish: Carefully reapply the affected color or metallic polish.
- Seal: Finish with a fresh layer


