Cyberpunk nail designs transform your nails into miniature futuristic canvases with bold colors, metallic finishes, and edgy details. This guide offers beginner-friendly ideas and techniques to achieve stunning looks that capture the essence of the cyberpunk aesthetic, from neon accents to chrome effects. Get ready to express your inner rebel with these proven designs that are easier than you think to create!
Ever looked at those super cool, futuristic nails and thought, “Wow, that’s amazing, but I could never do that”? We’ve all been there! Cyberpunk nail designs can seem a bit intimidating with their intricate details and bold, edgy vibes. It feels like you need a degree in futuristic art to pull them off. But guess what? It’s totally doable, even if you’re just starting your nail art journey. We’re here to break down how to achieve these stunning looks, making it simple, fun, and totally achievable for everyone. Get ready to unleash your creativity and give your nails a serious cyberpunk upgrade!
What Exactly is Cyberpunk Nail Art?
Before we dive into the dazzling designs, let’s chat about what makes a nail look “cyberpunk.” Think of your favorite sci-fi movies or video games set in a bleak, technologically advanced future. That’s the core of the cyberpunk aesthetic! It’s a blend of high-tech and low-life, often featuring:
- Neon Colors: Think electric blues, vibrant pinks, glowing greens, and fiery oranges.
- Metallic Finishes: Chrome, silver, gold, and iridescent effects are key.
- Geometric Patterns: Sharp lines, circuits, grids, and angular shapes.
- Glow-in-the-Dark Elements: For that extra futuristic punch!
- Edgy Details: Studs, chains, holographic accents, and even tiny warning labels.
- Dark, Moody Bases: Often contrasted with bright accents, like deep blacks, grays, or midnight blues.
The goal is to create a look that’s sharp, innovative, and a little bit rebellious. It’s about embracing the future, even if it’s a little gritty!
Getting Started with Cyberpunk Nails: Essential Tools
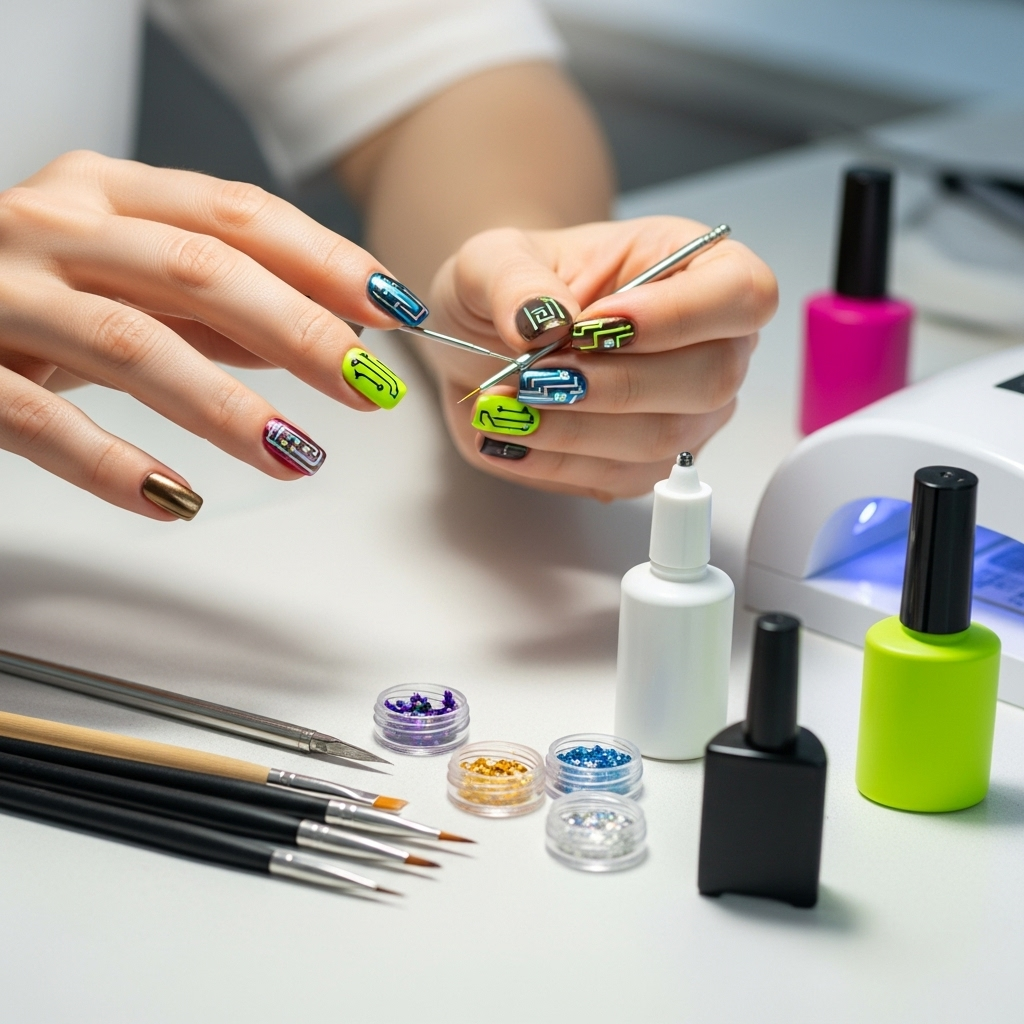
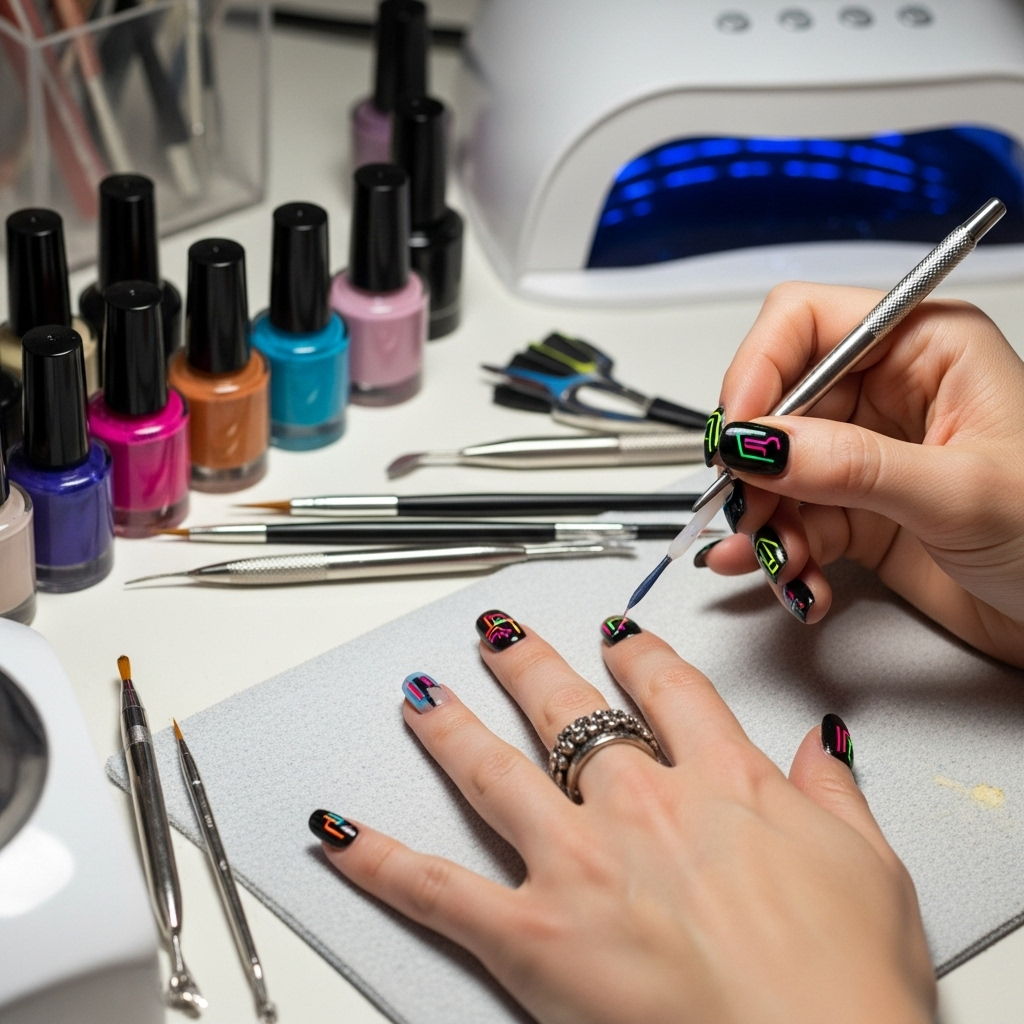
You don’t need a professional salon to create amazing cyberpunk nails. Here are some essential tools that will make the process much smoother:
- Nail Polish Remover & Cotton Pads: For tidying up and starting with a clean slate.
- Nail File & Buffer: To shape your nails and create a smooth surface.
- Base Coat: Crucial for protecting your natural nails and helping polish adhere.
- Top Coat: To seal your design, add shine, and make it last.
- Thin Detail Brushes: For those intricate lines and patterns. A set with various thin tips is super useful!
- Dotting Tools: Perfect for creating small dots or simple rounded shapes.
- Striping Tape or Stencils: For creating crisp, straight lines and geometric patterns.
- Holographic or Chrome Powder: For that stunning, futuristic metallic effect. Look for “chrome powder for nails.”
- Neon or Metallic Nail Polishes: In your favorite cyberpunk color palette.
- UV/LED Lamp (for Gel Polish): If you’re using gel polish, this is a must for curing.
- Tweezers: Handy for applying small embellishments like studs or glitter.
Don’t worry if you don’t have everything right away. Start with the basics – polishes, a good base and top coat, and a thin brush. You can always add more tools as you get more adventurous with your designs!
Proven Stunning Cyberpunk Nail Design Looks
Ready for the fun part? Let’s explore some amazing cyberpunk nail looks that are as impressive as they are achievable. We’ll cover everything from minimalist chic to full-on futurism.
1. The Neon Circuit Board
This design is a classic for a reason! It’s all about mimicking the intricate pathways of a computer chip, often with a dark base to make the neon lines pop.
How to Create It:
- Prep: Start with clean, shaped nails. Apply a base coat and let it dry completely.
- Base Color: Paint all your nails with a deep, dark color like black, navy, or dark gray. Apply a second coat if needed and let it dry thoroughly. For gel polish, cure after each coat.
- Draw the Circuits: Using a very fine detail brush and a neon nail polish (like electric blue, lime green, or hot pink), carefully paint thin, angular lines resembling circuit board traces. Think straight lines, sharp corners, and small dots. Don’t worry about perfection; a slightly imperfect, hand-drawn look adds to the charm!
- Add Details: You can add tiny dots or small squares where lines intersect, mimicking connection points.
- Seal It: Once the neon polish is completely dry, apply a generous layer of top coat.
Tip: For super crisp lines, you can use striping tape. Apply the tape in straight or angled lines over your dry base color, paint over it with neon polish, and carefully peel off the tape while the paint is still slightly wet.
2. Chrome Dreams
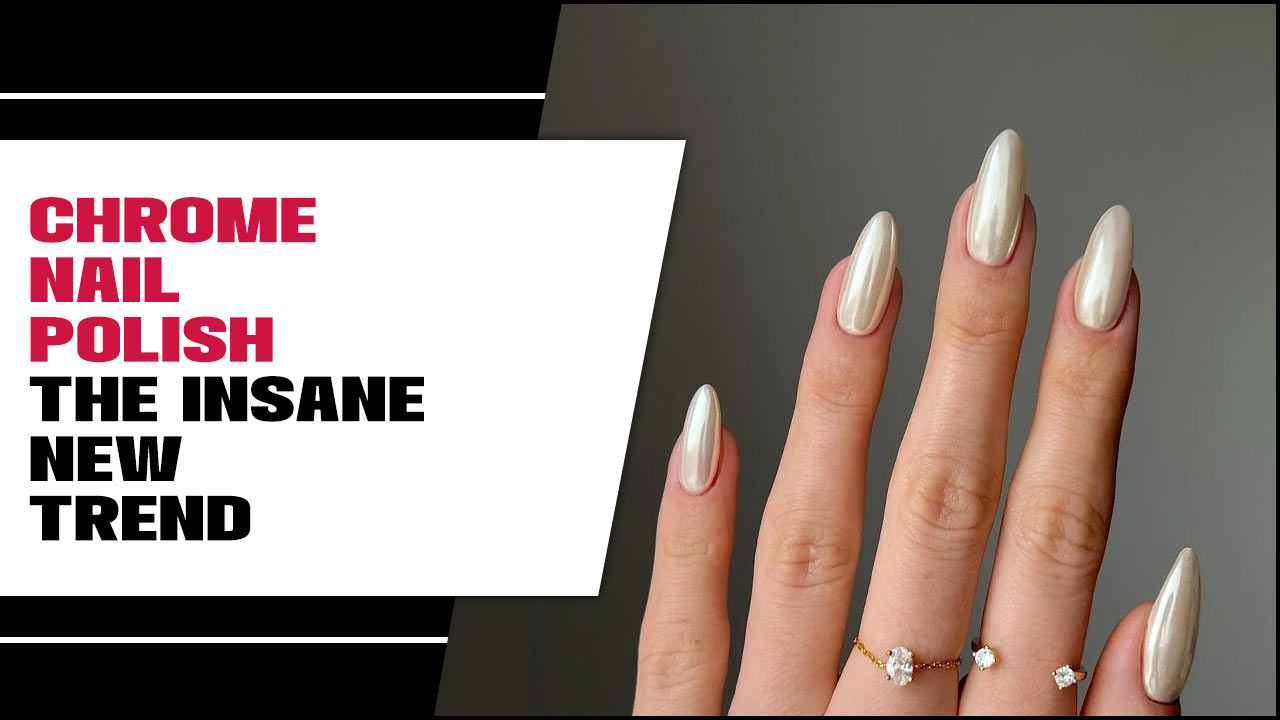
Chrome nails are HUGE in the cyberpunk world. They give an instant futuristic, almost liquid-metal effect that’s incredibly eye-catching.
How to Create It (Using Chrome Powder):
- Prep: Ensure nails are clean and shaped. Apply gel base coat and cure.
- Color Base: Apply your desired color polish (black or a deep jewel tone often works best for contrast) and cure. Apply a second layer and cure.
- No-Wipe Top Coat: Apply a special “no-wipe” gel top coat and cure it. This is crucial because regular top coats will prevent the powder from adhering.
- Apply Chrome Powder: While the no-wipe top coat is still slightly tacky after curing, use a silicone tool, your fingertip (gloves are recommended to avoid staining), or a small eyeshadow brush to gently rub the chrome powder over the nail.
- Buff It Out: Continue buffing until the entire nail surface has a mirrored, chrome finish. You’ll be amazed!
- Clean Up & Seal: Brush away any excess powder from your cuticles and skin. Apply a final layer of no-wipe gel top coat and cure to seal the chrome effect and prevent chipping.
Tip: Chrome powder can be messy! Have your clean-up brush and some rubbing alcohol ready to wipe away any stray dust before sealing.
Here’s a quick table comparing regular polish vs. gel for chrome effects:
| Feature | Regular Polish Chrome Effect | Gel Polish Chrome Effect |
|---|---|---|
| Application | Can be tricky to get a smooth, even finish. Often requires specific top coats or sealing methods. | Smoother, more durable, and generally easier to achieve a high-shine finish with the right tools (no-wipe top coat, UV lamp). |
| Durability | Less durable, prone to smudging and wear. | Much more durable, resistant to chipping and scratching. |
| Tools Needed | Regular polishes, chrome powder, specific sealing top coat. | Gel base coat, gel color, no-wipe gel top coat, UV/LED lamp, chrome powder. |
| Beginner Friendliness | Moderate to challenging to get perfect without practice. | Slightly higher learning curve with gel polish but often yields better, longer-lasting results. |
3. Glitchy Grids
This design plays with distorted patterns and sharp lines to give an abstract, digital “glitch” effect that’s super modern and edgy.
How to Create It:
- Prep: Clean, shape, and apply base coat.
- Base Color: Choose a bold base color – maybe a deep purple, a metallic blue, or even a stark white. Apply two coats and let them dry completely (or cure if using gel).
- Add the Grid: Once your base is dry, use striping tape or a fine detail brush to create a grid pattern. For a glitchy effect, don’t make all the lines perfect. You can slightly offset some lines, break them, or have them run into each other to create a “broken” visual.
- Accent Colors: Use contrasting neon or metallic colors to fill in some of the grid squares or to draw over parts of the grid lines, creating that distorted, “glitchy” look.
- Optional: Add holographic accents or tiny silver studs to enhance the techy feel.
- Seal: Apply a clear top coat to protect your masterpiece.
Tip: Experiment with different grid sizes and how you distort them. Sometimes a few strategically placed “glitches” are more effective than an overly complex design.
4. Holographic Accents & Geometric Shapes
Holographic elements instantly add a futuristic shimmer, and geometric shapes are a hallmark of cyberpunk style. Combining them is a knockout!
How to Create It:
- Prep: Start with your preferred base color. A dark, solid color often makes holographic elements stand out best.
- Apply Holographic Polish/Flakes: You can use a holographic top coat over your dry base color, or apply holographic flakes or glitter for a more intense effect. If using flakes, you might need a sticky base or top coat to adhere them.
- Draw Geometric Shapes: Once the holographic layer is dry (or cured), use a fine detail brush and a contrasting color (black, white, neon) to paint sharp geometric shapes like triangles, squares, or sharp angles onto the nail.
- Placement is Key: You can arrange these shapes to mimic circuitry, data streams, or abstract futuristic patterns.
- Seal: Finish with a good top coat.
Tip: For a subtle holographic effect, try a sheer holographic top coat over a dark base. For a more dramatic look, use holographic pigment powder applied over a gel top coat (similar to chrome powder application).
5. Industrial Chic (Metallic Greys & Black with Studs)
This design taps into the gritty, industrial side of cyberpunk. It’s about metallic textures, dark colors, and hard-edged details.
How to Create It:
- Prep: Clean and prep your nails.
- Base Colors: Use a palette of metallic grays, blacks, and maybe a brushed steel effect. You can alternate colors on different nails or create a gradient.
- Matte or Metallic Finish: Opt for a matte top coat on some nails for a more industrial feel, or use metallic polishes for a raw metal look.
- Add Hardware: This is where the “industrial” comes in! Use small studs, tiny metal beads, or even delicate chain elements. Apply them with a dot of nail glue or top coat where you want them positioned.
- Placement: Think about strategic placement – maybe a row of studs along the cuticle, a single stud at the tip, or chain accents draped across the nail.
- Careful Application: Be mindful of not overcrowding the nail. The beauty of this design is often in its understated toughness.
- Seal: Apply top coat around the embellishments to secure them and protect the design. Ensure the top coat doesn’t dull your metallic finishes if you want them to stay shiny.
Tip: For a weathered, industrial look, you can even use a dark wash (a very thin, dark polish or acrylic paint) and wipe away the excess from raised metallic or textured areas.
6. Bioluminescent Glow
Inspired by glowing fungi or deep-sea creatures, this design uses glow-in-the-dark polishes to create an otherworldly effect.
How to Create It:
- Prep: Start with clean nails.
- Base Color: A dark base (black, deep blue, or dark green) is usually best for maximizing the glow effect.
- Apply Glow Polish: Use glow-in-the-dark nail polishes to create patterns. This could be dots, swirls, abstract shapes, or even mimicking a bioluminescent organism.
- Layer for Intensity: For a stronger glow, you might need to apply a couple of coats of the glow polish, allowing each to dry thoroughly. White polish underneath the glow polish can also help it appear brighter in the dark.
- Consider Blacklight Reactive Polish: These polishes glow intensely under blacklight, which is fantastic for parties or nights out!
- Seal: Apply a clear top coat once everything is completely dry.
Tip: Look for glow-in-the-dark polishes that are specifically designed for nail art, as they often have better pigment and intensity.
Achieving Perfect Lines & Shapes: Tips & Tricks
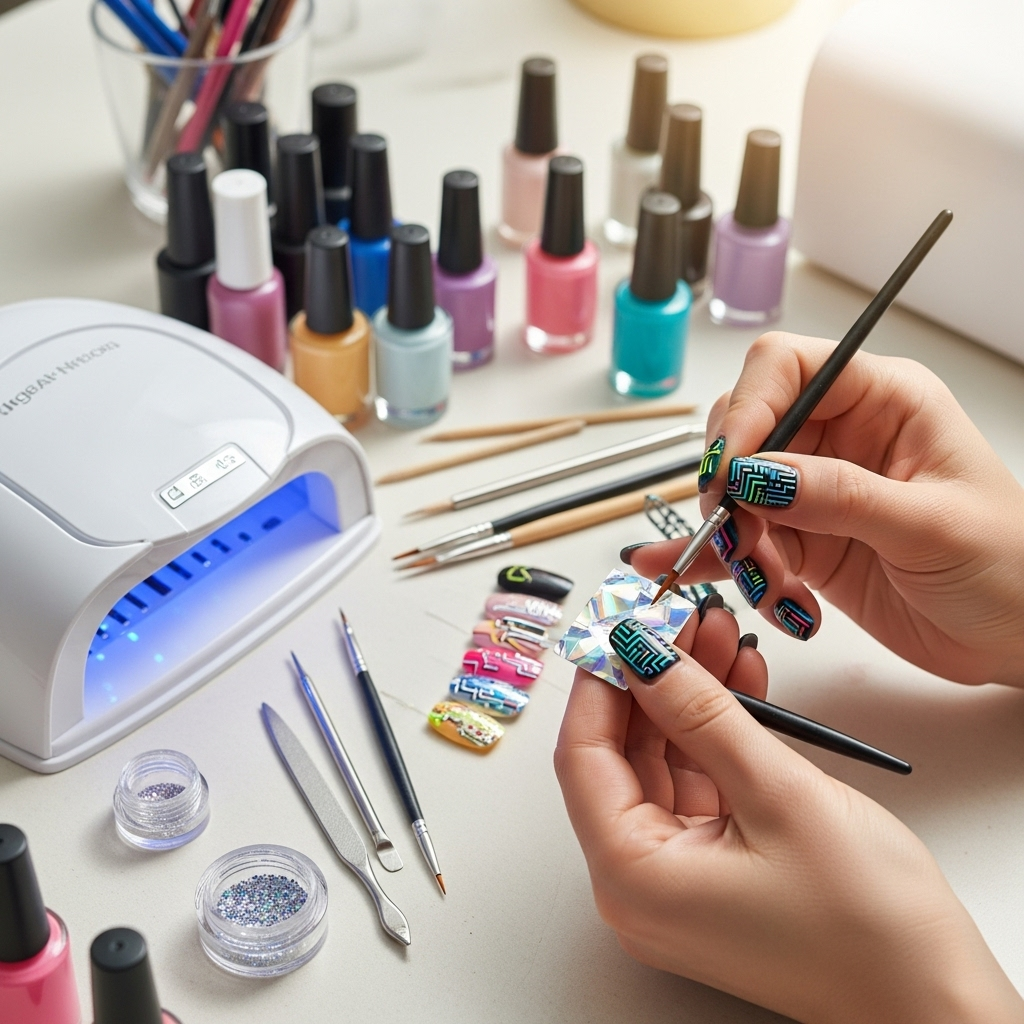
The secret to many cyberpunk designs lies in sharp lines and precise shapes. Here’s how beginners can get them:
- Thin Brushes are Your Best Friend: Invest in a good set of nail art brushes with fine tips. They give you the most control.
- Steady Your Hand: Rest your wrists on a stable surface. You can even prop your elbow on the table.
- Dip, Don’t Overload: Dip your brush into the polish, then wipe off the excess on the side of the bottle or a palette. Too much polish leads to blobs and uneven lines.
- Practice Makes Perfect: Draw lines on paper or even on a clear plastic bag first to get a feel for the polish flow and thickness.
- Use Striping Tape & Stencils: These are lifesavers for clean, straight lines and geometric shapes. Apply them to dry polish, paint over, and remove carefully. Explore resources like this helpful guide on essential nail art tools to see what works best for you.
- Clean Up as You Go: Keep an orange stick or a fine brush dipped in nail polish remover handy to clean up any mistakes immediately.
- Patience with Drying/Curing: Don’t rush! Ensure each layer is fully dry or cured before adding the next, especially when using tape or adding details.
Cyberpunk Nail Care: Keeping Your Future-Forward Look Fresh
Even the coolest cyberpunk nails need a little TLC to stay looking their best. Here’s how to maintain them:
- Wear Gloves: For chores like washing dishes or cleaning, always wear gloves. This protects your nails from harsh chemicals and excessive moisture.
- Avoid Using Nails as Tools: Resist the urge to open cans or scrape things with your nails. Opt for actual tools!
- Moisturize: Keep your cuticles and hands hydrated with a good cuticle oil or hand cream. This prevents dryness and keeps the skin around your nails looking healthy.
- Top Coat Refresh: If your top coat starts to lose its shine after a few days, you can carefully apply another thin layer to revive it.
- Gentle Removal: When it’s time to remove your design, use an acetone-based remover for tougher polishes like gel or chrome. Soak a cotton ball, place it on your nail, wrap with foil, and let it sit for a few minutes. Avoid peeling or scraping, which can damage your nails. The U.S. Department of Health and Human Services provides valuable tips on general nail health that apply even to elaborate designs.
Frequently Asked Questions About Cyberpunk Nail Designs
Q1: Are cyberpunk nail designs difficult for beginners?
Not at all! While some designs can be complex, there are many beginner-friendly options like simple chrome nails, neon accent lines, or geometric shapes. Starting with basic techniques and tools makes it very achievable.
Q2: What colors are most common in cyberpunk nail art?
Common colors include neons (electric blue, pink, green), metallics (silver, chrome, gold), deep darks (black, navy, charcoal), and sometimes vibrant purples or reds. The key is often high contrast.
Q3: Can I achieve chrome nails without a UV lamp?
Achieving a true, mirror-like chrome finish typically requires a gel polish base and a no-wipe gel top coat, which then needs a UV/LED lamp to cure. There are some “chrome effect” polishes that offer a metallic look, but they won’t have the same reflective quality as true chrome powder.</p
