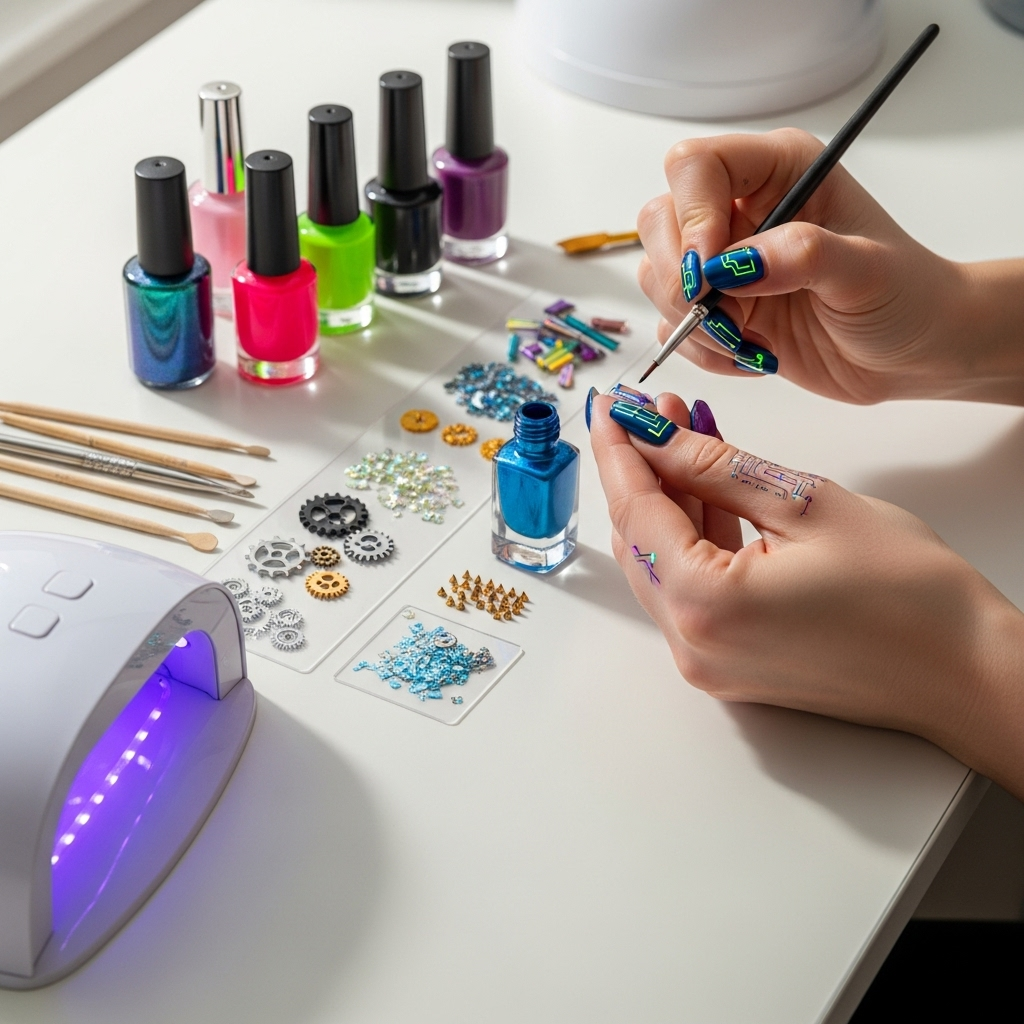
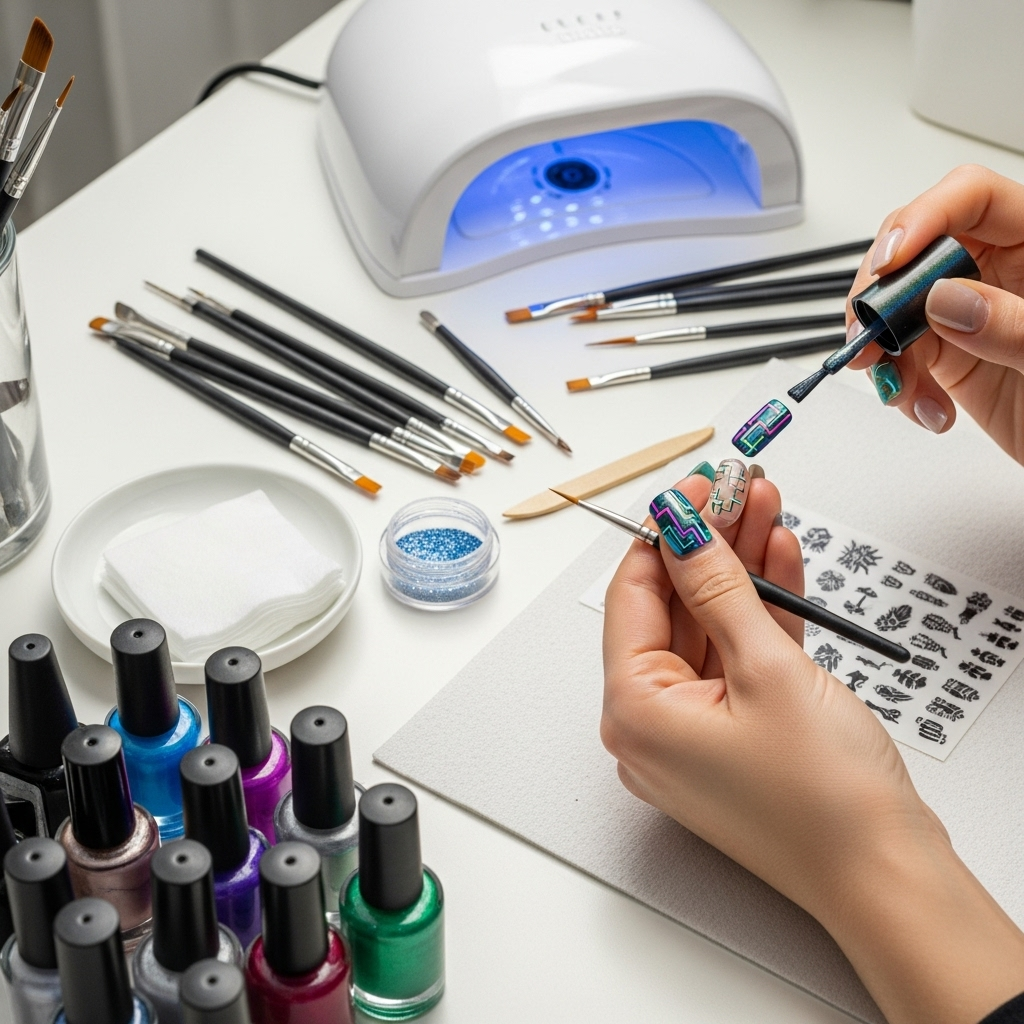
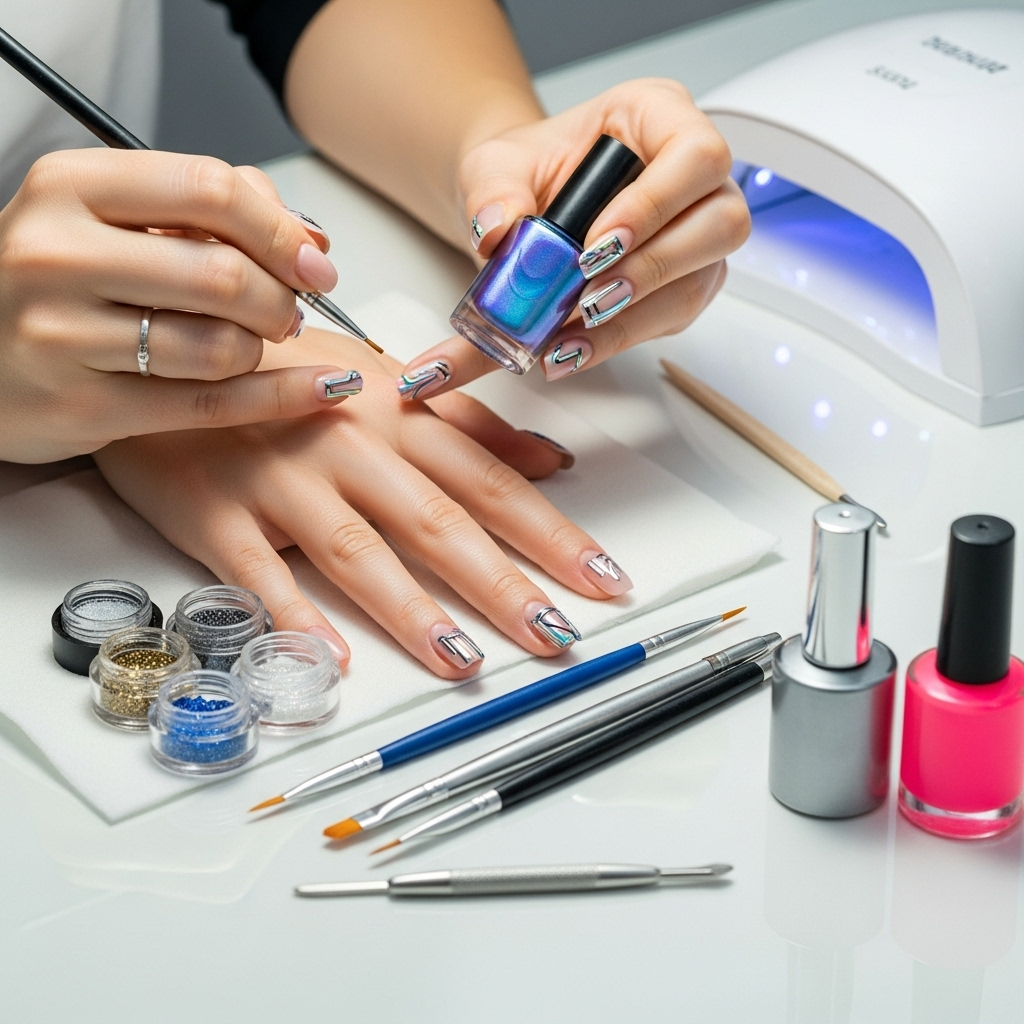
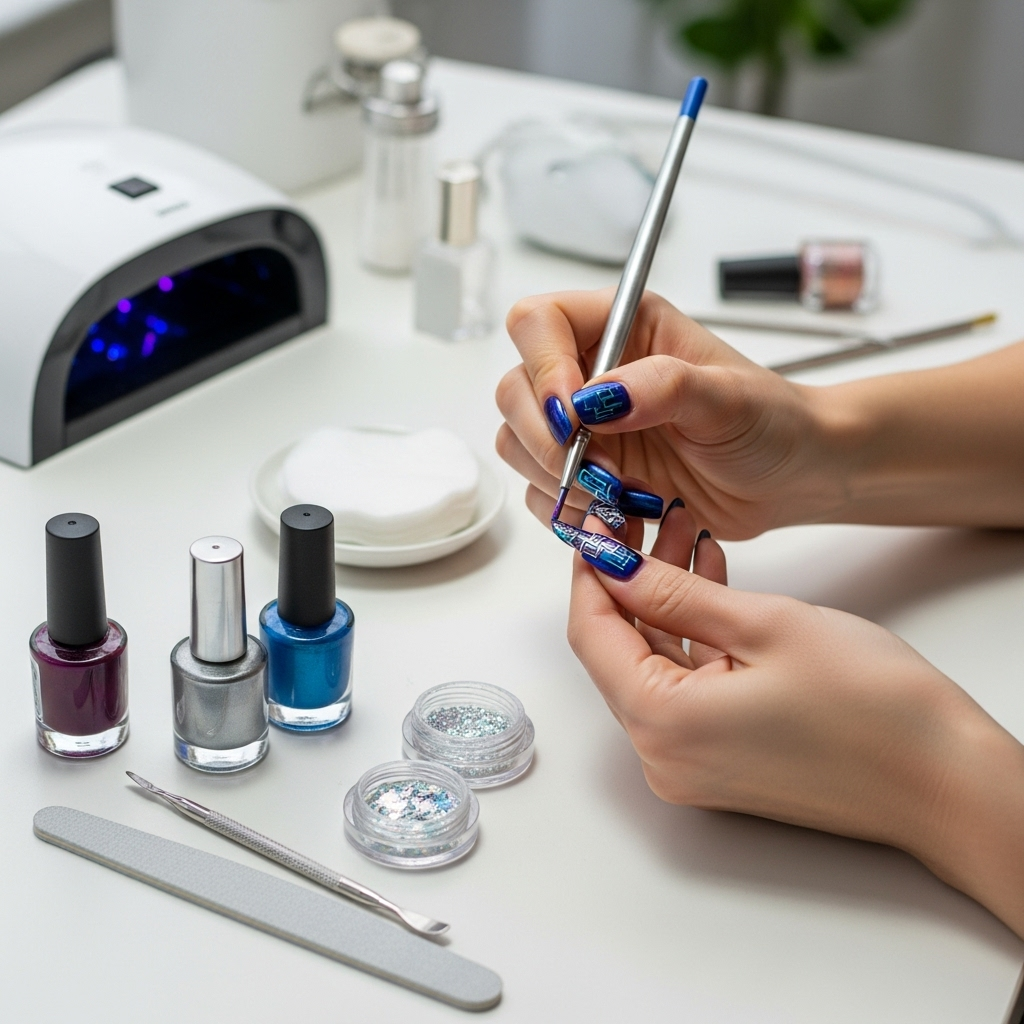
Ready to rock a cyberpunk futuristic nail design? It’s easier than you think! Master stunning chrome effects, neon accents, and geometric patterns with simple steps and essential tools to create a look that’s totally you. Let’s get glowing!
Ever stare at those incredible, out-of-this-world nails and think, “Wow, I could never do that”? Especially when it comes to that sleek, edgy, cyberpunk vibe? You’re not alone! It can feel a bit intimidating with all those shimmery finishes and sharp lines. But guess what? Getting that futuristic, high-tech look for your nails is totally achievable, even if you’re just starting. We’re here to break it down, step-by-step, with easy-to-follow tips and the right tools. Get ready to express your inner cyborg!
Unlocking the Cyberpunk Aesthetic: What Makes a Nail Design Futuristic?
Cyberpunk nails aren’t just about glitter; they’re a whole mood! Think glowing neon lights against dark, urban nights, sleek metallic sheens, and bold, geometric shapes. It’s a blend of high-tech and gritty, a little bit rebellious, and totally cool. We’re talking about colors like deep blacks, electric blues, vibrant pinks, and lime greens, often paired with holographic or chrome finishes. It’s about creating mini works of art that look like they came straight out of a sci-fi movie. Don’t worry if you’re new to nail art; we’ll guide you through the essentials so you can nail this trend!
The core elements of cyberpunk nail design often include:
- Metallic Finishes: Chrome powders, silver, gold, or iridescent paints.
- Neon Pops: Bright, almost glowing colors that stand out.
- Geometric Patterns: Sharp lines, grids, triangles, and chevrons.
- Dark Base Colors: Black, deep blues, purples, or grays to contrast with brights.
- Holographic Elements: Shimmering, color-shifting effects.
- Matte Textures: To add depth and contrast to shiny elements.
Essential Tools for Your Cyberpunk Nail Journey

Before we dive into the fun designs, let’s gather our cyberpunk toolkit. Having the right tools makes all the difference, turning what might seem complicated into a smooth, enjoyable process. Think of these as your essential gear for building your futuristic nail masterpieces!
Base & Top Coats: The Foundation
Every great design starts with a strong foundation. For cyberpunk nails, a good quality base coat is crucial for smooth application and protection. And a reliable top coat seals everything in, adding that perfect glossy or matte finish that cyberpunk often demands.
- Base Coat: Creates an even surface for polish and prevents staining.
- Top Coat: Seals your design, adds shine, or provides a matte finish. For cyberpunk, a high-gloss top coat is often preferred, but a matte one can create interesting contrasts.
Polishes & Gels: Your Color Palette
This is where the magic happens! For that futuristic feel, you’ll want a mix of deep, dark shades and electric brights. Gel polish offers a super durable, high-shine finish often seen in advanced nail art, but traditional polishes work beautifully too!
- Dark Basics: Black, deep navy, dark gray, or rich purple.
- Neon Accents: Electric blue, hot pink, lime green, vibrant yellow, or orange.
- Metallic Sheens: Silver, chrome, gold, or iridescent polish.
Specialty Cyberpunk Elements
These are the game-changers that really bring the cyberpunk vibe to life!
- Chrome Powder: This is a must-have! It’s a fine powder that you rub onto a tacky surface (usually your top coat or a special chrome base) to create a mirror-like, metallic finish.
- Holographic Flakes/Glitter: For that extra sci-fi sparkle.
- Nail Art Brushes: A set with fine tips for drawing precise lines, dots, and geometric shapes.
- Dotting Tools: Perfect for creating small, consistent dots or for blending.
- Stencils or Tape: For creating clean lines and geometric patterns.
Essential Prep & Finishing Tools
Don’t forget the things that make your nails look polished and professional!
- Nail File & Buffer: To shape your nails and create a smooth surface.
- Cuticle Pusher/Orange Stick: For tidying up the nail bed.
- Lint-Free Wipes: Essential for applying chrome powder without leaving fuzzy bits.
- Alcohol or Nail Cleanser: To remove oils and ensure polish adheres well.
- UV/LED Lamp: If you’re using gel polish or gel top coats for chrome powder application.
Step-by-Step: Creating Stunning Cyberpunk Futuristic Nail Designs
Now for the fun part! We’ll walk through a few popular techniques. Remember, practice makes perfect, so embrace the process and have fun!
Design 1: The Sleek Chrome & Neon Accent
This is a classic cyberpunk look that’s surprisingly easy to achieve. It’s all about contrast and that eye-catching metallic finish.
Step 1: Prep Your Nails
Start with clean, dry nails. Shape them to your desired length and style (almond or stiletto shapes often complement futuristic looks). Gently push back your cuticles and buff the nail surface lightly to create an even base.
Step 2: Apply Base Coat and Dark Polish
Apply a thin layer of your base coat and let it dry. Then, apply two thin coats of your chosen dark polish (black is perfect for this). Allow each coat to dry completely. If using gel, cure each layer under your UV/LED lamp.
Step 3: Apply the Chrome Powder
Apply a thin layer of your No-Wipe Top Coat. If you’re using regular polish, wait for it to become tacky but not fully dry. If using gel, cure the top coat under your lamp according to the manufacturer’s instructions. Take a small amount of chrome powder on your applicator (a silicone tool or even your fingertip works well) and rub it firmly onto the tacky nail surface. Keep rubbing until you achieve a smooth, mirrored finish. Gently brush off any excess powder with a soft brush.
Pro Tip: For the best chrome effect, ensure your No-Wipe Top Coat is completely cured and then apply the powder. If using regular polish, patience is key to achieving that perfect tacky stage before applying the powder.
Step 4: Add Neon Geometric Accents
Once your chrome is sealed (apply another layer of No-Wipe Top Coat and cure if using gel, or wait for regular polish to dry), it’s time for the neon!
Using a fine nail art brush and your neon polish, carefully paint thin lines, triangles, or dots onto one or two accent nails. You could create a sharp, angular pattern or a series of small, glowing dots. Think about how circuits might look or the sharp angles of futuristic architecture.
Step 5: Seal and Finish
Once your neon accents are dry, apply a final layer of your favorite top coat to seal everything in. If you want a super high-gloss look, use a gel top coat and cure it. For a more modern feel, you could opt for a matte top coat on the entire nail or just on the dark base color for a cool contrast with the chrome and neon.
Design 2: Radiant Glow Geometric Grids
This design uses strategic placement of neon and dark colors to create a glowing, almost digital effect. It’s precise and striking!
Step 1: Prep and Base
Start with your usual nail prep: clean, shape, and buff. Apply a base coat. For this design, a dark base is essential. Apply two coats of deep navy, black, or dark purple polish and let dry.
Step 2: Create the Grid (with Tape or Freehand)
Using Tape: Carefully place strips of nail art tape or regular scotch tape onto your nails to create a grid pattern. Ensure the tape is pressed down firmly to prevent polish bleeding. Paint over the taped areas with a neon color. Once the neon polish is almost dry (tacky but not wet), carefully peel off the tape to reveal clean lines. Repeat this process with different neon colors or tape orientations if desired.
Freehand: If you’re feeling brave, use a very fine nail art brush and neon polish to draw your grid lines directly onto the dark base. This requires a steady hand but offers a lot of creative freedom. You can even use a dotting tool to create neon dots at the intersections of your lines.
Step 3: Add Depth with Metallic Lines
Once the neon is dry, use a fine brush and a metallic silver or chrome polish (or even a metallic sharpie pen for nails) to outline some of the neon lines or create smaller, inner grids within the neon sections. This adds intricate detail and that high-tech feel.
Step 4: Holographic Sparkle (Optional)
For an extra futuristic shimmer, gently dab some holographic flakes or glitter over random sections of the design, especially over the neon parts. This will catch the light beautifully. A little goes a long way!
Step 5: Seal the Deal
Apply a generous layer of your favorite top coat to protect your artwork. Use a gel top coat and cure it for maximum durability and shine. Ensure any loose flakes or glitter are fully encapsulated by the top coat.
Design 3: The Digital Glitch Effect
This design mimics the look of digital interference or broken screens, often featuring sharp, broken lines and contrasting colors.
Step 1: Base and Setup
Prepare your nails as usual. Apply a clear or light greige base coat, as this design works well with a lighter canvas to show off the “glitches.”
Step 2: Create the “Glitch” Lines
Using a fine nail art brush, start painting jagged, short lines in a contrasting dark color (like black or deep blue) or a bright neon color. Think of it like a TV screen that’s experiencing interference. Don’t aim for perfection; the broken, uneven look is what you want!
Step 3: Add “Pixel” Dots
In between or around the glitch lines, use a dotting tool or the tip of your brush to add small, precise dots in complementary neon or metallic shades. This creates the impression of digital pixels. You can vary the colors of these dots for a more dynamic effect.
Step 4: Introduce Metallic Breaks
Add thin, sharp lines of metallic polish (silver or gunmetal) that intersect with or cut through the neon and dark colors. This gives the impression of circuits or futuristic circuitry breaking apart.
Step 5: Finishing Touches
Once all elements are dry, apply a strong top coat. A glossy finish will enhance the digital, screen-like appearance, while a matte finish can give it a more worn, gritty texture.
Choosing Your Futuristic Nail Shape & Length

The shape and length of your nails can significantly enhance your cyberpunk design. While you can rock these designs on any nail style, some shapes lend themselves particularly well to the futuristic aesthetic:
| Nail Shape | Best For Cyberpunk & Why | Tips |
|---|---|---|
| Stiletto / Almond | Elongates fingers, offers a sharp, edgy silhouette that matches high-tech, futuristic themes. The pointed tip can mimic a digital interface point or a weapon. | Great for longer nails. Can be paired with sharp lines and chrome finishes. |
| Square / Squoval | Provides a clean, geometric canvas. The sharp edges of a square shape can enhance geometric patterns and circuitry designs. | Works well for all lengths. Ideal for tape art and precise geometric lines. |
| Coffin / Ballerina | A dramatic and modern shape that provides ample surface area for intricate designs. The tapered end gives it a glamorous yet edgy feel. | Pairs well with intricate detail work, chrome, and neon gradients. |
Length Considerations
While these designs can be adapted for short nails, longer nails often allow for more intricate detailing and a more dramatic statement. If you prefer shorter nails, focus on bold color combinations and strong graphic elements on each nail.
Color Combinations That Scream Cyberpunk
The right color palette is key to nailing the cyberpunk aesthetic. Think high contrast and electric vibes!
- Classic Noir & Neon: Black, deep gray, or dark purple with electric blue, hot pink, or lime green accents.
- Metallic Overdrive: Silver or chrome base with black geometric lines or neon pops.
- Bio-Luminescent Glow: Deep teal or dark purple with vibrant, almost glowing, radioactive green or electric yellow.
- Rusted Future: Deep red or burnt orange with gunmetal gray and hints of gold.
- Digital Haze: White or light gray base with blended neon colors and dark, sharp accents.
Maintaining Your Futuristic Manicure

To keep your cyberpunk nails looking sharp and shiny, a little maintenance goes a long way:
- Wear Gloves: Protect your nails and polish from harsh chemicals when cleaning or doing chores.
- Moisturize Daily: Keep your cuticles and hands hydrated with cuticle oil and hand cream. Healthy skin makes your manicure look even better!
- Avoid Using Nails as Tools: This is a common habit that can cause chips and damage.
- Reapply Top Coat: If you notice the shine fading or want extra protection, a fresh layer of top coat can revive your manicure.
- For Gel: Be mindful of the removal process. If unsure, visit a salon to avoid damaging your natural nails. The U.S. Food and Drug Administration (FDA) has resources on UV lamps, but it’s always good to use products as directed by manufacturers.
Frequently Asked Questions About Cyberpunk Futuristic Nail Design
What’s the easiest way to get a chrome effect on my nails?
The easiest way is to use chrome powder over a No-Wipe Gel Top Coat. Apply the powder with a silicone tool or your fingertip after curing the gel top coat. It gives a stunning mirror finish with minimal effort!
Can I do these designs with regular nail polish, or do I need gel?
You can definitely do these designs with regular nail polish! While gel offers superior durability and shine for chrome effects, regular polish works great for painting lines, dots, and geometric shapes. For chrome with regular polish, you’ll need to apply the powder when your top coat is tacky.
What colors are essential for a cyberpunk look?
Essential colors include a strong dark base (like black or deep navy), vibrant neons (such as electric blue, hot pink, or lime green), and metallic shades (silver, chrome, or gunmetal). Contrast is key!
How do I get sharp lines for geometric patterns?
Using nail art tape or stencils is the best bet for beginners. Apply the tape to your nail, paint over it, and carefully peel it away once the polish is tacky but not fully dry. A steady hand and a fine-tipped brush also work for freehand designs.
Are there simple cyberpunk designs for beginners?
Yes! Start with a dark base coat and add one or two neon dots or a single sharp line on an accent nail. Another simple idea is a full chrome nail with just a few black geometric accents.
How long do these types of nail designs typically last?
With regular polish and a good top coat, you can expect it to last 3-7 days, depending on your daily activities. Gel polish manicures, especially those with chrome and intricate designs, can last 2-3 weeks if applied and cared for properly.
Where can I find inspiration for more cyberpunk nail designs?
Great places to look include Pinterest, Instagram (search for hashtags like #cyberpunknails, #futuristicnails, #neonnails), and nail art blogs. You can also draw inspiration from sci-fi movies, video games, and futuristic fashion!
Conclusion: Embrace Your Inner Cyberpunk Icon

There you have it! You’re now equipped with the knowledge and techniques to create stunning cyberpunk futuristic nail designs. From the essential tools like chrome powder and fine brushes to step-by-step guides for sleek chrome, glowing geometrics, and edgy glitch effects, you’re ready to transform your nails into wearable art. Don’t be afraid to experiment with color combinations and shapes. Remember, nail art is all about self-expression and having fun. So, pick your favorite design, gather your supplies, and get ready to showcase a look that’s as bold and innovative as the future itself. Go forth and create something spectacular!
