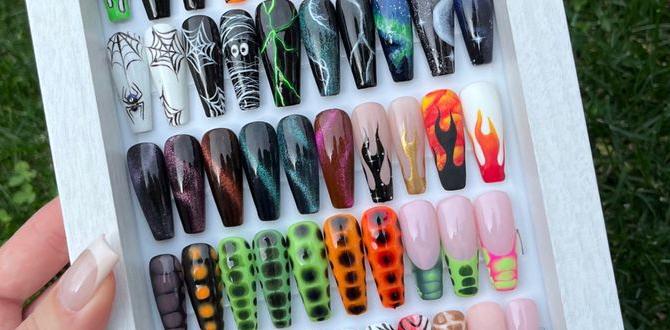
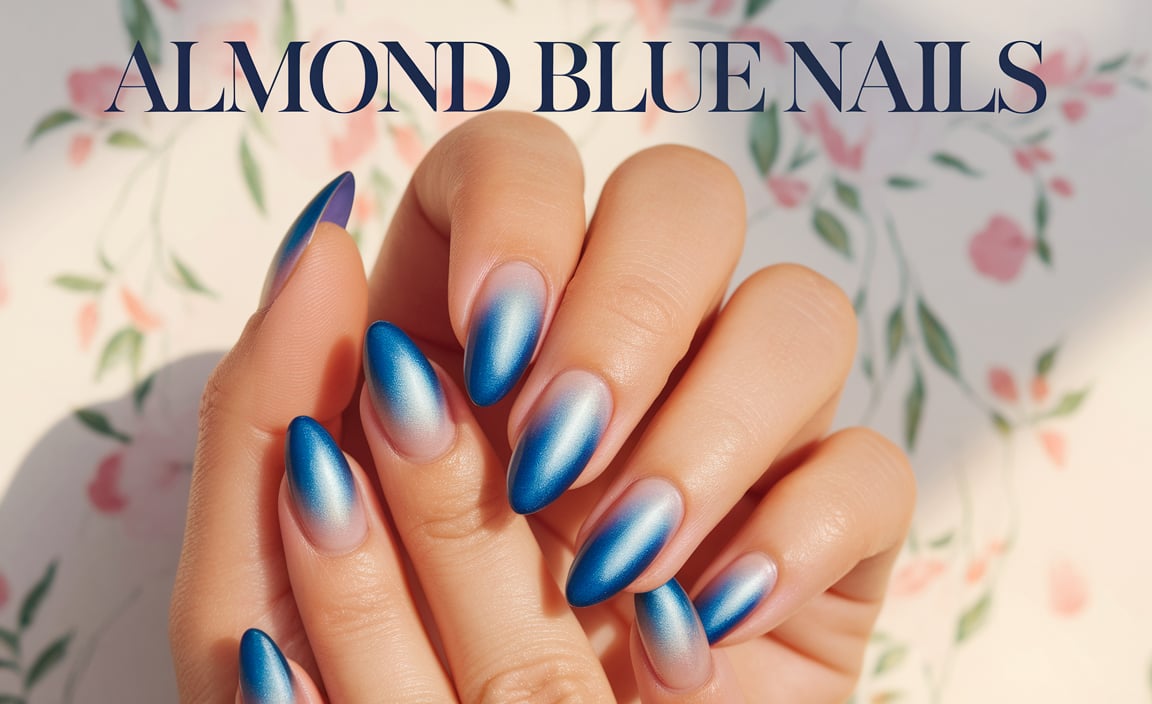
Cute nail design ideas for kids are fun, simple ways to add sparkle and personality to little fingers. With easy-to-use, non-toxic polishes and a few basic tools, you can create adorable looks they’ll love, from playful animals to shimmering glitter.
Getting your little ones excited about their nails can be a delightful bonding experience! Many parents wonder how to create fun, safe, and easy nail designs that their kids will adore. It’s a common challenge to find designs that are both cute and manageable for little hands, especially when you’re just starting out. Don’t worry, though! With a few simple tricks and some colorful polishes, you can transform plain nails into tiny works of art. We’ll guide you through everything you need to know, from picking the right tools to creating eye-catching designs. Get ready to explore a world of miniature magic!
Why Kids Love Nail Art
Nail art for kids is more than just pretty polish; it’s a fantastic outlet for creativity and self-expression. For many children, painting their nails is a way to emulate adults they admire, experiment with different looks, and feel a little bit grown-up. It’s a playful form of personal style that’s temporary and fun. Plus, tackling simple designs together can strengthen bonds and create lasting memories.
Essential Supplies for Kids’ Nail Art
To start creating adorable nail designs for kids, you don’t need a professional salon kit. A few key items will set you up for success. Safety and ease of use are paramount when choosing products for children.
Safe and Fun Nail Polishes
When selecting nail polishes for kids, look for water-based, non-toxic, and peel-off formulas. These are generally safer, easier to clean up, and less harsh on developing nails. Many brands offer vibrant colors specifically designed for children.
- Water-Based Polishes: These dry quickly and can often be removed with just soap and water, or by simply peeling them off.
- Non-Toxic Formulas: Always check the label for “3-free,” “5-free,” or “7-free” claims, meaning they are free from specific harmful chemicals like formaldehyde, toluene, and DBP.
- Peel-Off Bases: A peel-off base coat is wonderfully convenient. It allows kids to easily remove their polish without the need for remover, perfect for those who get bored easily or for parents who want to avoid acetone.
- Glitter and Shimmer Polishes: Kids absolutely love sparkly finishes! These can add an instant touch of magic to any design.
Basic Nail Art Tools
You can achieve a surprising amount with just a few simple tools. Many of these can be found in readily available craft or beauty supply stores.
- Dotting Tools: These come with different sized ball tips and are perfect for creating dots, small flowers, and patterns.
- Fine-Tipped Brushes: A few thin brushes, even small, clean paintbrushes from a craft store, can be used for drawing lines, swirls, and details. Ensure bristles are soft to avoid damaging nails.
- Toothpicks: A budget-friendly alternative to dotting tools for creating small dots or spreading glitter.
- Stencils: Adhesive stencils in various shapes (stars, hearts, animals) can make creating clean designs easy.
- Clear Top Coat: Essential for sealing the design, adding shine, and making the manicure last longer. It also helps protect the nail art.
Prep and Cleanup Essentials
Proper preparation and easy cleanup are key to a stress-free nail art session with kids.
- Cotton Pads and Balls: For wiping away mistakes and cleaning up edges.
- Nail Wipes: Pre-moistened wipes can be handy for quick cleanups.
- Small Bowl of Water: For rinsing brushes and hands.
- Hand Sanitizer: For quick cleaning after the session.
Easy and Cute Nail Design Ideas for Kids
Now for the really fun part! These designs are simple enough for beginners and have a high “wow” factor for kids. Remember, patience and a light touch are your best friends.
1. Sparkling Glitter-Dipped Nails
Glitter is always a win! This design is super simple and looks dazzling.
How to:
- Apply a base coat and let it dry.
- Paint the nail with a chosen color polish. Let it dry slightly but remain a little tacky.
- Dip the fingertip into a pot of fine cosmetic glitter, or use a brush to gently dust glitter onto the nail, focusing on the tip or a diagonal line across the nail.
- Gently tap off excess glitter.
- Apply a clear top coat to seal everything in.
2. Simple Polka Dot Magic
Dots are timeless and incredibly easy to create. They can be customized with any color combination.
How to:
- Paint the nails with a base color. Let dry completely.
- Dip a dotting tool (or the rounded end of a toothpick) into a contrasting polish color.
- Gently press the dotting tool onto the nail to create a dot.
- Repeat to create a pattern of dots. You can make them random, in rows, or even create little flower shapes by making a cluster of dots.
- Seal with a clear top coat once dry.
3. Stripe-Tastic Designs
Stripes add a touch of sophistication and are surprisingly easy to achieve.
How to (Freehand):
- Paint nails with a base color and let them dry thoroughly.
- Using a striping brush or a toothpick, carefully draw thin lines across the nail. You can go vertically, horizontally, or diagonally.
- Let dry and apply a top coat.
How to (Using Tape/Stencils):
- Paint nails with a base color and let them dry completely.
- Apply strips of thin nail tape or adhesive stencils to create your desired stripe pattern.
- Paint over the stenciled/taped areas with a second color.
- While the second color is still wet (or immediately after applying), carefully peel off the tape or stencil. This creates a clean, crisp line.
- Let dry completely and apply a top coat.
4. Fruit-Inspired Fun
Little fruits like strawberries, watermelons, or lemons are super cute and recognizable.
Example: Easy Strawberry Nails
- Paint nails a vibrant red. Let dry.
- Using a small dotting tool or toothpick, add tiny black dots for seeds.
- Paint a tiny green leaf shape at the base of the nail.
- Seal with a clear top coat.
5. Animal Antics
Simple animal faces are a huge hit. Think of ladybugs, bees, or pandas.
Example: Ladybug Nails
- Paint nails a bright red. Let dry.
- Using black polish and a fine brush or dotting tool, paint a simple black semicircle on the tip of the nail for the ladybug’s head.
- Add two tiny black dots on the head for eyes.
- Add a few small black dots on the red body for the ladybug’s spots.
- Seal with a clear top coat.
6. Rainbow Brights
A simple rainbow can be achieved with a few colors in stripes or arcs.
How to (Arc Rainbow):
- Paint nails a sky blue or white for a nice background. Let dry.
- Using small brushes or dotting tools, create curved stripes of red, orange, yellow, green, blue, and purple across the nail, mimicking an arc.
- Carefully clean up any smudges before applying a top coat.
7. Princess Tiara Designs
A touch of sparkle and a simple shape can evoke magical princess vibes.
How to:
- Paint nails a pastel color or a light shimmer. Let dry.
- Using a fine brush and a metallic polish (gold, silver, or pink), paint a small, simple tiara shape at the base of the nail, or just the top edge.
- Alternatively, use glitter polish to draw a small crown.
- Seal with a clear top coat.
8. Heart-to-Hearts
Hearts are a classic and can be used in so many ways!
How to:
- Paint nails with a base color of your choice. Let dry.
- Using a contrasting color and a dotting tool, create two dots side-by-side.
- Use a fine brush or the damp edge of a toothpick to gently pull the inner edges of the dots together, forming a heart shape.
- Alternatively, use a stencil or freehand draw simple heart shapes.
- Seal with a clear top coat.
9. Animal Paw Prints
A playful take on animal art that’s easy to manage.
How to:
- Paint nails with a chosen base color. Let dry.
- Using a contrasting color, create four small dots close together at the tip of the nail to represent the pads of a paw.
- Add one slightly larger dot above these four to represent the main pad.
- Seal with a clear top coat.
10. Donut Dreams
Who doesn’t love donuts? This design is as sweet as it looks!
How to:
- Paint nails a tan or light brown color to resemble the donut base. Let dry.
- With a slightly thicker brush, paint a circular “icing” layer on the top half of the nail in colors like pink, white, or chocolate brown.
- While the “icing” is still wet, add tiny dots of contrasting colors for sprinkles.
- Seal with a clear top coat.
Tips for Successful Kids’ Nail Art
Painting nails with children can sometimes feel like wrestling an octopus, but a few strategies can make the process smoother and more enjoyable for everyone.
Prep is Key
Ensure nails are clean and dry before starting. Push back cuticles gently if needed. A good base coat helps polish adhere and also protects the nail.
Patience and Practice
Kids have wiggly fingers! Work in short bursts. If a design isn’t perfect, that’s okay! It’s about the fun of doing it together. Remind them that even “mistakes” can be turned into something else, like polka dots if a line goes wrong.
Embrace Imperfection
Seriously, it’s okay if it’s not flawless! The joy for kids is in the colors and the overall look. Tiny smudges often add to the charm. Focus on having fun rather than achieving salon perfection.
Use Quick-Drying Polishes
This is a lifesaver with kids. Quick-drying formulas minimize the chance of smudging before the polish has a chance to set. Some even have cooling formulas that kids enjoy.
Let Them Help
Even young children can help choose colors, hold the polish bottle, or even apply glitter. Make it collaborative!
Safety First
Always use non-toxic, kid-friendly polishes. Supervise children, especially when using tools with sharp points like toothpicks, and ensure they don’t ingest any products.
Cleanup Strategies
Keep cotton swabs dipped in nail polish remover (or just water for water-based polishes) handy for quick fixes. For water-based polishes, a damp cloth or baby wipe often does the trick!
Nail Care Basics for Little Fingers
While we’re having fun with designs, it’s important to remember basic nail care for children. Healthy nails provide a better canvas for art and are essential for overall well-being.
Keeping Nails Clean
Regular washing with soap and water is crucial. Gently clean under the nails with a soft brush to remove dirt and germs. You can find helpful tips on children’s hygiene from organizations like the Centers for Disease Control and Prevention (CDC).
Trimming and Filing
Trim nails straight across to prevent ingrown nails. Gently file any sharp edges with a fine-grit file. Avoid cutting cuticles, as they protect the nail bed from infection.
Hydration
While not as critical as for adult nails, a little bit of gentle hand lotion after washing can keep the skin around the nails soft and prevent dryness. Avoid applying lotion immediately before painting nails, as it can interfere with polish adhesion.
Avoiding Harsh Removers
If you’re not using water-based or peel-off polishes, opt for acetone-free removers, which are gentler. However, the best approach for kids is to stick to the kid-friendly polishes that don’t require harsh removal.
Choosing the Right Designs Based on Age
What works for a toddler might be too simple for a ten-year-old, and vice versa. Tailoring designs to age and dexterity can make the process more enjoyable.
| Age Group | Best Design Types | Tips & Considerations |
|---|---|---|
| 2-4 Years | Simple colors, one accent nail (e.g., glitter accent), large polka dots, easy stamped shapes. | Focus on short duration. Water-based, peel-off polishes are ideal. Minimal designs are best to avoid frustration. |
| 5-7 Years | Polka dots, simple stripes, basic fruits (like strawberries), easy animal faces (ladybugs), glitter gradients. | Can participate more in choosing colors and helping with simple tasks. May have a slightly longer attention span. |
| 8-10 Years | More intricate patterns, ombre effects, layered designs, cartoon characters (simplified), themed nails (holidays, favorite movies). | Can handle more detailed work and longer sessions. Can use finer brushes and tools with supervision. |
FAQ: Cute Nail Design Ideas For Kids
What are the safest nail polishes for kids?
The safest options are water-based and “3-free,” “5-free,” or “7-free” polishes. These avoid harsh chemicals. Peel-off base coats are also excellent as they eliminate the need for removers.
How do I prevent kids from smudging their nails?
Use quick-drying polishes. Apply thin coats. Make sure hands stay still


