Custom nail designs let you express your unique style, turning your nails into tiny canvases of art. From simple dots to intricate patterns, DIY custom nail art is achievable for everyone, boosting your confidence and creativity with every polish stroke.
Ever look at perfectly polished nails with amazing designs and think, “I could never do that?” You’re not alone! The world of custom nail designs can seem a little intimidating at first. But what if I told you that creating your own stunning nail art is totally within reach, even if you’re a total beginner? It’s true! Your nails are a fantastic way to show off your personality, and with a few simple tips and tricks, you can transform them into miniature masterpieces. Get ready to ditch the salon and discover how easy and fun it is to create your own genius custom nail designs!
We’ll walk through everything you need to know, from picking the right tools to mastering basic techniques that will WOW. Let’s dive into the wonderful world of custom nail designs and unlock your inner artist!
Why Embrace Custom Nail Designs?
Custom nail designs are more than just pretty polish; they’re a powerful form of self-expression. Think about it – your hands are often on display, and your nails are like tiny billboards for your mood, your style, or even your special occasions. Want to match your nails to your favorite outfit? Done. Feeling festive for a holiday? Easy peasy. Want to channel a specific vibe or hobby? Your nails can say it all!
Beyond personal expression, custom designs can be surprisingly budget-friendly compared to frequent salon visits. Plus, the sheer satisfaction of creating something beautiful with your own two hands (literally!) is a fantastic confidence booster. It’s a creative outlet that’s always with you, making everyday moments a little more special and a lot more you.
Essential Tools for Your DIY Nail Art Studio
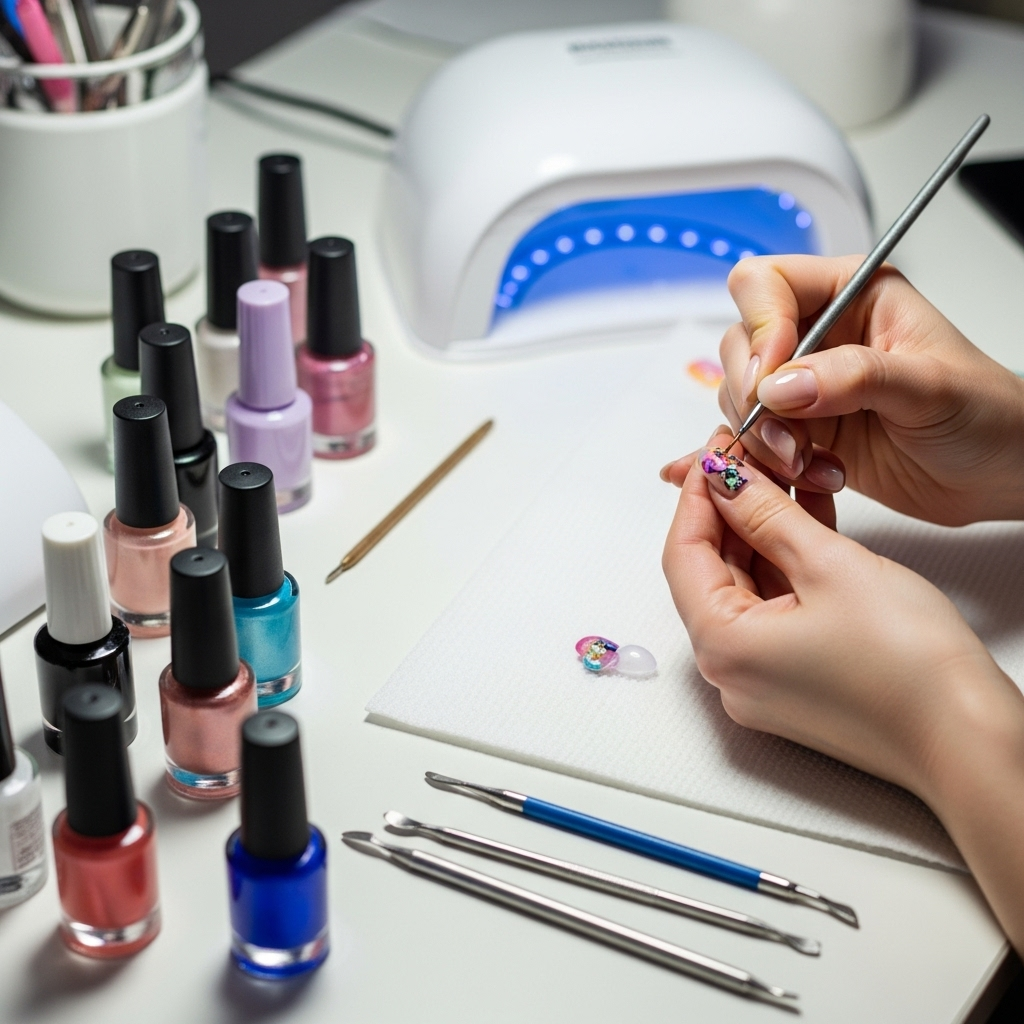
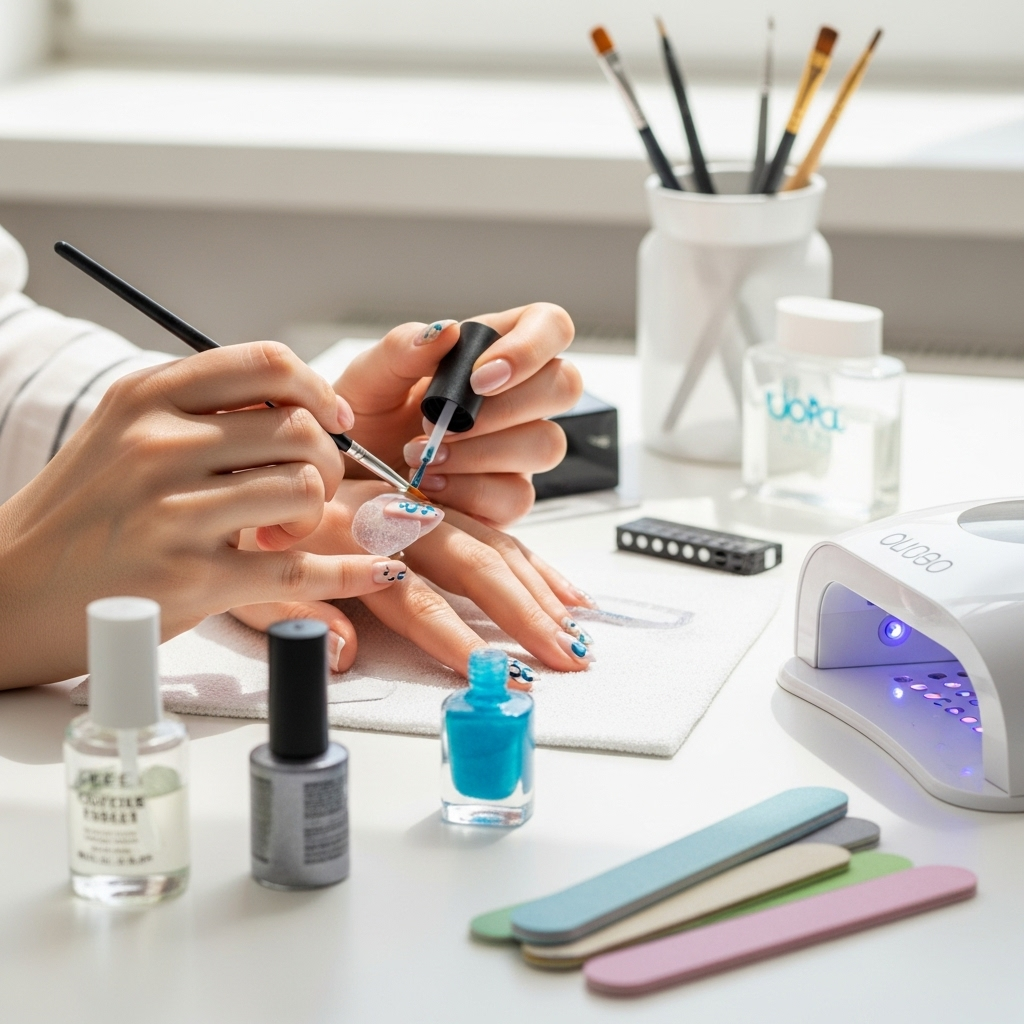
You don’t need a whole professional setup to start creating amazing custom nail designs. A few key tools will get you well on your way. Think of these as your artistic brushes and palette for your nails!
Here’s a look at some of the must-haves:
- Base Coat: This is non-negotiable! It protects your natural nails from staining and helps your polish last longer.
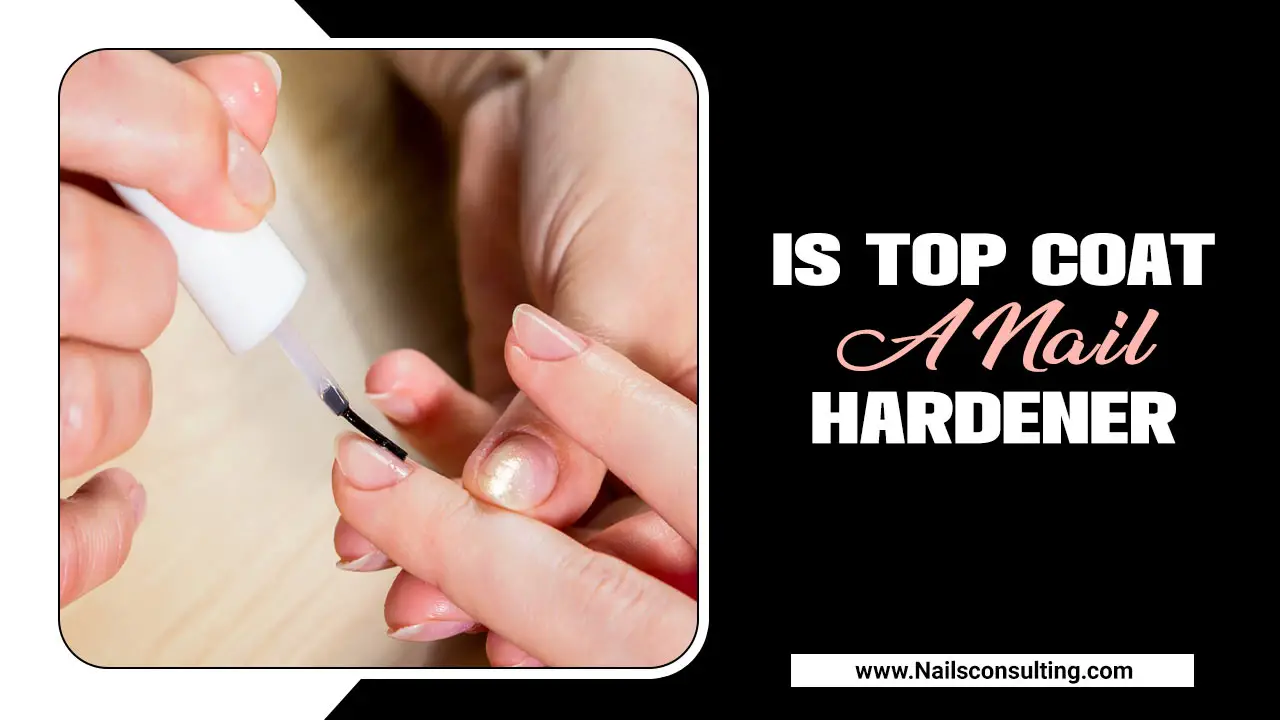
- Top Coat: Your final step to sealing in your design and adding a glossy, chip-resistant finish.
- Detail Brushes: These come in various sizes and tips (fine, fan, striping) for drawing lines, dots, and intricate details.
- Dotting Tools: These have tiny metal balls on the end, perfect for creating perfect dots, flowers, and other circular patterns. They come in different ball sizes for varied effects.
- Nail Polish Remover: For those inevitable oopsies and for cleaning up edges.
- Cotton Balls or Pads: For applying remover.
- Orange Stick or Cuticle Pusher: Great for cleaning up polish around the cuticle line.
- Clear Nail Polish: Beyond its top coat duties, it can also be used as an adhesive for nail gems or glitters.
- Your Favorite Nail Polishes: The more colors, the more fun you can have with your designs!
As you get more adventurous, you might want to explore things like nail vinyls, stamping plates, or even gel polish systems. But for now, these essentials will get you started on the right foot (or nail!).
Getting Started: Preparing Your Canvas (Your Nails!)
Before any art can happen, the canvas needs to be perfect. The same goes for your nails! Proper prep is the secret to a smooth application and a design that lasts. Think of it as the foundation of your masterpiece.
Step-by-Step Nail Prep:
- Remove Old Polish: Make sure there’s no lingering color from your last manicure.
- Trim and File: Shape your nails to your desired length and style. Filing in one direction helps prevent weak spots. For a guide on shaping, check out NailPro’s guide on perfectly shaping nails.
- Push Back Cuticles: Gently push back your cuticles using an orange stick or a cuticle pusher. This gives you more nail surface to work with and a cleaner look. Don’t cut your cuticles; pushing them back is safer and healthier.
- Buff (Optional but Recommended): Lightly buff the surface of your nails. This creates a smooth canvas and helps polish adhere better. Avoid over-buffing, which can thin your nails.
- Cleanse: Wipe each nail with nail polish remover to ensure it’s free of oils and dust. This makes sure your polish sticks properly.
- Apply Base Coat: Apply one thin, even layer of base coat. Let it dry completely. This is crucial for preventing stains and making your manicure last.
Once your nails are prepped and you have your base coat on and dry, you’re ready to paint!
Simple & Genius Nail Design Ideas for Beginners
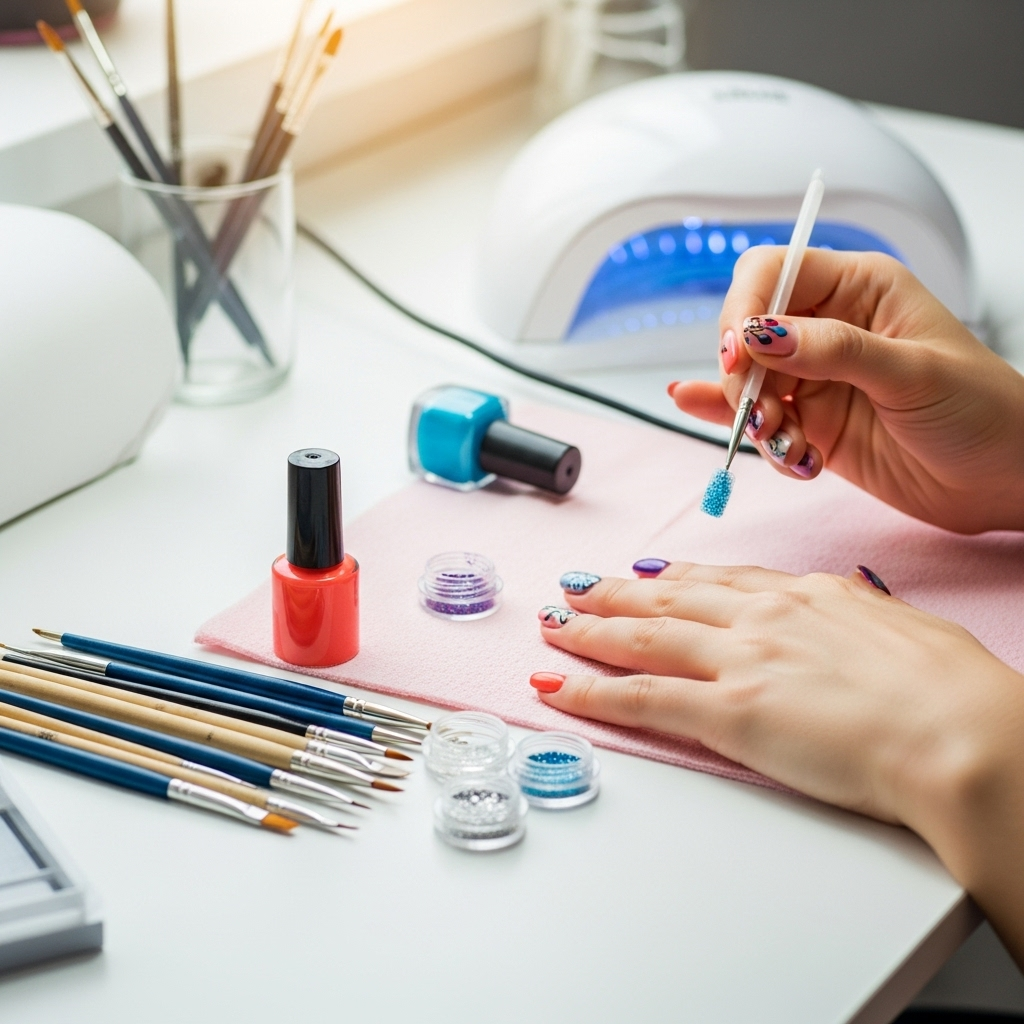
Don’t feel like you need to be Picasso to create beautiful custom nail designs! We’re starting with the easiest, most impactful techniques that look super chic. These are perfect for building your confidence and impressing your friends.
1. The Perfect Dotting Technique
Dots are your best friend for easy, stylish nail art. They can be used to create playful patterns, delicate flowers, or chic minimalist accents.
What you’ll need: Dotting tools (or the tip of a bobby pin/pen cap if you don’t have them), and your chosen polish colors.
- Apply Base Color: Paint your nails with your desired base color and let it dry completely.
- Load Your Dotting Tool: Dip the tip of your dotting tool into a polish color. You want a nice, round bead of polish on the tip—not too much, not too little.
- Make Your Dots: Gently hover the dotting tool over your nail and lightly touch the surface. The polish will transfer, leaving a perfect dot. Lift straight up.
- Create Patterns:
- Random Dots: Just dot away randomly for a fun, playful look.
- Lined Dots: Create neat rows or diagonal lines of dots.
- Flower Power: Make a cluster of dots for a simple flower effect. Use a smaller dotting tool for the center.
- Contrasting Colors: Alternate colors for extra pop.
- Clean Up: Dip a cotton swab in nail polish remover to clean up any stray dots around your cuticles.
- Seal It: Once dry, apply a top coat to protect your design.
2. Effortless Striping Tape Designs
Striping tape is a game-changer for creating sharp, clean lines and geometric patterns. It’s like using a stencil, but much more flexible!
What you’ll need: Striping tape (often metallic and comes on a roll), scissors or a nail cutter, base coat, your polish colors, and top coat.
- Apply Base Color: Paint your nails with your base color and let it dry completely. This is super important—if it’s not dry, the tape will lift the polish.
- Place the Tape: Carefully peel off a piece of striping tape and apply it firmly onto your dried polish. Press down the edges to ensure a clean seal. You can place it straight, diagonally, or create multiple lines.
- Apply Second Color (Optional): If you want a two-toned or multi-lined effect, paint over the tape with a contrasting color. For sharp lines, ensure the tape is pressed down very well, or use this technique on a fully dried base color.
- Remove the Tape: While the second color is still WET (this is key for a clean line!), carefully and slowly peel off the striping tape. If you wait until it dries, it can lift the fresh polish or leave jagged edges.
- Let it Dry & Seal: Allow the nail to dry completely before applying your top coat.
- For Geometric Patterns: After the first color dries, place tape to create sections. Paint another color in a section, let it dry a bit, remove tape. Repeat with other sections and colors.
3. The Simple French Twist
You can elevate the classic French manicure with a pop of color or a fun accent!
What you’ll need: Base coat, nude or pink polish, white polish, a fine-tip detail brush, and top coat.
- Prep and Base Coat: Prep your nails and apply your base coat, letting it dry.
- Apply Nude/Pink: Paint your nails with your chosen nude or pink polish. Apply two coats if needed for full opacity. Let dry completely.
- The White Tip:
- Freehand: Using a fine-tip brush dipped in white polish, carefully paint a smile line at the tip of your nail. Practice makes perfect!
- With Guides: You can use French tip guides (stickers) for a perfectly straight line, or carefully use the edge of your white polish brush if it’s shaped for it.
- The Twist (Optional): For an easy twist, add a single dot or a tiny line of a contrasting bright color right on the white tip, or add small dots down the sides of the white tip before your top coat.
- Seal: Apply a clear top coat over everything.
4. Glitter Gradient
This is a super forgiving and sparkly way to add some glam! It’s perfect for covering up any minor imperfections too.
What you’ll need: Base coat, your main polish color, glitter polish, a makeup sponge, and top coat.
- Base Coat & Main Color: Prep your nails and apply your base coat. Then, apply one or two coats of your main polish color and let it dry completely.
- Load the Sponge: Apply a stripe of glitter polish (or a few lines of different glitter colors) onto the edge of a makeup sponge.
- Tap onto Nail: Gently tap the sponge onto the tip of your nail, where you want the glitter to start. You can concentrate more glitter at the tip and let it fade as it goes down the nail.
- Build Layers: Re-apply glitter to the sponge as needed and tap more onto the nail to build up the density of the glitter. You can overlap the tappable area to create a seamless gradient.
- Blend (Optional): If the transition looks a bit harsh, you can use a clean brush dipped in nail polish remover to gently blend the edges.
- Seal: Once completely dry, apply a generous layer of top coat. Glitter can be bumpy, so a thicker top coat helps smooth it out and adds shine.
Taking it Up a Notch: Intermediate Techniques
Once you’re comfortable with the basics, you might be ready to explore some slightly more involved, but still totally DIY-friendly, techniques for custom nail designs.
5. Water Marble Magic
This technique creates stunning, swirled, marble-like patterns. It looks super impressive but is surprisingly easy once you get the hang of it!
What you’ll need: A cup or bowl of room temperature water, several shades of nail polish (light colors work best for contrast), toothpicks, tape, and cotton swabs.
- Prep Your Nails: Apply a base coat and let it dry. Then, paint your nails with a white or very light color polish. This makes the marble colors pop. Let it dry completely.
- Protect Your Skin: This can be messy! Apply tape around your cuticle and fingertip, leaving only the nail plate exposed.
- Drop the Polish: Put a few drops of your first polish color into the water. Immediately drop a different color into the center of the first drop. Continue adding drops, alternating colors, in the very center of the previous drop.
- Create the Marble: Once you have a few concentric circles of color, take a toothpick and gently drag it from the center outwards, creating swirls and patterns. You can swirl it a few times.
- Dip Your Nail: Carefully dip your taped finger into the water, right into the swirled polish. Pick up the polish onto your nail by pulling the toothpick away first, then lifting your finger.
- Clean Up: Immediately remove the tape and use a cotton swab dipped in nail polish remover to clean up any excess polish around your finger and nail.
- Seal: Once the design is dry, apply a top coat.
Pro Tip: The fresher the polish, the better it will spread on the water. Don’t let the drops sit too long before dipping!
6. Easy Stamped Designs
Nail stamping is like using a tiny rubber stamp to transfer intricate designs onto your nails. It’s incredibly fast and produces super crisp images.
What you’ll need: A nail stamping plate (available online from brands like Born Pretty or Pueen), a stamper and scraper tool, a specific stamping polish (these are more opaque and pigmented), base coat, and top coat.
- Prep and Stamp Polish: Prepare your nails with base coat and a solid color polish. Let it dry completely.
- Apply Stamping Polish: Apply a generous amount of stamping polish over the design you want on your stamping plate.
- Scrape Off Excess: Hold the scraper tool at a 45-degree angle and quickly scrape across the plate to remove the excess polish, leaving polish only in the etched design.
- Pick Up the Design: Immediately roll the stamper firmly over the design. You want to pick up the entire image.
- Stamp Your Nail: Quickly and gently roll the stamper over your nail to transfer the design. Again, aim for a smooth, even transfer.
- Clean and Repeat: Clean your stamping plate and stamper (usually with acetone). Repeat for other nails.
- Seal: Once the stamped design is dry, apply a top coat. Be gentle, as a heavy hand can smudge the design.
For more on the technical aspects and best practices for flawless stamping, the official Moyou London blog offers excellent, detailed tutorials.
7. Embossed & Textured Looks with Acrylic or Gel
For a truly custom, dimensional effect, you can use acrylic powder or gel products to create raised designs. This is a bit more advanced but offers incredible results.
What you’ll need: Your base polish color, clear gel or acrylic top coat, acrylic powder (in clear or a color), or gel medium, a fine brush, and a UV/LED lamp (if using gel).
- Base and Design Polish: Apply your base polish color and let it fully dry.
- Create the Design:
- Gel Method: Apply a thin layer of clear gel top coat over the dried polish where you want your design. Use a fine brush to “paint” your design with the gel, or dab it on.
- Acrylic Method: Apply a bit of clear polish or top coat where you want your design. Dip a clean, damp brush into clear acrylic powder, and then use it to sculpt or dab your design onto the sticky polish.
- Add Texture:
- Gel: Before curing, you can press small gems, beads, or glitter into the wet gel.
- Acrylic: Once your sculpted design is dry, you can gently buff it smooth if needed, or leave it textured.
- Cure/Dry:
- Gel: Cure the gel design under a UV/LED lamp according to the product’s instructions.
- Acrylic: Let the acrylic air dry.
- Seal: If you used clear acrylic powder, you can cure it with a gel top coat and lamp, or apply a regular quick-dry top coat. If you used gel, apply a final layer of gel top coat and cure.
This technique allows for 3D flowers, raised patterns, or even subtle textures that catch the light beautifully.
Maintaining Your Custom Nail Designs
You’ve created a work of art on your nails – yay! Now, let’s make sure it lasts. Good care habits will keep your custom designs looking fresh and fabulous.
- Wear Gloves: When doing dishes, cleaning, or
