Yes! You can create stunning custom nail designs right at home! This guide provides genius inspiration and easy-to-follow tips for beginners to express their unique style, turning simple manicures into works of art.
Getting your nails to look fabulous shouldn’t be complicated or expensive. Do you ever scroll through social media and admire those intricate, beautiful nail designs, wishing you could achieve something similar? It can feel a bit daunting when you’re just starting out. You might think it requires pro skills or fancy tools. But the truth is, with a little guidance and some fun ideas, you can absolutely create custom nail designs that show off your personality. Let’s dive into how you can unlock your inner nail artist and make your fingertips the canvas for your creativity!
Frequently Asked Questions About Custom Nail Designs
What are the easiest custom nail designs for beginners?
Simple dots, stripes, geometric shapes, and abstract splashes of color are fantastic for beginners. Even adding a single accent nail with a bit of sparkle can make a big difference!
What basic tools do I need to start creating custom nail designs?
You don’t need much! A few dotting tools (or even a bobby pin!), striping brushes (or thin art brushes), and some contrasting nail polish colors are a great starting point. A good base coat and top coat are essential, too.
How can I prevent my DIY nail designs from looking messy?
Patience is key! Work on clean, dry nails. Use thin coats of polish. Clean up any mistakes with a small brush dipped in nail polish remover. A steady hand and practice will improve your precision over time.
Where can I find inspiration for custom nail designs?
Inspiration is everywhere! Look at fashion, nature, art, movies, food, and even everyday objects. Pinterest and Instagram are brimming with ideas. Don’t be afraid to combine elements you love.
How do I make my custom nail designs last longer?
Always start with a good quality base coat to protect your nails and help polish adhere. Apply thin, even coats of polish. Seal your design with a durable, quick-drying top coat. Some top coats even offer UV protection to prevent fading.
Can I use regular nail polish for custom designs?
Absolutely! For most beginner-friendly designs, regular nail polish works perfectly. If you plan on creating very intricate details, you might consider dedicated nail art polishes with finer tips, but standard polishes are versatile enough to start.
How do I clean my nail art tools after use?
Clean dotting tools and brushes immediately after use to prevent polish from drying on them. Use acetone-based nail polish remover. For brushes, wipe them clean with remover until no polish remains, then you can wash them with soap and water. Store them well to keep them in good shape.
Genius Inspiration for Custom Nail Designs: Your Creative Journey Starts Here!
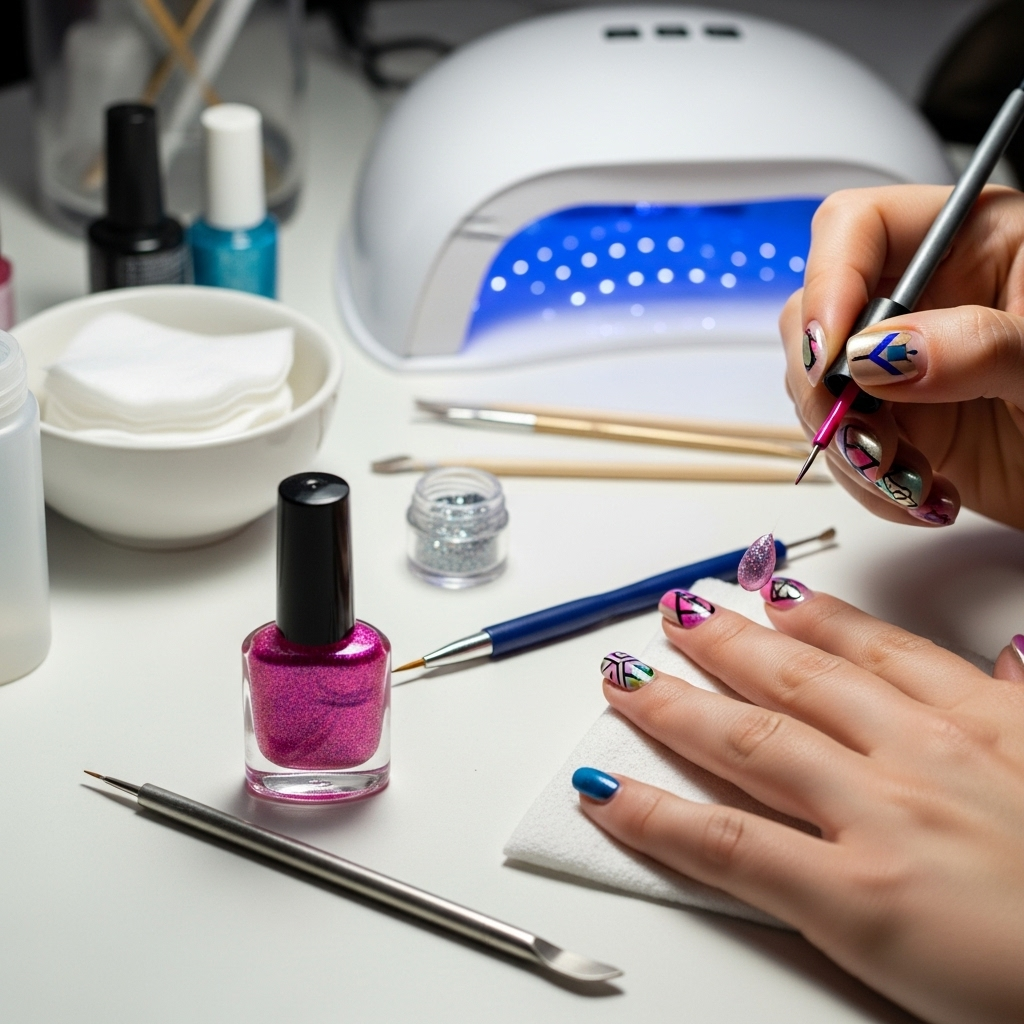
Creating custom nail designs is a fantastic way to express yourself. It allows you to match your nails to your outfit, your mood, or just show off your artistic flair. Forget boring, one-color manicures; we’re about to explore a world of fun, achievable nail art. Whether you’re a total newbie or looking to spice up your current nail game, you’ll find tons of inspiration and practical tips here. Let’s get those creative juices flowing!
Why Custom Nail Designs Are a Game-Changer
Custom nail designs are more than just pretty polish; they’re a form of personal expression. Think about it: your nails are tiny canvases that travel with you everywhere. Why not make them a statement?
DIY custom nail designs offer:
- Cost Savings: Skip pricey salon visits.
- Endless Creativity: Design anything you can imagine.
- Perfect Match: Coordinate with any outfit or occasion.
- Confidence Boost: Show off your unique style.
Ready to transform your nails from simple to spectacular? Let’s dive into where to find that genius inspiration!
Where to Find Your Nail Art Spark: Unleashing Inspiration
Inspiration is all around you! You just need to know where to look. Keep your eyes open, and you’ll see potential nail designs in the most unexpected places. Here are some of Lisa’s favorite spots to get her nail art ideas:
Nature’s Palette and Patterns
Nature is a master artist. Think about the subtle gradients in a sunset, the delicate veins of a leaf, or the intricate scales of a butterfly. These organic forms and colors translate beautifully to nails.
- Floral Fancies: Simple flower outlines, dainty petals, or bold floral patterns.
- Animal Prints: Leopard spots, zebra stripes, or snakeskin textures.
- Sky Gazing: Gradient sunsets, starry night skies, or cloudy day textures.
- Ocean Vibes: Swirls of blue and green, shell shapes, or sandy textures.
For amazing close-up images of natural patterns, check out the photography archives at National Geographic. It’s a treasure trove!
Fashion-Forward Trends
Your wardrobe is a goldmine for nail art ideas! Look at the colors, patterns, and textures in your favorite clothes, scarves, or accessories. What’s trending in fashion often translates well to nail art.
- Geometric Prints: Stripes, chevrons, polka dots, and abstract shapes from clothing.
- Color Blocking: Bold combinations of contrasting colors seen in modern fashion.
- Texture Play: Think about how a fuzzy sweater or a silky scarf could inspire textured nail finishes (using special polishes or effects).
Art and Design Elements
From minimalist art history to modern graphic design, the art world offers endless inspiration. Simple lines, shapes, and color theory can create sophisticated nail looks.
- Minimalist Lines: Thin, delicate lines in contrasting colors.
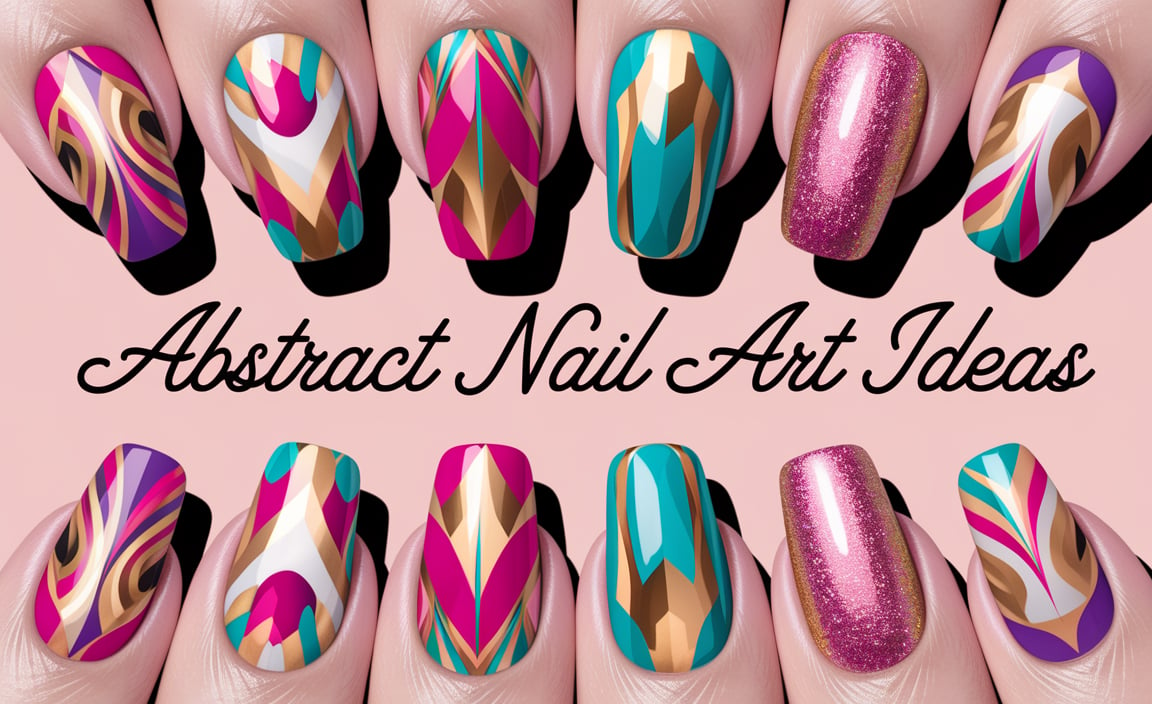
- Abstract Swirls: Organic, free-flowing shapes and patterns.
- Color Theory: Complementary colors, analogous schemes, or monochromatic looks.
- Pop Art: Bold colors and graphic elements.
Explore famous art movements like Impressionism or Abstract Expressionism for color and pattern ideas. The Metropolitan Museum of Art’s online collection is fantastic for this.
Popular Culture and Hobbies
What do you love? Movies, books, video games, food, or even your favorite fandom? These can all be translated into unique nail designs.
- Movie Themes: Colors and iconic symbols from your favorite films.
- Book Covers: Recreate the design or color scheme of a beloved book.
- Foodie Fun: Designs inspired by fruits, candies, or even favorite dishes.
- Seasonal Themes: Holidays, seasons, or special events (like birthdays!).
Social Media and Online Communities
Platforms like Pinterest, Instagram, and TikTok are visual feasts for nail art lovers. Search hashtags like #customnaildesigns, #nailart, #diynails, and #nailinspo to discover thousands of ideas from creators worldwide.
Pro Tip: Save images you love to a dedicated folder or Pinterest board. This creates your personal mood board for future nail art projects!
Beginner-Friendly Custom Nail Designs to Try Now
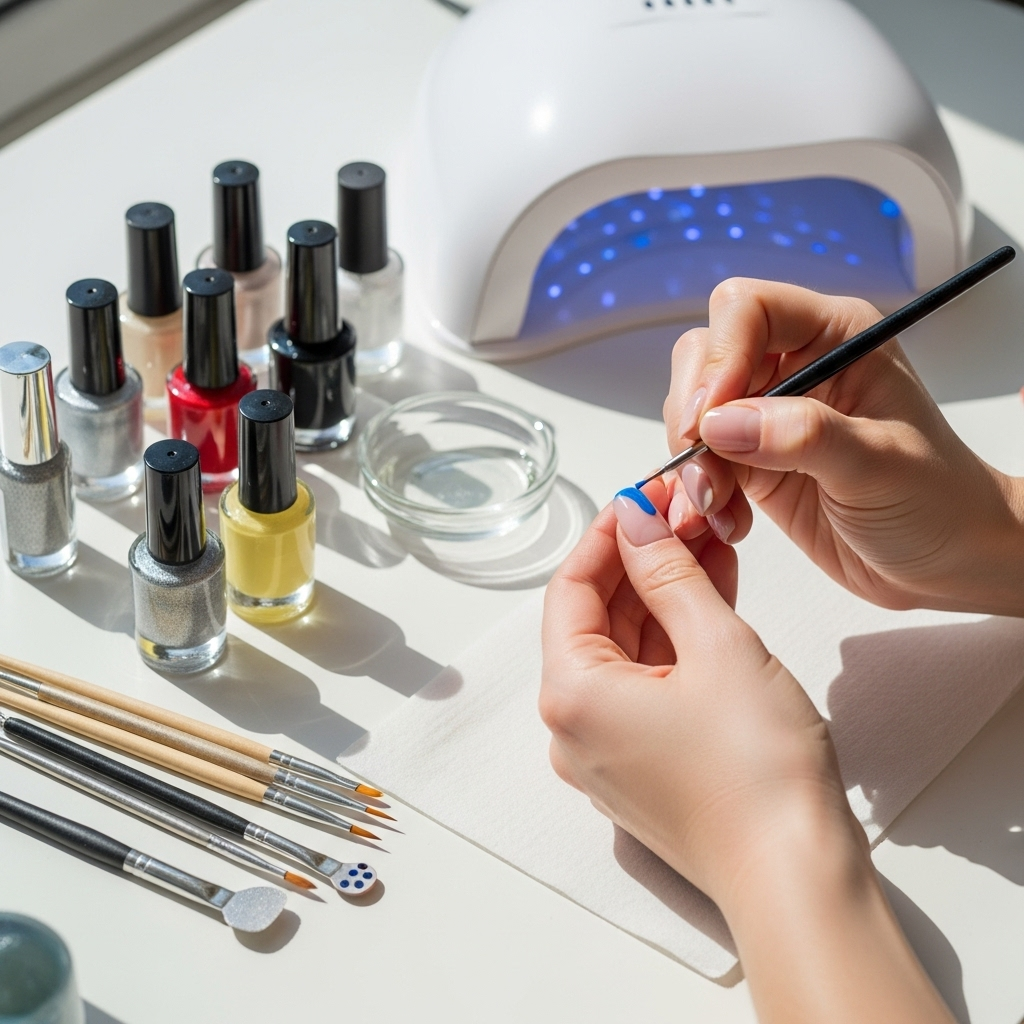
Ready to get your hands (and nails!) dirty? These designs are perfect for beginners and require minimal tools and practice. Let’s make some magic!
The Easy Dot Technique
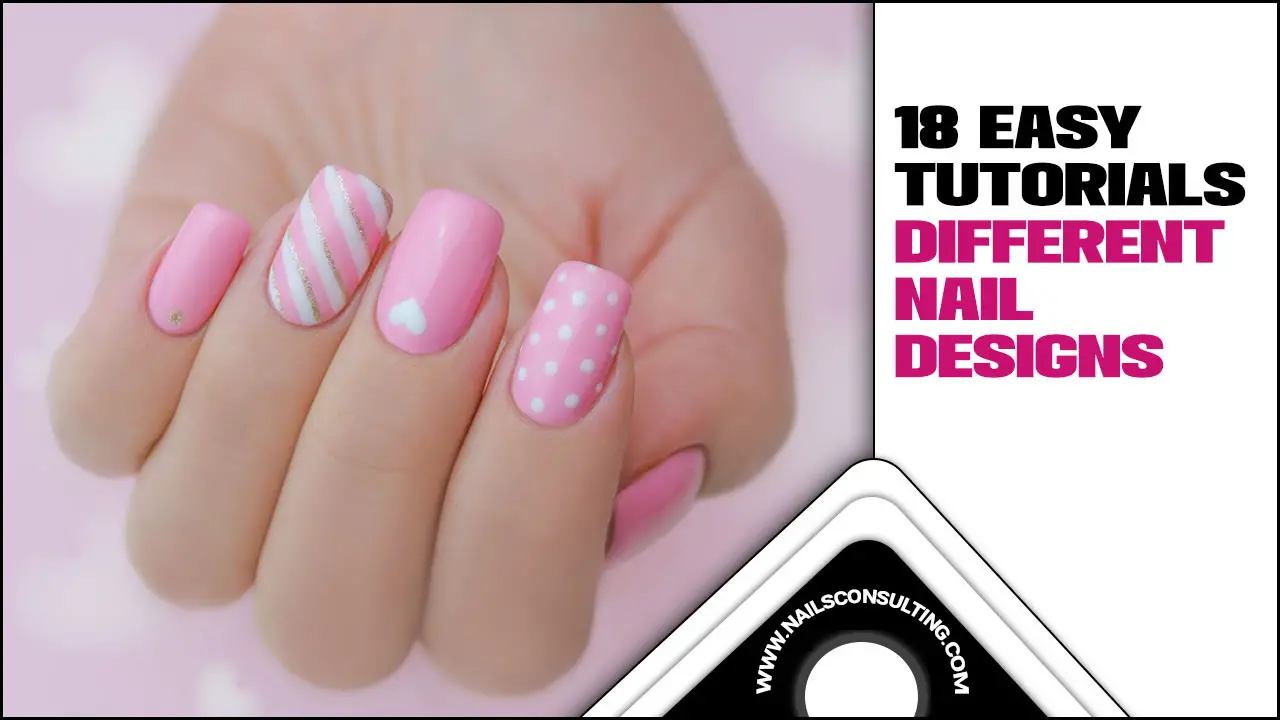
Dots are classic, versatile, and incredibly easy. They can be used to create patterns, borders, or just add cute accents.
- Prep: Apply your favorite base coat and let it dry completely. Then, apply your base color polish and let it dry thoroughly.
- Get Dotty: Dip a dotting tool (or the rounded end of a bobby pin or toothpick) into a contrasting polish color.
- Place Your Dots: Gently touch the dotting tool to your nail to create a perfect circle.
- Create Patterns: Make random dots, create clear lines of dots (like a polka dot pattern), or outline your nail with dots.
- Seal It: Once dry, apply a quick-drying top coat.
Inspiration: Try a galaxy theme with white, blue, and purple dots on a black background, or create a delicate floral look with small pink and green dots.
Simple Stripes and Lines
Lines add a modern, chic touch. You can create thick blocks of color or fine, delicate lines.
- Prep: Apply base coat, base color, and let dry.
- Choose Your Tool: Use a striping brush (thin art brush) or even a fine-tipped toothpick.
- Dip and Draw: Dip your tool into a contrasting polish color. For thin lines, use just the tip. For thicker stripes, use more of the brush/tool.
- Steady Hand: Rest your pinky finger on a stable surface to help steady your hand. Draw your lines horizontally, vertically, or diagonally.
- Option: Tape Method: For crisp straight lines, you can paint your base color, let it dry completely, then apply striping tape or regular scotch tape cut into thin strips. Paint over the tape, let the polish get partially dry (tacky), then carefully peel off the tape. Seal with top coat.
Inspiration: Try a French tip with a colored stripe, or create a ‘wrapped’ effect by drawing a line around the tip of the nail.
The Gradient (or Ombre) Effect
This technique creates a beautiful blend of colors, like a sunset or a dreamy wash. It looks complex but is quite achievable!
- Prep: Apply base coat and let dry.
- Choose Colors: Select 2-3 complementary polish colors.
- Get Ready to Blend: You’ll need a makeup sponge (the kind used for foundation works well). Apply thin coats of your chosen colors side-by-side onto the sponge. Work quickly!
- Stamp and Blend: Gently dab the sponge onto your nail. You might need to reapply polish to the sponge and dab again to build up the color.
- Clean Up: Use a small brush dipped in remover to clean up any polish that got on your skin.
- Seal It: Once fully dry, apply a generous top coat to smooth out the sponge texture.
External Resource: For a deeper dive into color blending and theory, the Kojo Color Theory resource offers great insights into how colors work together.
Accent Nail Magic
Don’t feel pressured to do a complex design on all ten fingers! Choose one nail (usually the ring finger) for a special design while the others sport a solid color.
Ideas:
- Paint your accent nail a glitter polish while the others are a solid color.
- Add a few simple dots or stripes to one nail.
- Use a nail sticker or water decal on one nail.
- Create a simple French tip on all nails, but add a pattern to just the accent nail.
Minimalist Art
Sometimes, less is more! Simple geometric shapes or single lines can look incredibly chic and modern.
- Single Line: A thin vertical or horizontal line on a nude or colored base.
- Half-Moon: Paint a semi-circle at the base of your nail.
- Tiny Dot: A single, small dot near the cuticle or on the tip.
- Negative Space: Leave a portion of your natural nail showing while painting around it with polish or tape.
Essential Tools for Custom Nail Designs
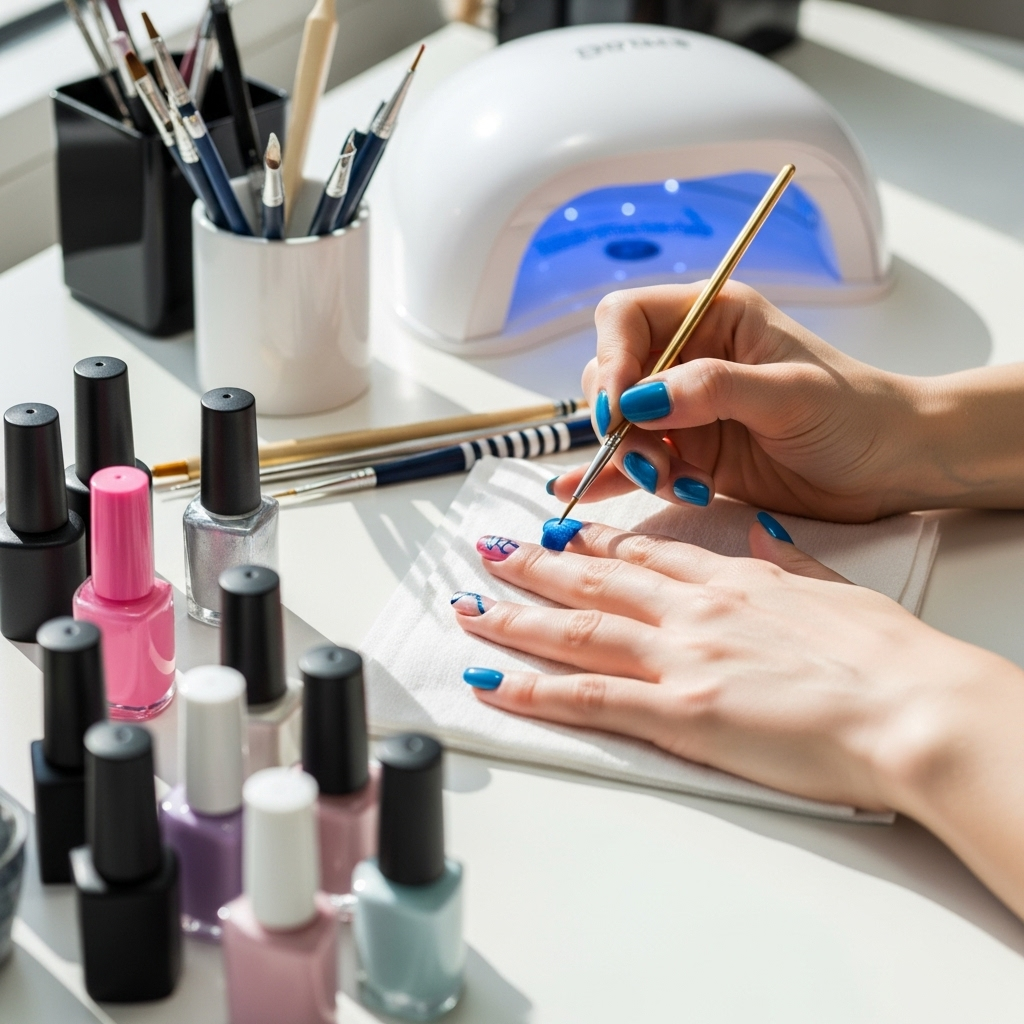
You don’t need a professional kit to start. Here are some basic tools that will make creating custom nail designs much easier and more enjoyable:
| Tool | What It’s For | Beginner Tips |
|---|---|---|
| Nail Polish Colors | The building blocks of your designs! Have a good range of colors. | Start with basics: black, white, red, blue, yellow, plus a glitter and a metallic shade. |
| Base Coat | Protects natural nails from staining and helps polish adhere better. Crucial for longevity! | Always use before applying color. |
| Top Coat | Seals your design, adds shine, and prevents chips and smudges. | Look for “quick-dry” and “high-shine” formulas. |
| Dotting Tools | Create perfect dots of various sizes and small circles. | Comes in sets with different ball sizes. A bobby pin or toothpick works too! |
| Striping Brushes / Fine Art Brushes | For drawing thin lines, swirls, and detailed patterns. | Start with one fine-tipped brush. Clean it thoroughly after each use. |
| Nail Polish Remover & Cotton Swabs/Pads | For cleaning up mistakes with precision. | For tiny clean-ups, dip a fine brush or toothpick in remover. |
| Makeup Sponge | Excellent for creating gradient/ombre effects. | Use small pieces of a regular makeup sponge. |
| Optional: Striping Tape / Nail Stencils | For creating sharp, clean geometric lines and patterns. | Apply to completely dry polish, paint over, then peel off when polish is tacky or dry. |
Making Your Own Tools
Don’t have a specific tool? No problem! You can improvise:
- Dots: Rounded end of a bobby pin, the tip of a toothpick, or even a ballpoint pen tip.
- Lines: Toothpick, the edge of a business card, or a very fine-tipped eyeliner brush (ensure it’s clean and designated for nails!).
The key is to experiment and find what works best for your comfort and style.
Step-by-Step Guide to Your First Custom Design
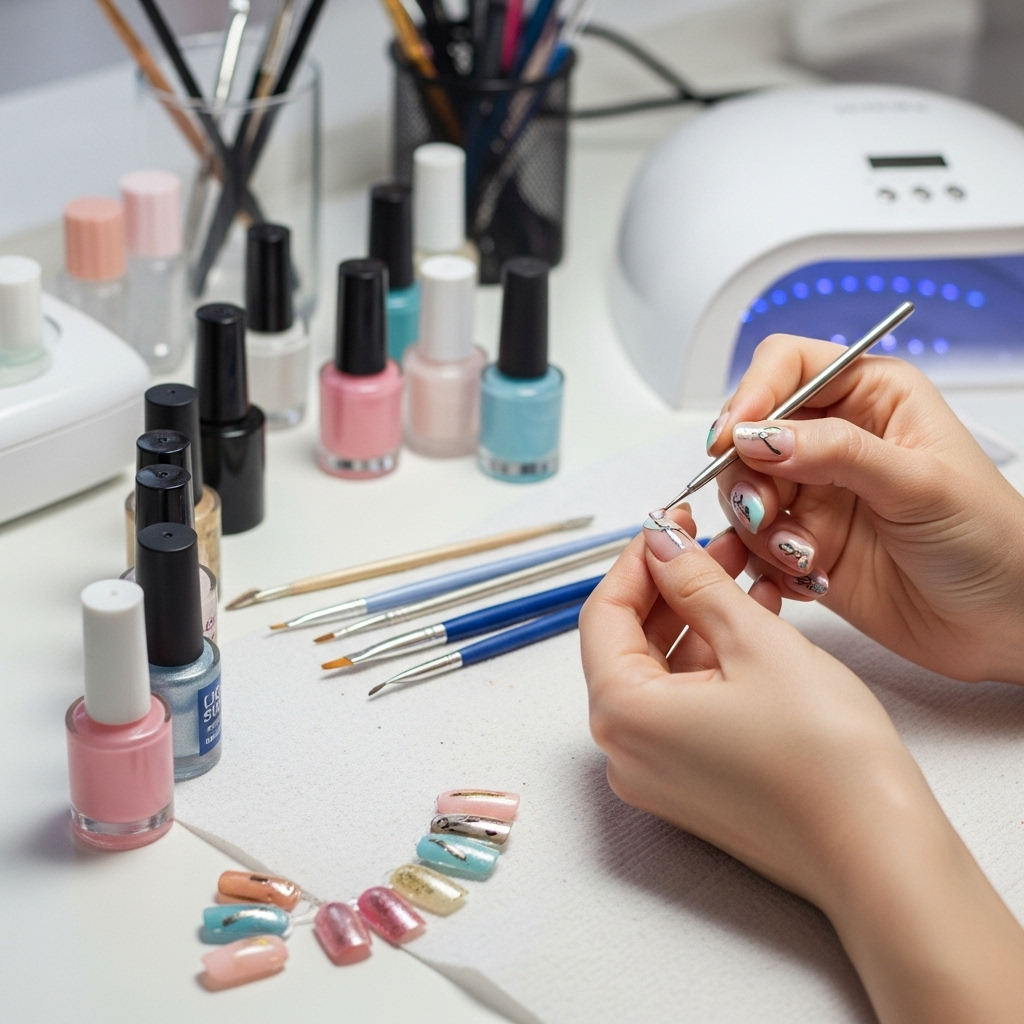
Let’s put it all together! We’ll create a simple yet stylish design: a solid base with chic dots and a single stripe.
Materials You’ll Need:
- Base Coat
- Your favorite nail polish color (e.g., a soft pink, a classic nude, or a trendy pastel)
- A contrasting polish color for dots (e.g., white, black, or gold)
- A striping brush or toothpick
- Dotting tool (or toothpick/bobby pin)
- Top Coat
- Nail Polish Remover & small brush/cotton swab for clean-up
The Process:
- Nail Prep: Ensure your nails are clean, dry, and free of old polish. Push back your cuticles gently. Lightly buff your nails if needed for a smooth surface.
- Apply Base Coat: Apply one thin layer
