Unlock the sweetest nails with this beginner-friendly guide to cupcake nail art! Learn simple techniques, essential tools, and fun design ideas to create adorable, edible-looking manicures with ease. Get ready to impress with your delectable nail designs!
Who doesn’t love cupcakes? They’re a delight for the eyes and the taste buds! And guess what? You can now wear that sweet joy right on your fingertips with adorable cupcake nail art. Sometimes, creating intricate nail designs can feel a bit daunting, especially when you’re just starting out. You might worry about getting the details just right or if you have all the necessary tools. But don’t let that stop you from exploring this fun and whimsical nail trend! This guide is here to break down everything you need to know to create your own stunning cupcake manicures, step by step. We’ll cover the basics in a way that’s easy to follow, making sure you feel confident and excited to try this sweet design on your nails.
Get ready to dive into the world of frosting swirls, perfect sprinkles, and cherry toppings – all miniaturized for your nails! We’ll explore the essential tools, the simplest techniques, and some creative ideas to get your imagination buzzing. You’ll be surprised at how achievable and enjoyable cupcake nail art can be. Let’s get started on making your nails the sweetest they can be!
Why Cupcake Nail Art is So Sweet
Cupcake nail art is more than just a pretty design; it’s a fun way to express your personality and add a touch of whimsy to your everyday look. These designs are instantly recognizable, bringing smiles and compliments wherever you go. They offer a fantastic canvas for creativity. Whether you’re aiming for a cute, playful vibe or a more sophisticated, dessert-inspired look, cupcake nails can adapt to your style. Plus, mastering a few basic techniques for this art form can open the door to countless other nail design possibilities. It’s a rewarding and enjoyable way to experiment with your nail art journey, proving that beautiful designs don’t always require professional skill.
Essential Tools for Your Cupcake Nail Art Studio
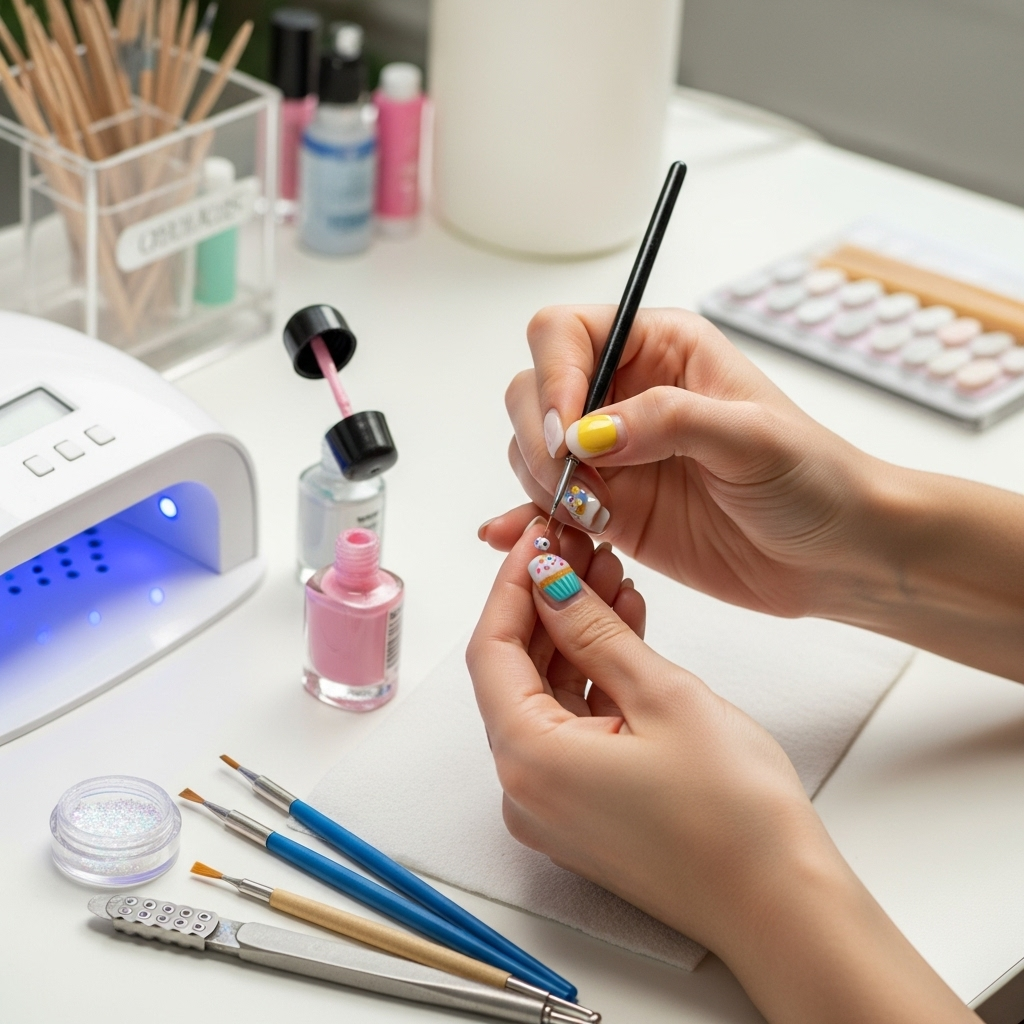
Before diving into creating your sweet nail art, having the right tools makes all the difference. Don’t worry, you don’t need a professional salon setup! Many of these items are probably already in your makeup bag or can be picked up easily. Having these handy will ensure a smoother, more enjoyable creative process.
The Must-Haves:
- Base Coat: This is your nail’s best friend! It protects your natural nail from staining and helps your polish last longer. A good base coat creates a smooth surface for your design.
- Top Coat: Seals your design, adds shine, and prevents chipping. Think of it as the protective glaze on your nail masterpiece!
- Nail Polish Colors: You’ll need a few! At a minimum, consider:
- A shade for the cupcake liner (often white, pink, brown, or patterned).
- A color for the frosting/icing (white, pastel shades, or bold colors).
- Accent colors for sprinkles, cherries, or other toppings.
- Dotting Tools: These are lifesavers for creating perfect circles (like sprinkles or cherry dots) and small details effortlessly. They come in various tip sizes.
- Fine-Tipped Nail Art Brush: Essential for drawing clean lines, adding small details like frosting swirls, or even tiny faces on your cupcakes.
- Toothpick or Orange Stick: These can be handy for picking up small embellishments or cleaning up any stray polish.
- Nail Polish Remover and Cotton Swabs: For those little oops moments, clean-up is crucial! Cotton swabs dipped in remover are perfect for precise tidying.
Optional but Helpful Extras:
- Nail Art Gems or Rhinestones: Add a bit of sparkle with tiny gems for cherries or decorative elements.
- Glitter Polish: A fantastic shortcut for creating a sparkly frosting or fun sprinkle effect.
- Dotting Tool Holder or Palette: A small dish or piece of paper to put dots of polish on for easy access with your dotting tools.
Remember, practice makes perfect! Don’t feel pressured to have every single tool when you begin. Start with the basics and add to your collection as you get more comfortable and adventurous with your designs.
Cupcake Nail Art: A Step-by-Step Guide for Beginners
Ready to create some adorable cupcake nails? This step-by-step guide will walk you through creating a classic cupcake design. It’s designed to be super easy, so you can achieve cute results even if this is your first time trying nail art!
Step 1: Prep Your Canvas
First things first, let’s get your nails ready for their sweet makeover. A little prep goes a long way in making your nail art look professional and last longer!
- Clean and Shape: Make sure your nails are clean and free of any old polish. Shape them to your preferred length and style.
- Base Coat: Apply one thin, even layer of your chosen base coat. Let it dry completely. This protects your nail and gives your polish something to grip onto.
Step 2: The Cupcake Liner
This is the base of your cupcake.
- Choose your liner color: Think about the wrapper! This could be a solid color like pink, white, brown, or even a fun pattern. You can paint this color across your entire nail.
- Optional wrapper pattern: If you want stripes, polka dots, or other patterns on your liner, now is the time to do it! For stripes, use a fine brush. For polka dots, use your dotting tool. Let it dry completely.
Step 3: The Delicious Frosting
Time for the best part – the frosting!
- Apply the frosting color: Pick your favorite frosting color (white, pastels, or even vibrant hues!). Apply a generous layer to the top half of your nail, leaving a small gap at the cuticle area to mimic a real cupcake look. You can aim for a flat frosting top or try to give it a bit of a swirl.
- Creating a swirl effect: While the polish is still wet, use your fine-tipped brush or a toothpick to gently pull the polish upwards from the edge of the frosting to create a soft swirl. Don’t worry if it’s not perfect; a little imperfection adds charm!
Step 4: Add the Sweet Toppings!
Now let’s add those tempting details that make cupcakes irresistible.
- Sprinkles: Dip your dotting tool (a small one works best) into contrasting polish colors and place tiny dots onto the wet frosting to create sprinkles. You can do random dots or arrange them in patterns.
- Cherry on Top: Use a dotting tool to create a small red circle on the tip of your frosting. You can even add a tiny black line or dot above it with your fine brush to represent the stem.
- Other Fun Ideas:
- Chocolate Chips: Use a brown or dark gray polish and a small dotting tool to add tiny “chips” to white frosting.
- Icing Drizzle: With your fine brush, paint thin lines of a contrasting color over the frosting for an extra fancy look.
- Gems: Carefully place a tiny nail art gem or rhinestone on top for a sparkly cherry or decorative flourish.
Step 5: Seal the Sweetness
You’ve created a masterpiece, now let’s make it last!
- Apply Top Coat: Once all your details are completely dry, apply a generous layer of your favorite top coat over the entire nail. Be sure to cap the free edge (paint along the very tip of your nail) to prevent chipping.
- Let it Dry: Allow your top coat to dry thoroughly. This might take a few minutes, so be patient!
And voilà! You now have adorable cupcake nails. Remember, the more you practice, the more confident you’ll become, and the more elaborate your designs can get!
Creative Cupcake Nail Art Variations
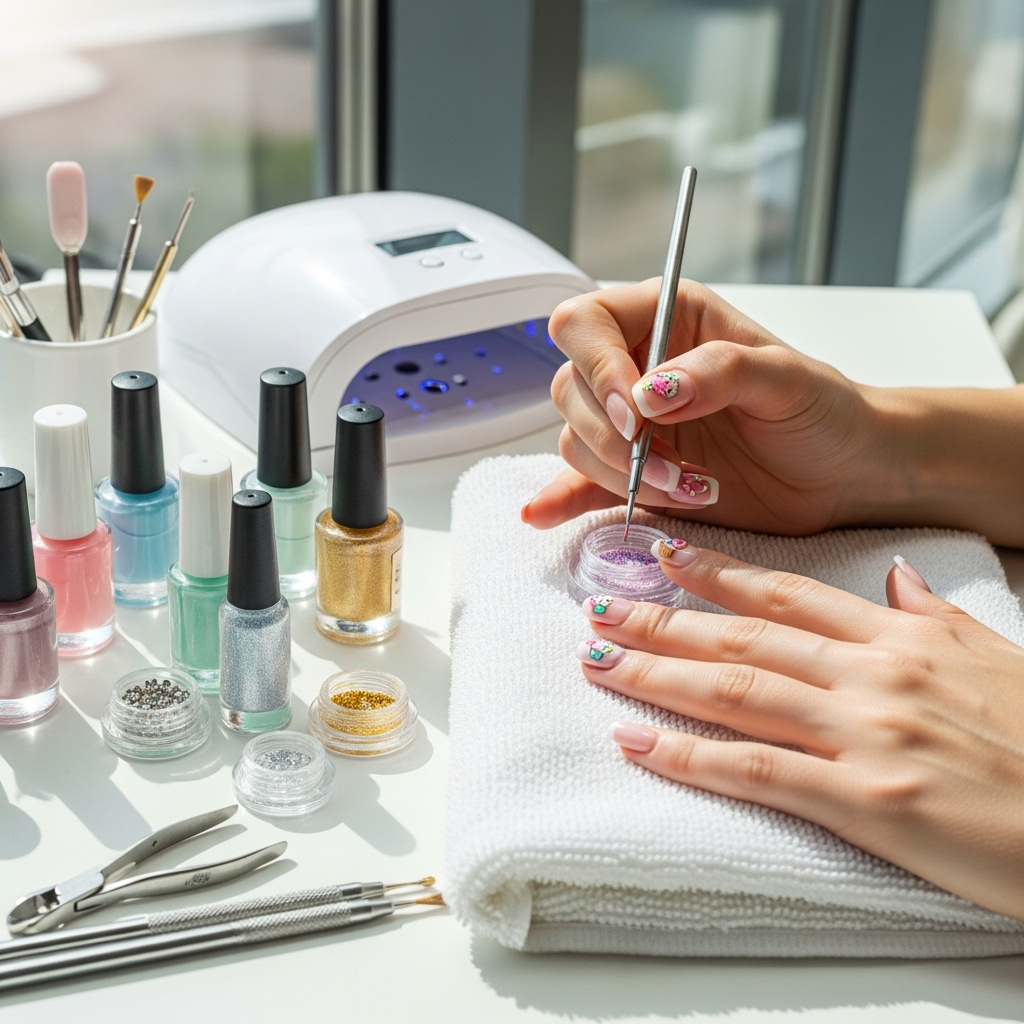
Once you’ve mastered the basic cupcake nail art, the possibilities are endless! Get creative and try out these fun variations to make your nails even more unique and eye-catching.
Frosting Flavors & Techniques
- Ombré Frosting: Blend two or three pastel colors on your nail to create a beautiful gradient effect before adding toppings. Use a makeup sponge for a seamless blend.
- Textured Frosting: Try using a thicker polish or adding a touch of clear gel polish before applying your glitter or sprinkles to create a slightly raised, more realistic texture.
- Chocolate Drip: Paint your frosting color, then use a brown or dark chocolate polish with a fine brush to create elegant drips cascading down the sides of the frosting.
Liner Designs
- Patterned Liners: Experiment with different patterns for the cupcake liner. Think plaid, floral, or even animal prints! Use your fine brush or striping tape for crisp lines.
- Sheer Wrappers: Use sheer tinted polishes for the liner to give a delicate, ethereal look to your cupcakes.
- Metallic Liners: A metallic gold or silver liner can add a touch of luxury to your cupcake nails.
Topping Extravaganza
- Candy Accents: Use dotting tools and different colors to mimic tiny candies, macarons, or even mini cookies on top of the frosting.
- Fruit Toppings: Create miniature strawberries, blueberries, or even slices of lemon with your nail art brushes and dotting tools.
- Edible Glitter: For extra sparkle, dust fine edible glitter over wet top coat for a shimmering finish. (Ensure it’s cosmetic-grade glitter!)
Cupcake Placement
- Accent Nail Focus: Design a full cupcake on just one or two accent nails, keeping the rest a simple coordinating color for a balanced look.
- Mini Cupcakes: Create smaller, more subtle cupcakes on each nail, perhaps on the tip of the nail rather than the whole nail.
- Full Nail Cupcakes: Paint the entire nail as if it’s a cupcake, with the liner at the bottom and frosting at the top.
Maintaining Your Sweet Manicure
You’ve put in the effort to create beautiful cupcake nail art, so you’ll want it to last! Here’s how to keep your sweet designs looking fresh and chip-free for as long as possible.
Tips for Longevity:
- Always Cap the Edges: When applying your base coat, frosting color, and especially your top coat, swipe a little polish along the free edge of your nail. This seals the design and makes it much harder to chip.
- Avoid Harsh Activities: Try to avoid using your nails as tools, like opening cans or scraping surfaces. This can lead to chips and breaks.
- Wear Gloves: When doing household chores, especially washing dishes or cleaning with chemicals, wear rubber gloves. This will protect your nails from water damage and harsh cleaners.
- Regularly Reapply Top Coat: If you notice your top coat is looking dull after a few days, you can apply another thin layer of top coat. This refreshes the shine and adds another layer of protection.
- Moisturize: Keep your hands and cuticles moisturized with cuticle oil or hand cream. Healthy cuticles and skin make any nail art look better!
Troubleshooting Common Cupcake Nail Art Issues
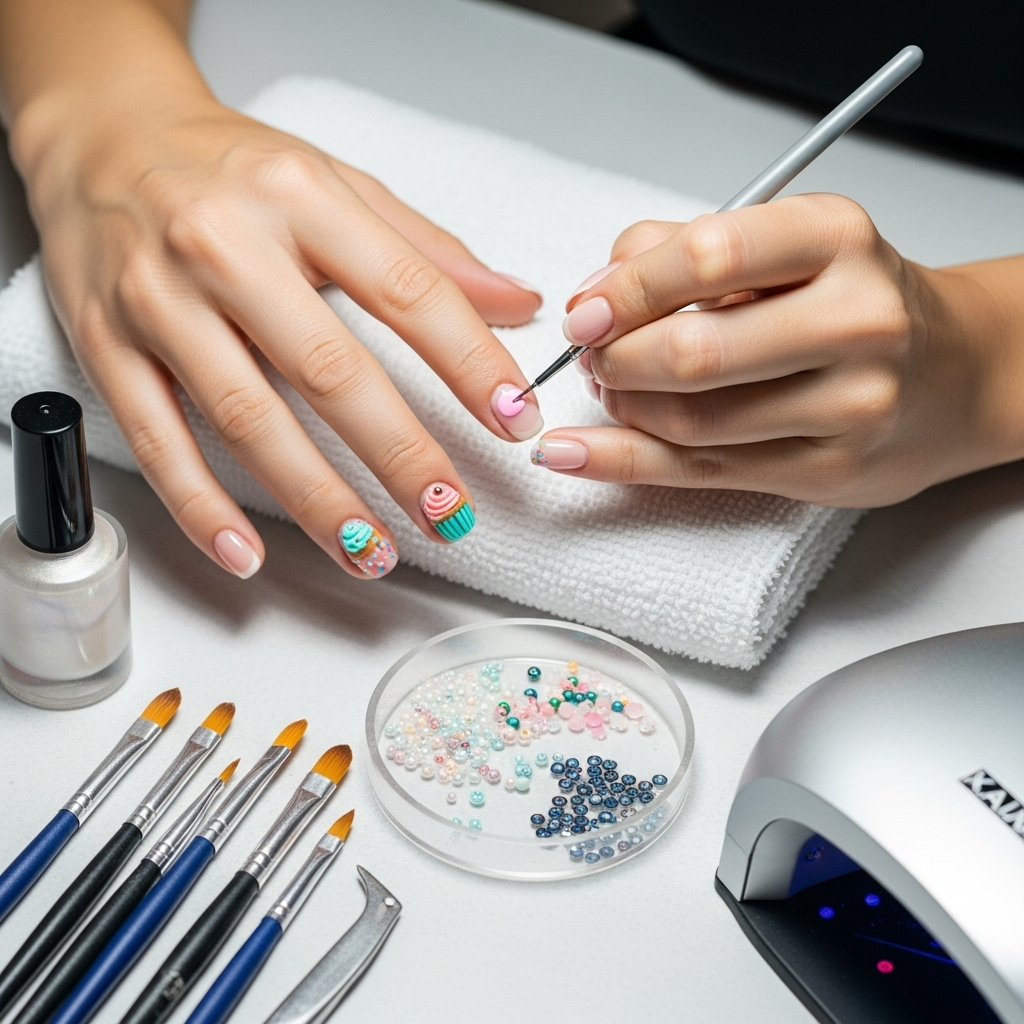
Even with the best intentions and tools, sometimes nail art doesn’t turn out exactly as planned. Don’t get discouraged! Here are some common issues and how to fix them:
Issue: Polish is too thick/streaky
Solution: If your polish is goopy, it won’t apply smoothly. Try adding a drop or two of nail polish thinner (avoid acetone, as it thins too much and can change the color). For streaky lines, apply thinner coats and build up the color gradually. Ensure you’re using a good quality polish that applies evenly.
Issue: Uneven frosting or messy edges
Solution: For messy edges, dip a small brush (an old concealer brush or a dedicated clean-up brush) into nail polish remover. Carefully trace around the edge of your frosting to create a clean line. For uneven frosting, you can try to smooth it out a bit with your brush while it’s still wet, or add a final layer of top coat to create a smoother surface.
Issue: Smudged design
Solution: This usually happens when you touch a wet design. If it’s a minor smudge, you might be able to gently reshape it with a clean brush. If it’s a major smudge, you may need to remove that nail and start over. Patience is key – let each layer dry before adding the next or touching it!
Issue: My sprinkles/dotting looks blobby
Solution: Ensure you’re using the right amount of polish on your dotting tool. You want a small bead of polish, not a huge glob. Practice on a piece of paper first to get a feel for the consistency and amount needed on the tool. Also, make sure your polish isn’t too old and thick.
Issue: Design doesn’t last
Solution: This often comes down to prep and sealing. Double-check that you used a good base coat and properly capped the edges with your top coat. If your nails are naturally oily, a nail dehydrator (available at beauty supply stores) can help polish adhere better. Avoid submerging your hands in water for extended periods right after application.
Comparing Nail Art Tools: Dotting Tools vs. Brushes vs. Dotting Pens
Choosing the right tool can elevate your nail art game. While brushes and dotting tools are staples, dotting pens offer a different approach. Here’s a quick comparison:
| Tool | Pros | Cons | Best For |
|---|---|---|---|
| Dotting Tools | Inexpensive, easy to clean, versatile (different tip sizes), great for precise dots and small swirls. | Can sometimes hold too much polish, requires practice to control dot size, need a palette for polish. | Creating uniform dots (sprinkles), tiny details, swirls. Available at most beauty retailers and online. |
| Fine-Tipped Nail Art Brushes | Excellent for intricate lines, detailed patterns, fine swirls, and connecting dots. Offers great artistic control. | Require more skill to master, can be harder to clean thoroughly, need a separate palette for polish. | Drawing thin lines, intricate details, shading, detailed art. Found in art supply or dedicated nail art sections. |
| Dotting Pens / Art Pens | Convenient all-in-one solution, often come with vibrant colors, easy to use for beginners, precise tip for controlled application. | Can be more expensive, less variety in fine detail control compared to brushes, ink can dry out if not capped properly. | Quick sprinkles, small dots, beginner-friendly designs. A popular choice for on-the-go nail artists. |
For cupcake nail art, a combination of a dotting tool for sprinkles and a fine brush for frosting swirls or details is often ideal. If you’re just starting, using a couple of dotting tools with different tip sizes are a fantastic way to begin.
Historical Context of Nail Art
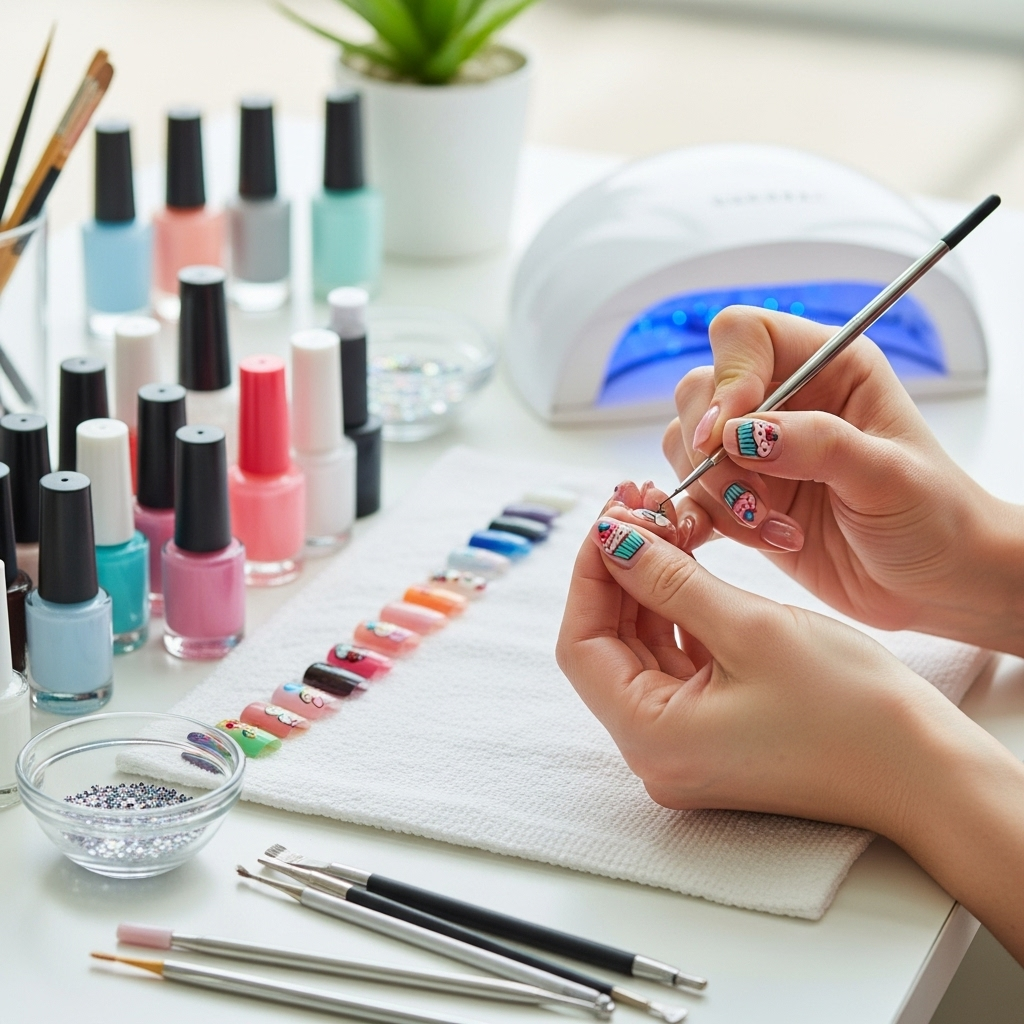
While cupcake nail art might seem like a modern invention tied to the explosion of social media trends, the art of adorning nails has a rich and ancient history. Tracing back thousands of years, cultures around the world have used pigments and adornments to decorate nails, signifying status, spirituality, or marital readiness. For instance, ancient Egyptians used henna to dye their nails, and wealthy Chinese women during the Ming Dynasty would use gold and silver plating, or even use egg whites and flower petals to color their nails in vibrant hues. In more recent history, jazz musicians in the 1920s and 30s are credited with popularizing painted nails, and the advent of modern nail polish in the 1930s by companies like Revlon paved the way for more elaborate designs. Nail art as we know it today, with its vast array of techniques and styles, truly blossomed with the rise of internet culture and platforms like Instagram and YouTube, democratizing creativity and making intricate designs accessible to everyone. Cupcake nail art, as a specific whimsical trend, likely gained traction in the early 2000s with the broader “kawaii” (Japanese for cute) and playful aesthetics becoming popular in fashion and beauty.
Understanding this deep history can add another layer of appreciation to the creative endeavor of nail art. It’s a practice that connects us to a long tradition of human self-expression and beauty. For more on the historical evolution of beauty practices, resources from institutions like the Metropolitan Museum of Art offer fascinating insights into human adornment across different eras and cultures.
Cupcake Nail Art: Frequently Asked Questions
Q1: What are the easiest cupcake nail art designs for beginners?
The easiest designs focus on simple frosting dollops and random sprinkles. Paint your base color (the liner), then add a

