Cupcake nail art is a fun and easy way to add a sweet touch to your manicure. With simple techniques, you can create adorable designs featuring frosting swirls, sprinkles, and cherry toppers, perfect for expressing your playful side and achieving a charming, DIY look right at home.
Hey nail lovers! Are you dreaming of a manicure that’s as delightful as a freshly baked treat? Cupcake nail art is your sweet ticket to a fun and unique look. Sometimes trying new nail art can feel a bit tricky, right? We see those amazing designs online and think, “Could I really do that?” Absolutely! This guide is all about making cupcake nail art totally achievable, even if you’re just starting out. We’ll walk through everything step-by-step, from the basic tools to creating some downright genius designs. Get ready to have some sweet fun with your nails!
—
Why We Love Cupcake Nail Art
Cupcake nail art is more than just a pretty design; it’s an expression of joy and creativity. These sweet treats are universally loved, and translating them onto nails brings a playful, whimsical vibe to any look. They’re perfect for special occasions, themed parties, or simply when you want a little extra sweetness in your day. Plus, they’re incredibly customizable! You can choose your favorite colors, frosting styles, and toppings to make your nails uniquely yours.
Getting Started: Your Cupcake Nail Art Toolkit
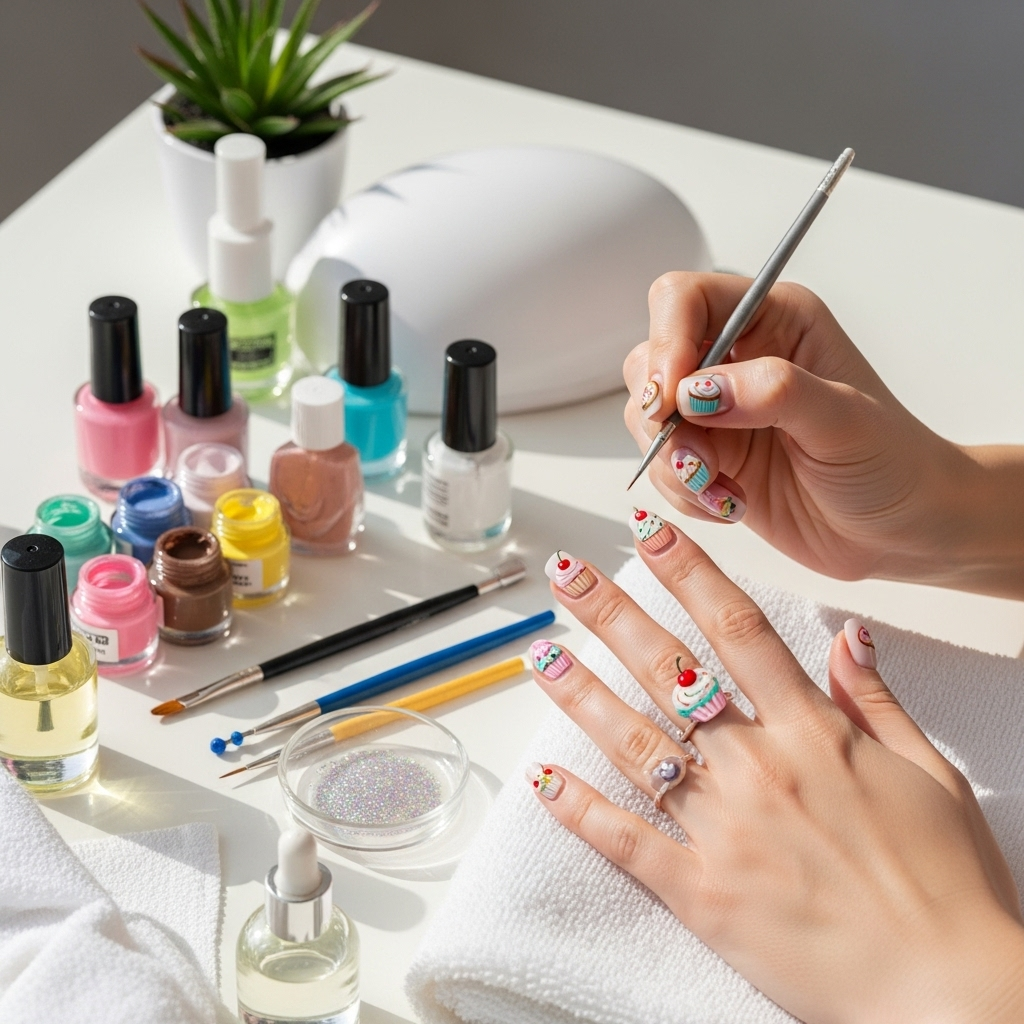
Before we dive into the delicious designs, let’s gather our essential tools. Don’t worry, you probably have most of these already, or they’re budget-friendly to pick up! Having the right supplies makes the process much smoother and more enjoyable.
Here’s a quick rundown of what you’ll need:
- Base Coat: To protect your natural nails and help polish adhere better.
- Top Coat: To seal your design and give it a glossy finish.
- Nail Polish Colors: In shades of your choice for the cupcake wrapper, frosting, and details. Think pastels, brights, or classic browns!
- Dotting Tools: These are lifesavers for creating perfect circles, dots, and swirl effects for frosting. They come in various sizes.
- Thin Nail Art Brush: For drawing fine lines, details, or adding sprinkles.
- Toothpick or Orange Stick: Great for fine details and cleaning up edges.
- Optional: Glitter polish for “sprinkles,” rhinestones for “cherries,” or a fine-tip permanent marker for tiny details (use sparingly and seal well!).
Having a clear, well-lit space to work in is also super helpful. Think of it as your own little at-home nail studio!
Nail Care Basics for the Perfect Canvas
Just like any great artist needs a clean canvas, healthy nails are key to beautiful nail art. Before you start painting, a little prep goes a long way!
Follow these simple steps for a flawless finish:
- Cleanse Your Nails: Start with clean, dry nails. Remove any old polish with a non-acetone remover to avoid drying out your nails.
- Shape Your Nails: File your nails into your desired shape. A smooth edge prevents snags.
- Push Back Cuticles: Gently push back your cuticles with an orange stick or cuticle pusher. This creates more surface area for your nail art and gives a neat appearance.
- Buff (Optional): Lightly buffing the surface of your nails can help polish adhere better, but be gentle to avoid thinning your nails.
- Apply Base Coat: This is crucial! A good base coat prevents staining and creates a smooth surface for your colors. Let it dry completely.
Keeping your nails healthy will make all your nail art dreams come true. For more in-depth nail care tips, you can explore resources like the National Center for Health Research which offers advice on nail health and safety.
Genius Cupcake Nail Art Design Ideas for Beginners
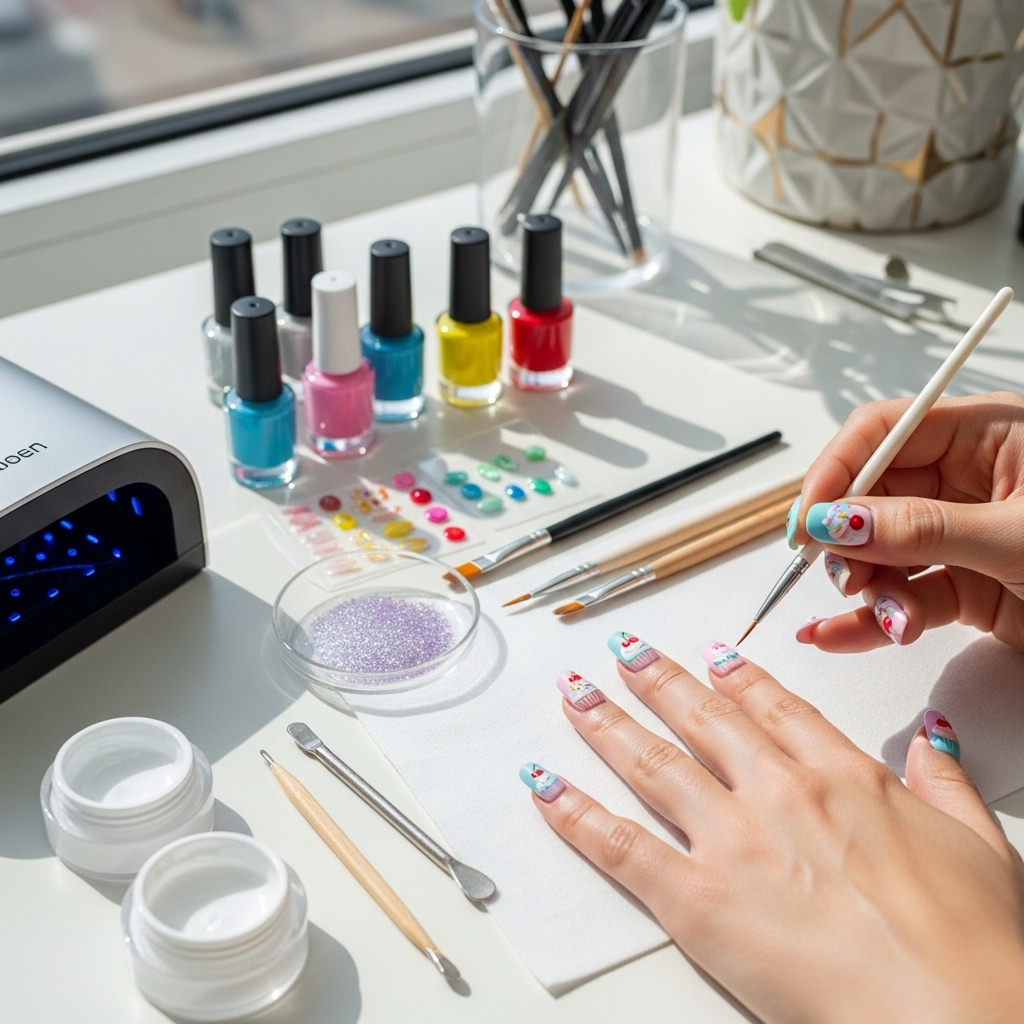
Ready to get creative? These designs are super easy to follow and deliver maximum cute-ness! We’ll start with the simplest and build up a little.
1. The Classic Swirl Frosting Cupcake
This is the quintessential cupcake look and a fantastic starting point for beginners.
What you’ll need:
- Base coat
- Color for the wrapper (e.g., pink, blue, yellow)
- White or pastel polish for frosting
- Dotting tool or toothpick
- Top coat
How to create it:
- Paint your nails with your chosen wrapper color. Apply two coats for opacity and let them dry completely.
- Using your dotting tool dipped in the frosting color, create a swirl on the tip of your nail. Start in the center and twist outwards to mimic a piped frosting swirl. Don’t worry if it’s not perfect – imperfect swirls can look even more handmade and charming!
- For a smaller detail, you can use a toothpick to add a small dot on top of the swirl, like a cherry.
- Once completely dry, apply a clear top coat to seal everything in.
2. Sprinkle-Covered Fun
Add some playful “sprinkles” to your cupcake design for an extra pop of color!
What you’ll need:
- All supplies from the Classic Swirl design
- A glitter polish with tiny flecks (for sprinkles) OR a few bright polish colors for dots
- Thin nail art brush or toothpick
How to create it:
- Follow steps 1-3 from the Classic Swirl design.
- For glitter sprinkles: While the frosting is still slightly wet (or carefully dabbed onto dry frosting), use your glitter polish to create a sprinkle effect. You can dab it on randomly or try to make lines.
- For painted sprinkles: Dip a toothpick or the tip of your thin nail art brush into brightly colored polishes and carefully dot them onto the frosting. Small, short lines also work well for sprinkles.
- Let everything dry thoroughly, then apply your top coat.
3. The “Wrapper Tie” Accent Nail
This design focuses on the cupcake liner and is super chic, especially when done on an accent nail.
What you’ll need:
- Base coat
- Color for the wrapper (e.g., a patterned polish or a solid color)
- A contrasting color for the “tie” effect (e.g., black, white, or metallic)
- Thin nail art brush
- Top coat
How to create it:
- Paint all your nails with the wrapper color.
- On your accent nail (usually the ring finger), use the thin nail art brush and contrasting polish to paint vertical lines or stripes that mimic the folds of a cupcake wrapper. You can make these lines slightly wavy for a realistic look.
- For a simpler version, just paint a few simple V-shapes at the base of the nail to suggest the wrapper.
- Allow to dry, then seal with a top coat on all nails.
4. The “Chocolate Drizzle” Effect
This adds a touch of gourmet decadence to your cupcake nails.
What you’ll need:
- Base coat
- Nude or light brown polish for the “cake” base
- Brown or dark chocolate polish for the drizzle
- Thin nail art brush
- Top coat
How to create it:
- Apply your “cake” colored polish to your nails.
- Once dry, use your thin nail art brush dipped in the chocolate polish to create thin, irregular lines that “drizzle” down the nail. Don’t aim for perfection; organic drips look most realistic.
- You can also add a few small dots of the chocolate polish to mimic chocolate chips.
- Let it dry completely, then apply your top coat. This looks great on its own or as an addition to other cupcake designs!
—
Advanced Cupcake Nail Art Tips & Tricks
Once you’re comfortable with the basics, try these techniques to elevate your cupcake creations!
Using a Marbling Tool for Frosting
A marbling tool (or a skewer with a rounded tip) can create more textured frosting swirls. Load the tip with polish and apply in circular motions to build up a dimensional look.
Creating Realistic Layers
For a more detailed cupcake, paint the “cake” layer first in a tan or beige color on the lower half of the nail. Then, add the “wrapper” color around the base. Finally, top with your frosting design.
Adding a Tiny Cherry or Sparkle
Use a fine dotting tool to add a tiny red dot on top of your frosting swirl for a cherry. Alternatively, a small rhinestone can also serve as a sparkling cherry!
Gradient Frosting
Use a makeup sponge to create a gradient effect with two frosting colors before adding details. Blend two colors onto the sponge and gently tap onto the nail.
—
Cupcake Nail Art Design Inspiration Table
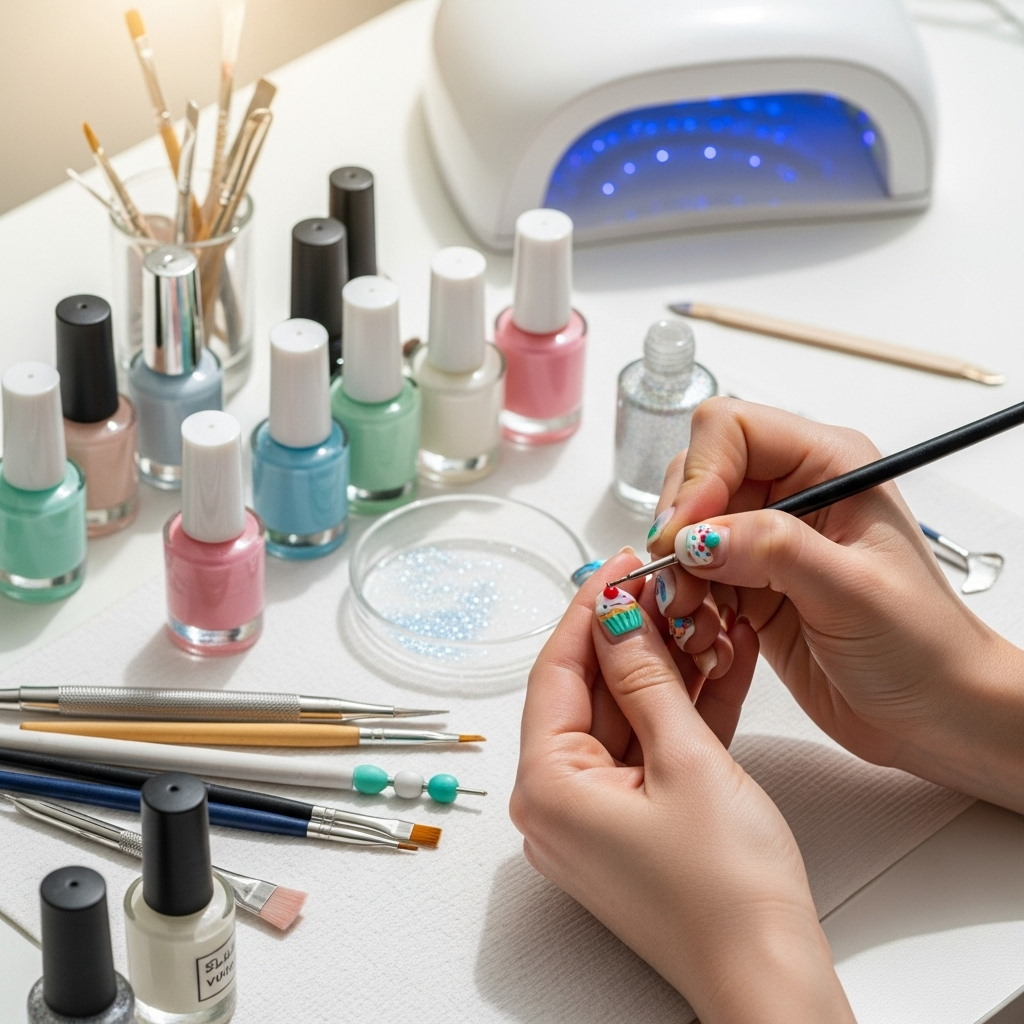
Here’s a quick reference table to spark even more ideas for your next sweet manicure!
| Design Element | Color Ideas | Technique | Occasion/Vibe |
|---|---|---|---|
| Cupcake Wrapper | Pastel pink, baby blue, mint green, classic brown, red & white stripes | Solid color, French tip style, vertical stripes | Everyday chic, birthday parties, baby showers |
| Frosting | White, cream, various pastels, chocolate brown, strawberry pink | Swirls, dollops, smooth finish, textured dots | Feminine, playful, whimsical |
| Toppings | Red (cherry), multi-colored glitter (sprinkles), gold/silver flecks (sugar), tiny beads (candies) | Dots, glitter application, small charms, strategically placed polish | Fun, festive, eye-catching |
| Cake Base | Tan, beige, light brown, chocolate brown | Solid color under frosting, simple color block | Adds depth, realistic touch |
| Drizzle/Piping | Chocolate brown, white, contrasting colors | Thin lines, zig-zags, simple drips | Gourmet feel, detailed accent |
—
Maintaining Your Cupcake Masterpiece
To keep your adorable cupcake nails looking their best, follow these simple maintenance tips:
- Wear a Top Coat Regularly: Reapply a clear top coat every 2-3 days. This helps prevent chipping and keeps the shine.
- Be Gentle: Avoid using your nails as tools. Don’t scrape or pry with them, especially when they have intricate designs.
- Moisturize: Keep your hands and cuticles hydrated with cuticle oil and hand lotion. This prevents dryness and keeps your whole manicure looking fresh.
Beautiful nails are the result of good care and a little creativity. For tips on strengthening nails, check out the Mayo Clinic’s general advice.
—
Frequently Asked Questions About Cupcake Nail Art
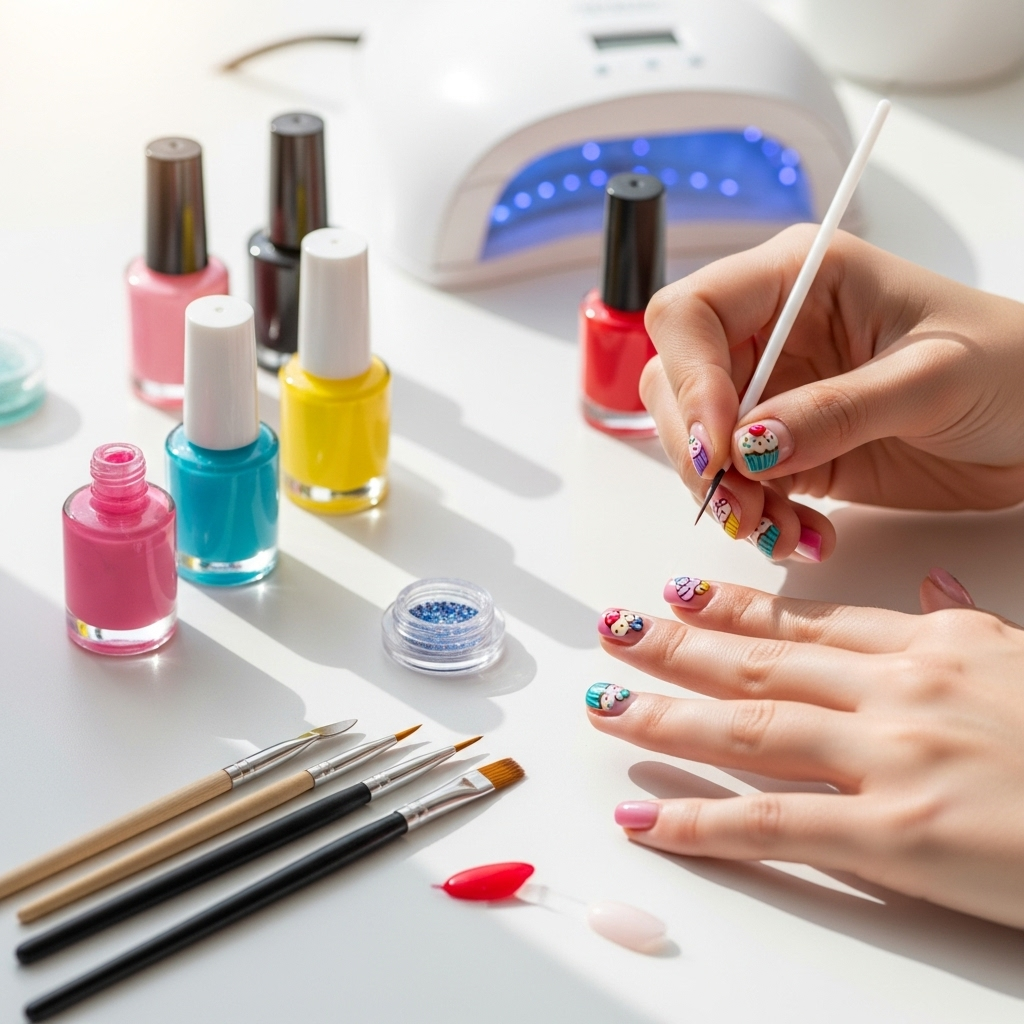
Q1: How do I make the frosting swirl look realistic?
A1: The key is to use a dotting tool or a small brush loaded with polish and practice the swirling motion. Start from the center of where you want the frosting and spiral outwards. Small imperfections actually make it look more handmade and charming!
Q2: My sprinkles look messy. How can I make them neater?
A2: For painted sprinkles, use the very tip of a toothpick or a fine nail art brush. Work patiently and place each dot or small line carefully. If using glitter polish, you can also use a dry brush to gently pick up and place the glitter flecks for more control.
Q3: Can I do cupcake nail art on short nails?
A3: Absolutely! Cupcake designs can be adapted for any nail length. You might just need to scale down the size of your frosting swirl or focus on just a few sprinkles on shorter nails.
Q4: What’s the best way to get clean lines for the cupcake wrapper?
A4: A very fine nail art brush and a steady hand are your best friends here. You can also use nail vinyls or striping tape for perfectly straight lines if freehanding is a challenge.
Q5: My nail polish chips easily with nail art. What am I doing wrong?
A5: Ensure you are using a good quality base coat and top coat. Also, make sure each layer of polish is completely dry before applying the next, especially before your final top coat. Sealing the free edge (the very tip of your nail) with your top coat can also prevent chipping.
Q6: Are there any specific colors that work best for cupcake nail art?
A6: While any color combo can work, pastels and bright, cheerful colors often evoke the sweet, playful nature of cupcakes. Think soft pinks, baby blues, mint greens, sunny yellows, and classic browns for the cake. White is great for frosting, and vibrant colors like red, blue, or yellow are perfect for sprinkles!
—
Conclusion: Sweeten Your Style with DIY Cupcake Nails!
See? Creating adorable cupcake nail art is totally within your reach! We’ve covered the essential tools, simple nail care steps, and several genius designs perfect for beginners. Whether you’re going for a classic swirl, a sprinkle explosion, or a chic wrapper detail, these techniques will have your nails looking deliciously fun.
The best part about nail art, especially something as playful as cupcake designs, is the freedom for self-expression. Don’t be afraid to experiment with colors, add your own unique touches, and most importantly, have fun with it! Your nails are a canvas, and a sweet, delightful cupcake design is a fantastic way to brighten your day and show off your creative spirit. So grab your polishes, take a deep breath, and get ready to paint some edible-looking art on your fingertips. Happy painting!

