Crystal nail designs are a dazzling way to add sparkle and sophistication to your manicure. With simple techniques and the right tools, anyone can create stunning, eye-catching looks at home, transforming your nails into miniature works of art with effortless brilliance.
Dreaming of nails that shimmer and shine? Crystal nail designs can seem a little intimidating, right? Like something only a pro manicurist can achieve. But what if I told you that achieving that glamorous, sparkling finish is totally within your reach? You don’t need a salon appointment or a secret magician’s trick. With a few simple steps and some handy tips, you can bring a touch of effortless brilliance to your fingertips. Get ready to learn how to transform your nails into dazzling masterpieces that will turn heads!
What Are Crystal Nail Designs?
Crystal nail designs, often referred to as rhinestone nails or gem nails, are manicures that incorporate the use of small, glittering embellishments – typically crystals or rhinestones – to add sparkle and dimension to the nail surface. These aren’t just your average nail stickers; they are tiny pieces of art that catch the light beautifully, making your nails look luxurious and incredibly chic. From subtle accents to full-on dazzling displays, crystal nail designs offer endless possibilities for personalization and glamour.
The beauty of crystal nail designs lies in their versatility. You can opt for a single, strategically placed crystal to add a touch of elegance, or go bold with a constellation of gems scattered across your nails. They can be applied over any nail polish color or even on bare, healthy nails for a more minimalist gleam. No matter your style or the occasion, there’s a crystal nail design that’s perfect for you.
Why Choose Crystal Nail Designs?
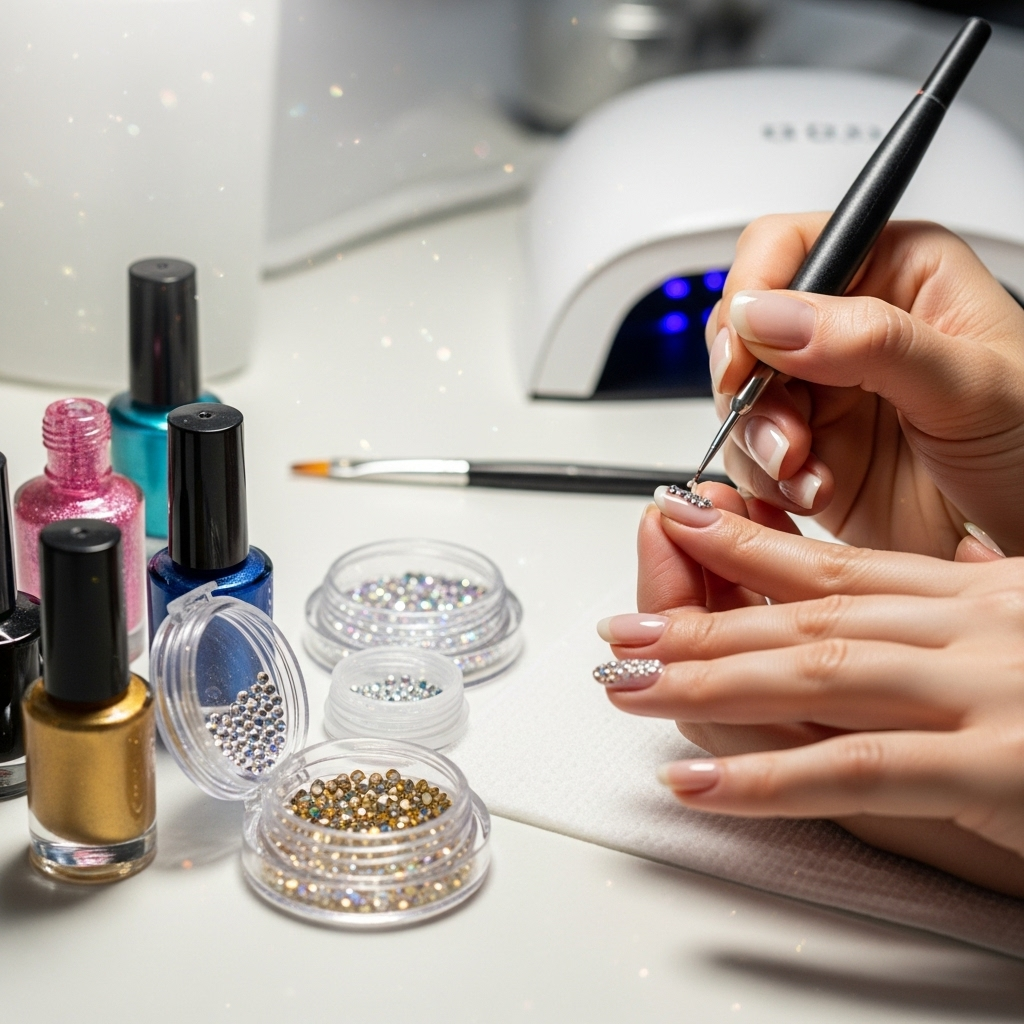
Beyond their undeniable sparkle, crystal nail designs offer a host of benefits that make them a fantastic choice for any nail enthusiast, especially beginners:
- Instant Glamour: A few carefully placed crystals can elevate a simple manicure into something extraordinary. They instantly add a touch of luxury and sophistication, making your nails feel special.
- Versatile Styling: Whether you’re heading to a wedding, a party, or just want to brighten your day, crystals can be adapted to fit any occasion and personal style. Think delicate accents for everyday or bold patterns for a night out.
- Express Your Creativity: Crystal nail art is a wonderful way to express your personality and creativity. You can arrange them in patterns, create shapes, or simply use them as playful accents.
- Budget-Friendly: Compared to elaborate nail art or regular salon visits for intricate designs, DIY crystal nails are remarkably budget-friendly. The cost of a pack of crystals and some nail glue or top coat is minimal.
- Achievable for Beginners: While they look complex, applying crystals is one of the easiest nail art techniques to master. With this guide, you’ll be creating stunning designs in no time!
- Long-Lasting if Applied Correctly: When applied with the right adhesive and technique, crystal nail designs can last for a significant period, often as long as your manicure itself.
Essential Tools & Materials for Crystal Nail Designs
Before we dive into the fun part, let’s gather your supplies. Don’t worry, you probably have most of these already! Having the right tools makes the process smoother and ensures your crystals stay put.
The Must-Haves:
- Your Favorite Nail Polish: This is your base! Choose any color you love.
- Top Coat: A good quality, non-wipe top coat is your best friend for sealing your design.
- Crystals/Rhinestones: These come in countless shapes, sizes, and colors. Start with a multi-pack to experiment!
- Applicator Tool: This is key for picking up and placing small crystals. You have a few options:
- Tweezers: Fine-tipped, pointed tweezers are excellent for precision.
- Wax Pencil/Dotting Tool: A pencil with a sticky wax tip or a dotting tool with a slightly tacky end is perfect for picking up crystals without smudging.
- An Orangewood Stick or Cotton Swab: Dip the tip in a tiny bit of water or top coat to pick up crystals.
- Nail Glue (Optional but Recommended for Longevity): For extra security, especially for larger crystals or if you want your design to last longer. Look for a specialized nail glue for gems.
- Primer (Optional): If you have oily nails, a nail primer can help polish and glue adhere better.
Optional but Handy:
- Base Coat: To protect your natural nails and provide a smooth surface.
- Base Gel/Builder Gel: For a more robust application that can last weeks, especially if you are using larger stones.
- UV/LED Nail Lamp: Necessary if you opt for gel polish or base gel.
- Small Dish or Palette: To pour your crystals onto for easy access.
Step-by-Step Guide to Effortless Crystal Nail Designs
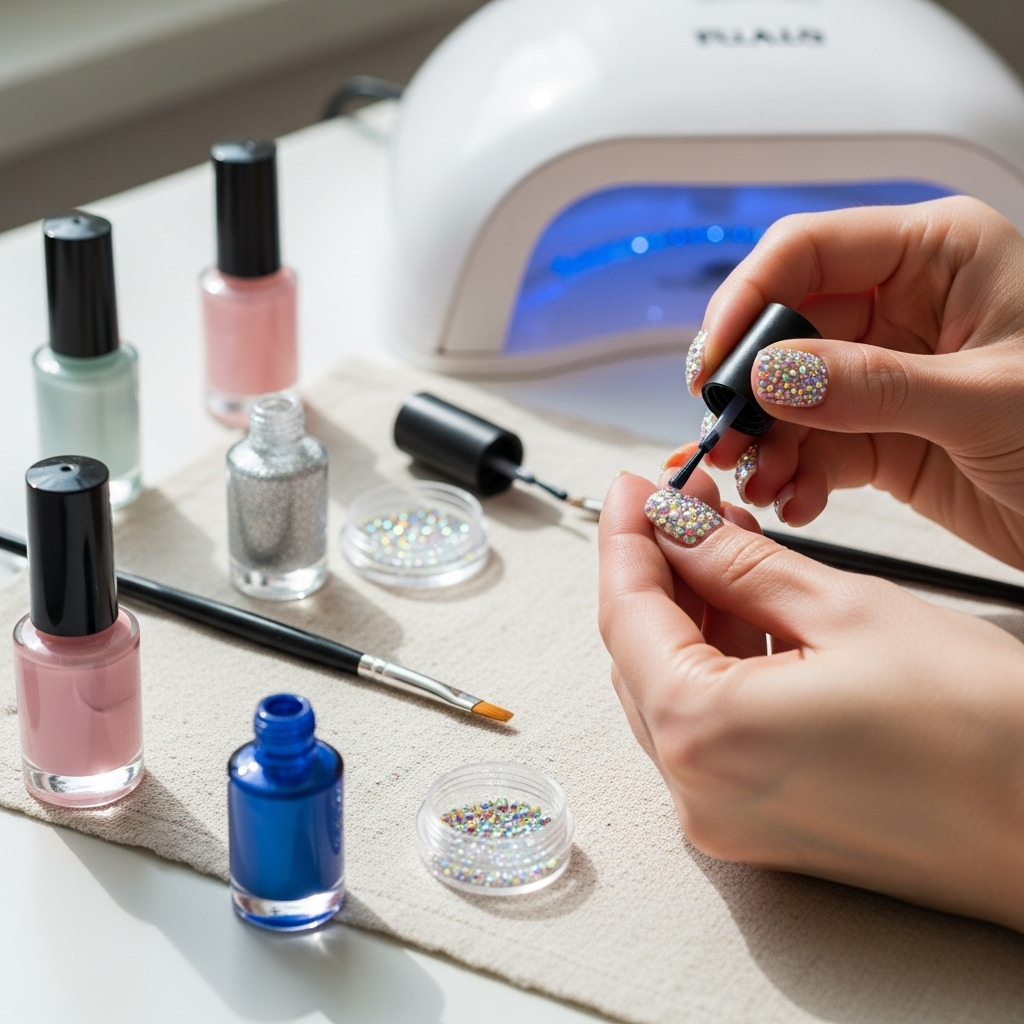
Ready to get sparkling? Follow these simple steps to create beautiful crystal nail designs at home. We’ll cover a few different application methods so you can choose what works best for you.
Method 1: Using Top Coat (Easiest for Beginners)
This is the quickest and most beginner-friendly way to add some sparkle. It’s perfect for smaller crystals and designs that you might want to change more frequently.
- Prep Your Nails: Start with clean, dry nails. File them into your desired shape and push back your cuticles. Apply a base coat and let it dry.
- Apply Your Color: Paint your nails with your chosen nail polish color. Apply one or two coats for full opacity, allowing each coat to dry completely.
- Add the “Glue”: Apply a thin, even layer of your top coat over the entire nail or just the area where you plan to place your crystals. Don’t cure it if it’s a gel top coat; work with it wet!
- Pick Up and Place: Use your wax pencil, tweezers, or damp orangewood stick to pick up a crystal. Gently press it into the wet top coat on your nail.
- Arrange Your Design: Continue picking up and placing crystals according to your desired pattern. Work relatively quickly before the top coat starts to dry. For simple designs, a single crystal at the base of the nail (near the cuticle) or at the tip is very chic.
- Seal the Deal (Carefully!): Once your design is complete, carefully apply a very thin layer of top coat around the crystals, but try not to cover them directly if you want maximum sparkle. If you’re using a gel top coat, cure it under your UV/LED lamp. If using regular top coat, let it air dry completely (this might take longer).
- Final Touch: For regular polish, allow at least 5-10 minutes of drying time before touching anything.
Method 2: Using Nail Glue (For Extra Hold)
This method is ideal if you want your crystal design to last longer, especially for larger gems or if you’re very active with your hands.
- Prep and Polish: Follow steps 1 and 2 from Method 1: prep your nails, apply base coat, and then your color polish, ensuring it’s completely dry.
- Apply Nail Glue: Apply a small dot of nail glue where you want your first crystal to go. Some glues come with a brush, or you can use a fine-tipped applicator. Don’t use too much, or it will look messy.
- Place Your Crystal: Use your applicator tool to pick up a crystal and press it firmly into the dot of nail glue. Hold it in place for a few seconds.
- Build Your Design: Continue applying small dots of glue and placing crystals until your design is complete. Remember to place crystals relatively close together if they are part of a larger design to minimize visible glue.
- Seal (Optional but Recommended): Once the glue is dry, you can carefully brush a tiny amount of top coat around the base of the crystals to help secure them further and add shine. Avoid coating the top of the crystals themselves. Let dry completely.
Method 3: Using Gel Base/Builder Gel (Most Durable)
This is the most professional-looking and longest-lasting method, perfect if you plan to wear your crystal designs for a couple of weeks. It requires a UV/LED lamp.
- Prep and Gel Color: Prepare your nails as usual. Apply a gel base coat and cure it. Apply 1-2 coats of your gel polish color and cure each layer.
- Apply Gel Builder/Base: Apply a thin layer of gel builder or a slightly thicker layer of gel base coat to the area where you want to place your crystals. Do NOT cure this layer yet.
- Embed the Crystals: Use your wax pencil or tweezers to pick up your crystals and gently press them into the uncured gel. The gel will help hold them in place. You can “flood” the area with a bit more gel to fully embed smaller crystals if desired, but be careful not to overflow.
- Cure: Once your design is in place, cure your nails under the UV/LED lamp according to the gel product’s instructions (usually 30-60 seconds).
- Clean and Finish: Wipe away any sticky residue with an alcohol wipe. Apply a final layer of gel top coat, being careful to coat thoroughly around the base of the crystals. Cure again.
Crystal Nail Design Ideas for Beginners
Don’t know where to start with your dazzling designs? Here are some super easy and chic ideas that are perfect for beginners:
- The Accent Nail: Choose one nail (usually the ring finger) and apply a cluster of crystals at the base of the cuticle. This is elegant and easy!
- The Single Sparkle: Place one small, beautiful crystal right in the center of your nail, or offset slightly to one side. Minimalist perfection!
- The French Tip Sparkle: Instead of a white French tip, create a fine line of tiny crystals along the edge of your nail.
- The Gradient Glow: Start with a few crystals at the base of the nail and gradually place fewer crystals as you move up towards the tip.
- The Tiny Trail: Create a delicate trail of tiny crystals leading from the cuticle to the tip of the nail.
- The Geometric Accent: Use a few crystals to form a simple shape at the base of the nail, like a tiny heart, star, or triangle.
Popular Types of Nail Crystals & How to Use Them
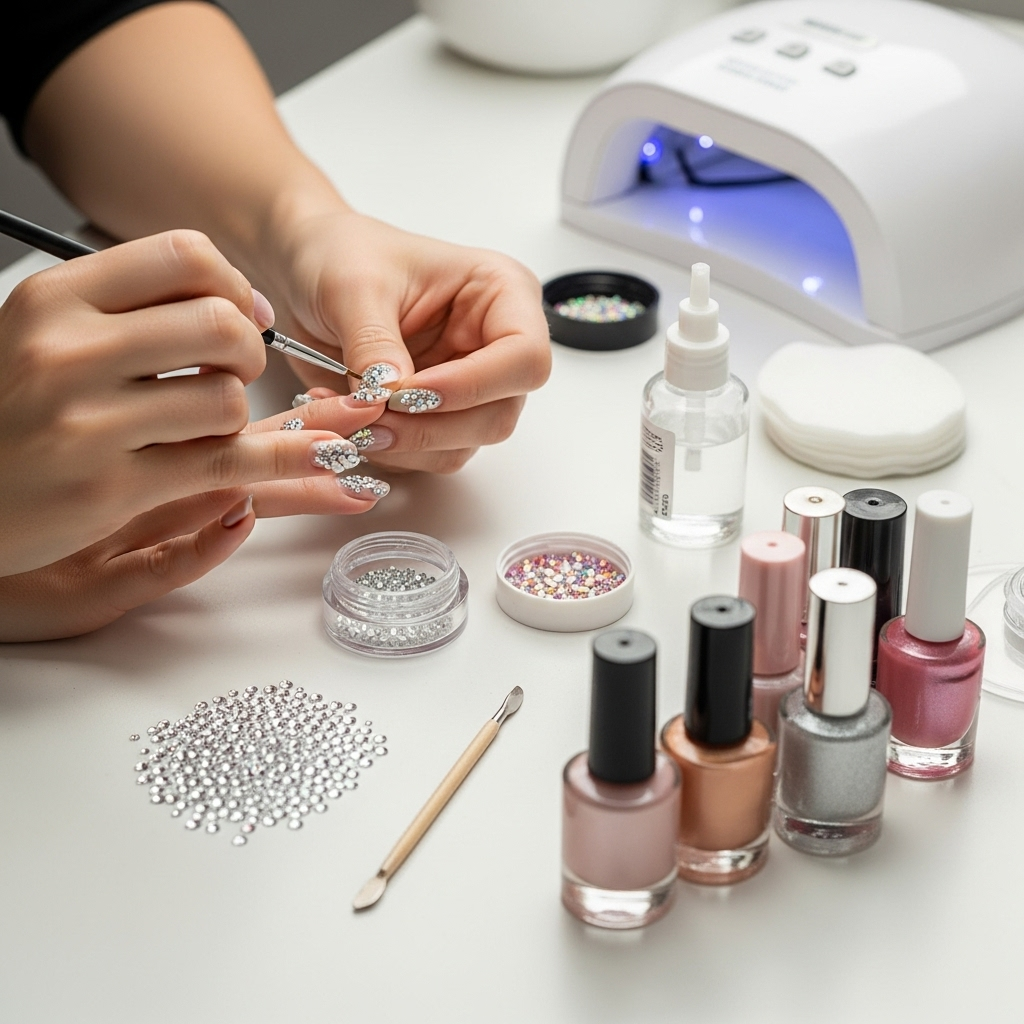
The world of nail crystals is vast! Here’s a look at some popular types and how they fit into your designs:
Crystals and rhinestones for nails come in a variety of materials, shapes, sizes, and finishes. Understanding these can help you choose the perfect embellishments for your desired look.
Materials:
- Glass/Crystal: These offer the most sparkle and brilliance, mimicking genuine gemstones. They are often faceted to catch light beautifully.
- Resin/Acrylic: Lighter and more affordable than glass, resin crystals are available in a huge range of colors and effects. They are less prone to cracking but may not have the same high-end sparkle.
- Metal Charms: These are not technically crystals but are often used alongside them. They come in various shapes (bows, flowers, letters) and add a dimensional element.
Shapes:
| Shape | Description | Ideal For |
|---|---|---|
| Round/Pointed Back (Rhinestones) | Classic dome shape with a flat bottom, designed to be glued or adhered with top coat. | General embellishments, patterns, accents. |
| Flatback Rhinestones | Slightly rounded top with an entirely flat back. Easier to glue down securely. | More subtle designs, embedding into gel. |
| Marquise/Navette | Elongated oval shape, pointed at both ends. | Creating lines, floral petals, elegant accents. |
| Square/Cushion Cut | Geometric shapes that add a modern edge. | Creating patterns, accenting corners. |
| Pearls | Smooth, iridescent spheres. | Classic elegance, French tips, subtle accents. |
| Specialty Shapes | Hearts, stars, moons, butterflies, etc. | Themed designs, focal points. |
Sizes:
Crystals are typically measured in millimeters (mm) or by a standardized sizing system (SS, e.g., SS6, SS10, SS16). Smaller sizes (1-3mm) are great for subtle details and lines, while larger sizes (4mm+) make excellent focal points.
How to Choose:
- For maximum sparkle: Opt for faceted glass crystals.
- For ease of application and wear: Flatback crystals and resin crystals are often easier for beginners.
- For budget-friendly options: Resin and acrylic crystals are typically less expensive.
- For longevity: Consider embedding crystals into gel or builder gel.
Tips for Making Your Crystal Nails Last
You’ve put in the effort to create dazzling crystal nails, so let’s make sure they stick around! Here are some pro tips:
- Start with a Clean Canvas: Ensure your nails are free from oils and old polish for the best adhesion. Use an alcohol wipe or nail cleanser.
- Don’t Skip the Base Coat: A good base coat (or gel base coat) provides a smooth, even surface for your polish and crystals.
- Use the Right Adhesive: For regular polish, a good quality top coat can work for small, light crystals. However, for longevity and larger gems, dedicated nail glue or gel builder is highly recommended. For professional-grade application, check out resources from reputable nail supply companies like Essie’s base coats which offer a great foundation.
- Apply Crystals to Wet Polish or Glue: This is crucial for the “top coat method.” For the glue method, ensure the glue is tacky before placing the crystal.
- Seal Around the Crystals: Once your crystals are in place and the adhesive has set, carefully apply a thin layer of top coat around the base of the crystals. This helps lock them in. Avoid liberally coating the entire gem, as it can dull its sparkle.
- Be Gentle: Avoid picking at your crystals or using your nails for tasks that require a lot of force. Wear gloves when doing dishes or cleaning.
- Gel for Durability: If you want your crystals to last for weeks, using gel polish and gel builder/top coat is the way to go. Curing under a UV/LED lamp ensures a strong, durable finish.
- Apply Strategically: Sometimes, placing crystals near the cuticle or along the sidewall where they won’t get as much friction can help them last longer.
Maintaining Your Dazzling Design
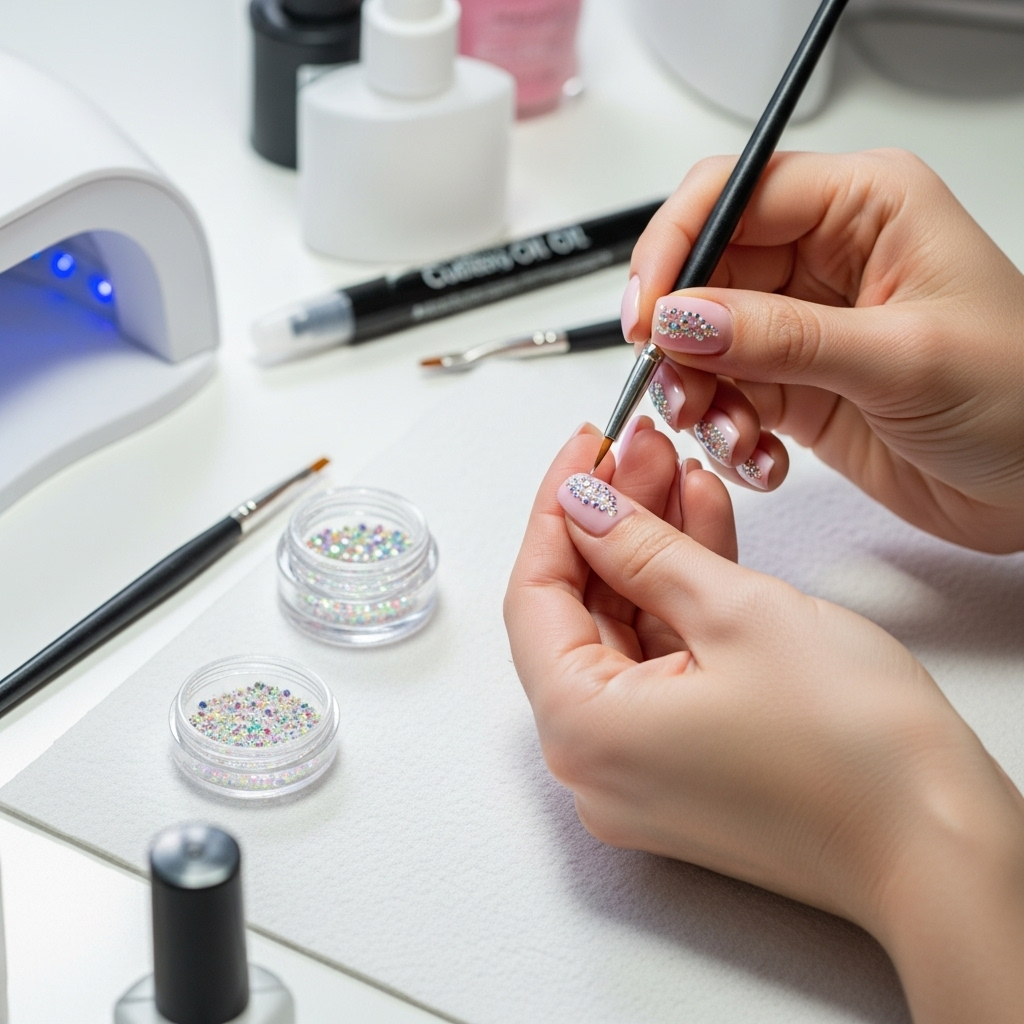
Even with the best application, a little maintenance can go a long way in keeping your crystal nail designs looking as brilliant as day one.
- Gentle Cleansing: When washing your hands, be mindful of your nails. Avoid scrubbing directly on the crystals. A gentle soap and pat-dry method are best.
- Moisturize: Keep your cuticles and the skin around your nails hydrated with cuticle oil or a good hand cream. Dry, brittle skin and cuticles can sometimes lead to lifting of nail polish and potentially decorations.
- Re-sealing (Occasionally): If you notice a crystal becoming loose, or if the top coat around it is wearing away, you can carefully reapply a tiny bit of top coat or nail glue to secure it. Be precise to avoid making a mess.
- File with Care: If you need to file the edges of your nails, be extremely careful not to catch on the crystals. It might be best to file gently away from the crystal areas.
- Avoid Harsh Chemicals: Like with any manicure, exposure to harsh cleaning chemicals without gloves can degrade the polish and adhesives. Wear gloves for chores!
Troubleshooting Common Crystal Nail Issues
Even with the best intentions, a few bumps can appear on the road to crystal nail perfection. Here’s how to handle them:
| Problem | Cause | Solution |
|---|---|---|
| Crystals falling off quickly | Not enough adhesive; adhesive not fully dry; oily nail surface; crystals placed on a fully hardened top coat (for method 1). |

