Crushed crystal nail designs add a dazzling, multi-dimensional sparkle to any manicure, offering a sophisticated yet playful way to elevate your look. These designs are surprisingly easy to achieve DIY, making them perfect for beginners wanting salon-worthy nails at home.
Hey nail lovers! Tired of the same old plain nails? Want something that truly catches the light and turns heads? Crushed crystal nail designs are the answer! They’re like wearing tiny, elegant disco balls on your fingertips. Don’t worry if you’re new to nail art; this is totally doable for beginners. We’ll walk you through everything you need to know to get these stunning nails yourself. Get ready to sparkle!
What Exactly Are Crushed Crystal Nails?
Crushed crystal nails, also known as rhinestone nails or crystal nail art, are a type of manicure that incorporates small, reflective embellishments onto the nail surface. These aren’t just any glitter; we’re talking about tiny, faceted pieces that mimic the look of real crushed gemstones or crystals. They catch and refract light beautifully, creating a mesmerizing, multi-dimensional shimmer that’s far more impactful than standard glitter polish.
The beauty of this trend lies in its versatility. You can go subtle with a few strategically placed crystals or go all out for a full-on dazzling effect. It’s a fantastic way to add a touch of glamour to your everyday look or to make your nails the star of a special occasion. Think of them as the jewelry for your nails – they instantly elevate any outfit and mood!
Why You’ll Love Crushed Crystal Nail Designs

If you’re looking for a way to make your nails pop, crushed crystals are a game-changer. Here’s why this trend is so popular:
- Unmatched Sparkle: Nothing beats the intense, multi-faceted sparkle of crushed crystals. They reflect light in a way that regular glitter just can’t.
- Endless Design Possibilities: From minimalist accents to full-coverage dazzling effects, the creative options are limitless.
- Surprisingly Easy DIY: With the right tools and a little practice, you can achieve professional-looking results right at home.
- Long-Lasting: Properly applied crystals can last for your entire manicure, usually 2-3 weeks.
- Affordable Glamour: Compared to salon embellishments, doing it yourself is much more budget-friendly.
- Mood Booster: Seriously, who can feel anything but fabulous with sparkly nails?
Essential Tools for Crushed Crystal Nails
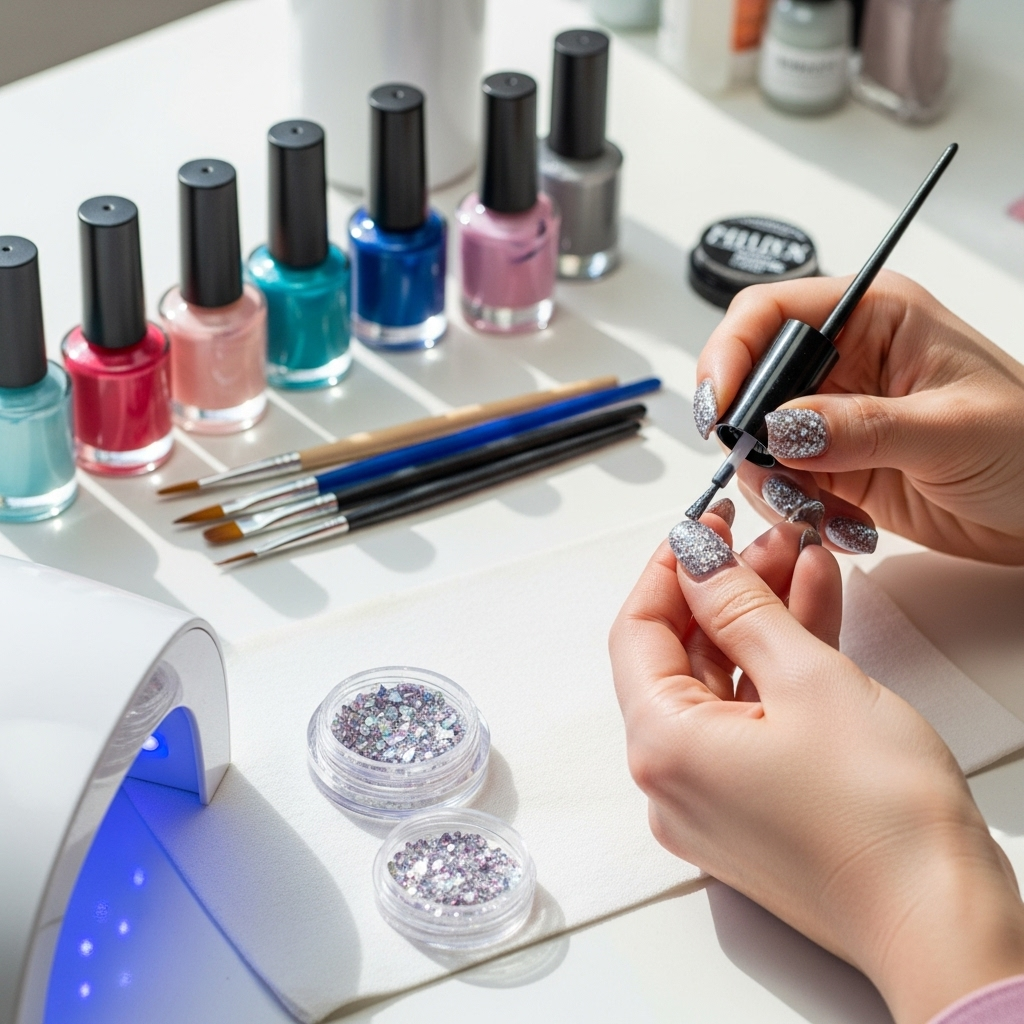
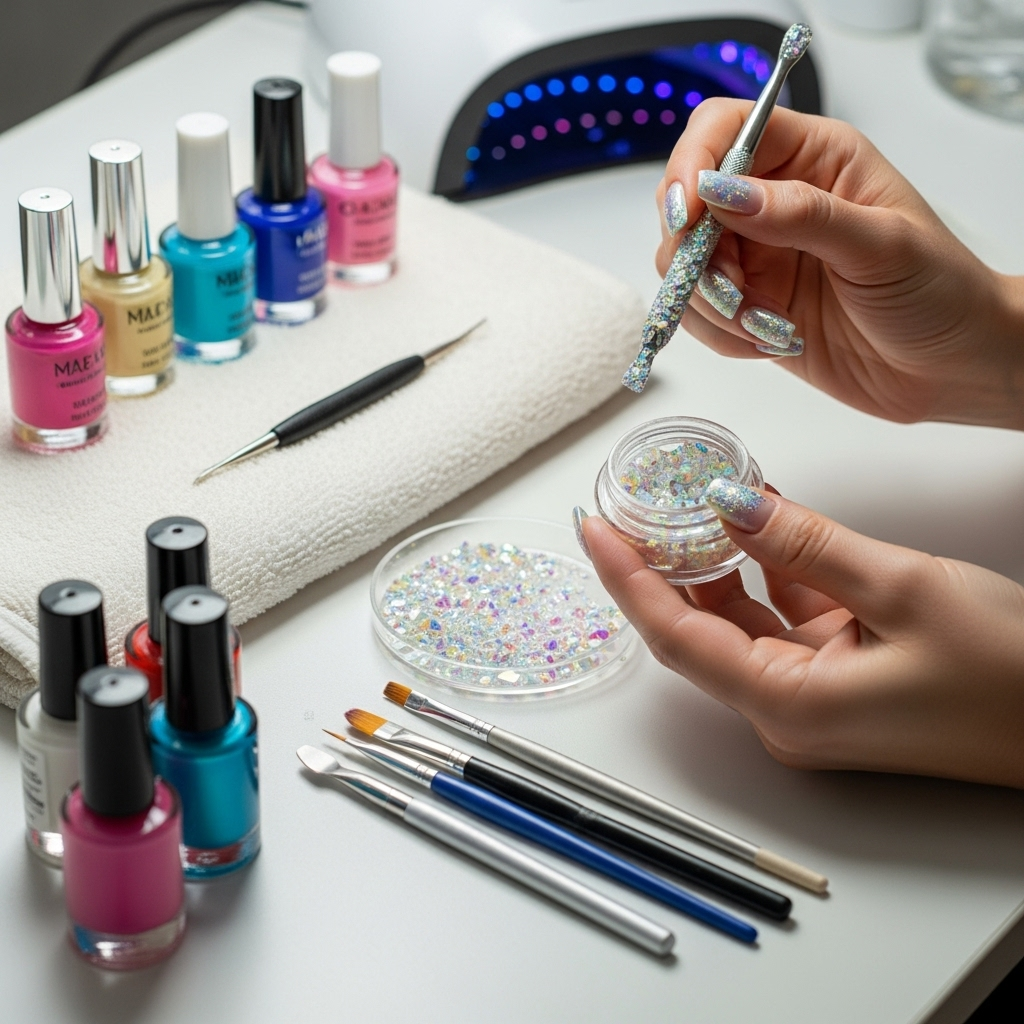
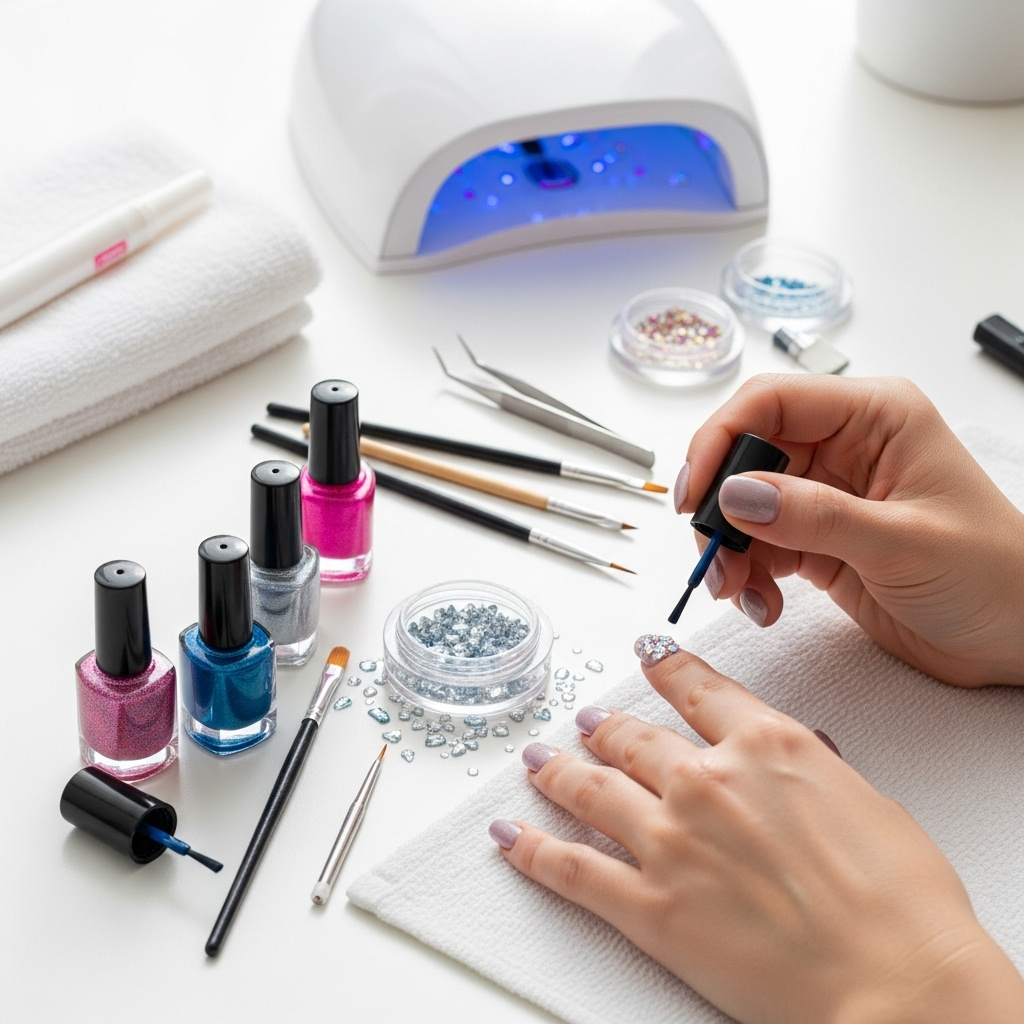
Before we dive into the fun designs, let’s gather your toolkit! You don’t need a whole professional salon. Here are the must-haves:
The Crystals:
- Crushed Crystal/Rhinestone Mixes: These come in various shapes, sizes, and colors. Look for mixes specifically designed for nail art. They often include tiny flat-back rhinestones, glitter flakes, and sometimes even small pearls or metallic studs. You can find beautiful curated mixes online or at beauty supply stores.
- Consider Etsy for unique artisanal mixes, or major beauty retailers for readily available options.
Application Tools:
- Nail Glue or Strong Top Coat: For securing the crystals. A dedicated nail glue is best for larger or heavier crystals, while a strong, non-wipe top coat can work for smaller charms.
- Precision Tweezers or Wax Pencil: Essential for picking up and placing tiny crystals. A wax pencil (like a detailer pencil or even a cosmetic pencil with a sharpened tip) is fantastic because the wax helps crystals adhere to the tip.
- Small Brush or Dotting Tool: For applying glue or top coat precisely where you need it, and for nudging crystals into place.
Base and Finish:
- Your Regular Nail Polish Colors: Choose your base polish.
- Base Coat & Top Coat: Always use a good base coat to protect your nails and a high-shine, durable top coat to seal everything in. A “non-wipe” or “hard” top coat is often recommended as it cures fully without a sticky residue, providing a smooth, glassy finish over the crystals.
- Rubbing Alcohol or Nail Polish Remover: For cleaning up any mistakes and prepping nails.
Pro Tip: Always clean your tools after use to ensure they are ready for your next dazzling creation!
How to Apply Crushed Crystals: Step-by-Step

Ready to get sparkling? Follow these simple steps, and you’ll be a crushed crystal pro in no time!
Step 1: Prep Your Nails
This is crucial for any long-lasting manicure! Start by cleaning your nails to remove any old polish or oils. Shape your nails to your desired length and style. Gently push back your cuticles. Buffing your nails lightly gives the polish and crystals a better surface to adhere to.
Step 2: Apply Base Coat and Color
Apply a thin layer of your chosen base coat and let it dry completely. Then, apply your main nail polish color. For most designs, two thin coats of color will give you the best coverage. Ensure each coat is fully dry before moving on. This patience pays off!
Step 3: Apply Your Adhesive
This is where the magic happens! There are a couple of ways to approach this:
- For Smaller Crystals/Designs: Apply a small bead of a strong, non-wipe top coat onto the area of the nail where you want to place the crystals. Work in small sections, as the top coat can dry quickly.
- For Larger Crystals/Heavier Designs: Use a tiny drop of nail glue. Apply it precisely where each crystal (or cluster of crystals) will sit.
Step 4: Place the Crystals
This is the fun part! Using your precision tweezers or wax pencil, carefully pick up your chosen crystals. Gently press them onto the wet top coat or nail glue. If using a wax pencil, the crystal should stick to the tip. Position them precisely where you want them. A small brush or dotting tool can help you nudge them into place if needed.
- Tip for Full Coverage: If you’re going for a full-coverage “crushed crystal” look, you’ll be applying a dense layer of crystals. Apply your adhesive to a slightly larger section of the nail and work quickly to cover the area. Don’t be afraid to overlap crystals slightly for a seamless look.
Step 5: Seal the Deal (Top Coat)
Once your crystals are perfectly placed and the adhesive is dry, it’s time to seal everything in. Carefully apply a layer of your top coat. For full coverage designs, you might need to “cap” the sides of the crystals with the top coat to ensure they are fully encased and won’t snag. Be generous but avoid flooding the cuticle area. Again, a non-wipe top coat is ideal here. Let it cure completely under a UV/LED lamp if you’re using gel polish, or let regular top coat air dry thoroughly.
Step 6: Clean Up and Shine
Gently clean up any excess top coat from your skin with a small brush dipped in rubbing alcohol. Once completely dry, admire your stunning crushed crystal nails!
| Technique | Best For | Pros | Cons |
|---|---|---|---|
| Top Coat + Crystals | Small, lightweight crystals, accent designs. | Easy to use, less harsh than glue, quick drying. | May not hold heavier or larger crystals securely. |
| Nail Glue + Adhesives | Larger crystals, 3D charms, full-coverage designs, extra durability. | Very strong hold, excellent for complex designs. | Can be trickier to apply precisely, may require UV lamp for gel glue, needs careful removal. |
Stunning Crushed Crystal Nail Design Ideas
Now for the really fun part – inspiration! Crushed crystals can be used in so many creative ways. Here are some favorite ideas perfect for beginners and beyond:
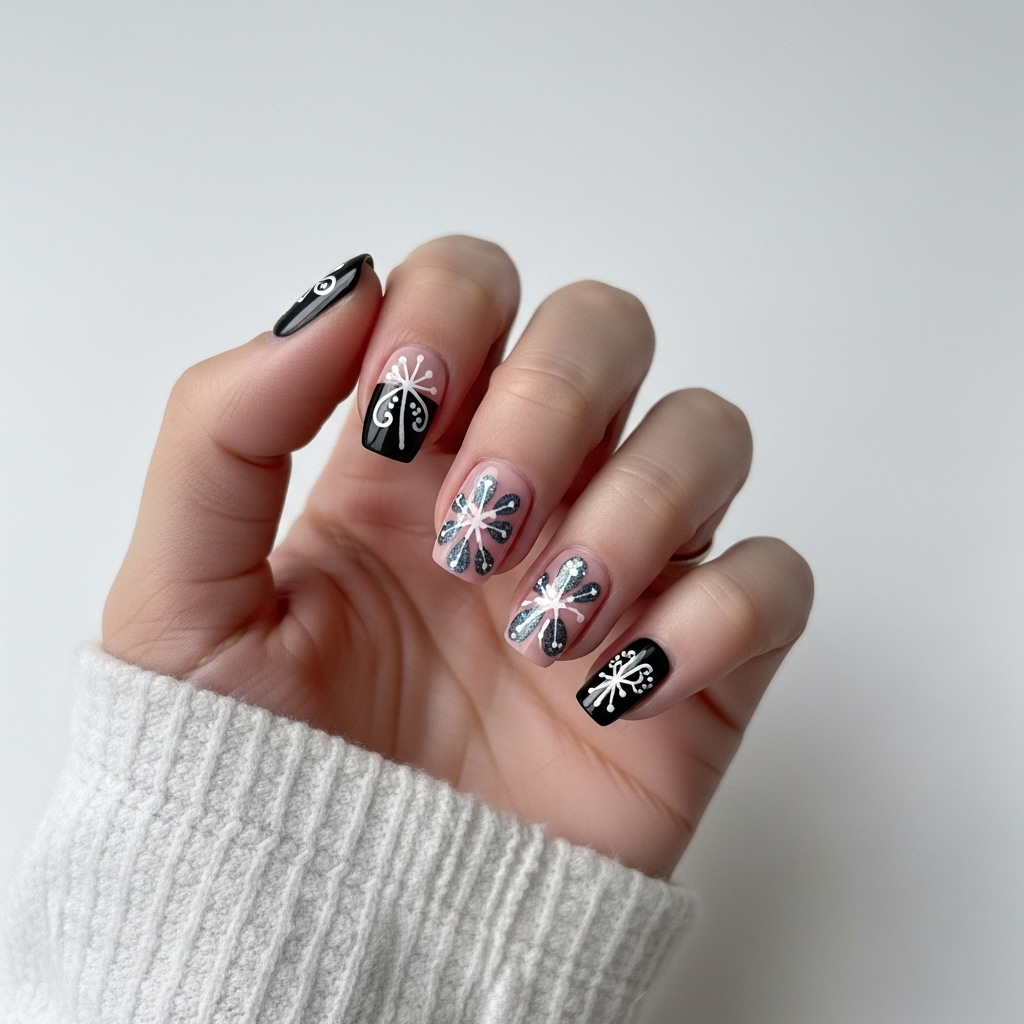
1. The Subtle Sparkle Accent Nail
Concept: Choose one nail (usually the ring finger) and cover it entirely with a mix of crystals. The other nails can be a solid color that complements your crystal mix.
Why it’s great: This is the easiest way to try crushed crystals. It’s elegant, makes a statement without being overwhelming, and is very beginner-friendly. The contrast between the solid color and the dazzling accent nail is super chic.
How to: Apply your base color to all nails. On the accent nail, apply your adhesive (top coat or glue) and carefully cover it with crystals using tweezers or a wax pencil. Seal with top coat once dry.
2. The French Tip Twist
Concept: Instead of the traditional white tip, create a line of crushed crystals along the smile line of your French manicure. You can also do a full crystal-covered tip.
Why it’s great: A modern and glamorous take on a classic. It’s sophisticated and can be adapted to any color palette.
How to: Paint your French tips as usual. Once the tip color is dry and you’ve applied a clear top coat to the rest of the nail, apply a thin, precise line of adhesive along the edge of the tip. Carefully place your crystals onto the adhesive. Seal the edges with top coat.
3. The Gradient Glitter Effect
Concept: Start with crushed crystals at the base or tip of your nail and fade them out towards the other end, creating a beautiful ombre or gradient effect.
Why it’s great: This looks incredibly intricate and high-end, but it’s achievable with patience. It gives a softer, more blended sparkle than full coverage.
How to: Apply your base color. On the section you want to cover (e.g., the cuticle area), apply your adhesive. Start placing crystals densely at the edge, then gradually place them further apart as you move down the nail. You can use different sizes of crystals to enhance the gradient. Seal carefully.
4. The Full-Coverage Dazzler
Concept: Cover your entire nail surface with a dense layer of crushed crystals!
Why it’s great: If you want maximum impact and sparkle, this is it. Perfect for special events, holidays, or just when you feel like being extra!
How to: This is best done with nail glue for security. Apply glue in sections. Use your tweezers to meticulously (or somewhat randomly, depending on your desired effect!) pack the crystals onto the glue. Ensure there are no large gaps. You’ll need a good amount of top coat to fully encase them and smooth the surface. This style requires a bit more time but the payoff is immense.
5. The Geometric Patterns
Concept: Use your crystals to create specific shapes and patterns – think lines, triangles, dots, or even abstract designs.
Why it’s great: This allows for highly personalized and artistic designs. You can keep it simple with a few strategically placed geometric elements.
How to: Plan your design on paper first if needed. Apply adhesive precisely where you want your pattern to go. Use your tweezers or wax pencil to carefully place each crystal according to your design. Seal well.
6. The Scattered Dream
Concept: A more random, whimsical approach, where crystals are scattered lightly across the nail surface, not necessarily in a specific pattern.
Why it’s great: It’s effortless-chic and looks like your nails naturally caught stardust. It’s very forgiving for beginners!
How to: Apply adhesive over a larger portion of the nail or even the whole nail. Then, sprinkle or place crystals randomly using tweezers. Don’t overthink it! Seal with top coat.
Tips for Making Your Crushed Crystal Nails Last

You’ve put in the effort to create these gorgeous nails, so let’s make sure they stick around!
- Use Quality Products: Invest in good nail glue, a durable top coat designed for nail art, and decent quality crystals.
- Thorough Prep: Clean, buff, and dry your nails completely before starting. Any oil or moisture can weaken the adhesive bond.
- Don’t Skip the Top Coat: A good top coat is essential for sealing and protecting the crystals. For gel polish, ensure it’s fully cured.
- Be Gentle: Avoid harsh scrubbing, picking at things with your nails, or using them as tools.
- Wear Gloves: When doing chores like washing dishes or cleaning, wear gloves to protect your manicure from water and chemicals.
- Carry a Small Fix Kit: For touch-ups on the go, keep a tiny bottle of nail glue and a few spare crystals in your bag.
- Proper Removal: When it’s time to take them off, soak your nails in nail polish remover (or acetone for gel) to dissolve the glue and polish gently. Avoid forceful removal, which can damage your natural nails. For a detailed guide on nail polish removal, the American Academy of Dermatology offers excellent advice on nail health.
Crushed Crystal Nail FAQs
Q1: Do crushed crystals damage natural nails?
A: Not necessarily! If applied and removed correctly, they shouldn’t damage your natural nails. The key is using the right adhesives, applying them carefully, and removing them gently using appropriate methods (like soaking) rather than picking or prying them off.
Q2: Can I use UV gel top coat to apply crushed crystals?
A: Yes! UV gel top coats, especially non-wipe formulas, are excellent for applying crushed crystals. They create a strong, durable bond and a smooth finish. Just apply the gel top coat, place your crystals, and cure under a UV/LED lamp according to the product instructions.
Q3: How do I remove crushed crystals without damaging my nails?
A: Gentle removal is vital. For regular polish, soak your nails in nail polish remover for about 10-15 minutes to soften the glue and polish. Then, gently buff away the crystals and polish. For gel polish, use pure acetone and soak for longer, using foil wraps. Avoid pulling or scraping the crystals off forcefully.
Q4: What is the difference between crushed crystal and rhinestone nail art?
A: The terms are often used interchangeably, but “crushed crystal” usually refers to finer, multi-faceted particles that create a dazzling, almost glitter-like effect, but with more depth and sparkle. “Rhinestones” can refer to larger, distinct stones, often with a flat back, used more individually. Many nail art mixes combine both!
Q5: Can I sleep with wet nail polish and crystals on?
A: It’s generally not recommended. Wet polish, especially with added embellishments like crystals, can easily smudge or ruin overnight. The crystals might not adhere properly. It’s best to ensure your nails are completely dry and set before going to sleep. If using regular polish, allow at least 1-2 hours of drying time. Gel polish needs to be cured under a lamp and is dry to the touch immediately.
Q6: Are crushed crystal nail kits worth it?
A: Yes, often! Nail art kits that include a variety of crushed crystals, glitters, and sometimes application tools can be a fantastic way for beginners to start. They offer a curated selection of materials and can be more economical than buying individual components. Just ensure the kit contains good quality materials.
Conclusion

There you have it – your beginner’s guide to the dazzling world of crushed crystal nail designs! We’ve covered what they are, why they’re so fabulous, the essential tools you’ll need, and a step-by-step process to achieve them. Plus, we’ve shared some gorgeous design ideas to get your creativity flowing. Remember, nail art is all about self-expression and having fun. Don’t be afraid to experiment with colors, crystal mixes, and placement. With a little practice, you’ll master these techniques and be rocking your own stunning, salon-worthy crushed crystal manicures in no time. So go ahead, grab your tools, and let your nails shine!
