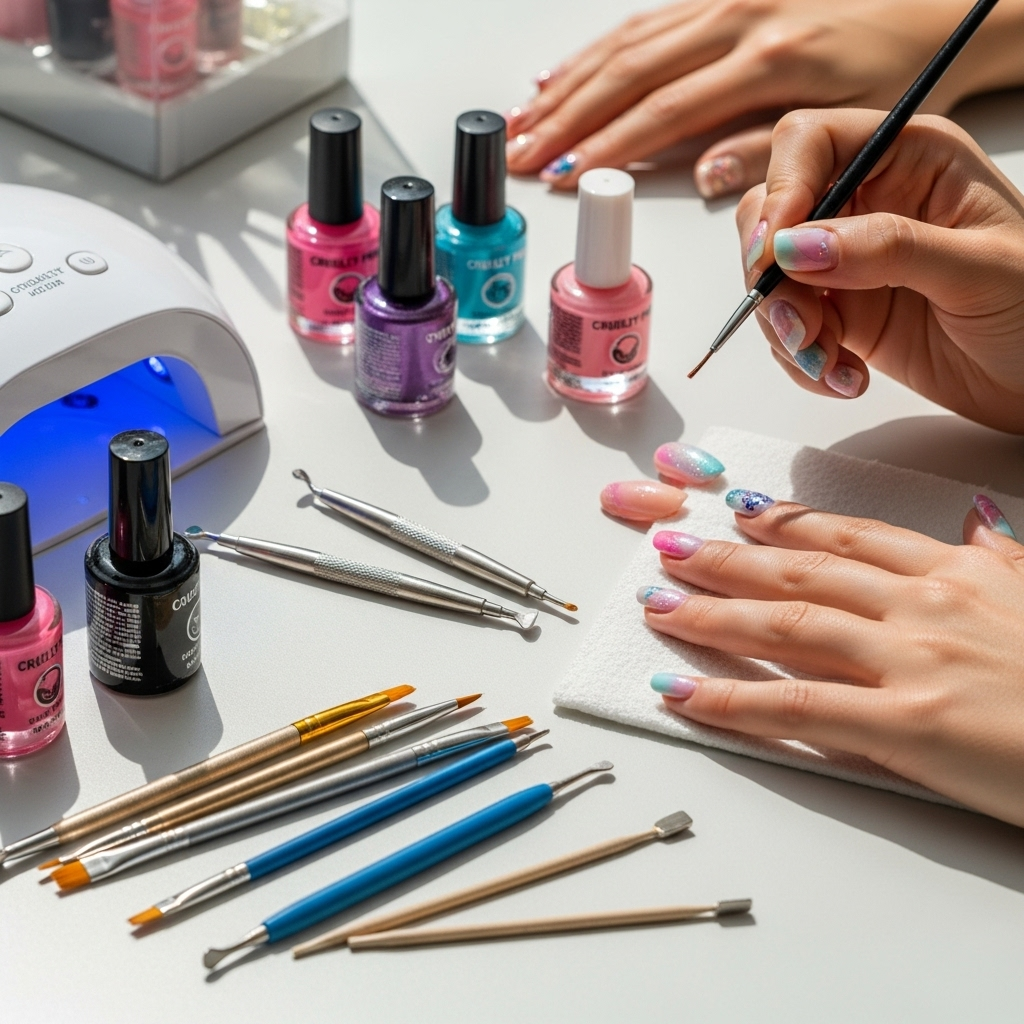
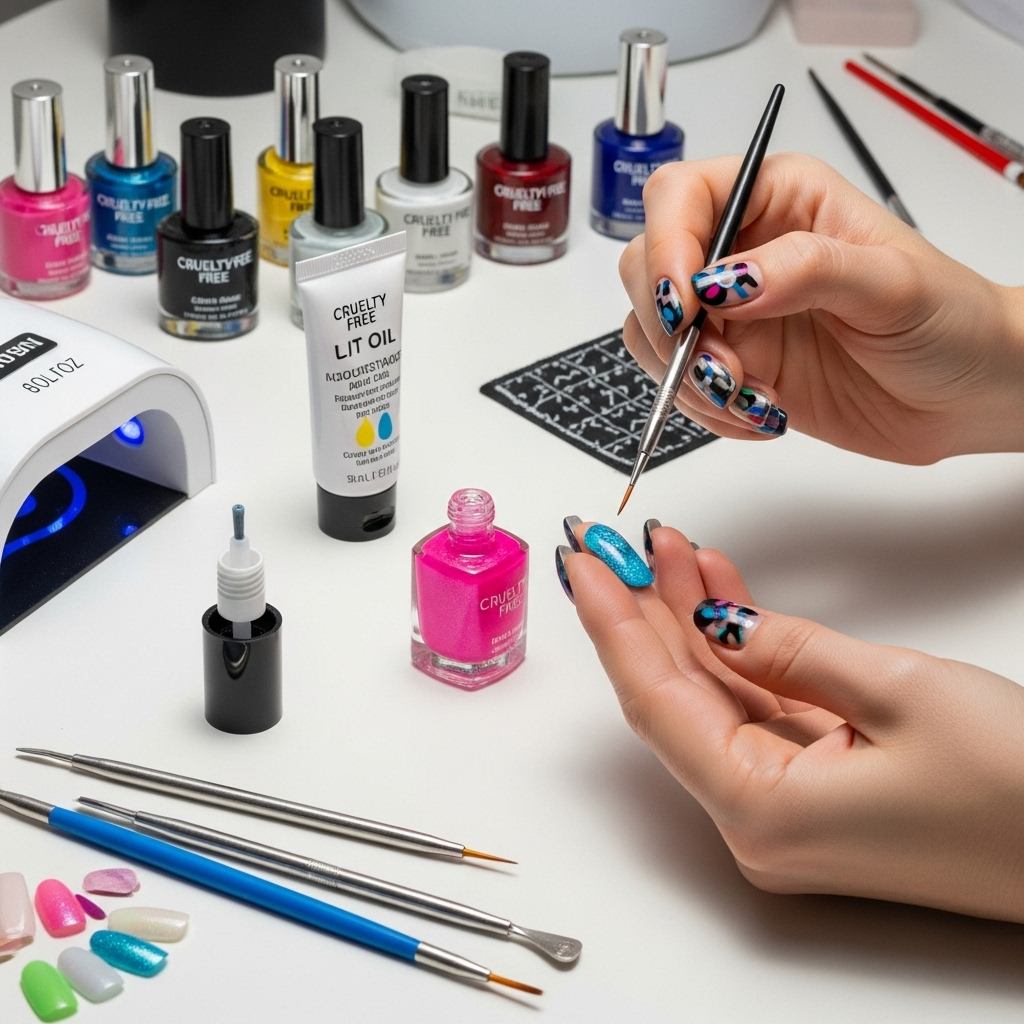
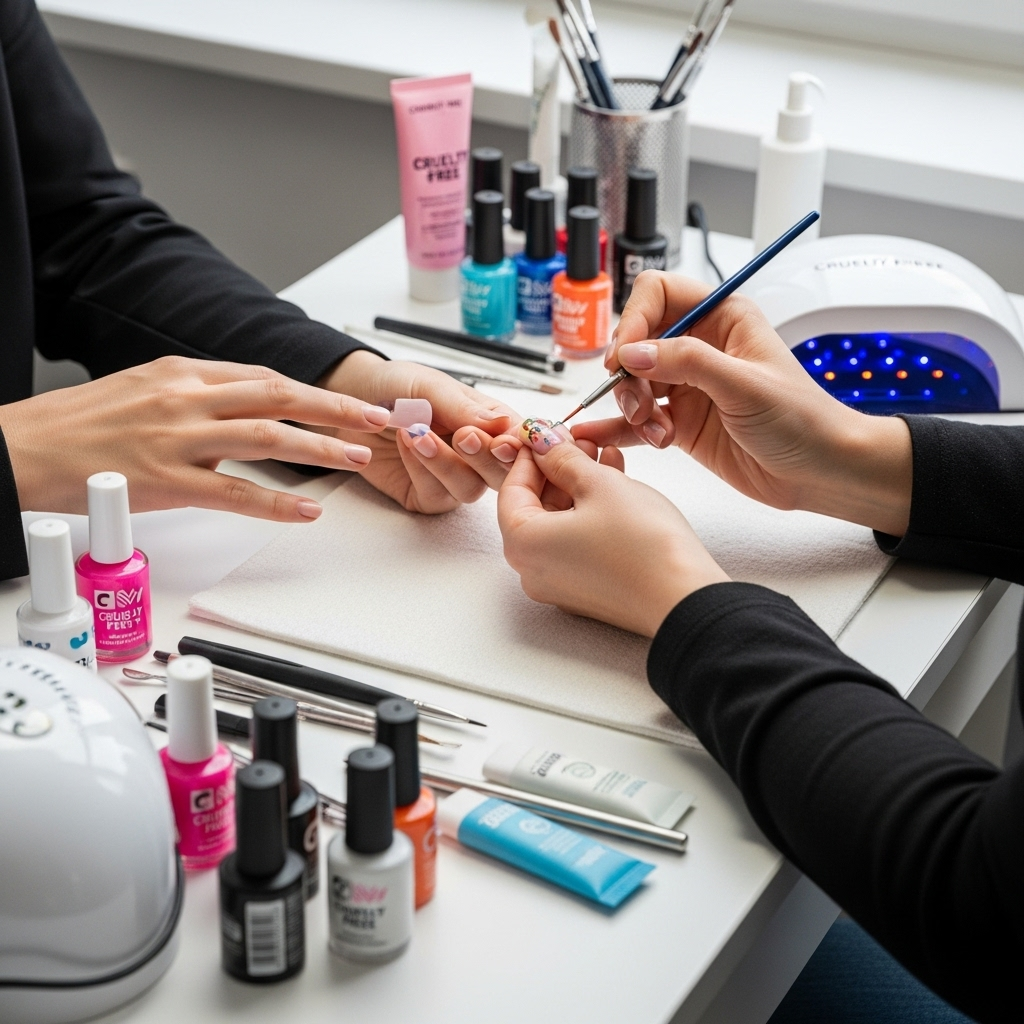
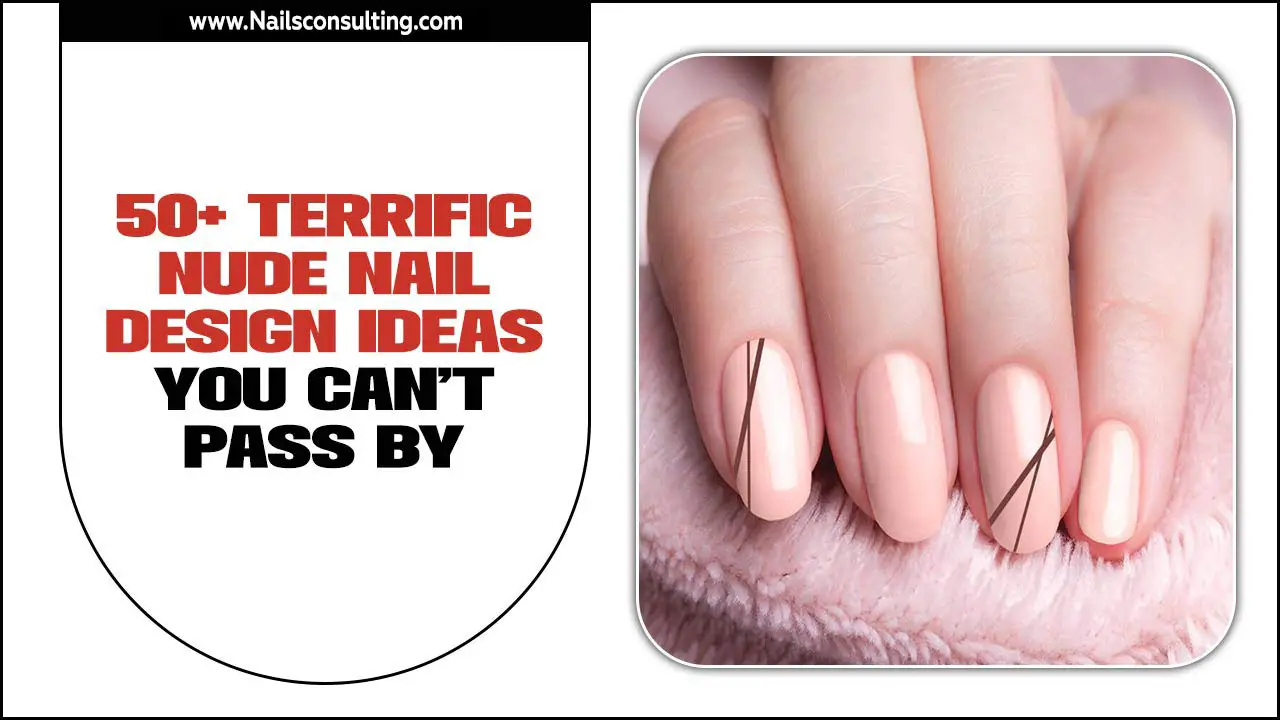
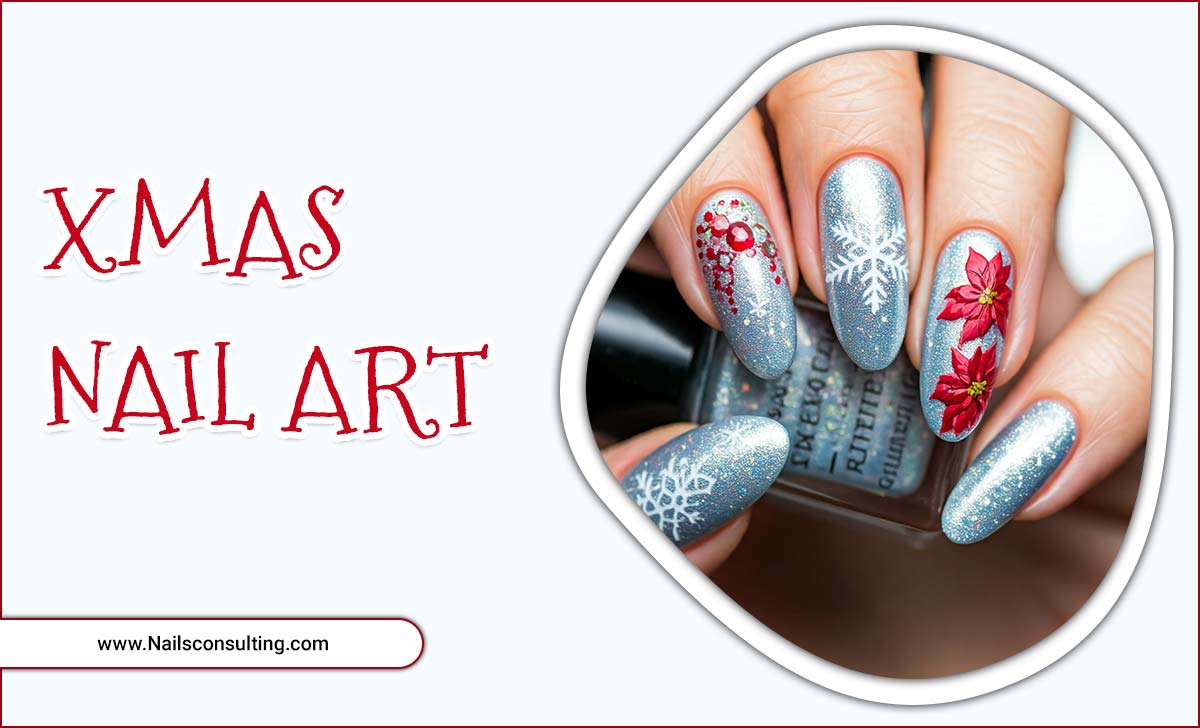
Cruelty-free nail art is beautifully achievable using ethical paints, tools, and techniques, allowing you to express your style without harming animals. Discover essential products and stunning design ideas to elevate your manicure game with compassion.
Unleash Your Inner Artist: The Beginner’s Guide to Cruelty-Free Nail Art
Dreaming of gorgeous, eye-catching nails but worried about the ethical impact of your beauty choices? You’re not alone! Many of us want to explore the vibrant world of nail art, but the thought of animal testing in beauty products can feel a little disheartening. It’s totally understandable to want your creativity to shine without compromising your values. But guess what? Creating stunning nail art that’s kind to animals is not only possible, it’s becoming easier and more beautiful than ever!
In this guide, we’ll introduce you to the wonderful world of cruelty-free nail art. Think vibrant colors, easy-to-follow techniques, and tools that align with your compassion. Whether you’re a total beginner or looking to make the switch to ethical beauty, we’ve got you covered. Get ready to transform your nails into a masterpiece, guilt-free!
Why Go Cruelty-Free for Your Nail Art?
Choosing cruelty-free nail art means opting for products that haven’t been tested on animals at any stage of their development. This is a growing movement in the beauty industry, and for good reason!
Ethical Compassion: The most significant reason is to prevent animal suffering. Animal testing can involve various painful procedures. By choosing cruelty-free, you’re making a statement against this practice.
Aligning with Values: Many people today want their purchasing decisions to reflect their personal ethics. Selecting cruelty-free products allows you to express your care for animals through your beauty routine.
Quality & Innovation: The cruelty-free beauty market is booming with incredible innovation. Brands are creating highly pigmented, long-lasting, and diverse products that rival – and often surpass – their tested counterparts.
Supporting Responsible Brands: Opting for cruelty-free brands helps support companies that prioritize ethical practices and transparency in their manufacturing.
Understanding Cruelty-Free Labels for Nail Polish
Navigating the world of “cruelty-free” can sometimes feel a little confusing. Here’s how to identify genuinely ethical nail art products:
Leaping Bunny Certified: This is the gold standard. The Leaping Bunny logo signifies that no animal testing was conducted at any point by the company, its labs, or its suppliers. You can check their database of certified brands at Leaping Bunny.
PETA Approved: PETA (People for the Ethical Treatment of Animals) also has a cruelty-free program. Look for PETA’s bunny logo or their “cruelty-free” certification.
“Not Tested on Animals” Claims: While seemingly clear, be cautious. This statement alone can be vague. Some companies might not test finished products but allow their ingredients to be tested. Always look for third-party certification for the most reliable assurance.
“Vegan” vs. “Cruelty-Free”: It’s important to note that “vegan” means no animal-derived ingredients are used. “Cruelty-free” means no animal testing. A product can be vegan but tested on animals, or cruelty-free but contain animal ingredients (though this is less common in nail polish). Ideally, you’ll find products that are both!
Essential Cruelty-Free Nail Art Tools for Beginners
To get started with stunning nail art, you don’t need a professional salon’s worth of tools. A few key items will set you on the path to creativity!
Must-Have Cruelty-Free Tools:
Detail Brushes: These are essential for drawing fine lines, dots, and intricate patterns. Look for brushes with synthetic bristles, as they are often vegan and cruelty-free. Ensure they have a good range of tip sizes.
Dotting Tools: These come with metal balls of various sizes at the end, perfect for creating polka dots, swirls, and small flower petals. They are generally made from metal and plastic/resin handles, making them inherently cruelty-free.
Striping Tape: Thin, adhesive tape that you can use to create sharp, clean lines and geometric designs. This is a simple, material-based tool.
Stencils/Nail Vinyls: Adhesive stickers with cut-out designs that you can apply to your nail, paint over, and then peel off to leave a crisp design.
Nail Art Pens: These are like markers with fine tips, offering a convenient way to draw simple designs, outlines, or fill in small areas. Ensure the ink and manufacturing are cruelty-free.
Base Coat & Top Coat: Crucial for protecting your natural nails and making your design last. Many excellent cruelty-free options are available.
Nail Polish Remover: For swift corrections and cleaning up mistakes. Opt for acetone-free or low-odor options when possible, and check they are cruelty-free.
Choosing Your Cruelty-Free Nail Polish Palette
The heart of nail art is, of course, nail polish! Fortunately, the cruelty-free market is brimming with gorgeous colors and finishes.
Top Cruelty-Free Nail Polish Brands (Beginner-Friendly Picks)
Here are a few brands known for their commitment to being cruelty-free and offering fantastic polishes for nail art:
Zoya: Widely recognized and available in a huge spectrum of colors. Zoya is a 10-free (meaning free from 10 common toxic ingredients) and always cruelty-free brand.
Essie (Select Lines): While Essie is owned by L’Oréal, who generally tests on animals where required by law, Essie itself states they are committed to not testing their products on animals. However, for absolute certainty and to support brands with a fully certified cruelty-free stance, you might prefer others. Always check for the Leaping Bunny or PETA logo.
Pacific Beauty Brands (under brands like Pacifica): Pacifica Beauty is a 100% vegan and cruelty-free brand, offering a wide array of colorful polishes perfect for art.
ELLA + MIA: Known for their stylish, eco-friendly packaging and vibrant nail colors. They are always 100% vegan and cruelty-free.
Mooncat: A cult favorite for unique colors and finishes, Mooncat is proudly cruelty-free and vegan.
What to Look for in Nail Polish for Art:
Pigmentation: Highly pigmented polishes mean you can get full coverage with fewer coats, which is ideal for detailed work.
Formula Consistency: Not too thick, not too thin. A polish that flows well will make application much smoother.
Brush Quality: Many brands have good quality brushes that allow for control, even in their standard polish bottles.
Quick Drying: For layering designs, a quick-drying formula is a lifesaver!
Easy Cruelty-Free Nail Art Techniques for Beginners
Ready to get your hands (and nails!) dirty with some fun designs? Let’s dive into some simple yet stunning techniques.
Technique 1: The Dotty Delight
This is possibly the easiest and most versatile nail art technique.
What you’ll need:
Base coat
Color polish (your main shade)
Accent color polish(es)
Dotting tool or the tip of a bobby pin/pencil eraser
Top coat
Steps:
1. Prep: Apply your base coat and let it dry completely.
2. Apply Base Color: Paint all your nails with your main color polish. Apply two thin coats for the best coverage and let them dry thoroughly. This is crucial for preventing smudging.
3. Dotting Time:
Dip the tip of your dotting tool into an accent color polish.
Gently press the dotting tool onto your nail to create a dot.
Continue making dots, either in a pattern (like stripes, flower outlines, or random scattering) or covering the whole nail.
You can use multiple colors for a fun, multi-hued effect.
Refresh the polish on your dotting tool as needed.
4. Clean Up: Use a small brush dipped in nail polish remover to clean up any polish that got onto your skin.
5. Seal the Deal: Apply a clear top coat over the entire design to protect it and add shine.
Technique 2: The Striped Sensation
Create chic, modern stripes with striping tape.
What you’ll need:
Base coat
Color polish (your base shade)
Accent color polish(es)
Striping tape
Scissors or a nail art cutter
Tweezers (optional, but helpful)
Top coat
Steps:
1. Prep: Apply base coat and let dry.
2. Apply Base Color: Paint your nails with your base shade. Apply two thin coats and allow them to dry COMPLETELY. This is critical. If the polish is not dry, the tape will lift it.
3. Apply Tape:
Cut a piece of striping tape to fit your nail. You can use scissors or a specialized nail tape cutter.
Carefully apply the tape onto your dried polish. Press down firmly along the edges to ensure a good seal.
You can apply tape horizontally, vertically, diagonally, or create geometric patterns by using multiple pieces.
4. Paint Over: Apply your accent color polish over the entire nail, ensuring it covers the tape.
5. Remove Tape: While the accent color is still wet, carefully peel off the striping tape using tweezers or your fingertips. Peel slowly and at an angle.
6. Clean Up Edge (Optional but Recommended): If there’s any slight bleed under the tape, use a small brush dipped in remover to carefully clean the edge.
7. Seal: Apply a generous layer of top coat over the entire nail. Make sure the top coat seals the edges of the tape design to prevent peeling.
Technique 3: Simple Stamped Designs
Stamping is a fantastic way to achieve intricate designs with minimal effort. While the plates themselves are usually metal and reusable, the polishes and stamper heads are where we focus on cruelty-free.
What you’ll need:
Base coat
A fast-drying, highly pigmented stamping polish (cruelty-free brands like Mundo de Uñas, Born Pretty, and Eliza M offer many options)
A stamper and scraper (often sold in sets, check if the stamper head material is synthetic)
Nail art stamping plates (usually metal, so inherently cruelty-free)
Top coat
Alcohol wipes or pure acetone for cleaning
Steps:
1. Prep: Apply base coat and let dry, then apply your base color polish and let it dry completely.
2. Apply Stamping Polish: Apply a generous amount of your stamping polish onto the design on the metal plate.
3. Scrape: Hold the scraper at a 45-degree angle and quickly scrape off the excess polish from the plate. You want to fill the etched design but remove the excess from the surface.
4. Stamp: Immediately roll the stamper onto the plate to pick up the design. Work swiftly!
5. Transfer: Roll the stamper onto your nail, transferring the design.
6. Clean Up: Use a small brush with alcohol or acetone to clean any polish from your skin.
7. Seal: Apply a top coat. Be gentle with the first layer of top coat, as too much pressure can smudge the stamped design.
Creating a Cruelty-Free Nail Art Kit: A Checklist
Building your collection of cruelty-free treasures is part of the fun! Here’s a handy checklist to guide you.
| Category | Items Needed | Cruelty-Free Considerations |
| :——————- | :————————————————————————————————————————————————————————————————————————————————————————————- | :——————————————————————————————————————————————————– |
| Base & Color | Base Coat, Top Coat, 3-5 Primary Color Polishes (red, blue, yellow, black, white is a good start), 2-3 Accent/Glitter Polishes | Look for Leaping Bunny or PETA certified brands. Many are also 7-free, 9-free, or 10-free, meaning they exclude common harmful chemicals. |
| Tools | Detail Brushes (various sizes), Dotting Tools (various sizes), Striping Tape, Stencils/Nail Vinyls, Nail Art Pens/Markers, Tweezers | Synthetic bristles for brushes are ideal. Metal/plastic tools are generally fine. Ensure pens are from certified brands. |
| Application Aids | Cotton Pads/Balls, Nail Polish Remover (ensure it’s from a cruelty-free brand, acetone-free is often gentler), Cleaning Brushes (small, fine-tipped for cleanup) | Remover should be from a cruelty-free certified brand. |
| Optional Extras | Nail Art Foils, Rhinestones/Gems (check adhesive and packaging), Glitter Glues, UV/LED Lamp (for gel polish, ensure gel polish brands are cruelty-free) | Many craft gems and foils are inherently cruelty-free. If purchasing adhesives or gels, verify the brand’s cruelty-free status. |
Advanced Tips for Blooming Nail Artists
Once you’ve mastered the basics, here are a few tips to elevate your cruelty-free nail art game:
Practice Makes Perfect: Don’t get discouraged if your first few attempts aren’t salon-ready. Every nail artist started somewhere! Practice on plain paper or nail tips first.
Layering is Key: Use quick-drying top coats between thin layers of polish to build depth and complexity in your designs.
Cleanliness is Crucial: A clean workspace and clean tools make a huge difference. Wipe brushes and dotting tools between colors and after use.
Embrace Negative Space: Sometimes, not painting your entire nail can create a very modern and chic look. Think half-moons or geometric cut-outs.
Inspiration Everywhere: Look at nature, fashion, art, and even architecture for design ideas. Your surroundings are a treasure trove of inspiration.
Explore Brands: As you get more comfortable, explore different cruelty-free brands. Each has its unique formula, brush type, and color selection. For example, many professional nail artists rave about the quality and color payoff from brands committed to ethical practices, like the ones mentioned earlier.
Don’t Be Afraid to Mix: Combine techniques! Try stamping over a striped design or adding dots to a gradient.
Tool Maintenance: Properly clean and store your brushes. This will make them last longer and perform better. Look for guides on cleaning nail art brushes from reputable beauty sites like Nailpro.
Stunning Cruelty-Free Nail Art Designs to Try
Let’s get inspired with some beautiful design ideas that are perfect for beginners and beyond!
1. Minimalist French Tips with a Twist
How-to: Start with a sheer or nude base. Instead of white, use a vibrant cruelty-free color (like teal, coral, or lavender) to paint a thin line on the tip of each nail. You can use a fine detail brush or even the polish brush itself for a bolder tip.
Why it works: It’s a modern take on a classic, and the bold color pops beautifully against a neutral background.
2. Gradient Ombre with Glitter Accent
How-to: Choose two or three complementary cruelty-free polishes. Apply your base coat and then your lightest shade. Using a makeup sponge, dab the next color onto the tip of the nail, blending upwards slightly. Repeat with the third color if using. Once dry, add a glitter polish to your ring finger or all nails for extra sparkle.
Why it works: Ombre looks sophisticated and is easier than it appears with a sponge! Glitter is always a fun addition.
3. Floral Fun with Dotting Tools
How-to: After applying your base color and letting it fully dry, use your smallest dotting tool to create a cluster of dots in the center of a nail for a flower center. Then, use a slightly larger dotting tool with a different color to create petals around it. You can also use a fine brush to add delicate outlines or leaves.
Why it works: Flowers are always in season, and this technique is surprisingly simple and effective.
4. Geometric Block Nails
How-to: Paint your nails with a base color. Once completely dry, use striping tape to create geometric sections (e.g., a triangle, a diagonal line dividing the nail). Paint the new sections with contrasting colors. Carefully remove the tape while the polish is still wet.
Why it works: Sharp lines and contrasting colors create a bold, modern statement.
5. Celestial Sparkle
How-to: Paint your nails a deep navy, black, or dark purple. Once dry, use a fine brush or a dotting tool with a metallic silver or gold polish to create small dots for stars. You can also use a white polish to draw subtle constellations or crescent moons. Add a sheer glitter top coat for a starry night effect.
Why it works: It’s enchanting and quite easy to achieve a mystical look that’s out of this world!
—
Frequently Asked Questions About Cruelty-Free Nail Art
Q1: Is all nail art stuff cruelty-free?
No, not necessarily. While many nail art tools
