Unleash Your Inner Artist with Creative Nail Design Using Minimal Tools! Discover genius and effortless techniques that transform your nails into stunning masterpieces without a cluttered collection. Get ready for salon-worthy looks achievable at home, right now.
Dreaming of gorgeous, eye-catching nails but overwhelmed by elaborate designs and endless lists of specialist tools? You’re not alone! Many of us admire intricate nail art, wishing we could recreate those stunning looks without spending a fortune on brushes and gadgets. It can feel like a secret club, can’t it? But what if I told you that achieving creative and beautiful nail designs is actually much simpler than you think? You can absolutely elevate your manicure game with just a few everyday items you likely already have on hand. Get ready to discover how easy it is to express your unique style and create truly impressive nail art with minimal fuss and maximum impact!
In this guide, we’ll dive into brilliant ways to create fantastic nail designs with just a few basic essentials. We’ll explore simple techniques that require no fancy equipment, proving that creativity knows no bounds. Prepare to be inspired and empowered to give your nails that extra special touch!
Frequently Asked Questions About Minimal Tool Nail Design
What are the absolute essential tools for beginner nail art?
For a minimalist approach, you really only need a few things: a good base coat, your favorite nail polish colors, a top coat for shine and protection, and something for detail. Your typical options for detail are a toothpick, a bobby pin, or even the fine tip of a nail polish brush. That’s it!
How can I make my nail polish last longer with simple designs?
The key is preparation and sealing. Always start with a clean, dry nail and apply a quality base coat. After your design is complete, a generous application of a good top coat is crucial. Make sure to cap the free edge of your nail (the tip) with your top coat to prevent chipping.
Are there any nail shaping tools I absolutely need?
Honestly, for basic, creative designs, you can get by with just your nail file and a nail buffer. A good nail file helps shape your nails, and a buffer can give them a smooth, polished look even without polish. For more advanced shaping, you might consider cuticle nippers, but they aren’t essential for simple art.
What’s the easiest way to create a simple pattern with minimal tools?
Dotting! Using the tip of a toothpick or the rounded end of a bobby pin dipped in polish is incredibly forgiving. You can create polka dots, simple flower centers, or even connect dots to form lines or abstract shapes. It’s super accessible for absolute beginners.
Can I achieve ombre or gradient effects without special sponges?
Absolutely! The makeup sponge trick is still the easiest, but you can also use a plastic bag or even crumpled plastic wrap. Dab polish onto the bag, then dab your nail onto it to pick up the colors. Another method is to use a fine brush (or even a clean finger wearing a glove) and blend the colors directly on your nail before the polish fully dries.
What kind of nail polish works best for detailed art?
Thicker polishes can be harder to control for fine lines. Opt for formulas that aren’t too runny but also not too goopy. Many standard nail polishes work well. If you find a polish too thick, a single drop of nail polish thinner can often revive it, but use sparingly. For very fine lines, polishes with a thinner brush, like those found in some nail art specific lines, are helpful, but not strictly necessary for minimalists.
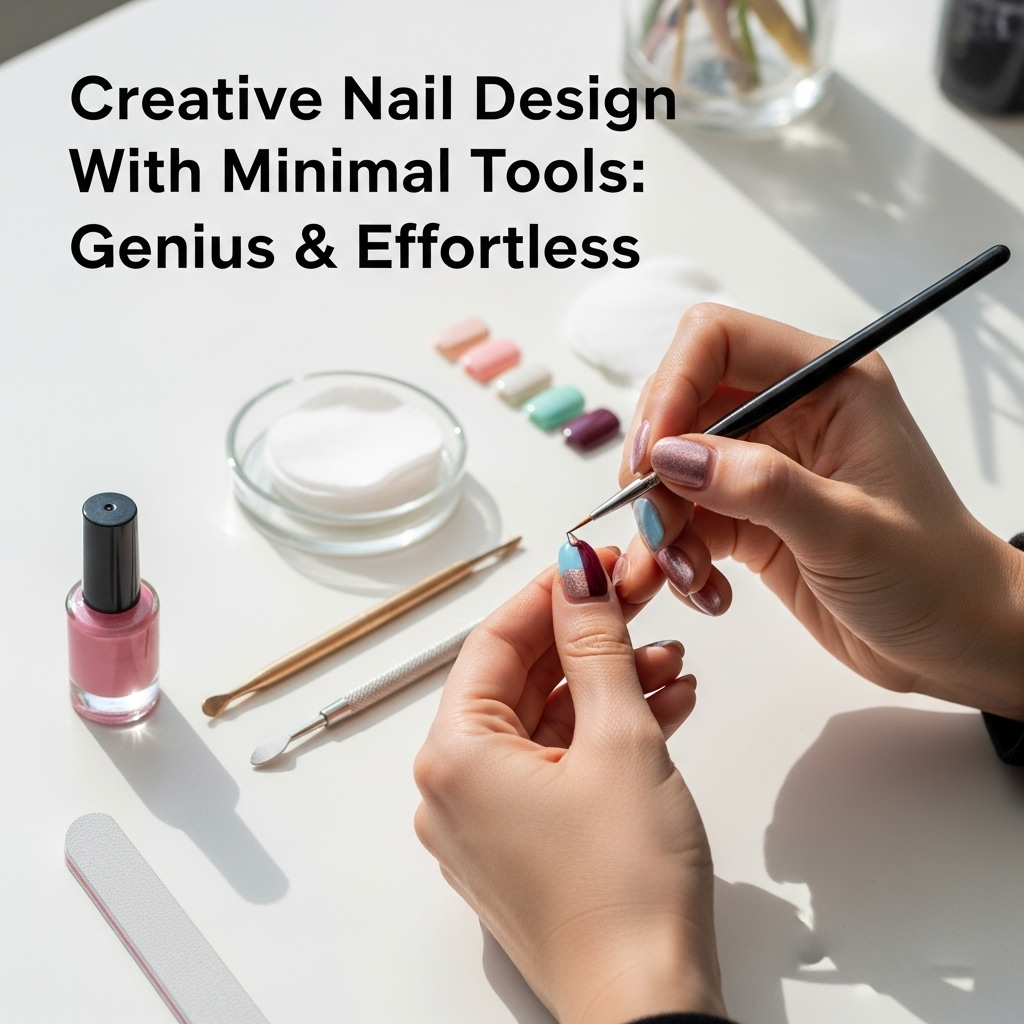
Creative Nail Design With Minimal Tools: Genius & Effortless
Are you ready to transform your nails into tiny canvases of art without needing a professional kit or endless tutorials? It’s totally achievable! We’re here to show you that stunning nail designs don’t require fancy brushes, dotting tools, or special strippers. All you need are a few basic supplies and a sprinkle of creativity. We’ll guide you through genius techniques that are so simple, you’ll wonder why you ever felt intimidated. Let’s dive in and discover how to create gorgeous nail art with just the essentials!
Why Go Minimalist with Your Nail Design Tools?
Let’s be honest, the world of nail art can seem a bit daunting. You see those intricate designs on social media, and it feels like you need a whole dedicated drawer packed with specialized brushes, dotting tools of every size, striping tape, stencils, and more. While these tools are fantastic for advanced artists and elaborate creations, they’re not necessary for everyday beauty or for beginners dipping their toes into nail art. Going minimalist has so many perks:
- Budget-Friendly: You save money by not buying a plethora of tools.
- Space-Saving: No more cluttered drawers or travel toiletry bags overflowing with tiny bottles and brushes.
- Beginner-Friendly: It simplifies the process, making nail art feel accessible and less intimidating.
- Quick & Easy: You can often achieve a polished, artistic look in less time.
- Versatile: Everyday items can unexpectedly become your favorite artistic tools!
The goal is to embrace your creativity and use what you have to make your nails look amazing. It’s all about clever techniques and a little bit of imagination. Let’s explore some of the most genius ways to achieve beautiful nail designs with next to nothing.
Your Essential Minimalist Nail Art Kit
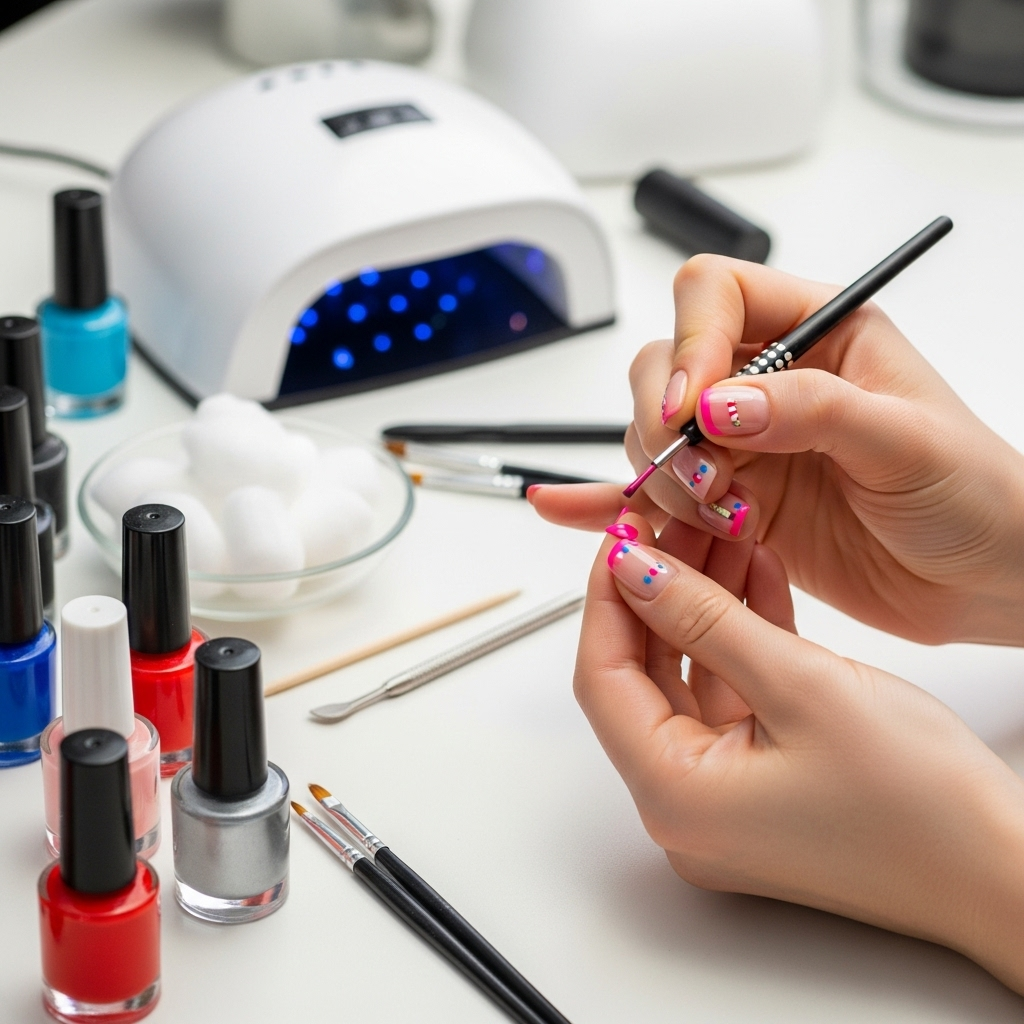
Before we dive into the fun designs, let’s ensure you have the absolute bare minimum to get started. Think of this as your starter pack for effortless nail art. You’ll be surprised at how much you can do with just these basics:
- Base Coat: This is non-negotiable! It protects your natural nail from staining and helps your polish adhere better, making manicures last longer.
- Nail Polish Colors: Your favorite shades! For beginners, starting with a few core colors (a classic red, a neutral, a black or white for accents) is a great idea.
- Top Coat: Essential for sealing your design, adding shine, and extending the life of your manicure. A quick-dry top coat is a lifesaver!
- Toothpicks: These are your secret weapon for dots, lines, and even tiny floral details.
- Bobby Pins/Hairpins: The rounded end is perfect for larger dots, creating subtle patterns, or even a quick swirl.
- A Fine-Tipped Brush (Optional but Recommended): If you have an old (but clean!) eyeliner brush, a lip brush, or even a very fine artist’s paintbrush, it can be incredibly useful for cleaner lines and more precise work.
- Cotton Swabs & Nail Polish Remover: For cleaning up mistakes. Perfection is great, but cleanup is your friend!
And that’s it! With these few items, you’re ready to create some truly stunning nail designs. Now, let’s get to the good stuff: the techniques and ideas!
Genius Minimalist Nail Art Techniques
Ready to get creative? These techniques use common items to create beautiful effects. They’re perfect for beginners and busy individuals who want stylish nails without the fuss!
1. The Dotting Delight: Polka Dots, Flowers & Patterns
This is arguably the easiest and most versatile nail art technique. Toothpicks and bobby pins are your best friends here!
Tools Needed: Toothpick or bobby pin, nail polish colors, base and top coat.
How-To:
- Apply your base coat, followed by your chosen base color polish. Let it dry completely.
- Dip the tip of your toothpick or the rounded end of your bobby pin into a contrasting nail polish color. Make sure to get a good, but not excessive, bead of polish.
- Gently press the dabbed tip onto your nail to create a dot.
- For polka dots, continue adding dots across your nail. You can vary dot sizes by using the pointy end of a toothpick for smaller dots and the rounded end of a bobby pin for larger ones.
- Creative Ideas:
- Classic Polka Dots: Randomly place dots for a playful look, or line them up for a more graphic style.
- French Tips with a Twist: Instead of a plain white tip, use a toothpick dipped in a bold color to create a thin line of dots along your natural smile line.
- Simple Flowers: Place five small dots in a circle to form a petal shape, and add a dot of a different color in the center for the stamen.
- Abstract Patterns: Connect dots with thin lines (using the toothpick’s pointy end) or create swirling patterns.
- Let your design dry thoroughly.
- Apply a generous layer of top coat to seal everything in.
2. The Marble Effect Mimic: Swirls & Marbling
Achieve a sophisticated marbled look without the water bath mess! This can be done directly on the nail with a bit of practice.
Tools Needed: Toothpick or fine-tipped brush, two or three contrasting nail polishes, base and top coat.
How-To:
- Apply your base coat and your primary nail polish color. Let it dry.
- On a separate surface (like a piece of paper or a plastic mat), place a few small drops of your accent polish colors next to each other. Don’t let them touch too much.
- Use your toothpick or fine-tipped brush to gently swirl the colors together. Don’t over-mix; you want to see distinct veins of color.
- Quickly dip your toothpick or brush into the swirled polish mixture.
- Gently drag or swirl it onto your nail, creating marbled-like veins. Work fast before the polish dries.
- Creative Ideas:
- Classic Marble: Use black, white, and grey polish for a sophisticated look.
- Gemstone Effect: Try deep purples, blues, or greens with gold or silver accents.
- Abstract Art: Mix unexpected color combinations for a unique, artistic vibe.
- Accent Nail: Apply this technique to just one or two nails for a striking contrast.
- While the polish is still slightly wet, you can use a clean toothpick to refine the swirls or add extra lines if needed.
- Let it dry completely.
- Apply a generous top coat.
3. The Gradient Glam: Seamless Color Blends
This technique creates beautiful, soft transitions between colors, often called an ombre effect. While a sponge is common, you can achieve it with other household items!
Tools Needed: Makeup sponge (or a small piece of a clean household sponge), or a plastic bag/plastic wrap, nail polish colors, base and top coat.
How-To (with Sponge):
- Apply your base coat and let it dry.
- For a seamless look, apply a layer of liquid latex or petroleum jelly around your nail to protect your skin. This is optional but makes cleanup much easier!
- On a clean, flat surface (like a makeup palette or a piece of foil), paint two or three stripes of your chosen nail polish colors next to each other.
- Lightly dab a makeup sponge into the stripes, picking up the colors.
- Gently dab the sponge onto your nail, blending the colors. Re-apply polish to the sponge and repeat on your nail until you achieve your desired gradient effect.
- Remove any protective liquid latex while the polish is still slightly wet.
- Clean up the edges with a small brush dipped in nail polish remover.
- Once dry, apply a top coat.
How-To (without Sponge – using a plastic bag):
- Apply base coat and first color. Let dry.
- On a plastic bag or cling wrap, place a few drops of your transition colors next to each other.
- Use a toothpick to gently swirl the colors together.
- Press your nail onto the swirled polish on the bag. You might need to dab it a few times to pick up enough color.
- This will give a more textured, blended look. It’s a bit less controlled than a sponge but still beautiful!
- Clean up and top coat.
4. The Line Art Illusion: Simple Stripes & Geometric Shapes
Achieve clean lines and geometric patterns without striping tape, using just your polish brush or a fine-tipped tool.
Tools Needed: Fine-tipped brush (optional, but recommended) or the narrow edge of your polish brush, contrasting nail polish, base and top coat.
How-To:
- Apply base coat and your base polish color. Ensure it’s completely dry.
- For straight lines:
- Using a fine-tipped brush: Dip your brush into a contrasting polish. Hold your hand steady and carefully draw a line from one side of the nail to the other.
- Using the polish brush: Use the narrow edge of the polish brush applicator. This is best for thicker lines or bolder strokes.
- For geometric shapes (like triangles, squares, or chevrons):
- Draw the outline of your shape first using your fine-tipped tool.
- Then, carefully fill in the shape with the same tool or use the polish applicator if the shape is larger.
- Creative Ideas:
- Minimalist Lines: A single thin line across the nail, either horizontally or vertically.
- Two-Tone French: Instead of a curve, create a sharp, straight line where the French tip would be.
- Geometric Accent: Draw a triangle or square on the cuticle area or the tip of the nail.
- Grid Nails: Create a simple grid pattern for a chic, modern look.
- Clean up any smudges with a small brush and remover.
- Let dry and apply a top coat.
5. The Splatter Effect: Artfully Messy Fun
Embrace a bit of controlled chaos with a splatter effect. It’s super simple and looks incredibly artistic!
Tools Needed: A stiff-bristled brush (like an old toothbrush you can dedicate to nail art, or a boar bristle brush), contrasting nail polish, base and top coat. A straw can also be used to blow polish around!
How-To (with Brush Splatter):
- Apply base coat and your base color. Let it dry completely.
- Protect your skin and surroundings! This can get messy.
- Dip the tip of your stiff brush into a contrasting polish.
- Hold the brush a few inches above your nail.
- Use your finger to flick the bristles, sending tiny droplets of polish onto your nail.
- Adjust the distance and flick intensity to control the splatter pattern.
- Repeat with different colors if desired, allowing each layer to dry slightly in between.
- Creative Ideas:
- Monochromatic Splatter: Use different shades of the same color for a subtle effect.
- Bold Contrast: Black splatter on a white nail, or vice-versa.
- Rainbow Splash: Use multiple bright colors for a vibrant, playful look.
- Let the splatter dry thoroughly.
- Apply a generous top coat – this will smooth out the texture and seal the design.
6. The Negative Space Design: Chic & Modern
This trend focuses on leaving parts of your natural nail visible, creating a striking contrast with polish. It’s inherently minimalist and very high-fashion.
Tools Needed: Fine-tipped brush or toothpick, nail polish remover, base and top coat, your chosen accent polish.
How-To:
- Apply a clear base coat to your clean, natural nails.
- Decide where you want your polish to be applied. Common areas include the tip (like a reverse French), a stripe along the side, or a geometric shape near the cuticle.
- Using your fine-tipped brush or toothpick dipped in accent polish, create your design. Think lines, half-moons, or simple shapes.
- The goal is to leave significant portions of your natural nail visible.
- Creative Ideas:
- Half-Moon French: Apply a polish shape just at the cuticle.
- Vertical Stripes: Create one or two thin vertical lines down the nail.
- Corner Accent: A small triangle or square in one corner of the nail.
- “Broken” French: Instead of a continuous line, create a few dashes of polish along the tip of the nail.
- Once the polish is dry, clean up any stray marks with a small brush dipped in nail polish remover.
- Finish with a clear top coat.
Comparing Minimalist Tools
To further illustrate how versatile these simple tools are, let’s compare their primary uses and advantages:
| Tool | Primary Use | Best For | Pros | Cons |
|---|---|---|---|---|
| Toothpick | Dots, fine lines, detail work | Polka dots, small flowers, connecting dots, precise lines | Extremely accessible, cheap, disposable, good for very fine detail | Can break easily, limited polish capacity per dip |
| Bobby Pin (Rounded End) | Larger dots, swirling, basic patterns | Bigger polka dots, swirling colors for marble, simple shapes | Readily available, good for larger elements, more durable than toothpicks | Less precise for fine lines, can leave a slight indentation if pressed too hard |
| Fine-Tipped Brush (Eyeliner, Artist) | Precise lines, filling shapes, clean-up | Striping, geometric outlines, detailed accents, correcting small mistakes | Excellent control for clean lines, versatile for various designs, can be cleaned and reused | Requires cleaning, may need practice to get steadiness, a dedicated brush is best |
| Makeup Sponge/Household Sponge Piece | Color blending, gradients, textured effects | Ombre, washes of color, subtle transitions | Great for seamless blends, creates unique textures, inexpensive | Can be messy, requires cleanup around the nail, sponge can absorb a lot of polish |
As you can see, each tool has its strengths, and combining them offers even more possibilities. Don’t underestimate the power of these simple items!
Tips for Success & Achieving Flawless Finishes
Even with minimal tools, a few expert tips can elevate your DIY nail art from good to absolutely stunning. These are the secrets to making your creative designs stand out:
- Prep is Key: Always start with clean, dry nails. Push back your cuticles gently and file them to your desired shape. A smooth canvas makes all the difference.
- Base Coat, Always: Never skip your base coat. It protects your nails and provides a smooth surface for polish application, preventing streaks and improving longevity.
- Work in Thin Layers: Whether applying your base color or your art, thin coats dry faster and are less prone to smudging and bubbling.
- Let Polish Dry: This is crucial, especially when layering designs or adding details. Trying to add a detail to wet polish will often result in a messy disaster. Patience is a virtue in nail art!
- Embrace the Clean-Up: Perfection often comes down to cleanup. Keep a small brush (like an old eyeliner or lip brush) handy, dipped in nail polish remover. Use it to clean up any smudges, uneven lines, or stray dots around your cuticles and sidewalls. For more on nail care and cleanup, resources like the NHS website offer general nail health advice.
- Seal with Top Coat: A good top coat not only adds shine but locks in your design and prevents chipping. Don’t skimp on this step!
- Practice Makes Progress: If a design doesn’t turn out perfectly the first time, don’t get discouraged. Each attempt is practice. You’ll get better and faster with every manicure.
- Don’t Be Afraid to Experiment: The beauty of using minimal tools is the low barrier to entry. Play with combinations, try new patterns, and see what you love!
Creative Ideas for Different Occasions
Your minimalist tools can adapt to any event or mood. Here are some ideas:
- Everyday Chic: Subtle dots in a neutral shade on a nude or sheer base, or a single thin line across the nail.
- Work-Appropriate: Darker solids, negative space designs with a single accent line, or very delicate dot patterns.
- Party Ready: Glitter accent nails combined with classic colored dots, simple geometric shapes in metallic polishes, or a bold splatter effect.
- Seasonal Fun: Think white dots on a green base for a festive holiday look, or pastel dots for spring. Use red and black for spooky Halloween designs!
- Romantic Vibes: Tiny heart shapes made with toothpicks, swirls of pink and red, or delicate floral dots.
The possibilities are truly endless when you start thinking about your tools not just as what they are, but what they can become in your creative hands!
Embrace Your Creative Potential
See? Creating gorgeous, creative nail designs doesn’t require a professional setup or a hefty investment. With just a few items you likely already own—like toothpicks, bobby pins, and your favorite nail polishes—you can achieve salon-worthy looks in the comfort of your home. We’ve explored genius techniques from delightful dotting to chic negative space, demonstrating that simplicity can be incredibly stylish.
The most important tool in your nail art arsenal is your imagination. Don’t be afraid to experiment, to make a few ‘mistakes’ (which often turn into happy accidents!), and to tailor designs to your personal style. Remember to prep your nails, work patiently, and always seal your masterpiece with a top coat. You’ve got this! Go forth and let your nails do the talking, beautifully and effortlessly.

