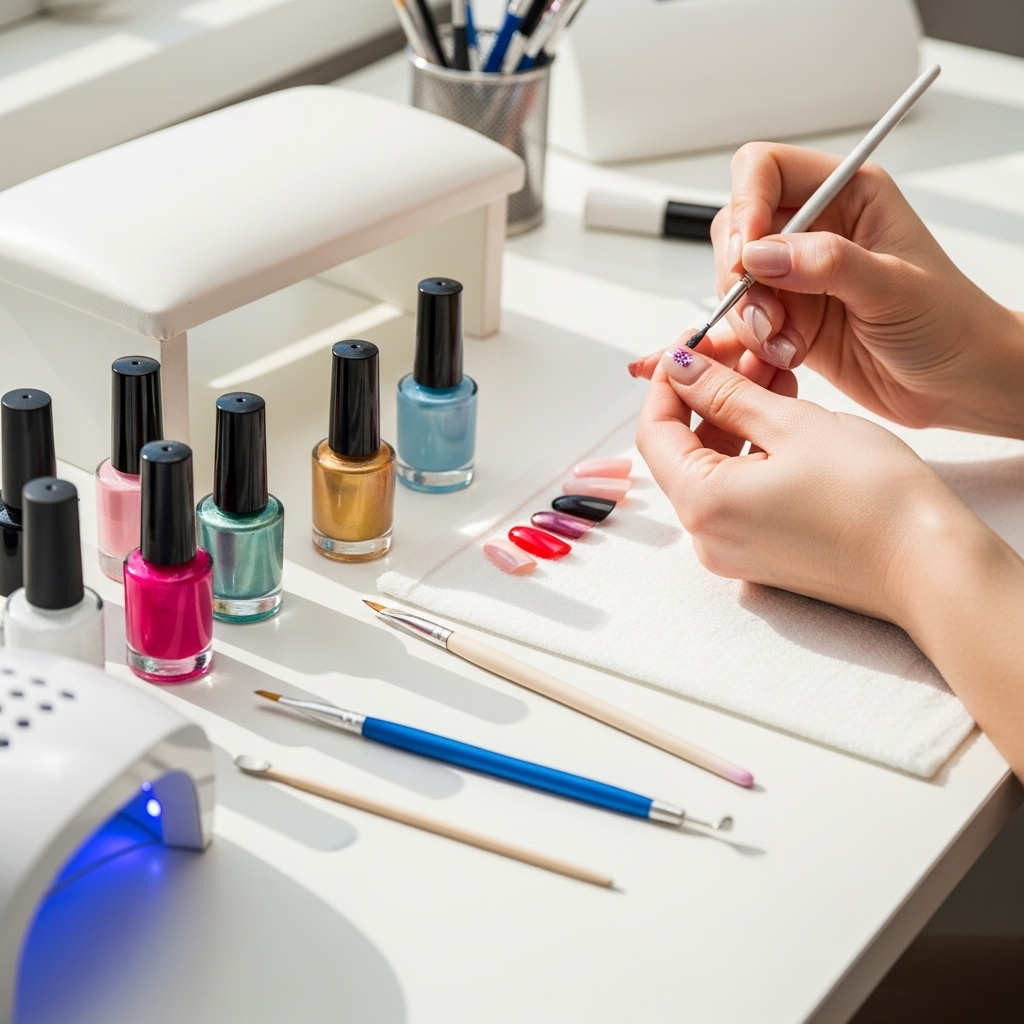
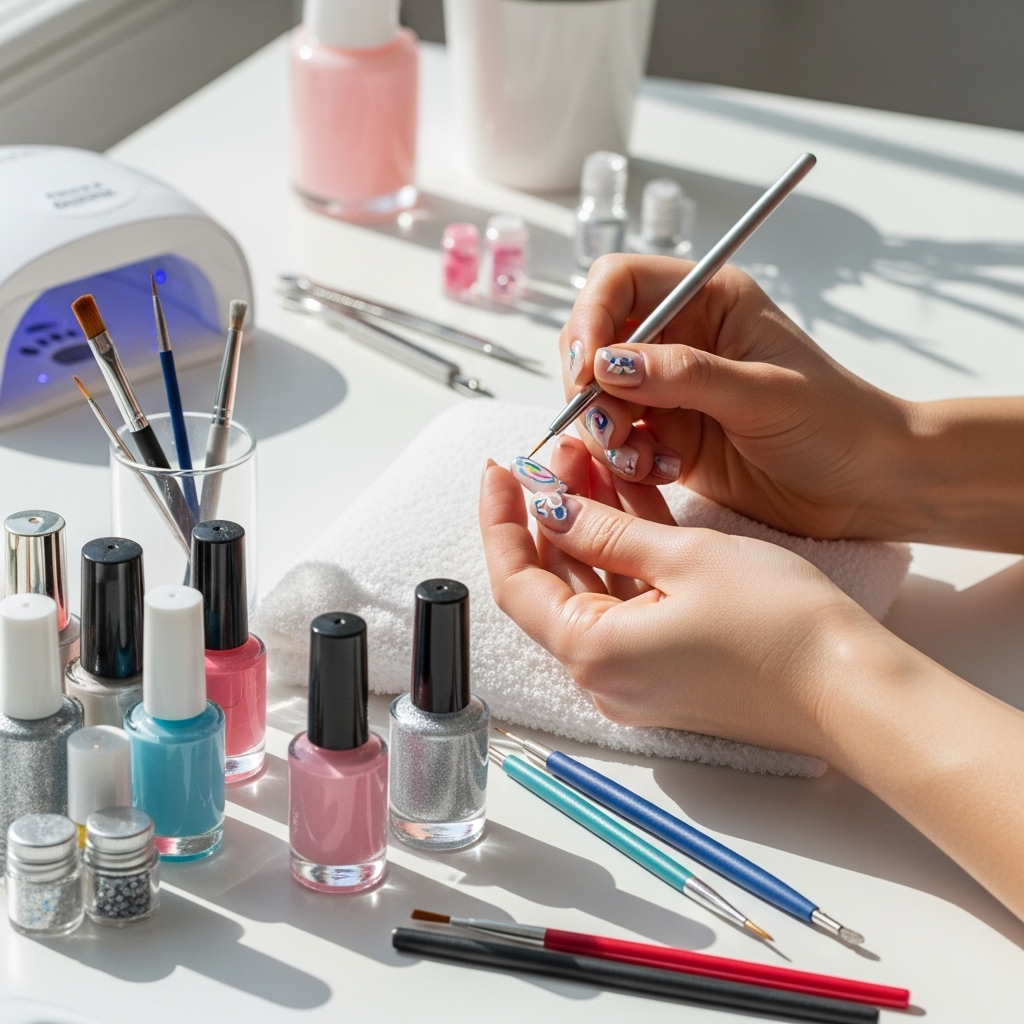
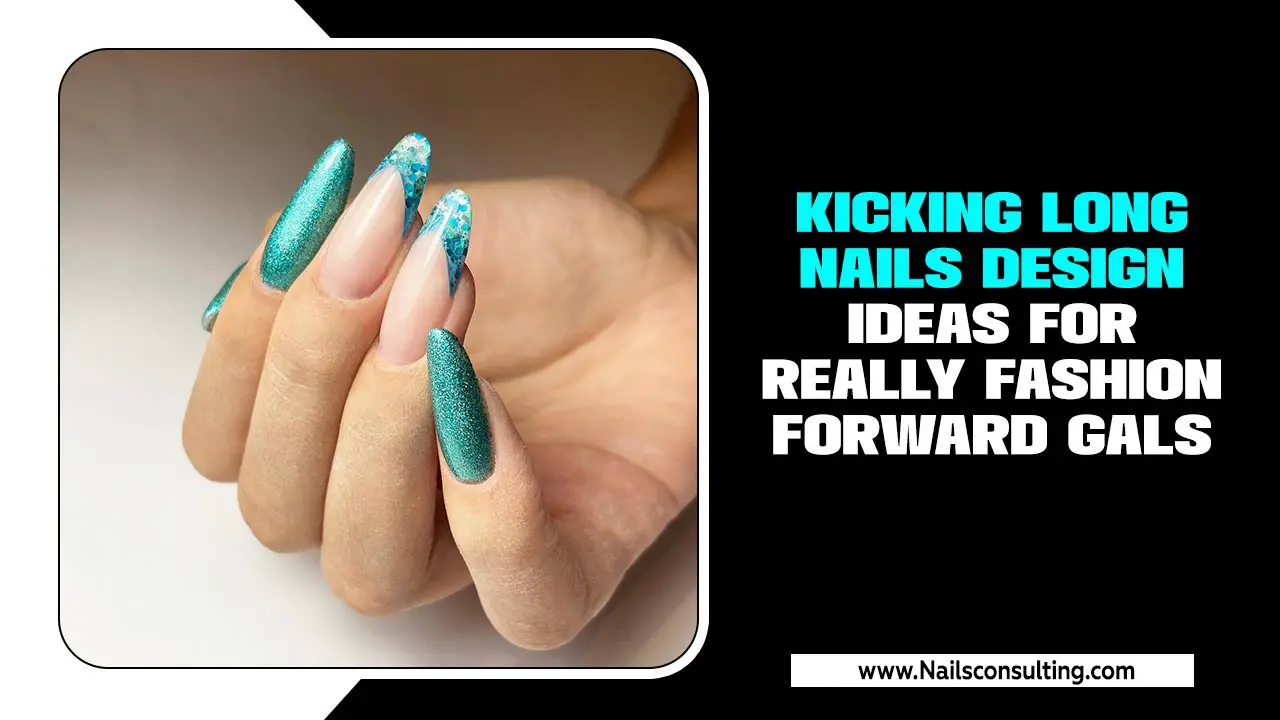
Creative nail art can elevate your everyday style! Discover proven, beginner-friendly designs that are easy to achieve, boost your confidence, and turn your nails into a canvas for effortless self-expression.
Ever look at stunning nail art online and think, “There’s no way I could do that”? You’re not alone! Many of us admire creative nail designs but feel intimidated, thinking it requires a steady hand or professional training. The secret is that with the right techniques and simple designs, anyone can achieve gorgeous, stylish nails right at home. It’s about having fun and letting your personality shine through!
This guide is here to prove that creative nail art isn’t just for the pros. We’ll break down some super achievable designs, share essential tips, and equip you with the knowledge to transform your nails from plain to polished with confidence. Get ready to unlock your inner nail artist!
Creative Nail Art FAQs
What are the easiest nail art designs for beginners?
Some of the easiest designs include solid colors with an accent nail, simple dots, stripes using tape, glitter gradients, and subtle metallic accents. These require minimal technique but make a big impact.
What basic tools do I need for creative nail art?
You’ll need a good base coat and top coat, nail polish colors of your choice, a nail polish remover for clean-ups, and some simple tools like a dotting tool (or toothpick/pen tip), striping tape, and perhaps some nail art brushes. Cotton swabs are also handy for mistakes!
How can I make my nail art last longer?
Prep is key! Ensure your nails are clean and dry, then apply a quality base coat. After applying your design, finish with a durable, glossy top coat. Reapply the top coat every few days to maintain shine and protection.
What if I mess up my nail art?
Don’t worry! For small smudges, a cotton swab dipped in nail polish remover works wonders. For larger mistakes, simply remove the polish from that nail and start again on that one nail. Perfection isn’t the goal; personal style is!
Where can I find inspiration for creative nail art?
Pinterest, Instagram, and beauty blogs are fantastic sources for inspiration. Look for accounts that focus on easy or beginner-friendly designs. You can adapt trends to suit your skill level and preferences.
Can I use regular nail polish for nail art?
Absolutely! While gel polish offers more durability, regular nail polish is perfect for practicing and creating a wide variety of designs. It’s also much easier to remove and change frequently.
Getting Started: Essential Nail Art Supplies
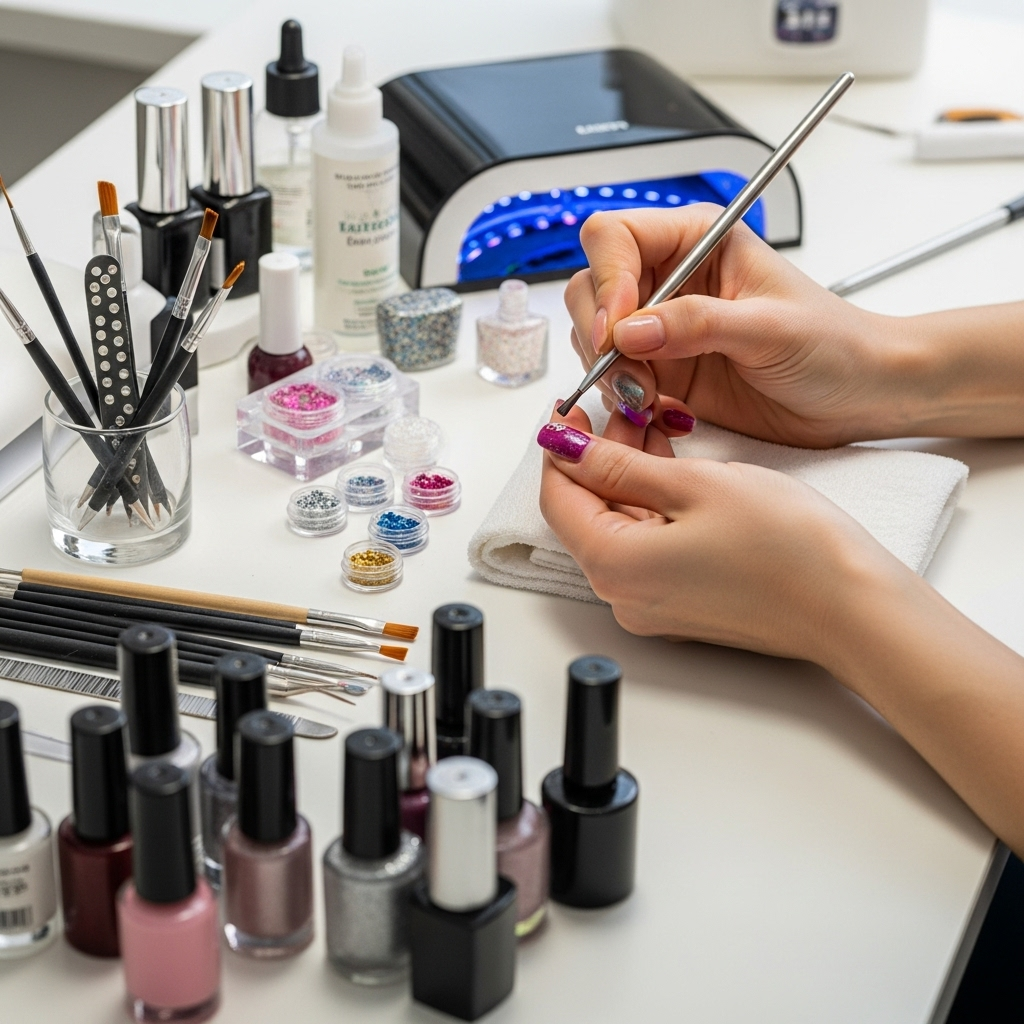
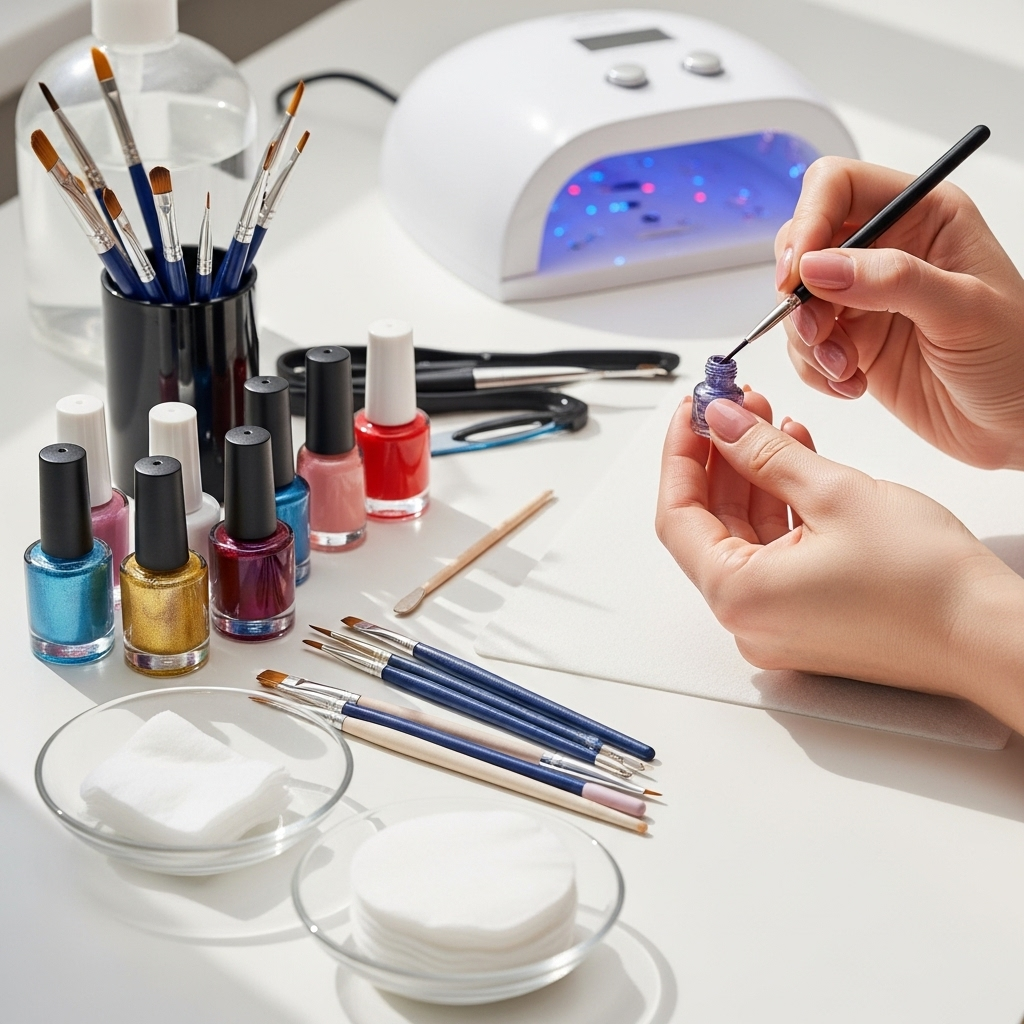
Before we dive into the fun designs, let’s make sure you have the basic toolkit. Don’t worry, you don’t need a professional salon’s worth of equipment! A few key items will set you up for success. Think of these as your creative building blocks.
The Polish Palette
- Base Coat: This is non-negotiable! It protects your natural nails from staining and helps your color adhere better.
- Top Coat: Essential for sealing your design, adding shine, and extending wear. A quick-dry formula is a lifesaver!
- Color Polishes: Start with a few of your go-to shades. Neutrals, classic reds, and a black or white polish are versatile starters.
Your Handy Helpers
- Dotting Tools: These come in various tip sizes and are perfect for creating dots, circles, and small patterns. If you don’t have them, a toothpick or the tip of a ballpoint pen can work in a pinch!
- Fine-Tipped Brushes: Even one or two thin brushes can open up a world of possibilities for lines, swirls, and delicate details.
- Striping Tape: This thin, adhesive tape is brilliant for creating crisp, clean lines and geometric patterns. You can find it at most beauty supply stores.
- Nail Polish Remover & Cotton Swabs: For tidying up mistakes. Precision is easier with pointed cotton swabs.
- Clean-up Brush: A small, synthetic brush (like an old makeup brush you’ve dedicated to nails) dipped lightly in remover can clean up polish around your cuticles for a professional finish.
Good preparation ensures a flawless finish. Take a moment to ensure your nails are clean, shaped, and free of old polish before you begin. Buffing your nails gently can also help polish adhere better. For more on nail care best practices, the American Academy of Dermatology offers some excellent general nail health tips.
Nail Prep: The Foundation for Fun
- Cleanse: Make sure your nails are free from oils and old polish. Wash your hands thoroughly.
- Shape: File your nails to your desired shape. Keep your strokes in one direction to avoid weakening the nail.
- Cuticle Care (Optional): Gently push back your cuticles if needed. Avoid cutting them, as this can lead to infection.
- Buff (Optional): A light buff can create a smooth surface, but be gentle. Over-buffing can thin the nail.
- Apply Base Coat: This is crucial for a long-lasting design. Let it dry completely.
Proven Creative Nail Art Designs for Effortless Style
Now for the exciting part! These designs are chosen for their visual appeal and ease of execution. They’re perfect for adding a touch of personality to your look without requiring hours of painstaking work.
1. The Chic Accent Nail
This is the ultimate beginner-friendly statement. It’s simple, elegant, and requires focusing your creativity on just one nail.
What You’ll Need:
- Base coat and top coat
- Your favorite polish color (e.g., a deep red, sophisticated navy, or soft pastel)
- A contrasting polish (e.g., gold glitter, a metallic shade, or even white/black) for the accent.
How To:
- Apply base coat and let it dry completely.
- Paint all nails (except your accent nail – usually the ring finger) with your main polish color. Apply two thin coats for best coverage.
- On your accent nail, apply your main color as usual, or try something different! You could do the contrasting color, or even apply a glitter polish over the base color.
- Once dry, apply a thin layer of top coat to all nails, sealing your design and adding shine.
Why it Works: It’s subtle yet stylish. The contrast draws the eye without being overwhelming, and it’s incredibly forgiving. You can play with different accent colors or even add a simple stripe or dot to the accent nail with ease.
2. Simple Stripes with Striping Tape
Striping tape is a game-changer for creating sharp, professional-looking lines. Geometric patterns are super trendy and surprisingly easy to achieve with this tool.
What You’ll Need:
- Base coat and top coat
- Two or more contrasting polish colors
- Striping tape
- Nail polish remover and a clean-up brush
How To:
- Apply base coat and let it dry.
- Apply your first color (this will be the background color visible between the stripes). Let it dry completely until it’s not tacky to the touch. This is important to prevent the tape from lifting the polish.
- Carefully apply strips of nail striping tape onto your nail, creating your desired pattern. Press the edges down firmly to prevent polish from seeping underneath. You can create horizontal, vertical, diagonal, or even criss-cross lines.
- Paint over the tape and the exposed nail with your second polish color. Ensure even coverage.
- While the second color is still wet, carefully peel off the striping tape using tweezers or your fingers. Pull slowly and gently to avoid smudging. If the polish is too dry, the tape might stick or pull the polish.
- If any polish seeped under the tape, use a clean-up brush dipped in nail polish remover to carefully tidy the lines.
- Once everything is completely dry, apply a generous layer of top coat to seal the design.
Table: Stripes Variation Ideas
| Stripe Style | Color Combinations | Best For |
|---|---|---|
| Horizontal | Navy & White, Black & Gold, Pink & Rose Gold | Creating a lengthening illusion |
| Vertical | Pastel Duo, Burgundy & Cream, Emerald & Gold | Adding visual interest, balancing a nail shape |
| Diagonal | Any two contrasting colors | Adding dynamism and edge |
| Multiple Thin Stripes | Rainbow shades, Metallic Ombre | A bolder, more intricate look |
Why it Works: It looks complex but is very methodical. The crisp lines are instantly stylish and modern. Experiment with different color pairings and stripe widths for endless variations.
3. Effortless Dots and Dashes
Dots and dashes are incredibly versatile. They can be minimalist, playful, or chic depending on the size, color, and placement.
What You’ll Need:
- Base coat and top coat
- Your main polish color
- Dotting tool (or toothpick/pen tip)
- Contrasting polish color(s) for dots/dashes
How To:
- Apply base coat and let it dry.
- Paint your nails with your main polish color. Let it dry completely until it’s not tacky.
- Dip your dotting tool (choose a size for your desired dot size) into your contrasting polish. Dab off any excess on a piece of paper.
- Create your pattern:
- Simple Dots: Place dots evenly across the nail, or create a scattered pattern.
- Dashed Line: Create a line of dots close together to form a dash pattern.
- Ombre Dots: Start with larger dots of a darker color near the cuticle and use progressively smaller dots of a lighter color towards the tip.
- French Tip Dots: Place a line of dots along the free edge of your nail instead of a traditional French tip.
- Let the dots dry for a minute, then apply a generous top coat to smooth everything over and seal the design.
Why it Works: It’s forgiving! If a dot isn’t perfect, it adds character. It’s easy to create simple, elegant looks or fun, playful patterns. Think about different color combinations like black and white for a classic look, or bright neons for a playful vibe.
4. Glitter Gradient (or Ombre)
This is a dazzling way to add sparkle without covering your entire nail. It’s easy to control and looks super chic.
What You’ll Need:
- Base coat and top coat
- Your main polish color
- Glitter polish (any size or color you like!)
- A makeup sponge (optional, but helps for a smoother fade)
How To (Sponge Method for Smoother Fade):
- Apply base coat and let it dry.
- Paint your nails with your main polish color. Let it dry to be tacky, but not fully dry.
- Apply a layer of glitter polish onto the makeup sponge. You can do this by dabbing it directly onto the sponge, or applying the glitter polish to a flat surface (like a paper plate) and then pressing the sponge into it.
- Gently dab the glitter polish from the sponge onto the tips (or the cuticle area) of your nails. The idea is to deposit more glitter at one end and fade it out. Less pressure means a finer fade.
- Repeat layering glitter polish onto the sponge and dabbing onto the nail until you achieve your desired density and fade.
- Let it dry completely, then apply a thick, smooth layer of top coat to encapsulate the glitter and create a sleek finish.
How To (Brush Method – Simpler):
- Apply base coat and let it dry.
- Paint your nails with your main polish color. Let it dry completely.
- Using your glitter polish, apply it heavily to the tips of your nails and then gently brush upwards, fading the glitter towards the cuticle.
- Apply a second coat if needed for more opacity or a longer gradient.
- Once dry, apply a top coat to seal.
Why it Works: It’s a foolproof way to add instant glamour. The gradient effect looks sophisticated, and glitter polishes are very forgiving about minor imperfections. It’s also a great way to revive a color you might be bored with.
5. Minimalist Lines
Thin, precise lines can make a bold statement without being over the top. This design is all about clean edges and strategic placement.
What You’ll Need:
- Base coat and top coat
- One or two neutral or contrasting polish colors
- A fine-tipped nail art brush or a striping tape tool
How To (Using a Brush):
- Apply base coat and let it dry.
- Paint your nails with your main polish color. Let it dry completely.
- Dip your fine-tipped brush into your contrasting polish. Load just a small amount of polish onto the tip.
- Carefully draw a single, thin line. You can place it horizontally across the tip of the nail for a modern French manicure effect, vertically down one side, or diagonally.
- For a more graphic look, try a few parallel lines or create a small geometric shape near the cuticle.
- Let the line(s) dry completely.
- Apply a top coat to seal the design. Be careful not to smudge the delicate lines.
How To (Using Striping Tape):
- Follow steps 1-3 from the “Simple Stripes with Striping Tape” design, but only apply one main color initially.
- Apply a thin striping tape line where you want your clean edge to be (e.g., across the tip for a French style).
- Paint over the tape with your second color.
- Remove the tape while the second color is wet.
- Apply top coat once dry.
Why it Works: It’s chic, modern, and incredibly versatile. It adds a touch of sophistication with minimal effort. This style is perfect for those who prefer understated elegance.
Lisa’s Pro Tips for Effortless Style
As your nail-savvy friend at Nailerguy, I’ve learned a few tricks over the years that make nail art more enjoyable and the results more polished. Here are my top tips:
1. Thin Coats Are Key
It might be tempting to slap on thick coats of polish for opacity, but this often leads to smudging and longer drying times. Apply two or three thin coats instead. They dry faster and create a smoother finish.
2. Patience is a Virtue (Especially with Drying Times!)
This is probably the most important tip! Racing against drying time is a recipe for disaster. Set aside dedicated time for your nails. For faster drying, use a quick-dry top coat. You can also try the quick dip in ice water method after polishing (wait about 5 minutes after the top coat before dipping).
3. Clean-Up is Your Friend
Don’t agonize over a little polish on your skin. Keep a small clean-up brush
