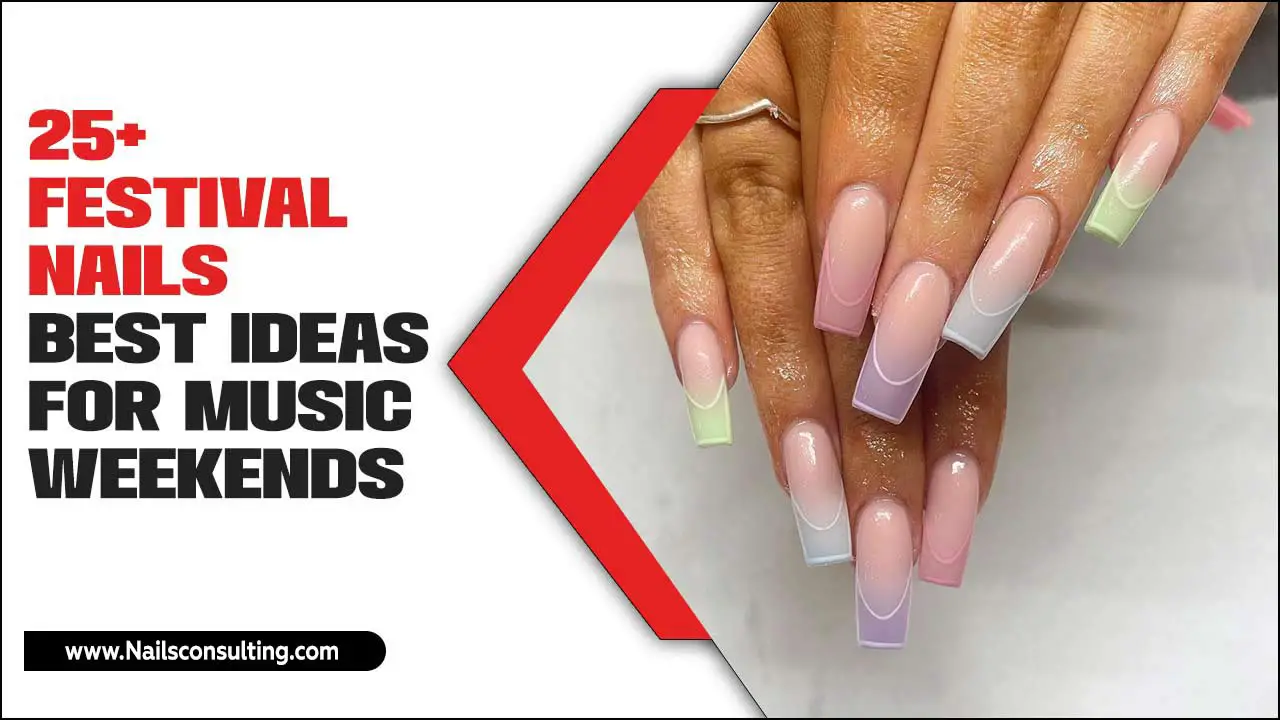
Coffin ombre nail designs offer a chic and blended look for any nail shape, especially elongating longer nails. Perfect for beginners and pros alike, these gradient manicures create a stunning, modern effect with endless color possibilities. Master this easy technique for salon-worthy nails at home!
Hey nail lovers! Lisa Drew here from Nailerguy. Ever look at those gorgeous, seamless color transitions on nails and think, “Wow, I could never do that”? Especially on those stunning coffin-shaped nails? Well, get ready to think again! Ombre nails, that beautiful blend of two or more colors, can seem a little intimidating. But honestly, it’s totally doable, and coffin ombre nails are a classic for a reason. They look super chic and can really make your nails pop. We’re going to break it down, step-by-step, so you can rock this trend right from your own home. Let’s dive into making those dreams a reality!
What Are Coffin Ombre Nails?
Coffin ombre nails are a delightful fusion of two popular nail trends: the coffin shape and the ombre technique. The coffin shape, also known as the ballerina nail, is characterized by straight sides that taper to a squared-off, flat tip. It’s a very elegant and modern shape that’s particularly flattering on longer nails, making them appear even sleeker.
Ombre, on the other hand, refers to the gradient effect where one color seamlessly blends into another. Think of a sunset – that’s ombre! When you combine these two, you get coffin ombre nails: a beautiful gradient effect painted onto nails that are shaped into that distinctive coffin silhouette. This combination creates a visually striking and sophisticated manicure that’s perfect for any occasion.
Why Choose Coffin Ombre Nail Designs?
There are so many reasons why coffin ombre nails have become a go-to for nail enthusiasts everywhere:
- Versatility: Ombre can be done with literally any two or more colors you can imagine. From soft and subtle nudes to bold and vibrant neons, the possibilities are endless. You can also play with glitter, shimmer, and even metallic finishes for extra sparkle.
- Flattering Shape: The coffin shape is incredibly elongating and offers a sleek, modern look. It’s particularly stunning on long nails, giving them a sophisticated edge. Even on shorter nails, it can create an illusion of length.
- Modern & Chic: This style screams sophistication and trendiness. It’s a way to elevate a simple color to something truly special.
- Easy to DIY: While it looks intricate, the basic ombre technique is surprisingly beginner-friendly. With a few tools and a little practice, you can achieve salon-quality results at home.
- Customizable: You can tailor your coffin ombre nails to your personal style, the season, or even a specific event. Imagine soft pastels for spring, fiery reds for fall, or glitzy blues for a holiday party!
Essential Tools for Coffin Ombre Nails
Before we get our hands messy (in a good way!), let’s make sure we have everything we need. Don’t worry; most of these are standard nail art supplies you might already have.
The Must-Haves:
- Nail Polish: You’ll need at least two colors for your ombre. A light-to-dark or dark-to-light combination usually works best.
- Nail File & Buffer: To shape your nails into the perfect coffin and smooth the nail surface.
- Base Coat: To protect your natural nails and help polish adhere better.
- Top Coat: To seal in the design, add shine, and protect against chipping.
- Cosmetic Sponge or Makeup Sponge: This is your secret weapon for blending colors seamlessly! A regular kitchen sponge cut into a wedge also works.
- Clean-up Brush or Small Paintbrush: An angled brush (like an eyeshadow brush) is perfect for cleaning up any polish mistakes around your cuticles.
- Rubbing Alcohol or Nail Polish Remover: For cleaning your brush-up brush and any accidental spills.
- Optional: Cuticle Oil: To rehydrate and nourish your cuticles after the manicure.
Pro Tip: Choosing Your Colors
When you’re just starting, it’s easiest to choose colors that are close in shade or value. For example:
- Light pink to hot pink
- Nude to beige
- Light blue to navy blue
- White to light grey
As you get more comfortable, you can experiment with contrasting colors or even incorporate a glitter polish as one of your shades!
How to Create Coffin Ombre Nails: A Step-by-Step Guide
Ready to get creative? This method uses a sponge to create that beautiful, diffused blend. It’s super effective and surprisingly simple once you get the hang of it!
Step 1: Prep Your Nails
This is crucial for any manicure! Start by removing any old polish. Then, gently push back your cuticles. Shape your nails into the coffin shape using your nail file. Aim for straight sides and a flat, squared-off tip. Finally, lightly buff the surface of your nails to create a smooth canvas and remove oils.
Step 2: Apply Base Coat
Apply a thin, even layer of your favorite base coat. This protects your nails and helps the polish last longer. Let it dry completely.
Step 3: Prepare Your Sponge
Cut your cosmetic sponge into a small wedge or a few usable pieces. You want it to be dense enough to pick up the polish but also porous enough to diffuse it onto your nail. For best results, lightly dampen the sponge with water and squeeze out any excess. This helps prevent the sponge from soaking up too much polish.
Step 4: Apply Your First Color
Paint the first color (usually the lighter shade for the tip or base closest to the cuticle) onto one section of your nail. You can apply it directly to the nail or directly onto the sponge. For the sponge method, apply your colors side-by-side on a flat surface like a piece of foil or a plastic lid. Don’t worry about perfection here!
Step 5: Blend with Polish (On Sponge Method)
If applying on a surface, paint your chosen colors side-by-side onto the foil or plastic lid. Make sure they’re touching so they can blend. You can add a little bit of the second color next to the first, and maybe a third if you’re feeling adventurous!
Step 6: Sponge the Ombre Effect
Quickly and gently, press the sponge onto the polish on your surface. You want to pick up all the colors. Now, dab the sponge onto your nail. You’ll want to apply it in a pressing or rolling motion, starting from the tip and working down towards the cuticle, or vice-versa, depending on your desired gradient.
Step 7: Layer and Blend
You’ll likely need to repeat this process a few times to achieve a smooth, opaque blend. Reapply polish to your sponge (or surface) and dab onto the nail again. The more you dab, the more diffused and blended the colors will become. Don’t be afraid to layer!
Tip for the Best Blend: Some tutorials suggest applying one color to the nail, then adding the second color to the sponge and dabbing. Others apply both colors directly to the sponge side-by-side. Experiment to see what works best for you! A useful tool from professional artists is a blending sponge, which is designed for this purpose and can provide a more seamless transition compared to a standard makeup sponge.
Step 8: Clean Up Edges
Once you’re happy with the ombre effect, it’s time for cleanup. Dip your clean-up brush into nail polish remover or rubbing alcohol. Carefully trace around your cuticle and side walls to remove any excess polish. This step makes a HUGE difference in the final look!
Step 9: Apply Top Coat
When the polish is completely dry, apply a generous layer of top coat. This seals everything in place, adds a beautiful shine, and helps prevent chips. Make sure to cap the free edge (paint a little on the very tip of the nail) for extra durability.
Step 10: Hydrate!
Once the top coat is dry, apply a drop of cuticle oil to each nail. Massage it in gently. This nourishes your cuticles and makes your manicure look even more polished and professional.
Coffin Ombre Nail Design Ideas for Inspiration
The beauty of coffin ombre nails lies in their endless customization. Here are some popular and stunning ideas to get your creative juices flowing:
Classic & Elegant
Nude to White: A soft, sophisticated blend for everyday wear. Perfect for professional settings or when you want a chic, understated look.
Pink to White: A gentle, feminine gradient that’s a favorite for weddings and bridal manicures.
Grey to Black: A dramatic and edgy option that’s surprisingly versatile.
Vibrant & Bold
Sunset Ombre: Blends of orange, pink, and yellow for a vibrant, tropical vibe.
Blue to Purple: A cosmic, mesmerizing mix that’s perfect for a night out.
Neon Gradation: Brighter is better! Think neon pink fading into neon orange or lime green into electric blue.
Glitter & Glam
Glitter Fade: Start with a solid color at the cuticle and let a fine or chunky glitter polish fade out towards the tip.
Two-Tone Glitter: Blend two different glitter polishes for a dazzling effect.
Holographic Highlight: Use a holographic polish as your top coat over a subtle ombre for a shimmering, multi-dimensional finish.
Seasonal Styles
Fall: Blend shades of deep red, burnt orange, and warm brown.
Winter: Think icy blues, cool greys, and shimmery silvers.
Spring: Soft pastels like lavender, mint green, and baby pink.
Summer: Bright and cheerful colors like coral, turquoise, and sunshine yellow.
Coffin Ombre vs. Other Nail Shapes
While ombre looks beautiful on any nail shape, the coffin shape offers unique advantages, especially for those with longer nails. Let’s compare:
| Nail Shape | Ombre Effect | Pros | Cons |
|---|---|---|---|
| Coffin/Ballerina | Elongating, sleek, modern. The straight sides emphasize the blend. | Visually lengthens fingers, very fashionable, great canvas for detailed art. | Can be prone to chipping at the corners if not well-maintained. |
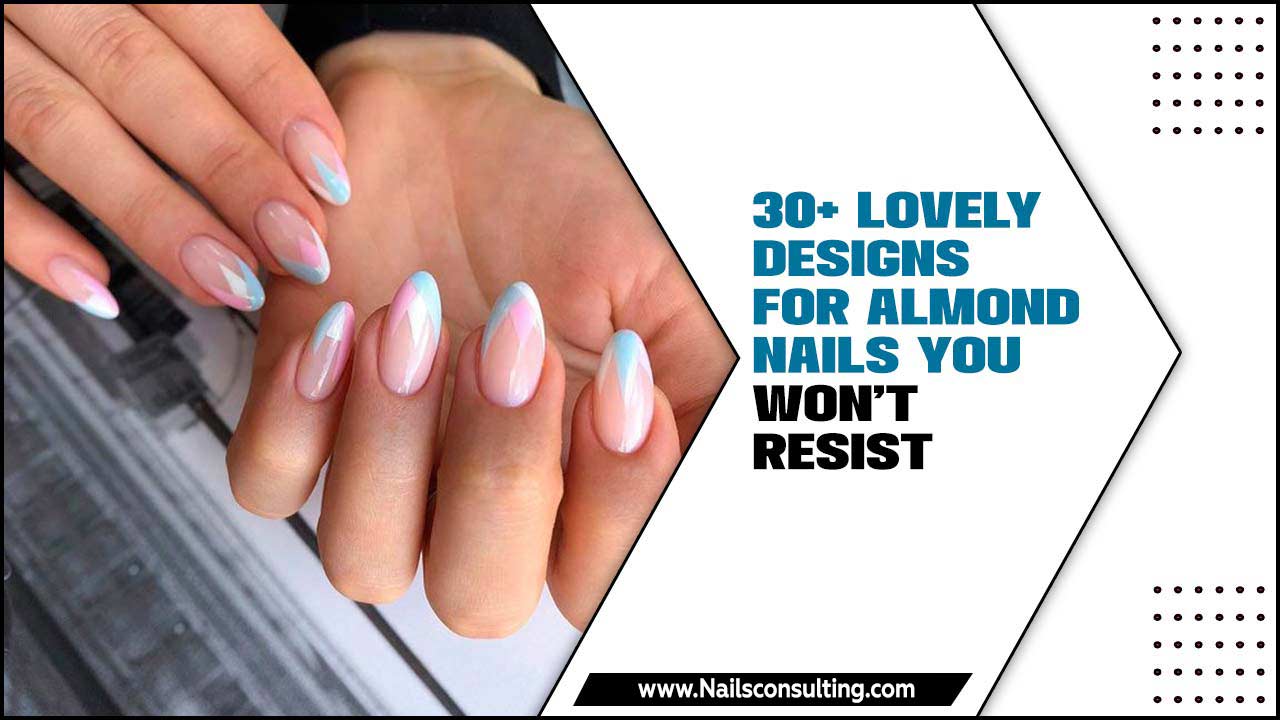
| Almond | Smooth, continuous blend. The gentle taper can make the gradient look softer. | Very elegant, less prone to breakage than stiletto, flattering universally. | The rounded tip can sometimes make the color transition less defined than on a coffin shape. |
| Square | The sharp corners can create distinct color bands, making the transition more abrupt or graphic. | Classic, sturdy, easy to maintain. | Can make fingers look shorter and wider. The crisp edges might not be ideal for a super soft ombre. |
| Round | The soft curve can lead to a subtle, natural-looking gradient. | Very practical, less likely to snag or break. | Offers the least surface area for dramatic color blending. May not highlight the ombre as much. |
For anyone looking to purchase high-quality nail files and buffers that are essential for achieving the perfect coffin shape, reputable brands often offer specialized tools. For example, many professional manicurists recommend using a high-grit nail file for shaping and a fine-grit buffer for smoothing. These tools ensure a clean, precise shape that’s the perfect foundation for your ombre art.
Maintaining Your Coffin Ombre Nails
You’ve got gorgeous coffin ombre nails – now let’s keep them that way! Proper care will extend the life and beauty of your manicure.
- Reapply Top Coat: Every 2-3 days, apply a fresh layer of top coat. This helps maintain shine and protect the polish from everyday wear and tear.
- Moisturize: Keep your hands and cuticles hydrated by using hand cream regularly. Dryness can lead to chips and peeling. Cuticle oil is your best friend!
- Wear Gloves: When doing chores, especially washing dishes or cleaning with harsh chemicals, always wear rubber gloves. Water and detergents are the enemies of nail polish.
- Avoid Using Nails as Tools: Resist the urge to open cans or scrape things with your nails. This is a surefire way to chip or break them.
- Gentle Filing: If a nail does chip slightly, gently file down the edge rather than picking at it. This can help prevent further damage.
For those interested in the science behind polish longevity and nail health, understanding the role of keratin and proper nail care is key. Organizations like the American Academy of Dermatology offer valuable insights into maintaining healthy nails, which directly impacts how well any polish, including ombre designs, will adhere and last.
Common Coffin Ombre Nail Problems and Solutions
Even the most seasoned nail artists run into a few snags now and then. Here are some common issues with coffin ombre nails and how to fix them:
- Sponge Marks/Texture: If your sponge leaves visible marks or your polish looks bumpy, try dabbing more gently and layering thinner coats. Sometimes, applying polish to the nail first and then dabbing is better than applying directly to the sponge. A good smoothing top coat or buffing lightly before the final top coat can also help.
- Harsh Color Lines: The transition between colors isn’t smooth. You can try dabbing the sponge more times, using a slightly damp sponge, or even gently blending the harsh line with a clean brush dipped in a bit of remover. Rushing is your enemy here – take your time with the dabbing!
- Polish Lifting at Cuticles: This often happens if polish gets on the skin and isn’t cleaned up well. Thoroughly clean around your cuticles with a fine brush and remover before applying top coat.
- Chipper Tips: Make sure to cap your free edge with your top coat. Also, ensure your nail shape is smooth and not jagged, as rough edges are more prone to chipping.
- The Ombre Isn’t Opaque Enough: This is usually a matter of layering! Don’t expect perfection with one coat of sponging. Reapply polish to your sponge and dab several times until you achieve the desired opacity and blend.
Frequently Asked Questions About Coffin Ombre Nails
Q1: Can I do coffin ombre nails on short nails?
Yes, you absolutely can! While coffin shapes and ombre are often associated with long nails, you can still achieve a beautiful look on shorter nails. Shape your nails into a short coffin, and use a more subtle gradient with colors that are close in shade. The key is to avoid making the sides too drastically tapered, which can make short nails look stubbier.
Q2: How long does coffin ombre nail polish last ?
With proper application and care, coffin ombre nails done with regular nail polish can last anywhere from 5 to 10 days. Gel polish will last significantly longer, typically 2-3 weeks. Regular reapplications of top coat and following our maintenance tips will help maximize the wear time.
Q3: What’s the difference between a sponge and a brush for ombre?
A cosmetic sponge is the most popular tool for beginners because its porous texture naturally diffuses and blends colors beautifully. It creates a softer, more mottled gradient. A brush can be used for a more precise or graphic ombre effect, but it requires more skill to achieve a smooth blend without visible brush strokes.
Q4: How do I prevent my coffin nails from breaking?
To strengthen your coffin nails and prevent breakage, always start with a good base coat. Consider using a strengthening polish or builder gel for added durability. Keep your nails moisturized, wear gloves for manual labor, and avoid using them as tools. Additionally, ensure your coffin shape has a smooth taper and is not too sharp at the corners, which can be weak points.
Q5: Can I use more than two colors for my coffin ombre?
Definitely! Many stunning ombre looks involve three or even four colors. For more than two colors, it’s often best to apply them side-by-side on your sponge or a palette surface and then dab onto the nail. Make sure to blend the edges where the colors meet on the sponge to help them transition smoothly onto the nail.
Q6: Is coffin ombre popular right now?
Yes, coffin ombre nails remain a very popular and timeless nail trend. The elegant coffin shape combined with the chic gradient effect offers a sophisticated and modern look that suits many styles and occasions. It’s a classic for a reason!
Conclusion
There you have it! Coffin ombre nails are not only stunning but also totally achievable for any nail lover, especially with this easy-to-follow guide. From choosing the perfect color palettes to mastering the blending technique with a simple sponge, you’re now equipped to create salon-worthy manicures right at home. Remember, practice makes perfect! Don’t be afraid to experiment with different color combinations and find what makes you feel fabulous.
Embrace the elegance of the coffin shape and the artistry of ombre. Whether you’re heading to a special event or just want to add a touch of glam to your everyday, these coffin ombre nail designs are sure to turn heads and boost your confidence. So grab your polishes, get your sponge ready, and let your creativity flow. Happy painting, and wear those gorgeous nails with pride!


