Coffin nail designs offer a chic, modern silhouette that’s both edgy and elegant. Perfect for those wanting a sophisticated yet bold look, these designs can range from minimalist magic to dazzling displays. Get ready to explore simple steps and stunning ideas to rock your coffin nails!
Thinking about a nail shape that’s a little different, a little daring, and a whole lot of chic? Coffin nails, also known as ballerina nails, are super popular right now. They’re shaped like a coffin or a ballet slipper, with a straight edge at the tip. This shape looks amazing on almost everyone and gives you a great canvas for all sorts of fun designs! If you’re new to the nail game or just curious about this trendy shape, don’t worry. We’re going to walk through everything you need to know to get gorgeous coffin nails that truly stand out.
What Are Coffin Nails and Why Are They So Loved?
Coffin nails have a distinct silhouette. They start with a typical nail shape at the base and then square off the tip, creating a straight, flat edge. This unique shape is why they’re sometimes called ballerina nails, reminding us of a dancer’s pointe shoes.
The appeal of coffin nails is huge! They elongate the fingers, making hands look more slender and elegant. This shape also provides a larger surface area for nail art, allowing for more intricate designs or a bolder statement. Plus, they’re incredibly versatile, looking fantastic whether they’re painted in a classic color or adorned with elaborate patterns.
Many celebrities and style influencers rock this shape, making it a certified trend. From red carpet events to everyday chic, coffin nails are here to stay.
Getting Started: Prepping for Your Coffin Nails
Before diving into design, the right prep is key for any nail shape, and coffin nails are no exception. It ensures your nails are healthy, strong, and ready for their transformation!
Essential Nail Care Basics
Taking care of your natural nails is the first step. Healthy nails make for a better foundation and help your polish last longer. Here’s what you need:
- Nail Clippers: To get the initial length in check.
- Nail File: Crystal files are great for shaping without damaging the nail.
- Buffer: To smooth out ridges and create a base for polish.
- Cuticle Pusher/Orange Stick: To gently push back cuticles.
- Nail Strengthener or Base Coat: To protect your natural nail.
- Moisturizer (Hand Cream/Cuticle Oil): For healthy skin and cuticles.
Shaping Your Nails into the Coffin Style
Achieving the coffin shape requires a steady hand and the right filing technique. Don’t worry if it’s not perfect the first time; practice makes perfect!
Here’s a simple way to file your nails into a coffin shape:
- Start with Length: Make sure your nails have enough length to work with. If they’re too short, you won’t be able to achieve the desired shape.
- File the Sides: Gently file the sides of your nails straight up, creating defined sidewalls. Imagine you’re creating a straight line from your cuticle to the very tip.
- Square Off the Tip: Using your nail file, carefully file across the tip of your nail to create a straight, flat edge.
- Refine the Shape: Go over the sides and the tip to smooth out any rough edges and ensure the lines are clean and sharp.
- Buff Gently: Lightly buff the surface of your nail to create a smooth canvas for polish.
Pro Tip: It’s often easier to get a clean coffin shape with slightly longer nails. If you’re working with shorter nails, you might consider temporary nail extensions like press-ons or tips to achieve the shape before applying polish.
For more in-depth nail care, resources like the American Academy of Dermatology Association offer fantastic tips on maintaining healthy nails.
Essential Tools for Stunning Coffin Nail Designs
Once your nails are shaped, it’s time for the fun part – decorating! You don’t need a professional salon setup to create beautiful coffin nail designs. Here are some essential tools you’ll want to have on hand:
- Assorted Nail Polishes: A good collection of base colors, top coats, and accent shades.
- Thin Nail Art Brushes: For detailed lines, dots, and shapes (liner brushes, dotting tools).
- Dotting Tools: Come with various ball sizes for creating perfect dots and simple embellishments.
- Stencils or Nail Stickers: Great for beginners to achieve clean patterns.
- Gems, Glitters, and Studs: For adding 3D texture and sparkle.
- Tweezers: To pick up small embellishments accurately.
- Nail Art Glue or Strong Top Coat: To secure embellishments.
- Clean-up Brush: A small, flat brush (like a makeup brush) dipped in nail polish remover for cleaning up polish mistakes around the cuticles.
- Top Coat Sealer: Crucial for protecting your design and adding shine.
Beginner-Friendly Coffin Nail Designs
New to nail art? No problem! These designs are simple, achievable, and look absolutely stunning on coffin-shaped nails.
1. The Classic Monochromatic Look
This is elegance in its purest form. Choose a single color and apply it flawlessly. It’s chic, sophisticated, and works for any occasion.
How-To Steps:
- Apply a good quality base coat to protect your natural nail.
- Apply two thin coats of your chosen solid color polish. Let each coat dry thoroughly.
- Once the color is dry, apply a generous layer of your favorite shiny top coat.
- For extra flair, try a matte top coat for a velvety finish.
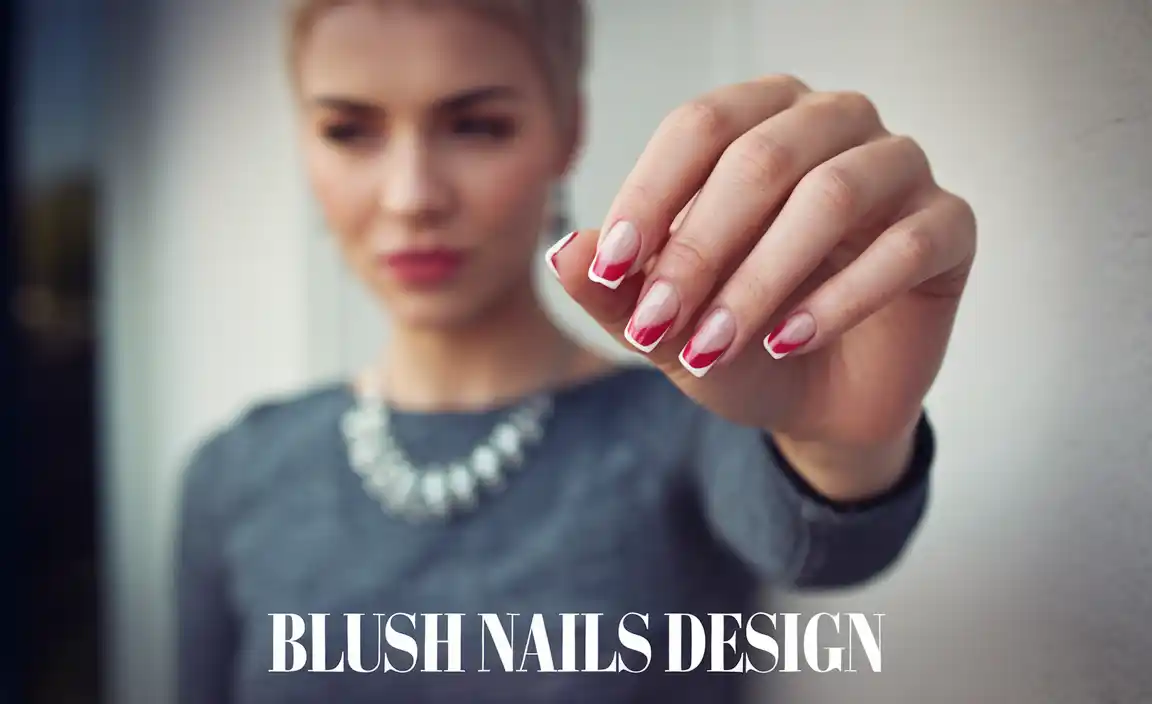
2. Simple French Tips
A timeless classic, French tips look especially sharp on the straight edge of coffin nails. You can stick to classic white and nude, or get creative with colored tips!
How-To Steps:
- Apply a sheer nude or pink base coat.
- Once dry, carefully paint a crisp white (or colored) line across the tip of each nail. Use a fine brush or French tip guide stickers for precision.
- You can create a sharp straight line or a soft curve for a variation.
- Seal with a clear top coat.
3. Dotting Delight
Dots are versatile and easy to do with a dotting tool. You can create simple patterns or fill the nail with a delightful confetti look.
How-To Steps:
- Paint your nails in a base color.
- Dip a dotting tool into an accent color polish.
- Place dots evenly across your nail. You can make them all the same size or vary them.
- Try arranging dots in a specific pattern like dots on the smile line of a French tip, or a gradient of dot sizes.
- Finish with a top coat.
Tip: For a fun look, use different colors for each nail, or create a gradient of color across the dots.
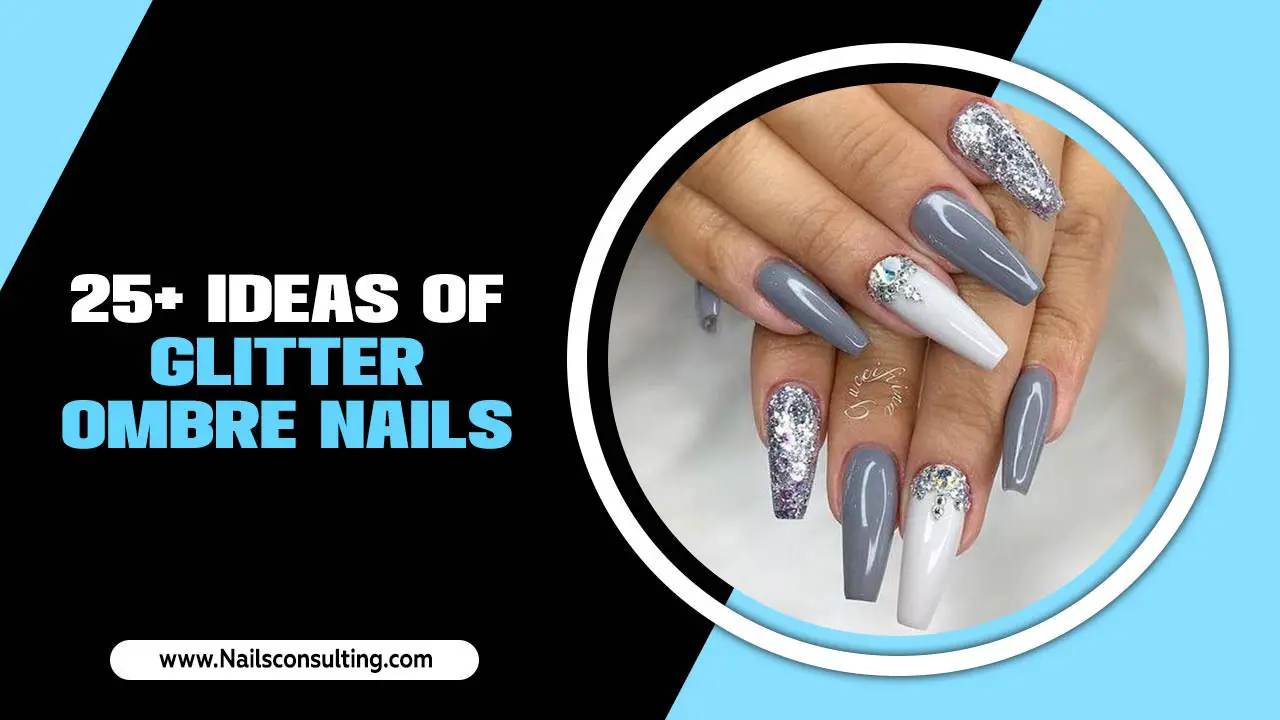
4. Glitter Gradient
This design is all about sparkle and shine, and it’s incredibly easy to create.
How-To Steps:
- Apply your base color polish.
- While the base color is still slightly wet, use a sponge (like a makeup sponge) or a brush to dab glitter polish onto the tips of your nails, blending downwards.
- Alternatively, apply a solid glitter polish to the tips and blend it down into the base color with a dry brush.
- Let it dry, then apply a layer of top coat. You might need two top coats over glitter to make it smooth.
Intermediate Coffin Nail Designs to Elevate Your Style
Ready to try something a little more intricate? These designs add personality and flair to your coffin nails.
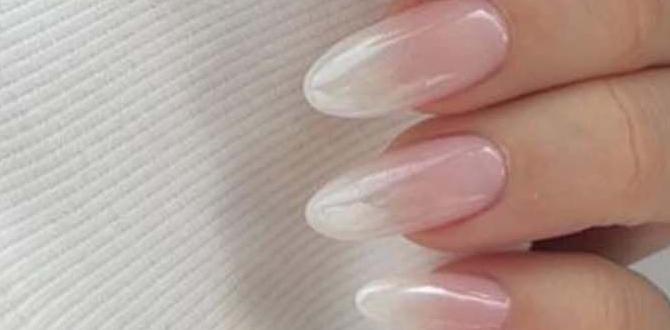
1. Elegant Ombre
The gradient effect of ombre looks stunning on the elongated coffin shape. You can go for soft, blended colors or bold, contrasting shades.
How-To Steps (Sponge Method):
- Apply a base coat and your chosen base color polish.
- On a makeup sponge or beauty blender, apply two contrasting polish colors side-by-side.
- Gently dab the sponge onto the nail, starting from the tip and working your way down.
- Repeat the dabbing motion until you achieve your desired gradient opacity.
- Clean up any excess polish around your cuticles with a clean-up brush.
- Apply a generous top coat to smooth out the texture.
2. Minimalist Lines and Geometric Shapes
Clean lines and simple geometric patterns add a modern, sophisticated touch to coffin nails. They are surprisingly easy to achieve with striping tape or fine brushes.
How-To Steps (Using Striping Tape):
- Paint your nails with your desired base color and let them dry completely.
- Carefully apply thin strips of nail art striping tape onto the nails, creating lines or geometric shapes (like triangles or squares).
- Paint over the tape with a contrasting color.
- While the polish is still wet, carefully peel off the striping tape to reveal the clean lines underneath.
- Let the polish dry, then seal with a top coat.
3. Floral Accents
Delicate floral designs add a feminine touch. You can add a single flower on an accent nail or a scattering of tiny blossoms.
How-To Steps:
- Paint your nails in a solid color.
- Using a fine-tip brush, paint small floral designs. Start with simple petals or dots that mimic flowers.
- For beginners, pre-made floral nail stickers are a fantastic alternative.
- Add small green leaves with a fine brush for an extra touch.
- Finish with a clear top coat.
4. Marble Effect Manikures
Achieve a luxurious, high-end look with the classic marble effect. It looks intricate but can be simplified with a few techniques.
How-To Steps (Water Marble Technique Simplified):
- Prepare your nails by applying a base coat and a white or light-colored polish.
- Fill a small cup with room-temperature water.
- Drip a few drops of black and white (or your chosen colors) nail polish onto the surface of the water.
- Gently swirl the colors with a toothpick to create a marble pattern.
- Dip your nail (with a protective layer of tape around the cuticle to catch excess polish) into the marbled water.
- Carefully lift your nail out, and gently push the excess polish off the water surface.
- Remove the tape and let the nail dry. Seal with a top coat.
Note: Water marble can be tricky! Practice on a few nails or nail tips first. Many tutorials online can show you this technique visually.
Advanced Coffin Nail Designs for the Daring Artist
If you’re feeling adventurous and want to push your nail art skills, these advanced designs are sure to make a statement.
1. Intricate 3D Embellishments
Go beyond flat designs with 3D elements like rhinestones, charms, pearls, and even sculpted acrylic additions.
How-To Steps:
- Apply your polished base color and let it dry completely.
- Use nail art glue or a strong, quick-drying top coat as your adhesive.
- Carefully place embellishments like rhinestones, tiny pearls, or studs onto the nail using tweezers.
- For larger or heavier charms, consider using a UV gel and a UV lamp for a secure hold.
- Be mindful of design placement to avoid snagging. A smooth top coat around the edges of embellishments can help secure them.
2. Detailed Hand-Painted Nail Art (e.g., Portraits, Landscapes)
This requires a steady hand and fine brushes, but the results can be incredibly impressive and unique.
How-To Steps:
- Start with a perfectly smooth, fully dried base color.
- Sketch out your design lightly with a pencil or in your mind.
- Using extremely fine liner brushes and a palette of your chosen colors, carefully paint your detailed artwork. Work in thin layers.
- Allow each layer to dry before adding the next.
- Once the art is complete and dry, apply a protective top coat, being careful not to smudge the delicate details.
3. Chrome and Mirror Effect Nails
These futuristic finishes give a high-impact, reflective look that’s incredibly trendy.
How-To Steps (Using Chrome Powder):
- Apply a base coat and your chosen color polish. For best results, use a black or dark color. Cure under a UV/LED lamp if using gel polish.
- Apply a “no-wipe” gel top coat and cure it under the lamp.
- Using a silicone applicator or your fingertip, rub the chrome powder onto the sticky surface of the cured top coat.
- Buff until you achieve a smooth, mirror-like finish.
- Wipe away any excess powder with a soft brush.
- Seal the design with another layer of “no-wipe” gel top coat and cure.
4. “Under the Sea” or Celestial Themed Designs
Incorporate glitter, small charms, and color blending to create immersive themes.
How-To Steps:
- Start with a base color that suits your theme (e.g., deep blue for sea, black or dark purple for celestial).
- Stripe or blend different shades of polish to create depth.
- Add glitter strategically – consider a glitter ombré or scattering fine glitter to mimic stars or sand.
- Use fine brushes to paint small elements like waves, moons, stars, or tiny shells.
- Consider adding small 3D charms like starfish, or tiny holographic fragments for extra magic.
- Finish with a thick, glossy top coat to seal everything and create a smooth surface.
Maintaining Your Coffin Nail Designs
Keeping your coffin nail designs looking fresh and fabulous is all about a little TLC. Here’s how:
- Wear Gloves: Protect your nails and your manicure when doing chores, especially washing dishes or cleaning.
- Avoid Using Nails as Tools: Don’t use your nails to scrape, pry, or open things – this is a sure way to chip or break them.
- Reapply Top Coat: Every few days, swipe on an extra layer of top coat to refresh the shine and help protect the polish from wear and tear.
- Moisturize Regularly: Apply cuticle oil or hand cream daily. This keeps your cuticles healthy and hydrated, preventing them from looking dry and flaky around your gorgeous designs.
- Be Gentle: When filing or shaping, always file in one direction to prevent snagging or peeling.
Coffin Nail Designs: A Quick Look at Color & Style Pairings
Choosing the right color and style can make all the difference. Here’s a handy table to inspire your next manicure:
| Design Style | Popular Colors | Best For | Vibe |
|---|---|---|---|
| Classic Monochromatic | Black, Nude, Deep Red, Navy | Everyday, Professional, Dates | Chic, Sophisticated, Bold |
| French Tips (Classic & Colored) | White, Cream, Pastels, Neons | Versatile, Can be dressed up or down | Elegant, Clean, Playful |
| Glitter Gradient | Silver, Gold, Holographic, Rose Gold | Parties, Holidays, Special Events | Glamorous, Festive, Sparkly |
| Ombre | Pastels, Nudes, Jewel Tones, Contrasting Colors | Fashion-forward, Fun, Statement | Modern, Trendy, Smooth |
| Marble Effect | Black & White, Pink & Gold, Blue & White | Luxurious, Artistic, Unique | Elegant, High-end, Artistic |
| Chrome/Mirror | Silver, Gold, Rose Gold, Iridescent |

