Coffin nail designs with rhinestones can elevate your look, offering a chic and dazzling way to express yourself. This guide simplifies creating stunning coffin nails adorned with sparkling gems, perfect for beginners wanting to master a glamorous trend.
Hey nail lovers! Are your nails looking a little plain? Do you dream of adding some serious sparkle to your fingertips? If you love the elegant coffin shape and the dazzling appeal of rhinestones, you’ve come to the perfect place! Creating beautiful coffin nail designs with rhinestones might seem tricky, but I promise it’s totally achievable. We’ll walk through everything you need, from essential tools to simple steps for nailing this trend. Get ready to transform your nails into stunning works of art!
Why Coffin Nails with Rhinestones? The Ultimate Glam Combo
Coffin nails, also known as ballerina nails, are super popular for a reason! Their tapered shape and flat tip offer a sleek, sophisticated silhouette that lengthens the fingers. When you combine this elegant shape with the irresistible sparkle of rhinestones, you get a manicure that’s both trendy and timeless. It’s the perfect way to add a touch of luxury and personality to any outfit, whether you’re heading to work, a party, or just want to feel a little extra special.
Think about it: a smooth, chic nail shape enhanced by tiny, glittering gems. It’s a match made in nail heaven! This design isn’t just for special occasions either; it’s versatile enough to become your new everyday go-to if you love a bit of bling. We’re going to break down exactly how to achieve this fabulous look, making it easy for even the newest nail art enthusiast.
Your Essential Toolkit: What You’ll Need
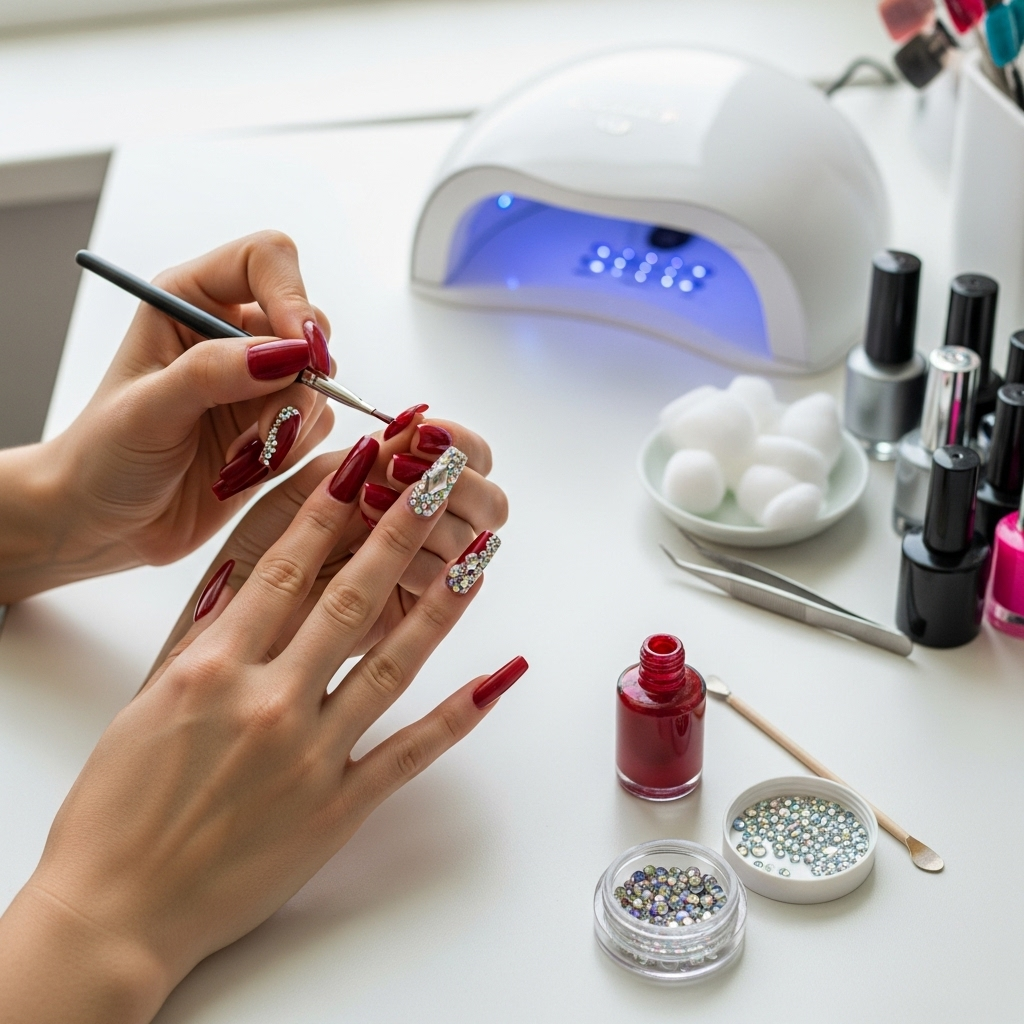
Gathering the right tools is the first step to nail art success! Don’t worry, you don’t need a professional salon setup to create stunning coffin nail designs with rhinestones. Here’s a simple list of what you’ll need:
Nail Prep & Base Materials
- Nail Polish/Gel Polish: Choose your favorite colors! Darker shades or nudes often make rhinestones pop beautifully, but any color can work.
- Base Coat: Essential for protecting your natural nails and helping polish adhere.
- Top Coat: Seals your design and adds shine, ensuring your rhinestones stay put. This is crucial for longevity!
- Nail File: To shape your nails into the perfect coffin shape. A medium-grit file is usually best.
- Cuticle Pusher: To gently push back your cuticles for a clean canvas.
The Bling Factor: Rhinestones & Adhesives
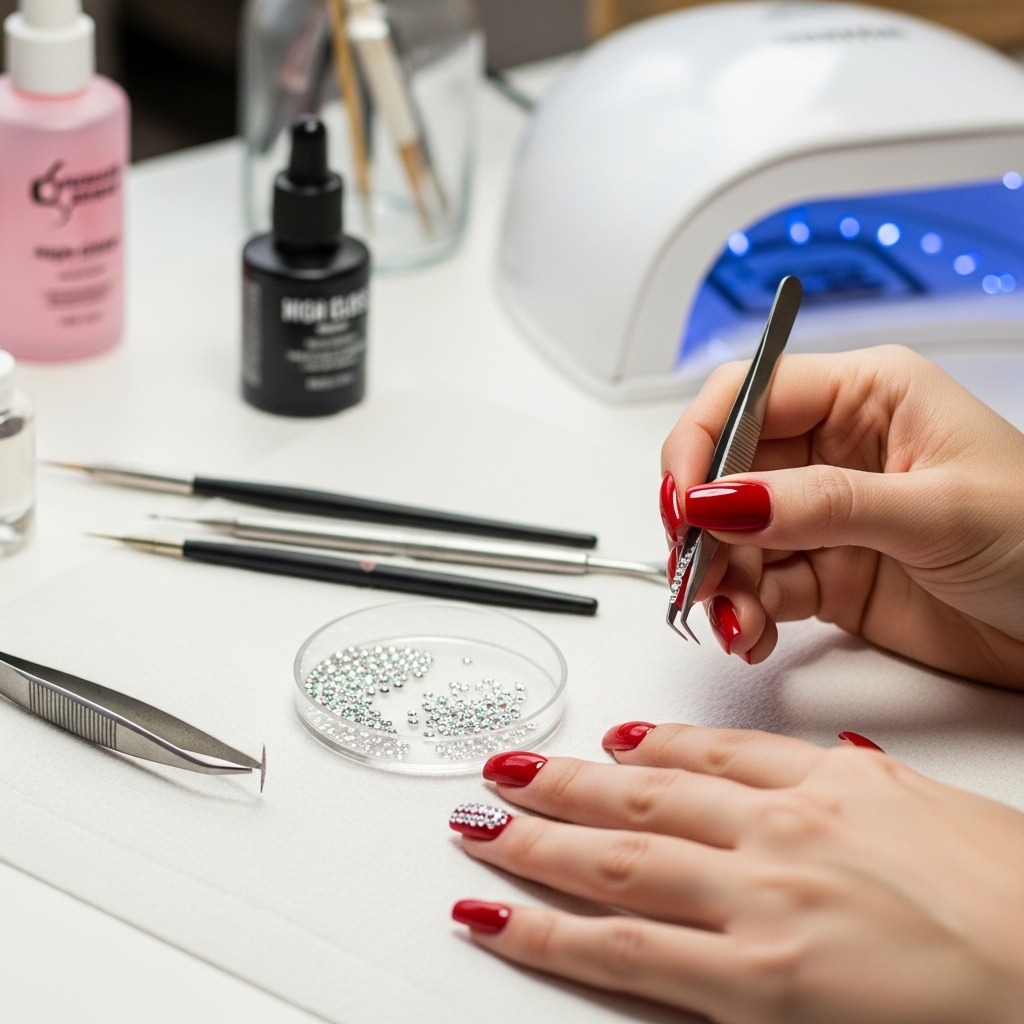
- Rhinestones: These come in various sizes, shapes (round, teardrop, marquise), and colors. Start with a mixed pack for versatility! You can find these at beauty supply stores or online. For a professional look, consider Swarovski crystals for ultimate sparkle.
- Nail Glue or Rhinestone Gel: A strong adhesive is key. Specific nail glue is excellent for durability, while a “rhinestone gel” (a thicker gel polish designed for application) can also work great if you’re using gel polish. For DIY, clear nail polish can be a temporary fix for small gems.
- Wax Pencil or Toothpick: For picking up and placing the tiny rhinestones precisely. A wax pencil is ideal as the wax picks up the gems easily.
Optional but Helpful Tools
- Tweezers: For picking up larger rhinestones or adjusting placement.
- Dotting Tool: Can be used to apply small dots of glue or to create patterns with rhinestones.
- Rubbing Alcohol or Nail Polish Remover: To clean your nails before applying polish.
- Lint-Free Wipes: To ensure a clean, dust-free surface.
Step-by-Step: Crafting Your Gorgeous Coffin Nail Designs with Rhinestones
Ready to get creative? Let’s break down how to create stunning coffin nail designs with rhinestones. These steps are designed to be super easy to follow!
Step 1: Nail Prep is Key
Start with clean, dry nails. Gently push back your cuticles using a cuticle pusher. Make sure there’s no excess cuticle on the nail plate. Lightly buff the surface of your nails with a nail file to remove any shine. This helps the polish and rhinestones adhere better. Wipe your nails with rubbing alcohol or nail polish remover and a lint-free wipe to remove any oils or dust.
Step 2: Shape Your Coffin Nails
Using your nail file, carefully shape each nail. Start by filing the sides inwards at a slight angle towards the tip. Then, file the tip straight across to create the flat top. Aim for symmetry and a smooth finish. You can achieve a sharp coffin or a softer, more rounded coffin shape depending on your preference.
Step 3: Apply Base Coat and Color
Apply a thin layer of base coat and let it dry completely. Then, apply your chosen nail polish or gel polish. For opaque coverage, you’ll likely need two thin coats. Allow each coat to dry thoroughly between applications. If using gel polish, cure each layer under a UV/LED lamp according to the product instructions.
Step 4: Plan Your Rhinestone Design
Before you start gluing, decide where you want your rhinestones to go! You can go for a classic look with a single rhinestone at the base of the nail, a line of rhinestones down the center, scattered gems, or even intricate patterns. Lay out a few rhinestones on a paper towel to visualize your design. For beginners, starting with a simple accent nail is a great idea.
Step 5: Apply the Adhesive
This is where one of your chosen adhesives comes in. If using nail glue, apply a small bead of glue exactly where you want the first rhinestone to go. If using a rhinestone gel, apply a small dollop of the gel. For tips on applying rhinestones using gel polish, check out this guide from a reputable source on gel application techniques.
Step 6: Place Your Rhinestones
This is the fun part! Use your wax pencil or the tip of a toothpick dipped in a tiny bit of wax (or even just slightly damp) to pick up a single rhinestone. Gently press the rhinestone onto the adhesive on your nail. Repeat this for your entire design. Tweezers can be helpful for larger stones or fine-tuning placement.
- Tip: Work one rhinestone at a time or one small section of your design at a time so the adhesive doesn’t dry out before you place your gems.
Step 7: Secure and Seal
Once your rhinestones are perfectly placed, let the nail glue or gel cure/dry according to the product instructions. This is crucial to avoid dislodging them. After the adhesive is fully dry or cured, apply a thin layer of top coat. Be careful not to flood the rhinestones with too much top coat, as this can dull their sparkle or cause them to shift. You can either carefully paint around the rhinestones or apply a thin layer over them, ensuring you cap the edges well. If using gel, cure the top coat under your lamp. For regular polish, let it dry completely.
Step 8: Final Touches
Once everything is dry and sealed, admire your work! If any edges feel rough, you can gently buff them with a very fine grit buffer. Clean up any stray polish around your nails with a small brush dipped in nail polish remover for a super clean finish.
Creative Coffin Nail Designs with Rhinestones: Ideas to Sparkle
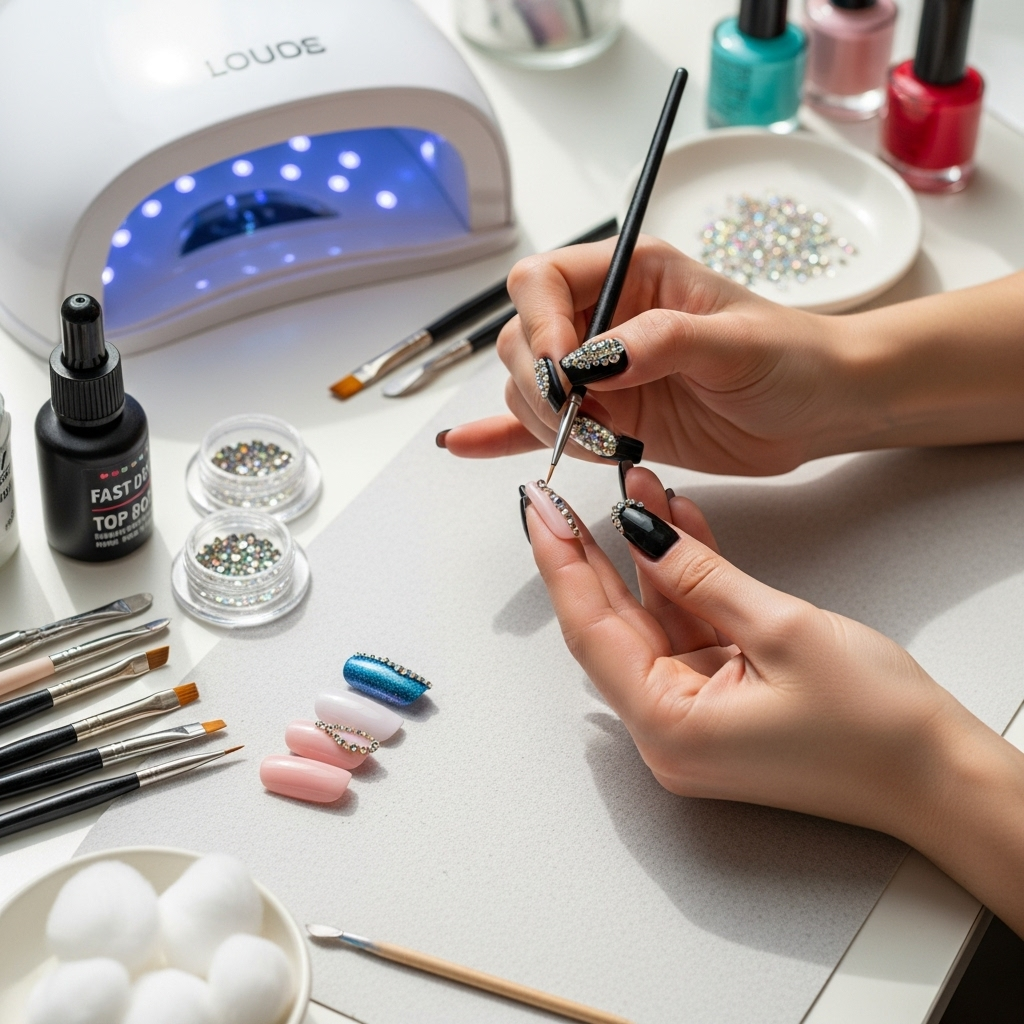
The possibilities are endless when it comes to coffin nail designs with rhinestones! Here are a few popular and achievable ideas to inspire you, categorized by complexity:
Beginner-Friendly Sparkle
- Single Gem Accent: A classic for a reason! Place one striking rhinestone at the base of the nail (the cuticle area) on one or two accent nails. You can use a clear crystal, a colored gem, or even a pearl.
- Scattered Gems: Apply a few strategically placed rhinestones randomly across one accent nail. Aim for a delicate, dewy look rather than a dense cluster.
- French Tip Sparkle: Instead of white tips, apply a line of small rhinestones along the smile line of a French manicure.
Intermediate Glam
- Rhinestone Ombre: Start with a cluster of rhinestones at the cuticle and gradually decrease the number as you move towards the tip, diffusing the sparkle.
- Center Line Sparkle: Create a bold statement with a single line of rhinestones running vertically down the center of the nail, from cuticle to tip.
- Geometric Patterns: Use a few strategically placed rhinestones to create simple geometric shapes, like a small triangle or square, on an accent nail.
Advanced Dazzle (Still Achievable!)
- Full Rhinestone Accent Nail: Cover an entire accent nail with a dazzling mosaic of rhinestones. This is a bold choice that commands attention!
- Rhinestone Moons: Apply rhinestones in a crescent shape at the base of the nail, mimicking a moon.
- 3D Flowers or Embellishments: Combine rhinestones with other 3D nail art elements like small charms or pre-made flower appliqués for an intricate, high-fashion look.
When choosing your design, consider the occasion and your personal style. A minimalist approach with a few well-placed stones can be just as impactful as a full-bling nail!
Coffin Nail Inspirations: Colors & Combinations
The color you choose for your coffin nail design with rhinestones plays a huge role in the overall vibe. Here’s how different colors can work with your sparkle:
| Color Palette | Vibe | Rhinestone Pairing Ideas |
|---|---|---|
| Classic Neutrals (Nude, Cream, Beige) | Elegant, sophisticated, understated glam. | Clear crystals, pearls, rose gold gems to subtly enhance. |
| Deep & Dark (Black, Navy, Burgundy) | Luxurious, dramatic, mysterious. | Jet black rhinestones, deep reds, silver, or holographic stones for high contrast. |
| Pastels (Pink, Lavender, Mint) | Soft, dreamy, feminine, whimsical. | Iridescent stones, baby pink, light blue, or clear crystals to complement. |
| Bold & Bright (Red, Emerald, Royal Blue) | Vibrant, playful, statement-making. | Gold or silver rhinestones to amplify the color, or contrasting jewel tones. |
| Metallics (Gold, Silver, Rose Gold) | Chic, modern, glamorous. | Complementing rhinestones (e.g., silver polish with silver gems), or contrasting black/clear stones. |
Maintaining Your Sparkling Coffin Nails
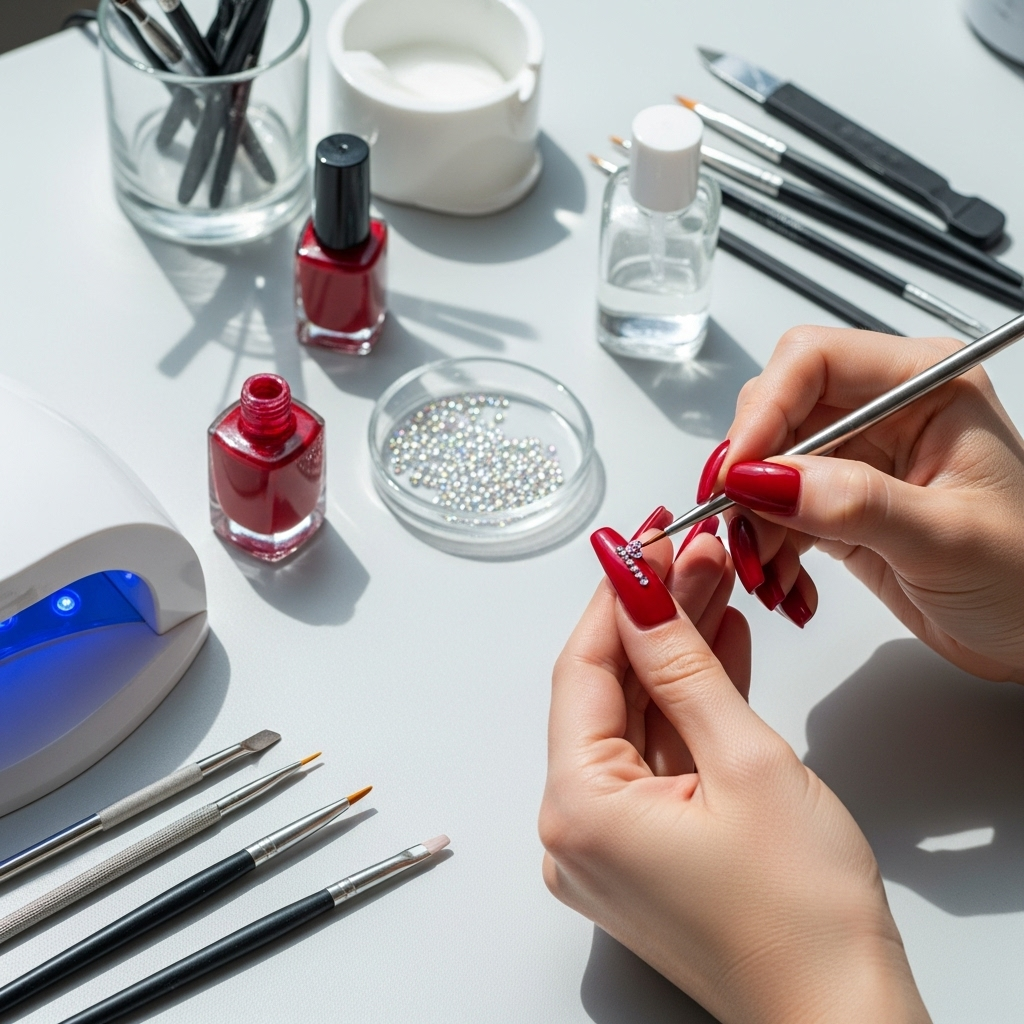
You’ve put in the effort to create gorgeous coffin nail designs with rhinestones, so let’s make them last! Proper care is key:
- Be Gentle: Avoid using your nails as tools. Try not to pick at things or open packages with them.
- Moisturize: Keep your cuticles and hands hydrated with cuticle oil and hand cream. Dryness can weaken nails and polish.
- Top Coat Touch-Ups: If you notice the top coat around the rhinestones wearing down, you can carefully reapply a thin layer.
- Avoid Harsh Chemicals: Wear gloves when doing chores like washing dishes or cleaning with strong chemicals.
- Resist Picking! This is the hardest rule, but resisting the urge to pick off rhinestones or polish is vital for keeping your manicure looking good.
Troubleshooting Common Issues
Even with the best intentions, sometimes little hiccups happen. Here are some common problems and how to fix them:
- Problem: Rhinestones falling off.
Solution: Ensure you used a strong, appropriate adhesive (nail glue or rhinestone gel). Apply enough adhesive, and make sure it’s fully dry before sealing with top coat. For longevity, consider placing rhinestones on top of cured gel polish and then sealing them with a gel top coat applied carefully around them.
- Problem: Top coat dulling the rhinestones.
Solution: Use a high-quality top coat, and apply it thinly. If using gel, consider a special rhinestone top coat or a builder gel applied sparingly around the gems. Be extra careful not to flood the rhinestones.
- Problem: Difficulty picking up small rhinestones.
Solution: A wax pencil is your best friend here! If you don’t have one, a slightly damp toothpick or tweezers can work, but be patient. Ensure the surface you’re working on is clean and dry.
- Problem: Uneven placement.
Solution: Don’t rush! Place rhinestones one by one, or in small sections. You can gently nudge them into place with your wax pencil or toothpick before the adhesive fully sets. For perfect lines, you can use thin nail tape as a guide.
Frequently Asked Questions (FAQ)
Q1: How do I shape my nails into a coffin shape if I have short nails?
A1: You can achieve a coffin shape on shorter nails by filing the sides inwards at a steeper angle. The key is to file consistently to create the tapered sides and the flat tip. Even with shorter lengths, the coffin shape offers a chic look!
Q2: Can I use regular nail polish and rhinestones?
A2: Absolutely! For regular nail polish manicures, use strong nail glue to attach rhinestones after your color coats have dried. Seal the design with a clear top coat once the glue is fully hardened. Keep in mind that this method might not be as long-lasting as gel.
Q3: What’s the best type of rhinestone for coffin nails?
A3: For beginners, standard acrylic rhinestones are affordable and easy to work with. For extra sparkle and durability, Swarovski crystals are a top-tier choice. Consider the size of the rhinestone relative to your nail and the design you’re aiming for; sometimes smaller, mixed sizes look best.
Q4: How long do coffin nails with rhinestones usually last?
A4: With proper application and care, a gel manicure with rhinestones can last 2-3 weeks


