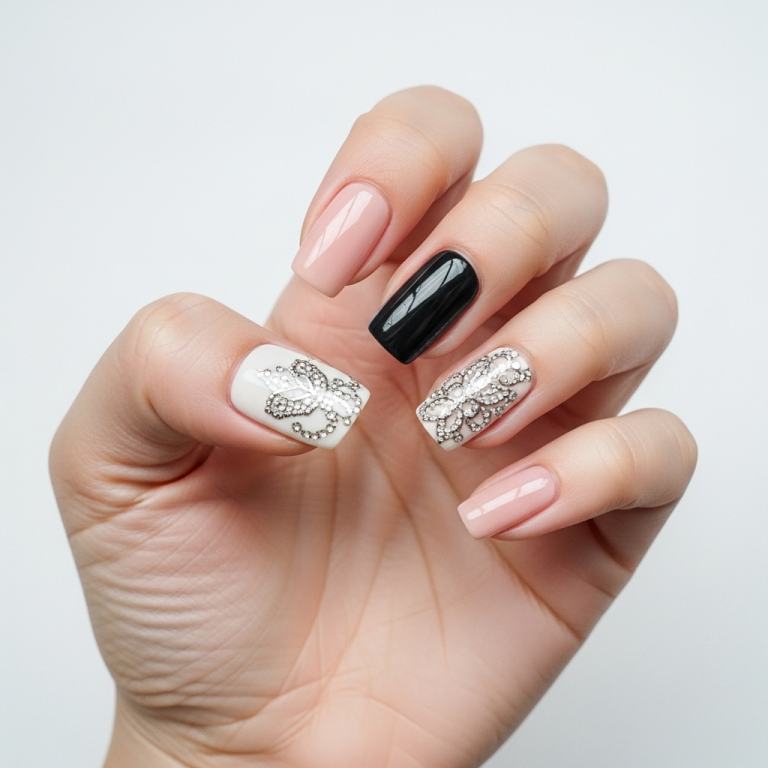
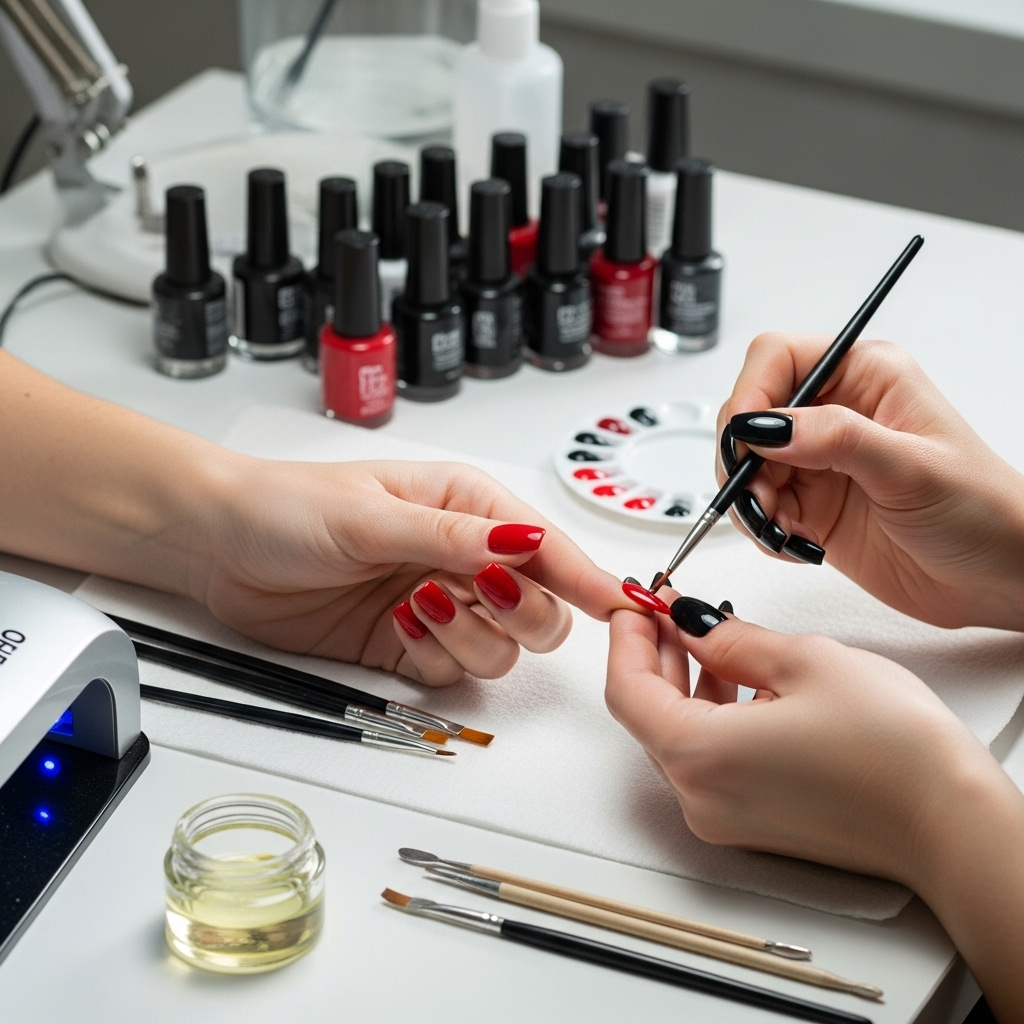
Coffin black and red nails are a bold, stylish, and versatile nail trend that’s surprisingly easy to achieve for beginners. This iconic look blends the dramatic flair of coffin shapes with the classic intensity of black and red, creating a striking statement. Learn how to embrace this essential style with our simple guide to creating stunning coffin black and red nails at home.
Have you ever seen those amazing nails that look like miniature work of art? Sometimes, you might feel like you need a professional to get them. But what if I told you that some of the most in-demand looks are totally doable at home? Today, we’re diving into one of the most fiercely stylish trends: coffin black and red nails. They might sound intimidating, but trust me, they’re more beginner-friendly than you think! We’ll break down exactly how to get this killer look with easy steps, helpful tips, and all the pro secrets. Get ready to transform your nails into a fashion statement that’s all you.
Why Coffin Black and Red Nails Are a Must-Try
Coffin nails, also known as ballerina nails, are a sleek, modern shape that elongates the fingers beautifully. When you pair this sophisticated shape with the powerful contrast of black and red, you get a look that’s both classic and undeniably edgy. It’s a versatile combo that can be dressed up or down, making it perfect for any occasion. From a subtle gradient to bold geometric designs, the possibilities are endless, allowing everyone to express their unique style.
The Allure of the Color Combo
Black and red is a power couple in the color world. Black brings sophistication and a touch of mystery, while red signifies passion, confidence, and energy. Together, they create a dynamic visual tension that’s incredibly eye-catching. This combination works for so many moods and outfits, offering a way to add a touch of daring elegance to your everyday look or to make a statement for a special event.
The Chic Coffin Shape
The coffin shape itself is a runway favorite. It’s characterized by a straight-sided taper ending in a flat, squared-off tip. This shape is not only stylish but also practical, as it can prevent snagging and breakage compared to sharp stiletto points. It provides a great canvas for nail art, allowing designs to be displayed in a clean, modern way.
Getting Started: Your Coffin Black and Red Nail Toolkit
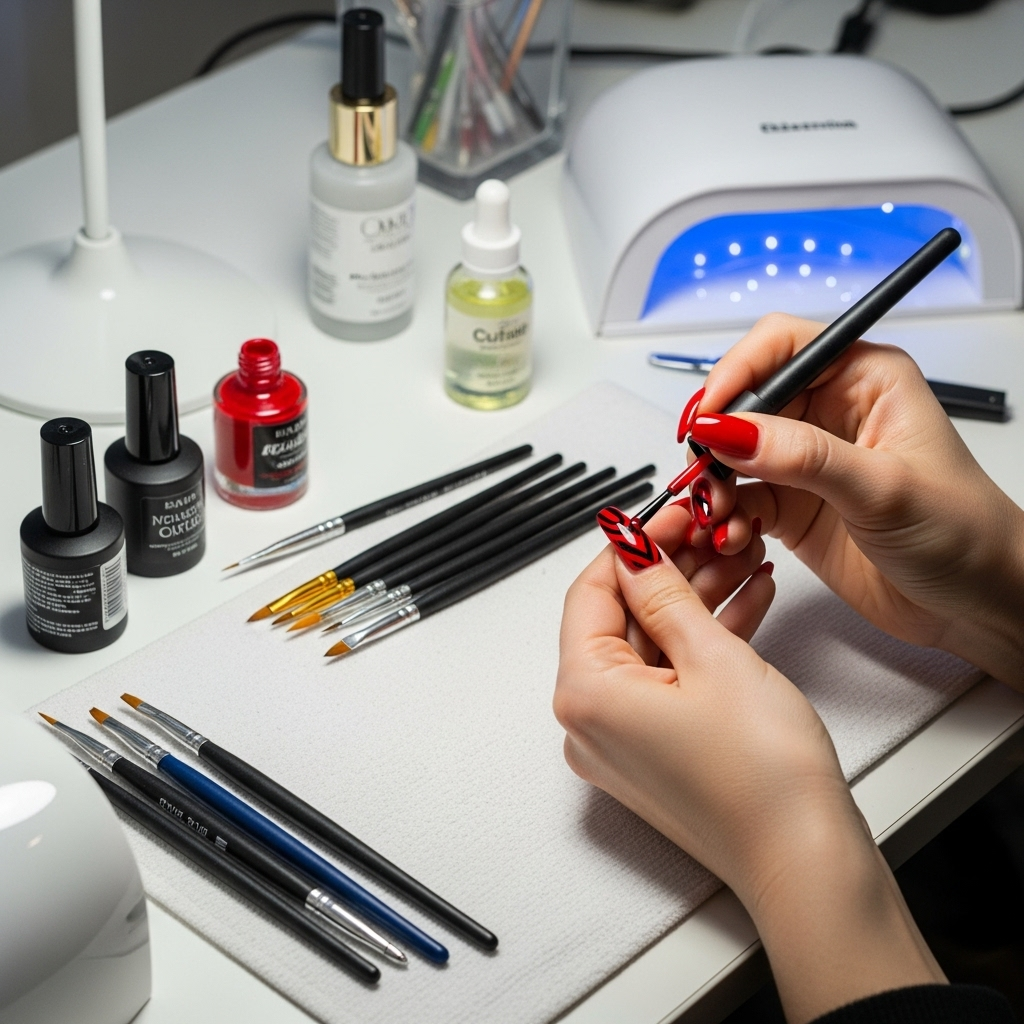
Before we jump into the fun part—the designs!—let’s make sure you have the right tools. Don’t worry, you don’t need a salon’s worth of supplies. A few key items will have you well on your way to DIY nail perfection.
Essential Nail Supplies
Here’s a checklist of what you’ll need to create your coffin black and red nails:
Nail Polish: High-quality black and red nail polishes are a must. Consider a deep, true red and a rich, opaque black. A good top coat and base coat are also crucial for longevity and shine.
Nail File: To shape your nails into that perfect coffin silhouette. Em Look for files with different grits for smooth shaping and smoothing.
Cuticle Pusher/Orange Stick: To gently push back your cuticles for a clean nail bed.
Nail Buffer: To smooth the nail surface before applying polish.
Tweezers or Dotting Tool: For placing small embellishments like studs or rhinestones.
Thin Nail Art Brush: For creating fine lines, details, or intricate patterns.
Nail Polish Remover and Cotton Pads: For clean-up mistakes and removing old polish.
Optional: Nail Glue and Embellishments: If you want to add 3D elements like rhinestones, studs, or glitter.
Choosing Your Polishes
The quality of your polish makes a big difference! For coffin black and red nails, you want polishes that are:
Opaque: Deep, rich colors that cover in one or two coats are ideal.
Quick-Drying: This is a lifesaver when you’re doing intricate designs or don’t have hours to wait for nails to dry.
Long-Wearing: Nobody wants their masterpiece to chip in a day! Look for formulas known for durability.
Step-by-Step: Achieving the Coffin Shape
Shaping your nails is the first crucial step to getting that signature coffin look. It might take a little practice, but it’s totally achievable.
Preparing Your Nails
1. Remove Old Polish: Start by removing any existing nail polish with a good quality nail polish remover.
2. Shape Your Free Edge: If you have length, clip your nails to your desired length with a nail clipper. Then comes the file.
3. File into Shape:
Start by filing the sides of your nail straight towards the center. Imagine you’re creating a gentle taper.
Once you have a tapered shape, use the edge of your file to create a straight, flat tip. Think of a square with the corners rounded off slightly to avoid sharp edges that can break.
Smooth out any rough edges with a finer grit file or a nail buffer.
It’s important to file in one direction to avoid weakening the nail. For more visual guidance on nail shaping techniques, resources like NailPro’s guide to nail shapes can be incredibly helpful. They offer detailed explanations and visuals for various shapes, including the coffin.
Buffing and Base Coat
1. Buff: Gently buff the surface of your nails. This creates a smooth canvas for polish and helps it adhere better.
2. Apply Base Coat: Apply a thin, even layer of base coat. This protects your natural nails from staining (especially important with dark colors like black) and helps your polish last longer. Let it dry completely.
Designing Your Coffin Black and Red Masterpiece
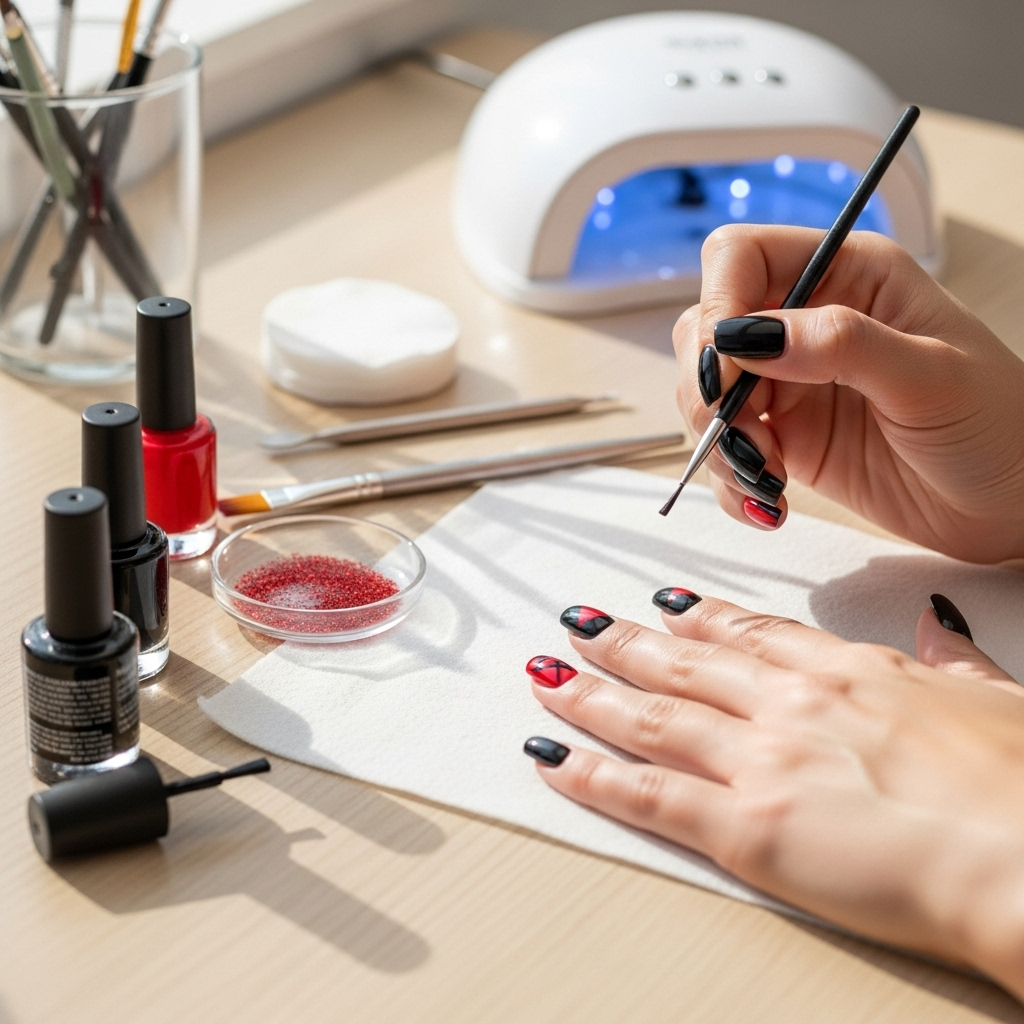
Now for the fun part – bringing your coffin black and red nails to life! Here are a few popular and beginner-friendly design ideas.
Design 1: Classic Black with Red Accents
This is a sophisticated and timeless look that’s super easy to master.
What you’ll need: Black nail polish, red nail polish, thin nail art brush, top coat.
Steps:
1. Paint the Base: Apply two thin coats of black nail polish to all your nails. Let each coat dry completely.
2. Add Red Detail:
Using your thin nail art brush dipped lightly in red polish, paint a small detail on each nail. For a simple yet elegant touch, try a tiny red heart near the cuticle, a small red dot in the corner, or a thin red line along one edge.
Alternatively, use a stripping tape or a fine-tipped applicator to create a sharp line of red across the tip or a diagonal across the nail.
3. Clean Up: Use a cotton swab dipped in nail polish remover to clean up any stray polish around your cuticles or the edges of your nails.
4. Apply Top Coat: Once all the polish is completely dry, apply a generous layer of top coat to seal the design and add a glossy finish.
Design 2: The Ombre Blend
Ombré nails create a beautiful gradient effect, and black and red is a stunning combination for this.
What you’ll need: Black nail polish, red nail polish, makeup sponge (a regular sponge cut into small pieces works great!), top coat.
Steps:
1. Paint Base (Optional but Recommended): Apply a thin base coat and let it dry. You can either paint one nail black and the adjacent one red, or paint two opposite color fingernails at a time. Let them dry.
2. Prepare the Sponge: Apply a stripe of black polish and a stripe of red polish side-by-side onto your makeup sponge. Work quickly as the polish will start to dry on the sponge.
3. Dab Onto Nail: Gently dab the sponge onto your nail, pressing down to transfer the colors and create a blended effect. Reapply polish to the sponge and repeat dabbing until you achieve your desired color saturation and blend.
4. Clean Up Edges: Immediately after sponging, use a brush with a little nail polish remover to clean up the skin around your nail. This is crucial with the sponging technique to get clean lines.
5. Apply Top Coat: Once the polish is dry to the touch, apply a generous coat of top coat. This will help smooth out any texture from the sponge and give a beautiful, glossy finish. A good top coat also helps blend the colors together even more.
Design 3: Two-Tone Chic
This design plays on the contrast of black and red in a clean, modern way.
What you’ll need: Black nail polish, red nail polish, striping tape or a fine-tipped applicator, white or nude polish (optional base), top coat.
Steps:
1. Base Color: Apply your chosen base color to all nails (e.g., a nude or white polish, or even just a clear coat). Let it dry completely.
2. Apply Polish: Paint one half of your nail with black polish and the other half with red polish. You can do this with a steady hand and a fine-tipped brush, or by carefully placing striping tape to create a clean dividing line.
Using Striping Tape: Paint one color (say, black) on the entire nail. Let it dry thoroughly. Place a strip of tape precisely where you want the color division to be. Paint the other half of the nail red. Carefully peel off the tape while the red polish is still slightly wet. This gives a really sharp line.
Freehand: With a fine nail art brush, carefully paint a crisp line down the center of your nail, dividing it into black and red sections.
3. Clean Lines: Ensure your lines are sharp and clean. Use a fine brush and remover for any touch-ups.
4. Top Coat: Once completely dry, seal your design with a high-shine top coat.
Advanced Touches for Your Coffin Black and Red Nails
Ready to take your coffin black and red nails to the next level? These additions can elevate your design from simple to spectacular.
1. Matte Finish
Swap your glossy top coat for a matte top coat. This instantly gives your black and red nails a sophisticated, velvety texture that’s incredibly chic and modern. It can make the colors look even richer.
2. Glitter and Sparkle
Glitter Gradient: Apply a glitter polish (silver, red, or black) over the blend line of your ombré nails for an extra pop.
Accent Nail: Paint one nail entirely with a black or red glitter polish.
Full Glitter: For a truly glamorous look, consider a full glitter application on one or two accent nails.
3. Studs and Rhinestones
Small metallic studs or tiny red rhinestones can be strategically placed using nail glue or a dot of top coat. Place them along the cuticle line or create a small cluster near the tip for added dimension. Here’s a great resource on creating dimensional nail designs with embellishments from NailPro, a respected industry publication.
4. Gemstones or Charms
For a bolder statement, try larger gemstones or specialized nail charms. These often require stronger nail glue for a secure fit.
Nail Care for Long-Lasting Coffin Black and Red Nails
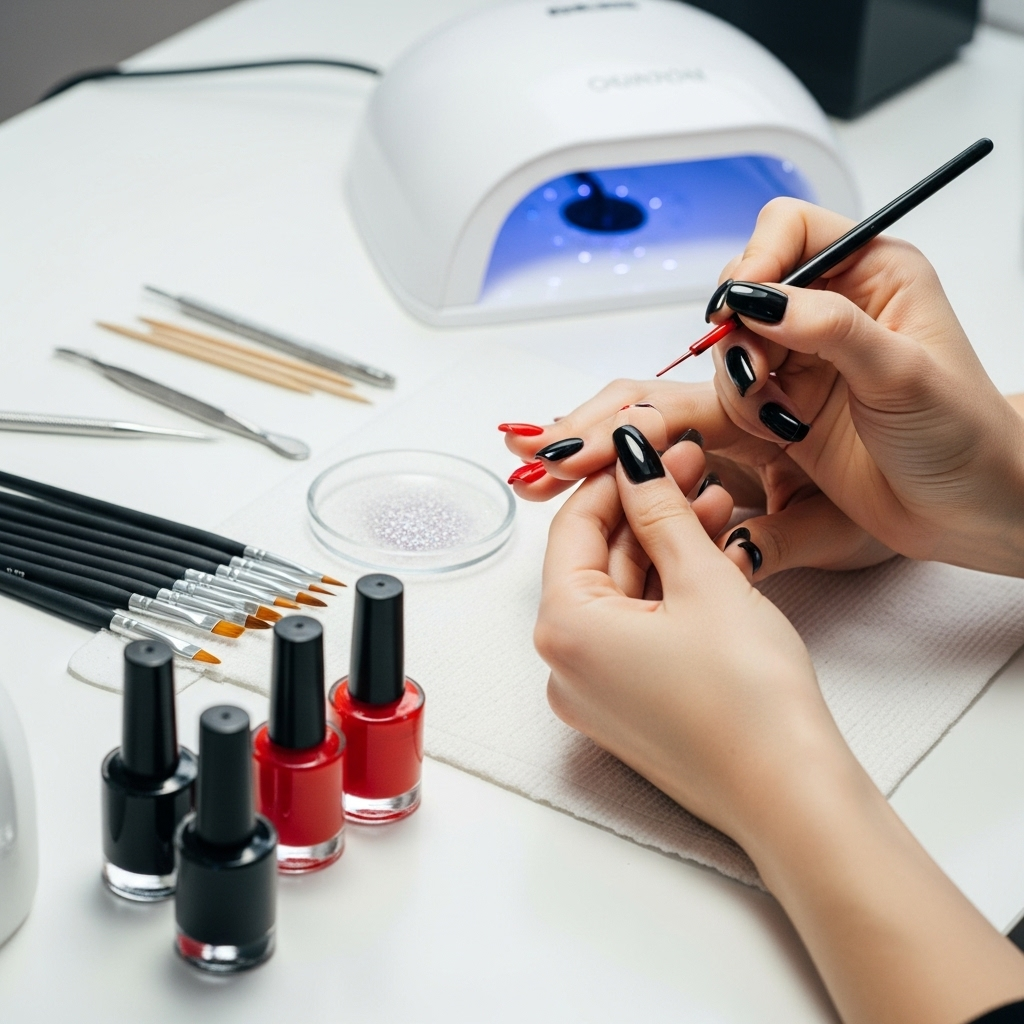
Keeping your nails healthy and your manicure looking fresh is key. Here are some tips to extend the life of your beautiful coffin black and red nails:
Moisturize: Regularly apply cuticle oil and hand lotion. Healthy cuticles and skin make your manicure look polished.
Protect Your Nails: Wear gloves when doing household chores, especially washing dishes or cleaning with harsh chemicals. This prevents chipping and damage.
Avoid Using Nails as Tools: Don’t use your nails to open cans, scrape stickers, or pry things open. This is a sure way to chip or break them.
* Gentle Removal: When it’s time to remove your polish, use a good quality remover and avoid peeling or picking at the polish, as this can damage your nail.
Comparing Coffin Black and Red Nail Styles
To help you choose the perfect look, let’s compare some popular variations.
| Style | Description | Best For… | Difficulty Level |
| :—————– | :—————————————————————————————————- | :———————————————————————– | :————— |
| Classic Black with Red Accent | Primarily black nails with a small red detail (dot, line, heart). | Beginners, subtle elegance, everyday wear. | Easy |
| Ombré Gradient | A seamless blend of red fading into black (or vice-versa) across the nail. | Adding depth and drama, modern look. | Medium |
| Two-Tone Split | Nail is divided cleanly into black and red halves (horizontal, vertical, or diagonal). | Bold statements, geometric lovers, striking contrast. | Medium |
| Black with Red French Tip | A classic French manicure style but with a black nail base and a red tip. | Sophistication with an edge, work-appropriate with a twist. | Medium |
| Full Black with Red Glitter Tip | A solid black nail with the tip covered in red glitter for sparkle. | Glamorous occasions, accent nails, adding festive flair. | Easy |
Frequently Asked Questions about Coffin Black and Red Nails
Q1: How do I stop black nail polish from staining my nails?
A1: Always apply a good quality base coat before your colored polish. A thicker, more opaque base coat can provide extra protection. Let your base coat dry completely before applying color, and use a quality nail polish remover for cleanup.
Q2: My coffin shape looks a bit uneven. What can I do?
A2: Patience and practice are key! Try using a coarser file to initially shape and a finer grit file or buffer to smooth out imperfections. Ensure you’re filing consistently in one direction. Consider watching YouTube tutorials specifically on shaping coffin nails for visual guidance.
Q3: Can I do coffin black and red nails with short nails?
A3: While the coffin shape is most dramatic on longer nails, you can still achieve a similar tapered look on shorter nails. Keep the tapered sides subtle and create a very slight flat tip. The color combination itself is still impactful regardless of nail length.
Q4: How long do coffin black and red nails last?
A4: With proper application, including a good base and top coat, and careful maintenance, your manicure can last anywhere from 5-7 days, sometimes even up to two weeks, before significant chipping or wear occurs.
Q5: What kind of red and black polishes work best for this look?
A5: For opacity and richness, cream or creme finish polishes are excellent. High-shine finishes can also look very luxurious. Consider gel polishes if you have a UV/LED lamp, as they offer superior durability and shine.
Q6: How do I get crisp lines when doing a two-tone design?**
A6: The best way to achieve super crisp lines is by using striping tape. Ensure your first color is 100% dry before applying the tape. Press the edges down firmly to prevent polish from bleeding underneath. Carefully remove the tape when the second color is still slightly wet for the cleanest look.
Conclusion: Embrace Your Boldest Nails Yet!
Coffin black and red nails are more than just a trend; they’re a statement of confidence and personal style. Whether you opt for a subtle hint of red on an otherwise black nail or go all out with an ombré blend, this powerful duo is sure to turn heads. Remember, nail art is about creativity and having fun. Don’t be afraid to experiment, mix and match techniques, and make these coffin black and red nails uniquely yours. With these tips and tricks, you’re totally equipped to create stunning, salon-worthy manicures right from your own home. So grab your polishes, unleash your inner artist, and let your nails do the talking!

