Get stunning, sophisticated nails with clear nail art featuring tiny gems. This easy DIY guide shows beginners how to create elegant looks using simple tools and techniques for a touch of sparkle that’s truly essential for any nail lover’s repertoire.
Ready to elevate your nail game with a touch of subtle glamour? Clear nail art with tiny gems is the perfect way to add a sophisticated sparkle without overwhelming your nails. It’s chic, versatile, and surprisingly easy to do at home! Many of us admire those delicate, gem-adorned nails but feel intimidated, thinking it’s too complicated. Don’t worry; learning this technique is simpler than you might imagine. We’ll walk through everything you need to know, from choosing the right gems to securing them for a long-lasting, beautiful manicure. Get ready to unlock your inner nail artist and create dazzling looks that will make your fingers shine!
Why Clear Nail Art with Tiny Gems is a Must-Try
Clear nail art that incorporates tiny gems offers a unique blend of understated elegance and eye-catching detail. It’s not about being loud; it’s about adding a refined shimmer that catches the light beautifully. This style works for practically any occasion, from a casual day at the office to a formal evening event. The transparency of the base allows your natural nail or a sheer polish to peek through, creating a delicate, airy feel. Tiny gems, when used thoughtfully, add just the right amount of sparkle, making your nails look polished and special without being flashy. It’s a trend that’s both timeless and modern, proving that sometimes, less is definitely more when it comes to fabulous nails.
Your Nail Art Toolkit: What You’ll Need
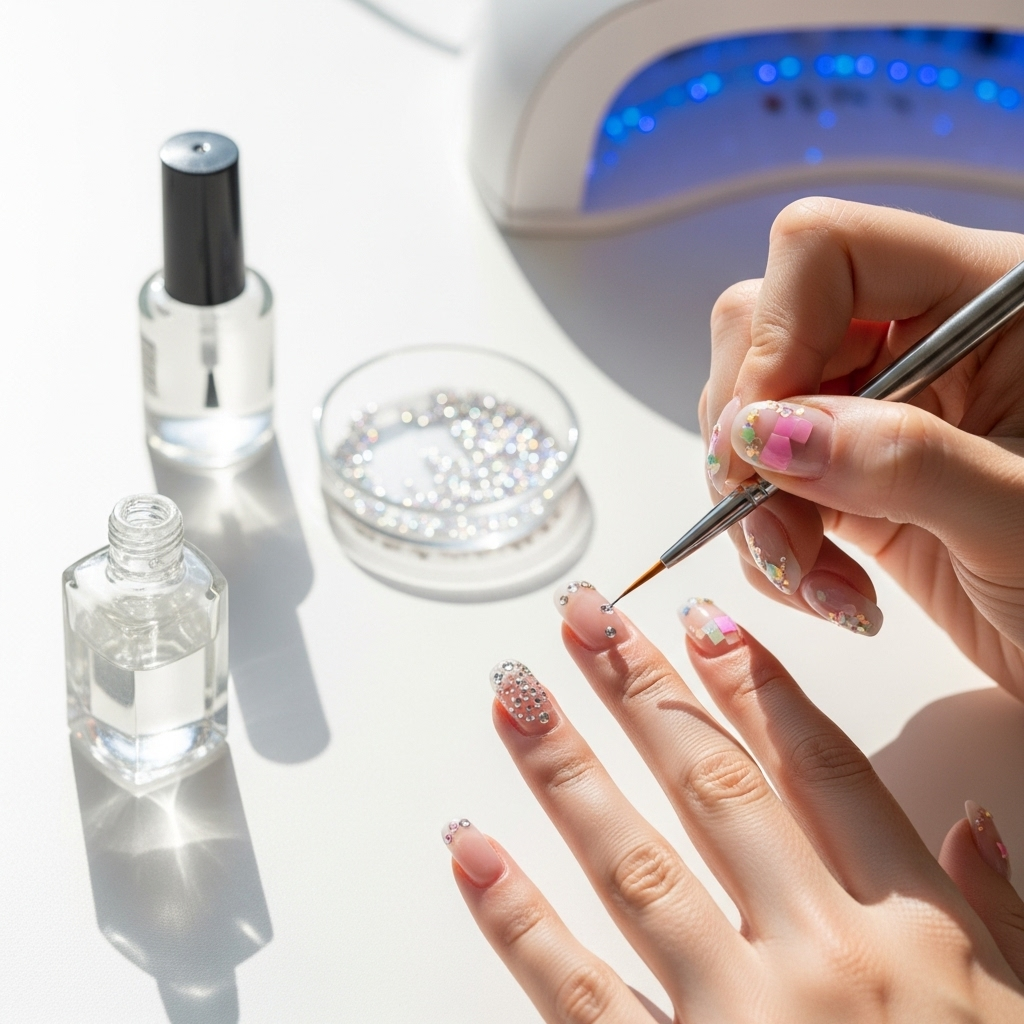
Gathering the right supplies is the first step to nail art success! Don’t worry, you don’t need a professional salon’s worth of equipment. Most of these items are readily available at drugstores or online beauty supply stores. Having these on hand will make the process smooth and enjoyable.
The Gems Themselves: Sparkle Selection
Choosing your tiny gems is one of the most exciting parts! The variety available can be a little overwhelming at first, but understanding your options will help.
- Rhinestones: These are the classic choice. They come in various materials (glass, plastic) and finishes (clear, AB – iridescent, colored). For this look, clear or iridescent (AB) rhinestones are fantastic as they catch the light beautifully.
- Micro Pearls: Tiny, lustrous pearls add a soft, sophisticated glow. They are perfect for a more subtle, elegant look.
- Caviar Beads: These are minuscule beads, often metallic or colored, that can be clustered for a textured effect or used sparingly.
- Flat-back vs. Pointed-back Gems: Flat-back gems are easier for beginners as they lie flush against the nail. Pointed-back gems can be trickier to adhere but offer a different dimensional look.
- Size Matters: For delicate clear nail art, opt for gems in sizes ranging from SS3 (about 1.3mm) to SS12 (about 3.1mm). Anything larger can overwhelm the design.
Application Essentials: Getting Them On Your Nails
These tools will help you pick up, place, and secure your tiny gems with precision.
- Clear Nail Polish or Base Coat: This is your “glue”! A good quality clear polish or a sticky base coat will hold the gems in place. Some prefer a dedicated nail art glue for extra hold, especially for larger gems or if you want them to last longer.
- Top Coat: Essential for sealing and protecting your design, adding shine, and ensuring longevity.
- Precision Tweezers or Wax Pencil/Crystal Picker Tool: These are crucial for picking up tiny gems. Tweezers with a fine, pointed tip are excellent. A wax pencil or crystal picker tool has a waxy tip that picks up gems easily and is great for placement accuracy.
- Toothpick or Dotting Tool: Handy for applying small dots of polish or glue, or for nudging gems into their perfect position.
- Small Dish or Palette: To pour your gems onto for easy access during application.
- Buffer/File: For preparing your nails.
- Isopropyl Alcohol or Nail Polish Remover: To clean the nail surface before application.
The Base Coat: Your Nail’s Canvas
The beauty of clear nail art lies in its subtlety. You have a few options for your base:
- Completely Natural Nails: For a super sheer, natural look.
- Clear Nail Polish: A single or double coat of your favourite clear polish.
- Sheer Polish: Think milky whites, soft nudes, or pale pastels. This provides a hint of color while maintaining the airy feel.
- “Blob” Nails: Where the gems are concentrated in one area, often looking like tiny dew drops.
Your Step-by-Step Guide to Dazzling Clear Nail Art
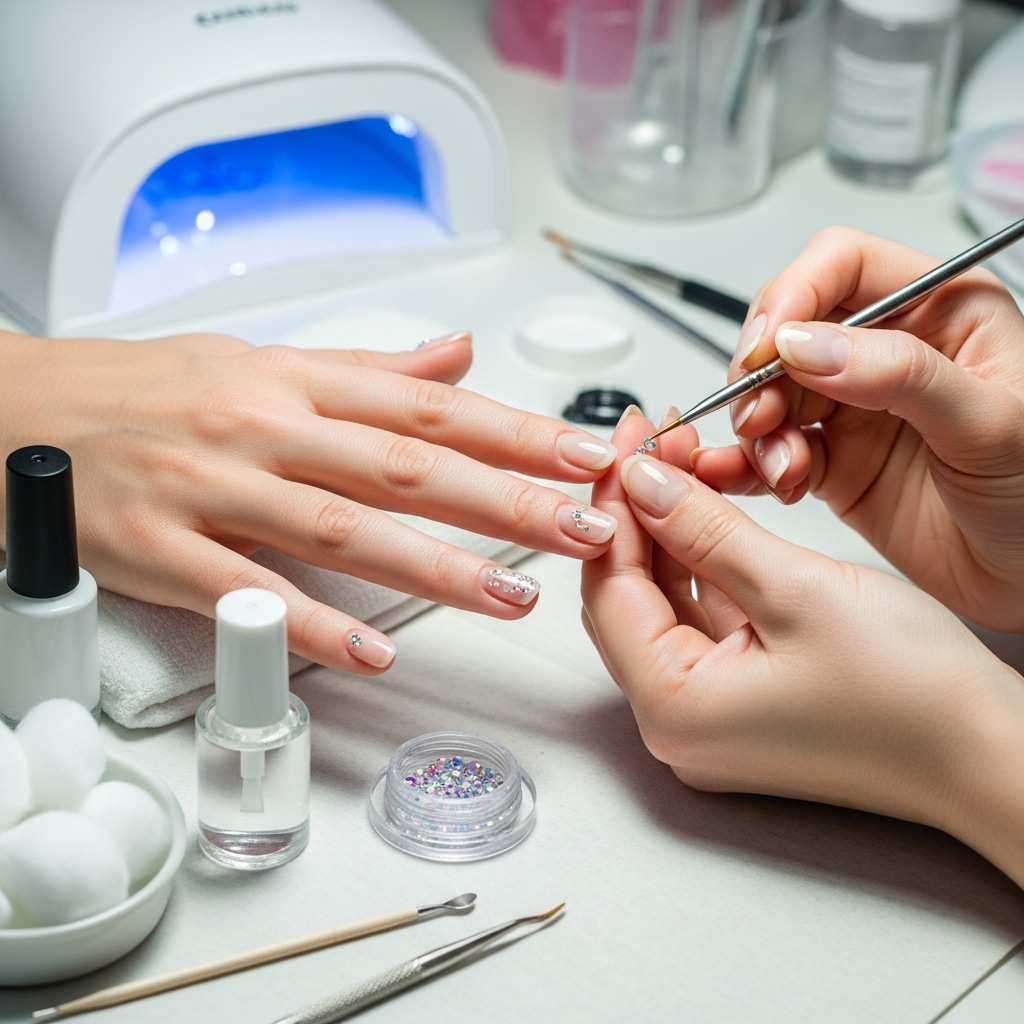
Let’s get creative! This method focuses on a simple yet stunning design: placing tiny gems strategically on a clear or sheer base. It’s perfect for beginners and delivers a sophisticated finish.
Step 1: Prepare Your Nails for Perfection
Good nail prep is key to any manicure lasting longer and looking its best.
- Cleanse: Start by removing any old nail polish. Wash your hands thoroughly with soap and water and then dry them completely.
- Shape: File your nails into your desired shape. A gentle, natural shape often complements this delicate style.
- Buff: Lightly buff the surface of your nails to create a smooth canvas and remove any natural oils. This also helps polish adhere better.
- Cleanse Again: Wipe your nails with isopropyl alcohol or nail polish remover. This removes any lingering dust or oils, ensuring a clean surface for polish and gems.
Step 2: Apply Your Base Color or Clear Coat
This is where your canvas comes to life.
- Apply Base Coat (Optional but Recommended): A regular base coat protects your natural nail.
- Apply Chosen Shade: Apply one to two thin coats of your chosen clear polish, sheer color, or let your natural nails shine through. Ensure each coat is completely dry before moving to the next step. For super sheer polishes, one coat is often enough to achieve that ethereal look.
Step 3: How to Apply the Tiny Gems
This is the fun part where your nails start to sparkle! Work on one nail at a time, as the polish can dry quickly.
- Pour Gems: Gently pour a small amount of your chosen tiny gems onto a clean, dry surface like a small palette or a piece of paper.
- Add a “Glue” Dot: Using your clear nail polish, top coat, or nail art glue, place a small dot or a very thin line where you want your first gem to go. The size of the dot depends on the size of the gem. For tiny gems, a dot equivalent to the gem’s size is usually perfect. Don’t use too much, or it will flood the nail.
- Pick Up a Gem: Use your precision tweezers or wax pencil tool to carefully pick up a single gem.
- Place the Gem: Gently press the gem onto the dot of polish or glue. A slight wiggle might help it settle into place.
- Adjust: Use your toothpick or the tip of your tweezers to nudge the gem into its perfect position.
- Repeat: Continue adding gems, spacing them out to create your desired pattern. You can create a simple line, a cluster in a corner, a scattered effect, or a specific shape.
- Allow Drying Time: Let the polish (your “glue”) cure for a few minutes before applying the top coat. This prevents the gems from shifting.
Step 4: Seal the Deal with a Top Coat
This step is crucial for protecting your beautiful gems and ensuring your art lasts.
- Apply Top Coat Carefully: Apply a generous amount of your favorite top coat over the entire nail, making sure to cover the gems. This not only adds shine but also locks them in place and creates a smooth surface.
- Gently Cap the Edges: When applying the top coat, gently brush over the edges of the gems and the free edge of your nail. This helps prevent snagging and further secures the gems.
- Avoid Bubbles: Try not to go over the gems too many times with the top coat brush, as this can sometimes create bubbles. A smooth, even application is best.
- Let it Dry: Allow the top coat to dry completely. This might take longer than usual because of the gems, so be patient! You can use a quick-dry spray or drops if you have them.
Creative Ideas and Placement Tips for Your Tiny Gem Designs
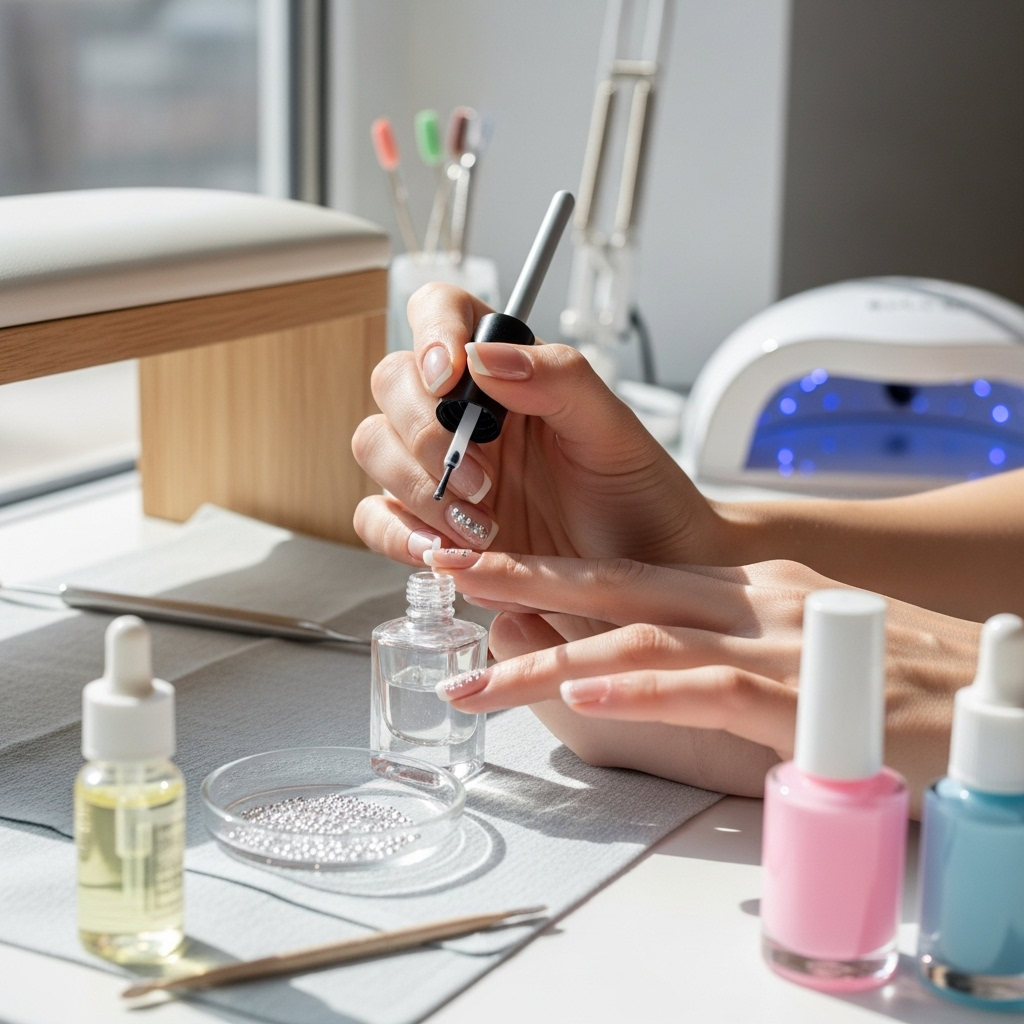
Once you’ve mastered the basic application, the possibilities are endless! Here are some ideas to spark your creativity.
Subtle Accents
The Single Gem: Place one tiny gem at the base of a nail, near the cuticle, or at the tip. This is minimalistic chic at its finest.
The “Moon” Detail: Place a few small gems along the curve of your cuticle to mimic a subtle French manicure tip.
Diagonal Line: A thin line of tiny gems diagonally across the nail adds a modern edge.
Just the Tips: Apply a few gems along the free edge of your nail for a delicate sparkle that shows when you gesture.
Clusters and Patterns
Corner Sparkle: A small cluster of gems in one corner of the nail.
“Blob” Effect: Create a small, organic cluster of gems that looks like a natural dewdrop. This works beautifully on a clear base.
Geometric Shapes: Use a few gems to form a tiny star, heart, or triangle.
The Minimalist French: Instead of a white tip, create a thin line of gems along the smile line of your natural nail.
Combining Colors and Textures
Mix and Match: Combine clear rhinestones with micro pearls for a sophisticated blend of shine and matte.
Ombre Gems: If using colored gems, create a subtle gradient effect with larger gems at the base and smaller ones towards the tip, or vice-versa.
Textural Play: Mix tiny beads with flat-back rhinestones for a multi-dimensional effect.
Working with Different Bases
The clear gem effect is versatile, but consider how it looks with different bases:
- Natural Nails: For an effortlessly chic look.
- Sheer Nudes/Pinks: Enhances the natural beauty of your nails with a hint of color.
- Milky Whites or Pastels: Creates a softer, dreamier appearance.
- French Manicure: Place gems on the white tip or at the base for a glamorous twist.
Troubleshooting Common Issues
Even the best nail artists encounter hiccups! Here are solutions to common problems you might face.
Gems Falling Off
The Problem: Gems pop off shortly after application.
The Fix: Ensure your polish or glue is still slightly tacky when you place the gems. Don’t let it dry completely before applying them. Also, make sure you are using enough adhesive – a tiny dot of specialised nail art glue can make a big difference for longevity. A thicker, good-quality top coat, applied carefully around the stones, is also key to sealing them in.
Top Coat Clouding Gems
The Problem: The top coat makes clear gems look foggy or dull.
The Fix: This can happen with certain top coats or if the gems are plastic and react with the solvents. Try a different brand of top coat, preferably one known for being non-fogging. Ensure your base polish and adhesive are fully cured before top-coating. Sometimes, applying two thin layers of top coat instead of one thick one can help.
Uneven Placement
The Problem: Gems end up crooked or unevenly spaced.
The Fix: Patience is key! Use a wax pencil or fine-tip tweezers to gently nudge gems into place before the polish dries. It helps to have a clear design in mind. If you’re struggling with spacing, try marking very faint dots with a pencil to guide your gem placement.
Snagging on Gems
The Problem: Gems catch on clothing or hair.
The Fix: Ensure your gems are as flush as possible against the nail. When applying your top coat, try to gently cap the edges of the gems and the free edge of the nail. A smooth, well-sealed surface helps prevent snagging. If a gem is particularly raised, you might need to carefully file around it (very gently!) before reapplying top coat.
Difficulty Picking Up Gems
The Problem: Tiny gems are slippery and hard to grab.
* The Fix: A wax pencil or crystal picker tool is your best friend here. Lightly press the waxy tip onto the gem, and it should adhere. Avoid pressing too hard, which can smudge the gem or prevent it from picking up. Tweezers with very fine, sharp points are also excellent.
Maintaining Your Gem Nail Art
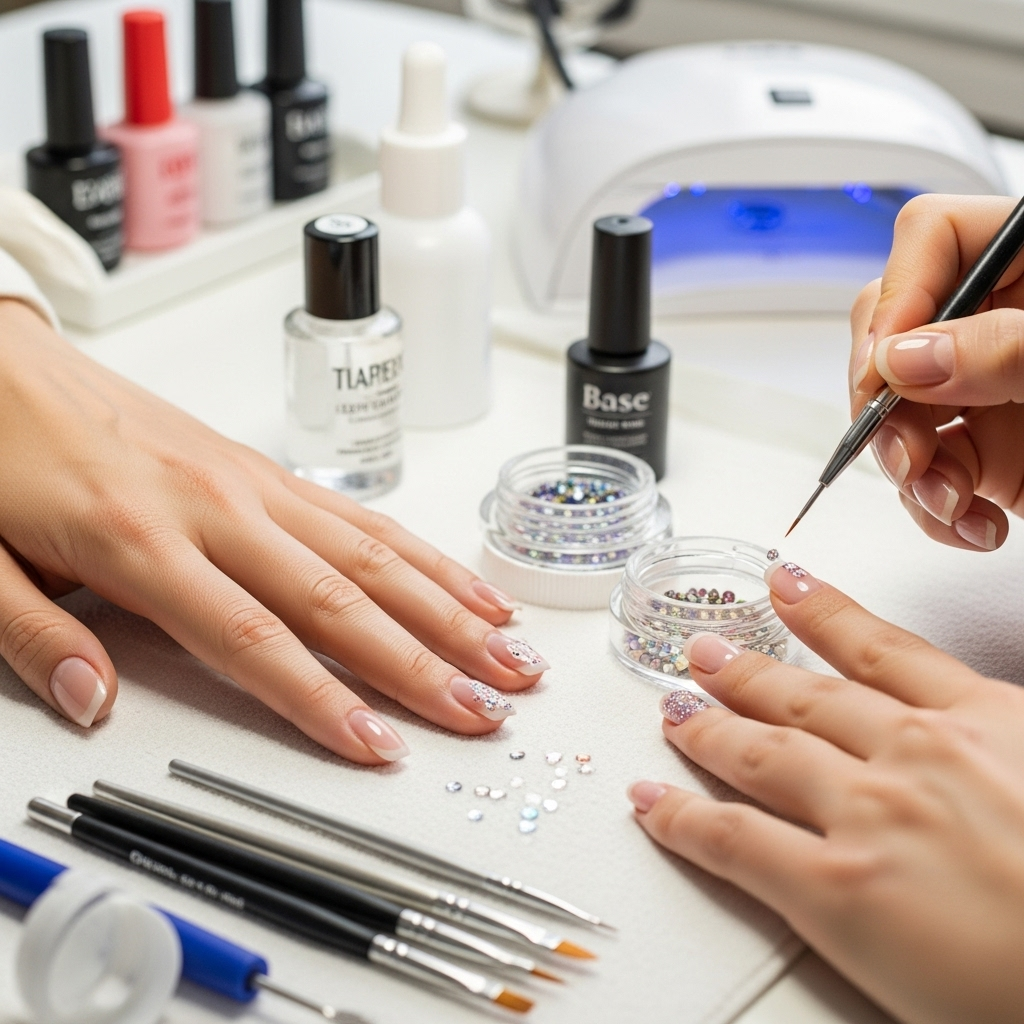
To keep your sparkling nails looking fabulous for as long as possible, a little care goes a long way.
Be Gentle: Avoid using your nails as tools, like scraping or prying. This can dislodge gems or chip your polish.
Moisturize: Keep your cuticles and hands moisturized, but try to avoid getting excessive amounts of cuticle oil directly on the gems, as it can sometimes weaken the adhesive over time.
Re-Seal if Needed: If you notice a gem becoming loose or the top coat wearing thin, you can carefully apply a tiny dot of clear polish or top coat around it to re-secure it. Be sure to let it dry fully.
When to Remove: Gem nail art, especially with tiny embellishments, will eventually start to wear. Be prepared to remove and reapply after about 7-10 days for the best look, depending on your activities and how well they were applied.
FAQs on Clear Nail Art With Tiny Gems
Q1: Can I use regular glue on my nails for gems?
A: While crafty glue might seem like an option, it’s best to stick to nail-specific adhesives or clear nail polish/top coat. Regular glue can be harsh on natural nails and may not provide a smooth, safe finish. Nail art glues are formulated for this purpose and are generally safer.
Q2: How long does clear nail art with tiny gems last?
A: With proper application and care, your gem nail art can last anywhere from 7 to 14 days. Using a good quality nail art glue or a strong top coat, and being gentle with your hands, will help maximize its longevity.
Q3: What size gems are best for beginners?
A: For beginners, sizes SS3 (approx. 1.3mm) to SS6 (approx. 2.0mm) are ideal. They are small enough to create delicate designs but large enough to be easily picked up and placed with tweezers or a wax pencil.
Q4: Do I need a UV lamp for this nail art?
A: No, a UV lamp is not required for this type of nail art. The gems are applied using regular nail polish or nail art glue, and sealed with a standard top coat, which air-dries.
<h3 id="q5-can-i-put-tiny-
