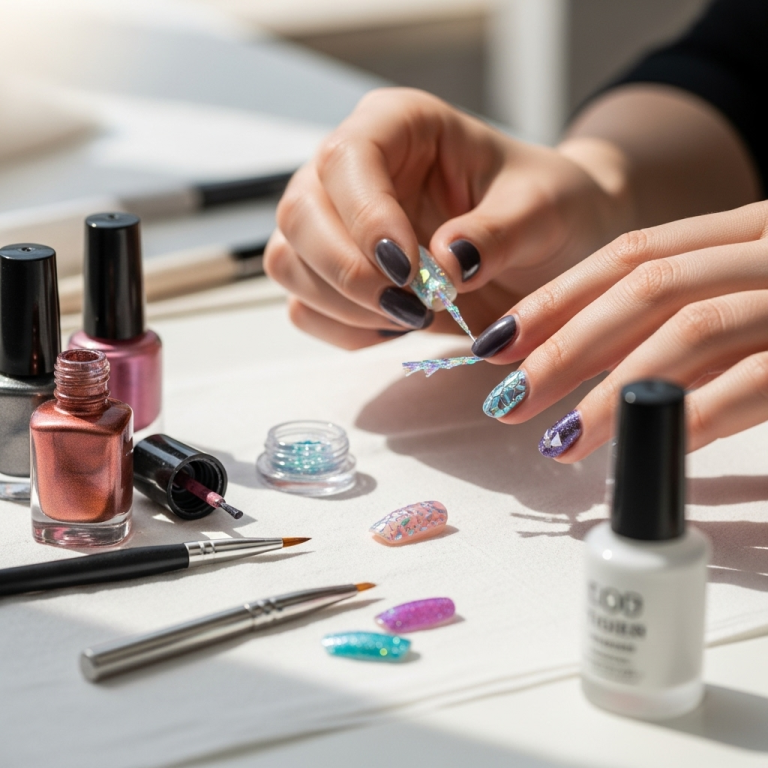
Classy nail designs are effortless, elegant looks that enhance your natural beauty without being overbearing. Think chic neutrals, subtle accents, and polished finishes that always look sophisticated and put-together. Mastering these essential styles is easy with the right tips and techniques.
Ever felt like your nails are just… there? You want something special, something that makes your hands look polished and chic, but the thought of intricate nail art feels overwhelming. Maybe you’ve seen stunning manicures and thought, “That’s beautiful, but I could never do that!” It’s a common feeling, especially when you’re just starting out or need a go-to “put-together” look. But don’t worry, achieving incredibly classy nail designs is totally achievable, even for beginners. It’s all about understanding the fundamentals and knowing which simple yet sophisticated styles truly shine. Get ready to transform your nails into elegant canvases that boost your confidence!
Your Ultimate Guide to Classy Nail Designs: Genius & Essential Looks
Welcome to the world of sophisticated nails! If you’re looking to elevate your manicure game with designs that are timeless, elegant, and surprisingly easy to master, you’ve come to the right place. Classy nail designs are the wardrobe staples of the nail world – they’re versatile, always in style, and make you feel effortlessly chic. Whether you have a big event coming up or simply want to add a touch of polish to your everyday look, these genius designs are your secret weapon. We’ll break down the essentials, from the must-have colors to simple techniques that pack a stylish punch.
Why Opt for Classy Nail Designs?
Classy nail designs aren’t about following fleeting trends. They’re about timeless elegance that complements any outfit, occasion, or personal style. Think of them as the little black dress for your nails – always appropriate, always flattering. They exude confidence and sophistication without demanding attention. Plus, they’re often much simpler to achieve than elaborate nail art, making them perfect for busy schedules and beginners alike.
The Foundation: Essential Tools & Prep
Before we dive into the gorgeous designs, let’s talk about making sure your nails are the perfect canvas. A flawless manicure starts with proper prep and a few key tools. Investing a little time here makes a huge difference in how your finished design looks and lasts.
Must-Have Nail Care Tools:
- Nail File & Buffer: For shaping your nails and smoothing out any ridges. Opt for a fine-grit file (around 240 grit) for shaping and a buffer block for that smooth, shiny finish.
- Cuticle Pusher/Orange Stick: Gently push back your cuticles to create a clean nail bed – this makes a world of difference!
- Nail Polish Remover: Acetone-based removers are great for tough polishes and quick cleanups. Non-acetone removers are gentler if you have dry skin.
- Base Coat: Crucial for protecting your natural nails from staining and helping your polish adhere better.
- Top Coat: Seals your polish, adds shine, and prevents chips. It’s your manicure’s best friend!
- Optional: Tweezers: Handy for picking up small embellishments if you decide to add them.
The Prep Steps:
- Cleanse: Start with clean, dry nails. Remove any old polish.
- Shape: File your nails to your desired shape. Keep strokes in one direction to avoid weakening the nail.
- Cuticle Care: Apply a drop of cuticle oil (optional but nice!) and gently push back your cuticles with a cuticle pusher or orange stick. Trim any hangnails carefully.
- Buff: Lightly buff the surface of your nails to create a smooth base for polish. Don’t over-buff!
- Wipe Down: Wipe your nails with nail polish remover or rubbing alcohol to remove any oils and dust. This ensures polish adheres properly.
The Colors of Class: Essential Palettes
When it comes to classy nail designs, color choice is paramount. Think sophisticated, versatile hues that never go out of style.
Timeless Neutrals:
- Milky Whites & Creams: Think soft, opaque shades that look like fresh dew drops.
- Soft Pinks & Peaches: Delicate and feminine, these add a subtle flush of color.
- Barely-There Nudes: From pale beige to deeper caramel, find a nude that matches your skin tone for an elegant, elongated look.
- Classic Grays: A chic alternative to black, ranging from light dove to deep charcoal.
- Deep Burgundies & Berries: Rich and luxurious, perfect for a more dramatic yet still elegant feel.
Sophisticated Accents:
- Muted Metallics: Rose gold, soft champagne, or brushed silver can add a hint of glamour without being gaudy.
- Deep Forest Greens & Navy Blues: Moody and chic, these offer a sophisticated alternative to black.
Genius & Essential Classy Nail Designs
Now for the fun part! These designs are classics for a reason. They’re elegant, stylish, and surprisingly simple to recreate.
1. The Perfect Monochrome Manicure
This is the ultimate in minimalist chic. It’s all about a flawless application of a single, sophisticated color.
- How-To:
- Apply your base coat.
- Apply two thin, even coats of your chosen classy color (think nude, blush pink, soft gray, or deep berry). Let each coat dry for a minute or two.
- Apply a generous layer of glossy top coat to seal the deal and add shine.
Pro Tip: For an extra touch of elegance, choose a creme or satin finish polish rather than super glittery ones. A high-shine top coat is key!
2. The Subtle French Manicure Makeover
Forget the stark white tips of yesteryear. The modern French manicure is softer, more sophisticated, and incredibly chic.
- How-To:
- Start with a sheer nude, pink, or milky white polish as your base. Apply one or two coats.
- Once dry, use a fine brush or a nail art pen with a contrasting but subtle color (like a soft white, cream, or even a muted metallic like rose gold) to paint thin, delicate lines on your tips.
- Alternatively, for a “baby boomer” or gradient French, blend a white tip into a sheer pink or nude base.
- Seal with a clear, glossy top coat.
Why it’s Classy: The softer lines and colors make it a sophisticated update. It elongates the nail and looks incredibly polished.
3. The Elegant Accent Nail
This design adds a touch of personality without overwhelming your look. It’s perfect for those who like a little something extra.
- How-To:
- Paint all nails except one (usually the ring finger) with your chosen base color.
- On the accent nail, paint it with a complementary or slightly bolder color, or add a simple, elegant design. Ideas include:
- A solid metallic polish (gold, rose gold).
- A delicate line of glitter polish.
- A tiny dot or two near the cuticle.
- A minimalist stripe.
- Ensure all nails are fully dry before applying your top coat.
Tip: Keep the accent design simple. A single metallic stripe or two tiny dots often makes the biggest impact.
4. The Minimalist Line Art
This is where modern sophistication meets effortless cool. Simple lines can make a big statement.
- How-To:
- Paint all nails with a neutral base color (nude, beige, sheer pink).
- Using a striping brush or a fine-tip nail art pen in a contrasting color (black, gold, or white are great), draw a single, clean line. This could be:
- A vertical line down the center of the nail.
- A horizontal line across the middle.
- A simple curve near the cuticle.
- A thin outline around the nail edge.
- Let it dry completely before applying a top coat.
Where to find inspiration: Check out minimalist art or architectural designs – they often translate beautifully to nails!
5. The Chic Half-Moon Manicure
Also known as a reverse French or a “Dequeue” manicure, this style is retro-glam and utterly sophisticated.
- How-To:
- Start with a base color of your choice (a bold color or a metallic works well here). Apply one or two coats.
- Once dry, place a small circular sticker or use a fine brush to carefully paint a curve at the base of your nail, leaving the cuticle area bare or applying a contrasting color/metallic.
- If using a sticker, remove it carefully once the polish is dry to the touch.
- Seal with a top coat.
Variations: Try this with a French tip color for a double French look, or use a metallic for the moon shape.
6. The Subtle Ombre or Gradient
This is a softer, more diffused version of color blocking, creating a beautiful blend.
- How-To:
- Apply your base coat.
- Choose two complementary colors (e.g., a light pink blending into a medium pink, or nude blending into a soft peach).
- Apply a thin layer of the base color to your nail.
- Using a makeup sponge or a nail art sponge, dab the tip of the nail with the second color. Gently dab back and forth, blending the two colors slightly. You might need to re-apply polish to the sponge and dab a few times to get the desired effect.
- Quickly apply a top coat while the polish is still slightly wet to help meld the colors and smooth out the texture.
For Beginners: Start with a simple nude-to-pink gradient. It’s very forgiving!
7. The Polished Pearl Accent
Adding a tiny pearl or bead can take a simple manicure from everyday to extraordinary.
- How-To:
- Complete your base manicure with a classic color.
- While the top coat is still wet, use tweezers to carefully place a tiny nail pearl or bead (available at most beauty supply stores) near the cuticle or on the side of one accent nail.
- Gently pat the pearl into the wet top coat to secure it.
- If you prefer, you can also use nail glue for extra security, then apply a top coat around (but not directly over) the pearl.
Where to buy: Look for nail art supplies online or at your local beauty supply store. Reputable sources include Ulta Beauty and specialized nail art websites.
Maintaining Your Classy Manicure
A classy design deserves to last! Here’s how to keep your manicure looking fresh:
- Reapply Top Coat: Every 2-3 days, add another layer of top coat to keep the shine and protect against chips.
- Wear Gloves: When doing household chores (washing dishes, cleaning), wear rubber gloves to protect your nails from harsh chemicals and moisture.
- Moisturize: Keep your hands and cuticles hydrated with hand cream and cuticle oil. Healthy cuticles contribute to a polished overall look.
- Touch-Ups: For minor chips on solid color nails, dab on a bit of matching polish and then top coat.
What Shape Best Complements Classy Designs?
While classy designs look great on most shapes, some truly stand out.
Here’s a quick look at popular shapes and their complementary classy designs:
| Nail Shape | Best Classy Designs | Why It Works |
|---|---|---|
| Round | Monochrome, Subtle French Tip, Half-Moon | Soft shape is naturally elegant. Enhances the polish color without drawing attention to the nail edge. |
| Square | Minimalist Lines, Monochrome, Accent Nail (with geometric accent) | Clean lines of a square shape complement graphic designs and solid, bold colors. |
| Squoval (Softened Square) | All Classy Designs | The best of both worlds! Offers the strength of a square with less risk of snagging, versatile for any design. |
| Oval | Ombre, Subtle French, Half-Moon, Pearl Accent | Elongates the fingers beautifully. The delicate shape pairs well with softer, blended, or detailed designs. |
| Almond | Monochrome (deep colors), Minimalist Lines, Accent with metallic | A naturally elegant and elongating shape. Works well with sophisticated solid colors and delicate accents that don’t overpower its natural curve. |
When and Where to Rock Your Classy Nails
The beauty of classy nail designs is their versatility. These looks are perfect for:
- Everyday Wear: A simple nude or soft pink keeps you polished at work or running errands.
- Professional Settings: Subtle colors and clean lines adhere to most dress codes.
- Special Occasions: A refined French or elegant accent nail adds a touch of glamour to weddings, parties, or nice dinners.
- Busy Weeks: When you don’t have time for elaborate art, a classic monochrome or subtle French manicure is your best friend.
Frequently Asked Nail Design Questions
Q1: What makes a nail design “classy”?
A1: Classy designs are typically characterized by their subtlety, elegance, and timeless appeal. They often feature neutral or sophisticated color palettes, clean lines, and a polished finish. They enhance rather than overpower your natural look, exuding confidence and refinement.
Q2: Are French manicures still considered classy?
A2: Absolutely! The modern French manicure, with its softer lines, nuanced colors (like cream, nude, or matte finishes), and thinner tips, is incredibly chic and sophisticated. It’s a timeless look that has been elegantly updated.
Q3: Can I do these classy designs at home?
A3: Yes, definitely! The designs we’ve discussed are beginner-friendly and can be achieved with basic nail polish and a steady hand, or a few simple tools like fine brushes or nail art pens. Practice is key, and they are very forgiving.
Q4: What are the best nail polish finishes for a classy look?
A4: Creme (smooth, opaque, no shimmer), satin, and a high-gloss finish (achieved with a good top coat) are generally considered the most classic and sophisticated. Subtle metallic finishes can also work beautifully for accents.
Q5: How do I prevent nail polish from chipping on my classy designs?
A5: Proper prep is crucial! Ensure your nails are clean and oil-free. Always use a good base coat and finish with a high-quality, glossy top coat. Reapplying top coat every few days and wearing gloves for chores also significantly extends the life of your manicure.
Q6: Which nail shape is most suited for sophisticated designs?
A6: While most shapes can carry off classy designs, oval and almond shapes tend to elongate the fingers beautifully. However, a well-executed monochrome or minimalist design can look stunning on any nail shape, from square to squoval.
Q7: Where can I find inspiration for classy nail designs?
A7: Look to fashion runways, classic art, minimalist design blogs, and even architecture. Pinterest and Instagram are great for curated collections, but remember to filter for the sophistication you’re aiming for. Keep it simple!
Conclusion: Your Effortlessly Chic Nails Await!
Achieving sophisticated and classy nail designs is far more accessible than you might think. It’s about embracing simplicity, choosing elegant colors, and focusing on clean, polished execution. From the perfect single color to subtle accents and modern French tips, these genius looks are designed to make you feel confident and put-together, no matter the occasion. Remember, the most important element of a classy manicure is your confidence in wearing it. So, gather your favorite neutral polishes, grab a good top coat, and start experimenting. Your journey to effortlessly chic nails begins now!


