Looking for a sophisticated yet simple nail design? The classy French twist nail design offers an elegant, updated take on the classic French manicure. This guide breaks down how to achieve this chic look at home, turning your nails into stylish canvases with minimal fuss. Get ready to impress with this timeless beauty!
Ever stare at your nails and wish for that perfect, elegant touch that just screams sophistication? You’re not alone! Sometimes, the classic French manicure feels a little… well, classic. We all love it, but wouldn’t it be fun to add a little pizzazz? That’s where the French twist nail design comes in. It takes the beloved French tip and gives it a delightful, modern spin that’s surprisingly easy to do. No need to be a pro nail artist to get salon-worthy results. We’re going to walk through it step-by-step, making it totally achievable for anyone wanting to elevate their nail game. So, grab your polish, and let’s dive into creating a look that’s beautifully understated and undeniably chic!
What Exactly is a French Twist Nail Design?
Think of the traditional French manicure: a clean base with a crisp white tip. Now, imagine that tip gently curving or swirling. That’s the essence of a French twist nail design! Instead of a straight, uniform line, the smile line (that’s the curved part of the tip) gets a little more playful. It can be a subtle, elegant curve, a more pronounced swoosh, or even a double-line effect that mimics a twisted ribbon.
This design is fantastic because it retains the polished, minimalist vibe of a classic French but adds personality. It’s versatile too! You can play with colors, add subtle shimmer, or keep it monochrome for a look that’s suitable for absolutely any occasion, from a casual day out to a formal event.
Why You’ll Love This Chic Nail Design
Beyond just looking good, the French twist nail design has a lot to offer:
- Elegance with an Edge: It’s sophisticated without being boring. The twist adds a unique touch that catches the eye.
- Beginner-Friendly: While it looks intricate, the techniques we’ll cover are surprisingly simple. It’s much easier than freehanding complex patterns!
- Versatile Style: It complements any outfit and suits all nail lengths and shapes.
- Customizable: You can easily swap out traditional white for other colors, metallic finishes, or even subtle glitter.
- Timeless Appeal: It’s a modern take on a classic, ensuring it won’t go out of style.
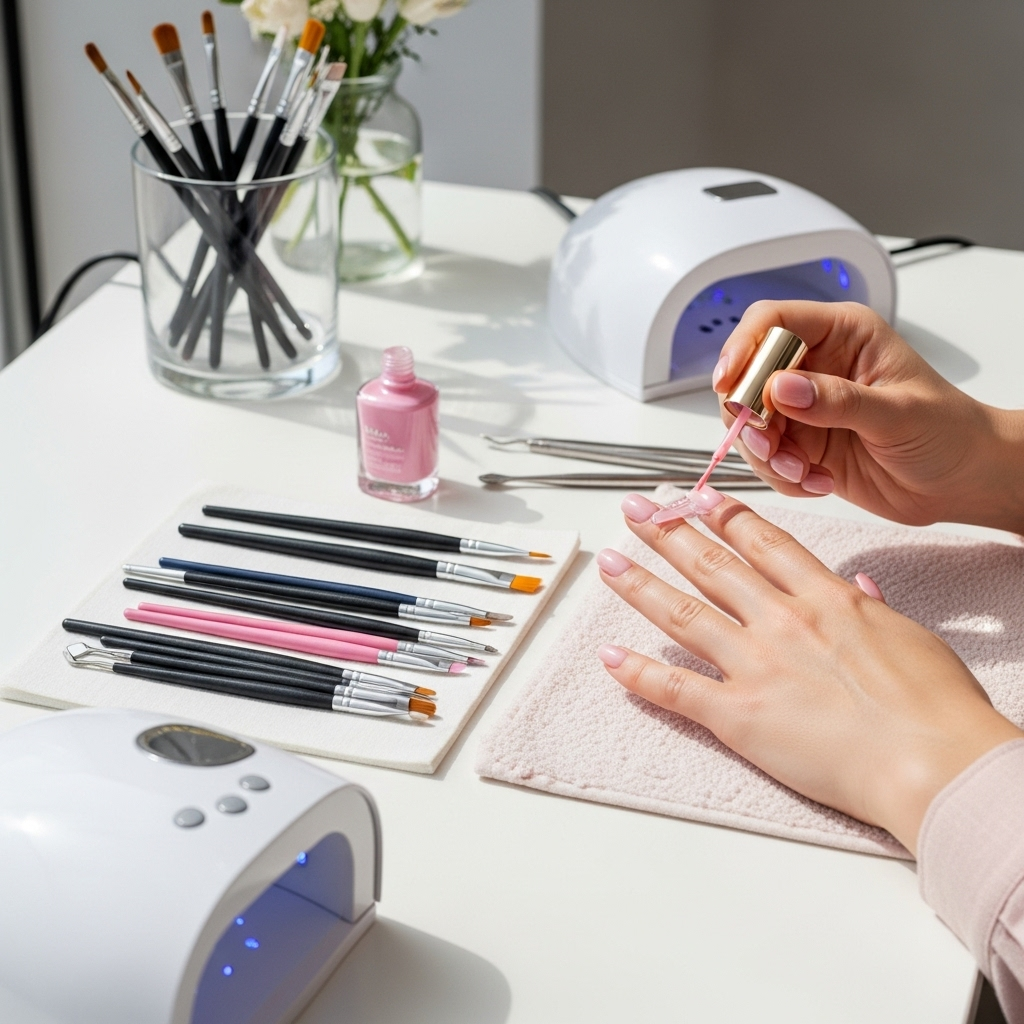
Essential Tools for Your French Twist Manicure
Before we start twisting, let’s gather our supplies. Having the right tools makes all the difference for a smooth and professional-looking finish. Think of these as your nail art best friends!
| Tool | Purpose |
|---|---|
| Nail File & Buffer | Shaping your nails and creating a smooth surface for polish. A good buffer is key for shine! |
| Cuticle Pusher/Orange Stick | Gently pushing back cuticles creates a clean canvas and makes your nail polish application look neater. |
| Base Coat | Protects your natural nails from staining and helps polish adhere better. Essential for longevity! |
| Nail Polish Colors | Your chosen base color (nude, sheer pink, or milky white are popular) and your tip color (classic white, cream, or even a subtle shimmer). |
| Thin Nail Art Brush or Striper Brush | This is your magic wand for creating the curved lines! A fine tip allows for precision. |
| Dotting Tool (Optional) | Can be used to create small dots that can then be connected for the twist, or for added accents. |
| Stencils or Nail Guides (Optional) | These can help create a clean smile line if freehanding feels daunting. Many brands offer curved guides. |
| Top Coat | Seals your design, adds shine, and protects against chipping, making your manicure last longer. A quick-dry formula is a lifesaver! |
| Rubbing Alcohol or Nail Polish Remover | For cleaning brushes and correcting any minor mistakes. |
Having these on hand will streamline the process and help you achieve that polished French twist look. Remember, quality tools can make a DIY manicure feel like a salon experience!
Step-by-Step Guide to the Classy French Twist Nail Design
Alright, let’s get creative! This guide uses a common technique that’s easy to master. We’ll focus on creating that beautiful, subtle twist. Don’t worry if your first try isn’t perfect; practice makes progress!
Step 1: Prep Your Nails for Perfection
This is the foundation of any great manicure. Make sure your nails are:
- Clean: Remove any old polish. Wash your hands thoroughly.
- Shaped: File your nails into your desired shape. Squoval, almond, or rounded shapes all work beautifully with this design. Ensure all nails are the same length for a cohesive look.
- Cuticle Care: Gently push back your cuticles using a cuticle pusher or orange stick. This not only makes your nails look longer and neater but also prevents polish from flooding the cuticle area, which can cause chipping.
- Buffed: Lightly buff the surface of your nails to create a smooth canvas. This helps polish adhere better and last longer. Avoid over-buffing, as this can thin your nails.
Step 2: Apply Your Base Coat
A good base coat is crucial! Apply one thin layer to each nail. This step:
- Prevents your natural nails from becoming stained by colored polish.
- Helps your polish adhere smoothly and evenly.
- Provides a barrier that can help your manicure last longer.
Let the base coat dry completely. This usually takes about 30-60 seconds.
Step 3: Apply Your Base Color
Now, apply your chosen base polish. This is typically a sheer nude, a soft pink, or a milky white. These colors provide a beautiful, natural-looking canvas for the French twist.
- Apply one thin, even coat.
- Let it dry completely.
- Apply a second thin coat for better coverage and opacity if needed.
Ensure each coat is fully dry before moving on. This prevents smudging and ensures a smooth finish.
Step 4: Create the French Twist (The Fun Part!)
This is where the magic happens! We’ll use a thin nail art brush or a striper brush for this. You can also use the fine tip of your polish bottle if it’s suitable, or even a precision applicator.
Method 1: The Gentle Swoosh
- Dip your thin brush into your tip color polish (e.g., white, cream, or a shimmery shade). Wipe off excess polish on a paper towel or the bottle’s rim. You want just enough for a fine line.
- Start at one corner of your nail, near the cuticle.
- Gently guide the brush in a smooth, slightly curved line across the tip of your nail, aiming for the opposite corner. Don’t aim for a straight line like a traditional French. Instead, make it a little softer, like a gentle wave or a subtle ‘S’ shape.
- For a true “twist,” make the line a bit uneven or incorporate a slight double line where you might have a thinner line curving alongside a slightly thicker one, creating an illusion of depth.
- Refine the curve as needed. The goal is a graceful, flowing line.
- Repeat on all nails. Don’t be discouraged if they aren’t perfectly identical; slight variations add a handmade charm!
Method 2: The Double Line Technique
- First, create a standard, thin French smile line with your tip color.
- Once that line is dry (or mostly dry), use your thin brush with a slightly different shade (or the same, if you prefer) to draw a second, very fine line just below or slightly overlapping your first line. This creates a subtle dimension that mimics a twisted ribbon.
- Alternatively, use the same color for both lines, but make one slightly thicker or thinner, or have them almost meet at the sides but diverge slightly in the middle.
Tips for a Flawless Twist:
- Steady Hand: Rest your wrists on a stable surface. You can also brace your pinky finger on the table for extra stability.
- Thin Coats: It’s better to do two thin, precise lines than one thick, messy one.
- Clean Up: Keep a small brush dipped in nail polish remover nearby. Lightly dip the tip of the brush and use it to clean up any stray marks or smudges around the cuticle and sidewalls. This is a game-changer for a clean finish!
- Patience: Let each layer of polish dry sufficiently. Rushing is the enemy of a good manicure.
Step 5: Add Any Optional Accents
Want to take your French twist up a notch? This is your chance!
- Subtle Glitter: Apply a very fine line of glitter polish over the white or cream tip, or just along the smile line itself.
- Tiny Dots: Use a dotting tool to place a few tiny dots at the base of the twist or along the free edge.
- Reverse French Twist: For a bolder look, apply the twist design at the base of your nail, near the cuticle, instead of the tip.
Keep it subtle for a truly classy vibe! The beauty of the French twist is its understated elegance.
Step 6: Apply Your Top Coat
This is the final, crucial step to seal your design and give it that glorious shine.
- Apply one generous, but not overly thick, layer of top coat over your entire nail, including the French twist design.
- Be sure to cap the free edge of your nail. This means running your brush along the very tip of your nail. This is key to preventing chipping and extending the life of your manicure.
- Let your top coat dry completely. A quick-dry top coat can be a wonderful investment if you’re often on the go.
Variations to Try on Your French Twist Nails
Once you’ve mastered the basic French twist, the sky’s the limit! Here are a few ideas to experiment with:
| Variation | Description | Best For |
|---|---|---|
| Color Play Twist | Swap the classic white for pastels, deep jewel tones, metallics, or even neons for the twist. A nude or sheer pink base always works best to let the color pop. Consider a deep navy twist on a nude base for a chic evening look. | Adding a personal flair, seasonal trends, or making a subtle statement. |
| Glitter Gradient Twist | After creating your French twist, add a subtle glitter gradient to the tips, fading from opaque at the edge to sheer as it meets the base color. | A touch of sparkle for special occasions or everyday glamour. |
| Double French Twist | Apply two thin, parallel twist lines with a small gap between them. You can use the same color for both, or two complementary shades for more depth. This creates a ribbon-like effect. | Adding visual interest and a more intricate feel to the design. |
| Negative Space Twist | Use tape or stencils to create a clear unpolished area within or next to your twist design. This modern take offers a trendy, minimalist vibe. | A contemporary, chic look that’s very fashionable. |
| Textured Twist | For the adventurous, try a matte top coat over a glossy twist, or add fine glitter or even micro-beads to the twist line for a tactile element. | Making a bold statement and exploring avant-garde nail art. |
Don’t be afraid to mix and match these ideas! For example, a matte base with a glossy metallic twist can be incredibly striking. Remember, the key is to have fun and express your personal style.
Tips for Making Your Manicure Last
You’ve spent time creating a beautiful French twist; let’s make it stick around!
- Don’t Skip the Base & Top Coat: As mentioned, these are non-negotiable for protection and longevity.
- Cap Your Edges: Always run your top coat brush across the free edge of your nail. This seals the polish and prevents lifting and chipping.
- Avoid Harsh Chemicals: Wear gloves when doing household chores, especially those involving water and cleaning products. These can break down polish and cause it to chip faster. Check out recommendations from sources like the Occupational Safety and Health Administration (OSHA) for guidance on chemical handling safety, even in a home environment.
- Moisturize: Keep your cuticles and hands moisturized. Dry skin and cuticles can lead to snags and affect the overall appearance of your manicure. Use a good cuticle oil daily.
- Reapply Top Coat: Consider adding an extra layer of top coat every 2-3 days, especially on the free edge, to refresh the shine and add another layer of protection.
Frequently Asked Questions About French Twist Nails
How is a French twist nail design different from a classic French manicure?
A classic French manicure typically features a straight, uniform white line across the tip of the nail. A French twist nail design replaces this straight line with a curved, swirled, or sometimes double-lined pattern, adding a more dynamic and modern feel while maintaining the elegance of the French style.
Can I do a French twist nail design if I have short nails?
Absolutely! French twist nails can look fantastic on short nails. The key is to keep the twist proportioned to the nail length. A gentle, thinner swoosh often works best on shorter nails to avoid overwhelming the nail bed.
What base colors work best for a French twist design?
Sheer nudes, soft milky whites, pale pinks, and even sheer greys are excellent base colors. These neutral tones allow the twist design on top to stand out without looking too heavy or busy. They also provide that classic, sophisticated French manicure foundation.
How do I get a clean twist line without shaking hands?
For a steady hand, always rest your wrists on a stable surface while painting. Bracing your pinky finger on the table can also provide extra support. If freehanding is still tricky, consider using nail guides or stencils designed for French manicures to help create your curve. Also, cleaning up mistakes with a fine brush dipped in nail polish remover is a lifesaver!
Can I use regular nail polish for a French twist design?
Yes, you can definitely use regular nail polish! The essential tool is a fine-tipped art brush or striper brush to apply the polish for the twist. Ensure your polishes are a good consistency – not too thick or too watery – for best results.
How can I make the twist design look more pronounced?
To make the twist more pronounced, try the double