Create a chic classic red almond nail design with essential tips for beginners. This guide covers shaping, polishing, and maintaining perfect red almond nails for a timeless, elegant look that enhances any style.
Hello, lovely! Are you dreaming of nails that are both sophisticated and effortlessly stylish? The classic red almond nail design is a timeless choice that can elevate any look. But achieving that perfect shape and flawless red finish can sometimes feel a bit daunting, especially if you’re new to at-home manicures. Don’t worry! We’re here to break it all down into simple, fun steps. Get ready to transform your nails into a statement of chic elegance. Let’s dive into how you can create this gorgeous look yourself!
Why Classic Red Almond Nails Are a Must-Have
The allure of a classic red manicure is undeniable. It’s a power color, a symbol of confidence, and a universally flattering shade. When combined with the elegant almond shape, it creates a nail design that’s both striking and demure. This versatile look works for every occasion, from a casual brunch to a formal event, and adds a touch of polish to even the simplest outfit.
Essential Tools for Your Classic Red Almond Nail Design
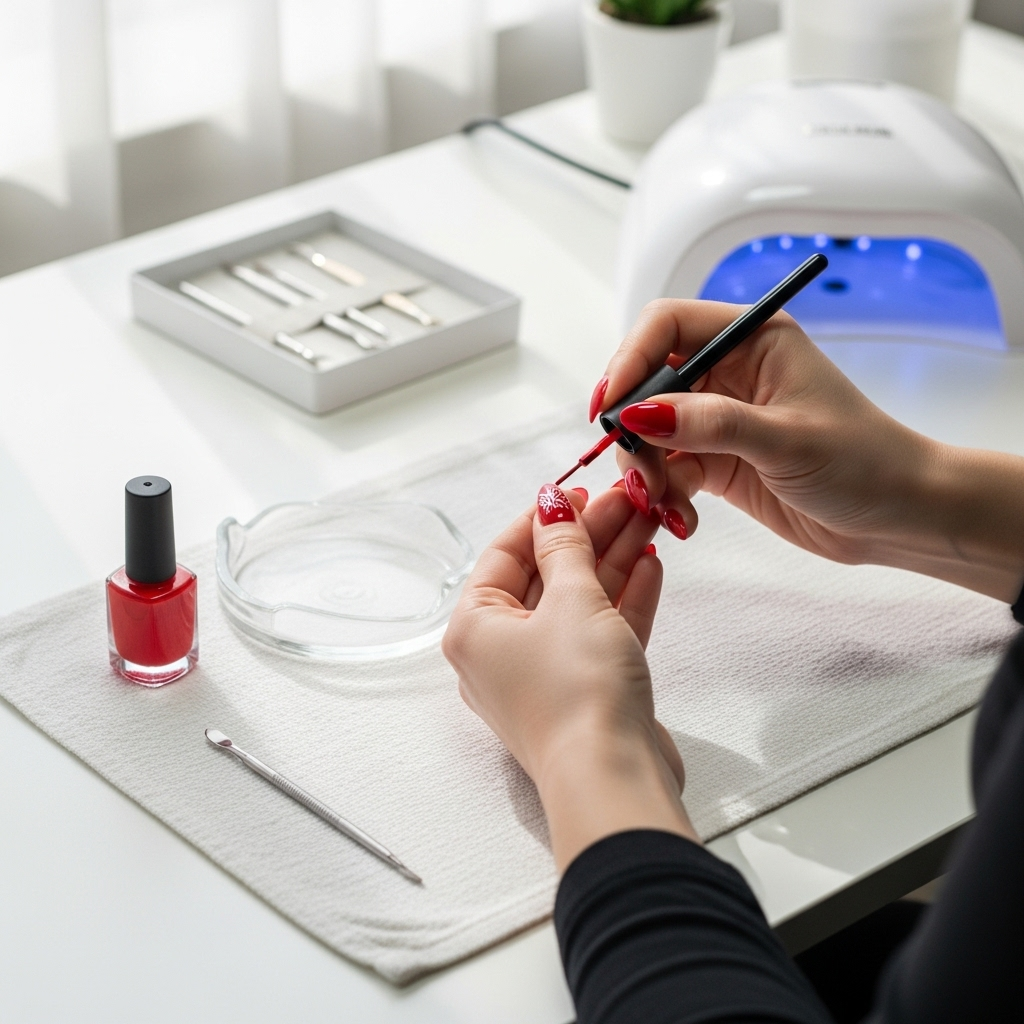
Gathering the right tools is your first step to a salon-worthy manicure at home. Don’t feel overwhelmed; most of these are everyday nail care staples.
- Nail File: A medium-grit file (around 180-240 grit) is perfect for shaping.
- Emery Board or Buffer: For smoothing edges and preparing the nail surface.
- Cuticle Pusher or Orangewood Stick: To gently push back cuticles.
- Nail Polish Remover: For cleaning up any mistakes or starting fresh.
- Cotton Pads or Lint-Free Wipes: To apply remover and clean nails.
- Base Coat: Protects your natural nails and helps polish adhere better.
- Classic Red Nail Polish: Choose a shade that you love!
- Top Coat: Seals your polish and adds a glossy finish.
- Optional: Top Coat Dryer or Drops: Speeds up drying time.
Step-by-Step Guide to Achieving the Perfect Red Almond Nail Design
Let’s get your nails ready for their classic red makeover!
Step 1: Prep Your Nails
This is the foundation for any great manicure.
- Remove Old Polish: If you have any old polish on, use nail polish remover and a cotton pad to wipe it all away.
- Shape Your Nails: This is where the ‘almond’ magic happens!
- Start with slightly longer nails.
- Using your nail file, gently file the sides of your nail inwards, creating a tapered point. Think of a soft, rounded triangle.
- Don’t make the point too sharp; you want a soft, elegant curve.
- File in one direction to avoid weakening the nail.
- Smooth and Buff: Gently buff the surface of your nails with a buffer to create an even canvas and remove any ridges.
- Cleanse: Wipe your nails with nail polish remover or rubbing alcohol on a lint-free wipe to remove any dust or oils. This helps your polish stick better.
- Cuticle Care (Optional but Recommended): Gently push back your cuticles with a cuticle pusher or orangewood stick. Be very gentle! If you have dry cuticles, a little cuticle oil can work wonders here. For more on cuticle care, check out guides from the NHS on nail health.
Step 2: Apply Your Base Coat
A good base coat is like a primer for your nails. It prevents staining (especially important with red polish!) and makes your polish last longer. Apply one thin layer and let it dry completely.
Step 3: The Classic Red Polish Application
This is the exciting part!
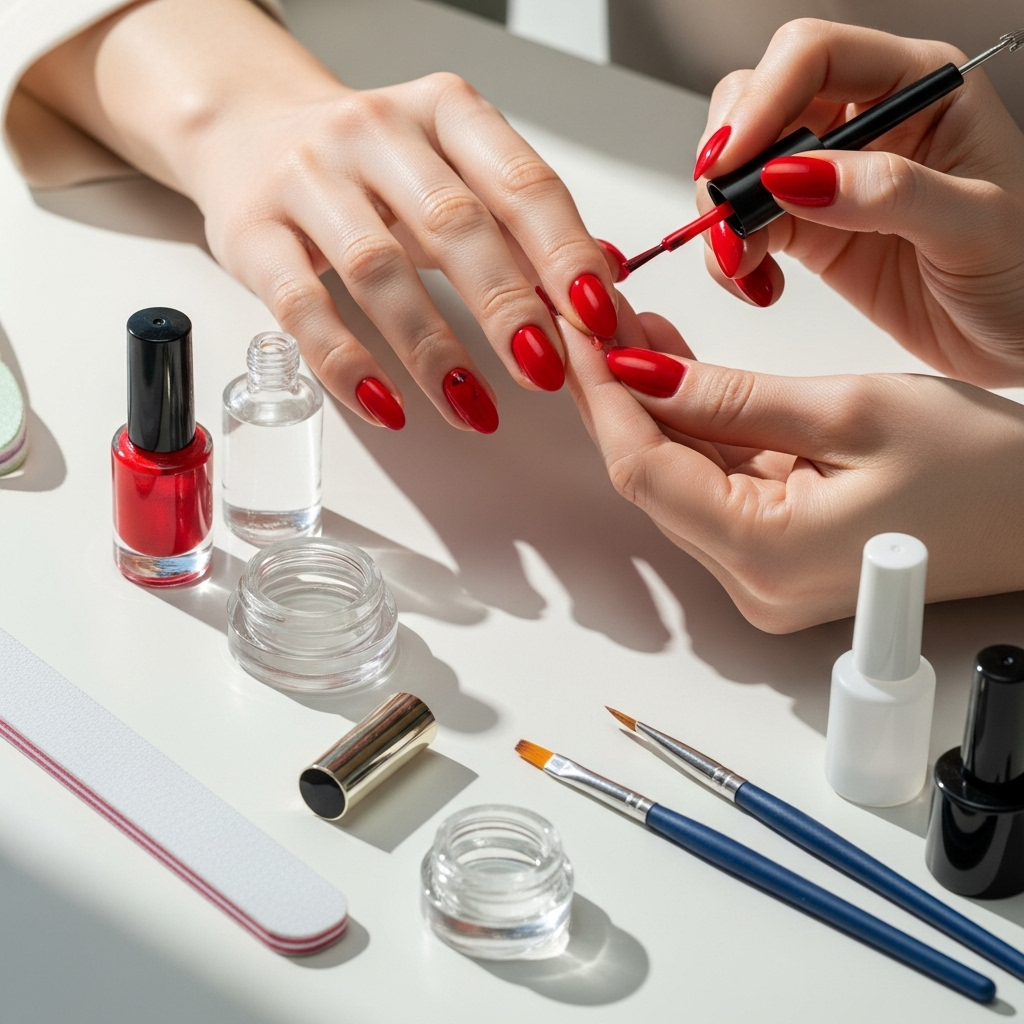
- First Coat: Apply a thin, even layer of your chosen classic red nail polish. Start with a stroke down the middle, then one on each side. Avoid flooding the cuticles.
- Dry Time: Let the first coat dry for at least 1-2 minutes. Patience is key for a smooth finish!
- Second Coat: Apply a second thin layer of polish. This coat will likely give you full opacity and that rich, classic red color.
- Dry Time Again: Wait for this coat to dry fully before moving to the top coat.
Step 4: Seal with a Top Coat
Your top coat is the hero that protects your beautiful red polish and gives it that high-shine finish.
- Apply Top Coat: Apply one layer of your favorite top coat over the entire nail, making sure to cap the free edge (paint a little bit along the tip of the nail) to help prevent chipping.
- Optional: Drying Aid: If you’re in a hurry, apply a quick-dry top coat, drying drops, or spray once the top coat is applied.
Step 5: Clean Up and Shine
Use a small brush dipped in nail polish remover to clean up any polish that may have gotten on your skin or cuticles. This makes your manicure look super neat and professional!
Mastering the Almond Shape: Tips for Success
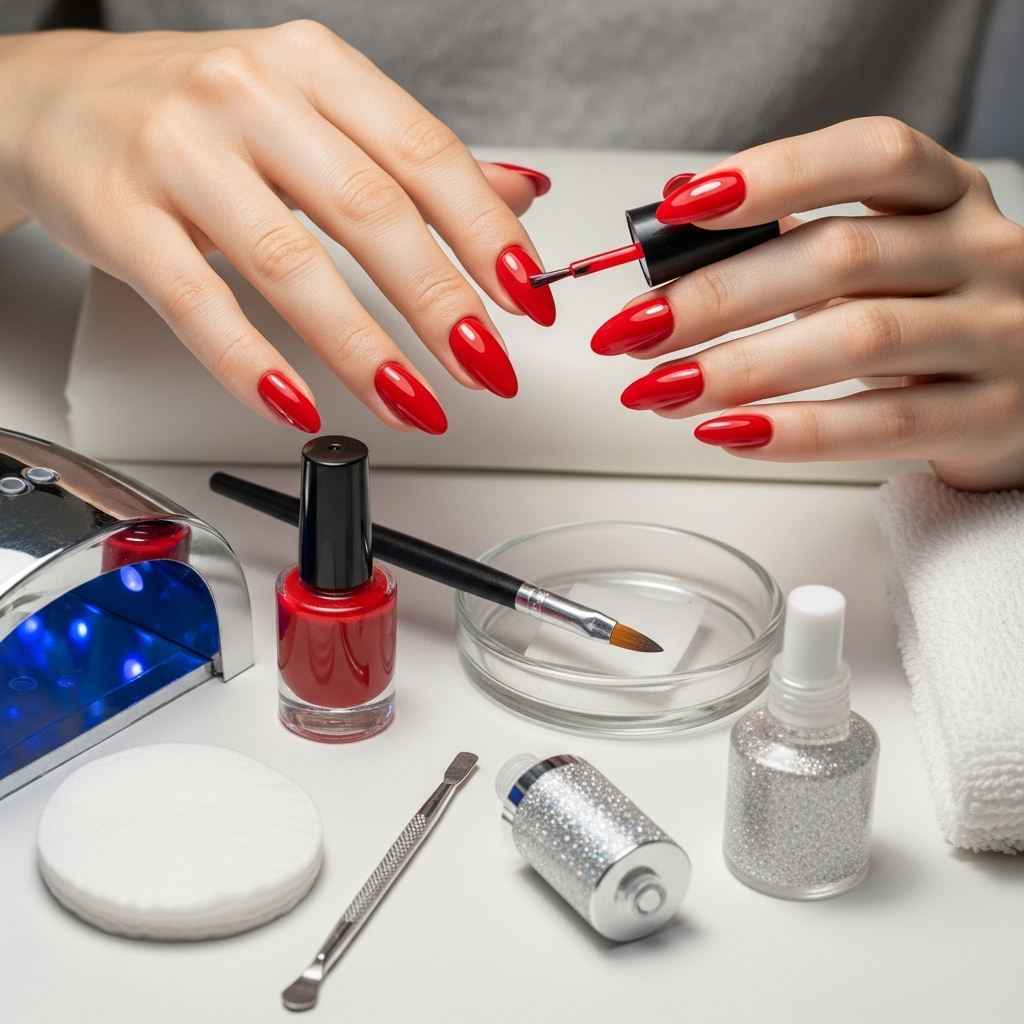
The almond shape is chic for a reason! It elongates the fingers and looks incredibly elegant. Here’s how to get it just right for yourself.
Key Principles for Shaping:
- Start with Length: Ensure your nails have enough length to shape into an almond. If they’re too short, you won’t be able to achieve the taper.
- Gentle Filing: Always file gently and in one direction. Sawing back and forth can create weak spots and lead to breakage.
- Visualize the Curve: Imagine a soft point at the tip. Start filing from the sides towards this imagined point.
- Symmetry is Key: Try to make both sides of the nail mirror each other. This might take practice, but it makes a huge difference to the final look.
- Don’t Go Too Sharp: A true almond shape is soft and rounded at the tip, not sharp and pointed. If it feels too pointy or fragile, file it down a bit more.
- Consider Your Natural Nail: Your natural nail shape and growth pattern can influence how well an almond shape suits you. Embrace what works best for your hands.
Choosing the Perfect Red Polish Shade
Red is not just one color! There are so many beautiful shades to explore. When choosing your classic red, consider these factors:
| Shade Type | Description | Best For | Vibe |
|---|---|---|---|
| True Red | A balanced red with neither too much blue nor yellow undertones. | Universally flattering, all skin tones. | Classic, confident, timeless. |
| Blue-Based Red | Has cool, blue undertones. Often appears brighter and more vibrant. | Fair to medium skin tones; can make teeth appear whiter. | Bold, dramatic, sophisticated. |
| Orange-Based Red (Coral Red) | Has warm, orangey or yellow undertones. | Olive to deeper skin tones; can look very summery and warm. | Energetic, vibrant, playful. |
| Deep Red/Burgundy | Darker, richer reds bordering on maroon or wine. | All skin tones, particularly striking in fall and winter. | Luxurious, mysterious, sultry. |
For a “classic” look, a true red or a sophisticated blue-based red is often the go-to. But honestly, any red you feel fabulous in is the perfect red!
Maintaining Your Chic Red Almond Nails
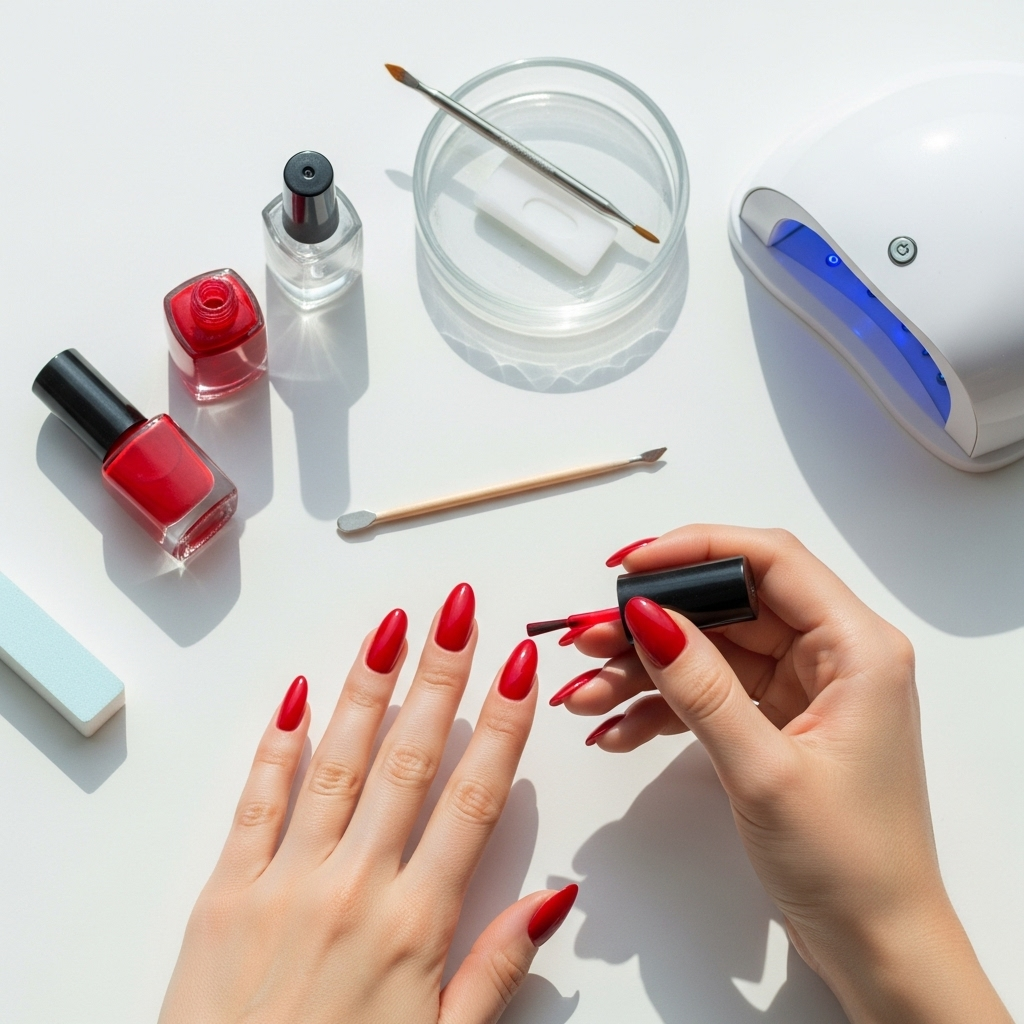
To keep your gorgeous nails looking pristine, a little bit of maintenance goes a long way.
Reapply Top Coat: Every 2-3 days, apply a fresh layer of top coat. This refreshes the shine and adds an extra layer of protection against chips.
Moisturize: Keep your hands and cuticles hydrated with hand cream and cuticle oil. This prevents dryness and keeps your nails from becoming brittle. Dry cuticles can make even the prettiest nails look unkempt.
Be Gentle: Avoid using your nails as tools! Open cans, scrape things, or pry lids with your fingernails. This is a fast track to chips and breaks.
Touch if Needed: If you notice a small chip, you can try to gently file it down or carefully apply another thin layer of red polish followed by top coat.
When to Re-do: Most manicures last about 7-14 days. When you start to see significant wear, it’s time for a fresh start!
Troubleshooting Common Issues
Even with the best intentions, sometimes polish doesn’t go perfectly. Here are common hiccups and how to fix them:
Streaky Polish: This often happens with the first coat. Ensure you’re applying your polish in thin, even strokes. The second coat should even it out. If it’s still streaky, your polish might be too old or thick; consider adding a drop of nail polish thinner or replacing it.
Bubbles in Polish: Bubbles usually occur when polish is applied too thickly, or when nails are painted while still warm or after a hot shower. Apply polish in thin coats and let each coat dry sufficiently before applying the next. Avoid shaking your polish bottle vigorously; roll it between your hands instead.
Polish on Skin/Cuticles: This is super common! Keep a small brush (an old clean makeup brush or a fine-tip brush) and some nail polish remover handy. Dip the brush in remover and use it to carefully swipe away any polish on your skin. Doing this before the polish fully dries is easiest.
Chips: Small chips can often be disguised with an extra layer of top coat. For larger chips, you might need to gently file the area smooth and reapply a thin layer of red polish, then top coat.
Polish Not Drying: Be patient! Ensure you’re applying thin coats. Using a quick-dry top coat or drops can significantly speed up the process. Also, remember that very humid conditions can sometimes slow down drying time. For more insights into nail care and product performance, resources like the U.S. Food & Drug Administration (FDA) provide consumer information on cosmetic products.
Frequently Asked Questions about Classic Red Almond Nails
Q1: How do I prevent red polish from staining my nails?
Always apply a good quality base coat before your red polish. A lighter-colored base coat can provide an extra barrier. If you do get slight staining, a nail bleach pen or a gentle scrub with baking soda and lemon juice can help lift it.
Q2: My almond shape looks uneven. What can I do?
The key is consistent filing. Use a fine-grit file and make sure you’re filing in one direction. Look at your nails from different angles to ensure symmetry. Don’t be afraid to gently file down a nail that’s too long or uneven to match the others. Practice makes perfect!
Q3: Can I do almond nails on short nails?
It’s best to have at least a little bit of free edge (the part of your nail that extends beyond your fingertip) to shape into an almond. If your nails are very short or bitten, you might need to let them grow out a bit first. You can also consider nail forms or tips to add length if you want to try the shape immediately.
Q4: How often should I wear red nail polish? Can it damage my nails?
You can wear red polish as often as you like! As long as you use a base coat to protect your nails from staining and keep them moisturized, red polish itself won’t damage your natural nails. The main concern with frequent polish use is typically dryness or brittleness if nails aren’t cared for properly.
Q5: What’s the difference between almond and stiletto nails?
Almond nails are tapered and rounded at the tip, resembling the shape of an almond. Stiletto nails are similar but come to a much sharper, more pointed tip, like a stiletto heel. Almond is softer and generally more practical for everyday wear.
Q6: My polish is chipping after just a day. What am I doing wrong?
Several things could cause this: polish applied too thick, not letting coats dry enough between applications, no top coat, or not capping the free edge. Ensure each layer is thin and dry, use a quality top coat, and paint the very tip of your nail with both your color and top coat. Also, avoid harsh activities right after painting!
Conclusion
There you have it – your comprehensive guide to creating a stunning classic red almond nail design right at home! Embracing this timeless look is all about a little bit of patience, the right tools, and a touch of creativity. Remember, your nails are a beautiful way to express yourself, and the almond shape paired with that classic red is eternally chic. Don’t be discouraged if your first attempt isn’t absolutely perfect; every manicure is a learning experience. Keep practicing, experiment with different shades of red that make you feel amazing, and most importantly, have fun with it! Your confidence will shine through with every perfectly polished nail. Happy polishing!

