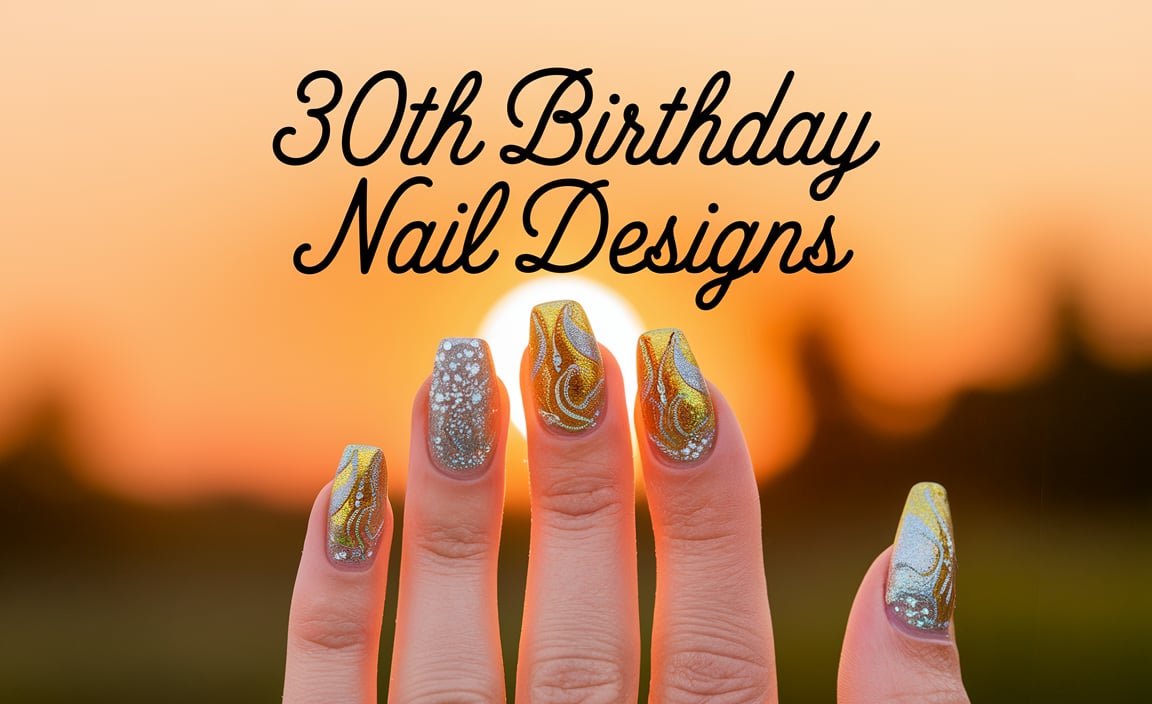
Chrome nail designs are a dazzling way to elevate your manicure. Achieve stunning, mirror-like finishes at home with these expert tips, simple steps, and essential tools – perfect for beginners wanting a salon-quality look without the fuss.
Have you ever seen those incredible, metallic, almost liquid-looking nails and thought, “There’s no way I can do that at home”? I get it! Chrome nails look super fancy, but many people think they’re tricky to master. You might worry about smudges, uneven application, or just not getting that perfect, reflective shine. But guess what? With the right guidance and a few simple tricks, you can absolutely create show-stopping chrome nail designs yourself!
Forget complicated techniques. We’re going to break down how to get that gorgeous chrome effect, step-by-step. Ready to add some serious sparkle to your fingertips? Let’s dive in!
What Are Chrome Nail Designs?
Chrome nail designs, also known as mirror nails or chrome powder nails, are a trending manicure style that gives nails a highly reflective, metallic, almost mirror-like finish. Instead of traditional polish, this look is achieved by rubbing a special metallic powder onto a specially prepared nail surface. The result is a smooth, seamless chrome effect that reflects light beautifully, making your nails look futuristic and incredibly chic.
Why Are Chrome Nails So Popular?
It’s no surprise that chrome nails have taken the beauty world by storm! Their popularity stems from several factors:
- Eye-Catching Aesthetics: The high-shine, reflective surface is undeniably stunning and draws attention.
- Versatility: While the classic silver and gold are popular, chrome powders come in a rainbow of colors, allowing for endless design possibilities.
- Modern & Trendy: They offer a contemporary, almost futuristic vibe that complements various fashion styles.
- Relatively Easy Application: Once you know the basic technique, it’s quite straightforward to achieve a professional-looking finish.
- Durability: When applied correctly over gel polish, chrome nails can be quite long-lasting.
Essential Tools for Stunning Chrome Nail Designs
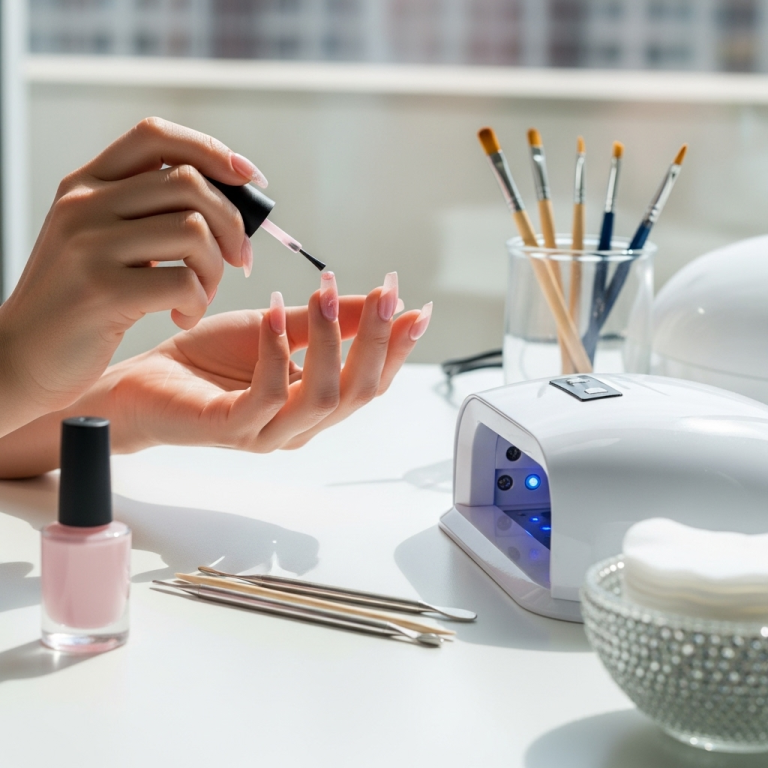
Before we get our hands (or nails!) dirty, let’s gather our supplies. Having the right tools makes all the difference, especially when you’re just starting out. Don’t worry, most of these are readily available online or at beauty supply stores.
The Must-Haves:
- Base Coat: A good quality base coat is crucial for protecting your natural nails and helping your polish adhere.
- No-Wipe Gel Top Coat: This is KEY for chrome! A traditional top coat that requires wiping off the sticky layer won’t work. The sticky layer on a no-wipe top coat is what the chrome powder adheres to.
- Chrome Powder: Available in many colors and finishes (fine glitter vs. ultra-fine, mirror-like). For beginners, an ultra-fine, high-reflectivity powder is best.
- Silicone Applicator Tool or Sponge Nail Brush: These are designed to pick up and buff the powder onto the nail evenly.
- UV/LED Nail Lamp: Essential for curing gel polish and the no-wipe top coat. Make sure it’s strong enough to cure your gel products effectively.
- Rubbing Alcohol (Isopropyl Alcohol) or Nail Cleanser: To clean and dehydrate the nail prior to application and to remove any dust.
- Nail File and Buffer: For shaping and smoothing the natural nail.
- Cuticle Pusher: To gently push back and clean up the cuticle area.
- Optional: Gel Polish Color: You can apply chrome over a colored gel polish for a tinted chrome effect, or over clear or black for a true metallic finish.
Pro Tip: For the most intense mirror effect, a black or dark-colored gel polish underneath your chrome powder creates a deeper, more dramatic look. Clear or white can give a lighter, more pastel chrome effect.
Step-by-Step Guide to Achieving Perfect Chrome Nails
This is where the magic happens! Follow these steps carefully, and you’ll be rocking your DIY chrome nails in no time. Remember, practice makes perfect!
Step 1: Prep Your Nails Like a Pro
Proper nail prep is the foundation of any long-lasting manicure, especially for chrome. This ensures a smooth surface and good adhesion.
- Cleanse: Wash your hands thoroughly and dry them. Use rubbing alcohol or a nail cleanser to wipe down each nail. This removes any oils or residue.
- Shape: File your nails to your desired shape.
- Buff: Gently buff the surface of your nails to create a slightly rough texture for the polish to grip onto. Don’t over-buff; you just want to remove the natural shine.
- Cuticle Care: Gently push back your cuticles using a cuticle pusher. Avoid cutting them unless absolutely necessary, as this can lead to infection.
- Dust Off: Use a clean brush to remove any dust from filing or buffing.
Step 2: Apply Your Base Coat and Cure
A good base coat protects your nails and provides a smooth canvas.
- Apply a thin, even layer of your nail base coat.
- Cure under your UV/LED lamp according to the manufacturer’s instructions (usually 30-60 seconds for LED, 2 minutes for UV).
Step 3: Apply Your Gel Color (Optional) and Cure
If you want a colored chrome effect, now’s the time to apply your gel color. If you’re going for a pure mirror finish, you can skip this and go straight to the black or clear layer if your system requires it.
- Apply a thin, even coat of your chosen gel polish color.
- Cure under your UV/LED lamp.
- Apply a second thin coat for full opacity, if needed.
- Cure again.
For a true mirror finish, many experts recommend using a black gel polish as the base before applying chrome powder. This provides the deepest, most reflective result. However, you can experiment with other colors!
Step 4: Apply the No-Wipe Gel Top Coat and Cure
This is arguably the most critical step for chrome application.
- Apply a thin, even layer of your NO-WIPE gel top coat. Make sure it covers the entire nail surface.
- Crucially: Cure this layer under your UV/LED lamp. Do NOT wipe off any sticky residue afterwards – there shouldn’t be any! The slight tackiness of this cured layer is what the chrome powder will adhere to.
Step 5: Apply the Chrome Powder
Time for the fun part! This is where your nails transform.
- Dip your silicone applicator tool or sponge brush into the chrome powder. You don’t need a lot; a little goes a long way.
- Gently rub the powder onto the cured no-wipe top coat in a circular or back-and-forth motion. Apply firm but gentle pressure.
- Continue buffing until the entire nail surface is covered with a solid, reflective chrome finish.
- Once you’re happy with the coverage, gently brush away any excess powder from around your nails and cuticles with a clean brush.
Step 6: Apply a Second No-Wipe Gel Top Coat and Cure
This seals in the chrome powder and gives it that super smooth, glassy finish.
- Apply another thin, even layer of your no-wipe gel top coat over the chrome powder. This step is vital for sealing and preventing chipping or peeling.
- Ensure the entire surface is covered, paying special attention to the edges and free edge of your nails to ‘cap’ them. This is very important for longevity.
- Cure under your UV/LED lamp for the recommended time.
Step 7: Final Cleanse and Hydrate
Almost there!
- Once cured, the nails should be completely dry and non-tacky.
- If there’s any residual dust or tackiness from the edges, you can gently wipe with a lint-free wipe dampened with rubbing alcohol.
- Finish by applying cuticle oil to rehydrate your skin and protect your manicure.
Troubleshooting Common Chrome Nail Issues
Even with the best instructions, you might run into a few hiccups when you’re starting. Here are solutions to common problems:
- Patchy or Uneven Chrome: This usually means there wasn’t enough no-wipe top coat, or the powder wasn’t buffed in thoroughly enough. Ensure your top coat is applied thinly and evenly, and really work the powder into the surface.
- Chrome Powder Not Sticking: The no-wipe top coat might not have been cured long enough, or it might be an old, less effective formula. Make sure to cure the no-wipe top coat fully before applying powder.
- Smudged or Dull Finish: This often happens if you try to apply chrome over a regular gel top coat that requires wiping. Always use a dedicated “no-wipe” gel top coat. Also, ensure your initial curing of the no-wipe top coat is complete.
- Chrome Rubbing Off: Insufficient sealing with the final top coat is usually the culprit. Make sure to apply a thin, even layer of no-wipe top coat over the chrome, and cap the free edge of your nail to prevent lifting.
- Difficulty Getting Powder Into Corners: Use the tip of your silicone applicator or a small detail brush to precisely apply powder to these areas.
Exploring Different Chrome Nail Designs
Once you’ve mastered the basic technique, the possibilities are endless! Here are a few ideas to inspire your next chrome manicure:
The Classic Mirror Finish
This is your go-to for a reason! Simply apply chrome powder over a black or clear base coat for an ultra-reflective, seamless metallic look. It’s elegant, modern, and works for any occasion.
Tinted Chrome
Want a twist on the classic? Apply your chrome powder over a colored gel polish instead of black. Baby pink for a rose gold effect, blue for a sapphire shimmer, or green for an emerald gleam. The color of the gel polish will subtly tint the reflective chrome finish.
Ombre Chrome
Create a beautiful gradient effect by applying different shades of chrome powder or transitioning from chrome to a regular polish. You can gently blend two chrome colors or fade from a full chrome nail to a natural tip.
Minimalist Chrome Accents
You don’t need to go full chrome to make a statement. Try accent nails with a chrome finish, or add subtle chrome details like thin lines, half-moon designs, or geometric shapes using tape or stencils over a matte or glossy gel polish.
Chrome French Tips
Upgrade your French manicure by using chrome powder for the tips instead of white polish. This offers a sleek, high-fashion take on a timeless style.
Chrome Powder vs. Other Chrome Effects
It’s worth noting that “chrome” can sometimes refer to different types of finishes. The method described above uses chrome powder, which gives the most intense, mirror-like finish. However, you might also see products labeled “chrome paint” or “chrome gel.”
Chrome Powder: This is a fine, pigment-rich powder that you rub into a tacky gel surface. It provides the true mirror effect. It requires a specific application process.
Chrome Gel Polish: These are pre-mixed polishes that already contain chrome pigments. They offer a metallic, reflective look but typically don’t achieve the same level of mirror-like shine as powder application. They apply more like regular polish.
For the beginners aiming for that “wow” factor, chrome powder is the way to go. The results are simply unmatched!
Durability and Maintenance of Chrome Nails
When applied correctly with gel products and properly sealed, chrome nails can be very durable. They are generally as long-lasting as a standard gel manicure, often lasting 2-3 weeks.
Tips for Longevity:
- Cap the Free Edge: Always ensure your top coat (especially after applying the chrome powder) seals the very tip (free edge) of your nail. This is the most common area for chipping to start.
- Avoid Harsh Chemicals: Like any gel manicure, prolonged exposure to harsh chemicals (like those found in some cleaning products) can degrade the polish. Wear gloves when doing chores!
- Be Gentle: While durable, they aren’t indestructible. Avoid using your nails as tools for prying or scraping.
- No Filing After Chrome: Once the chrome powder is applied and sealed with the final top coat, do not file the surface of the nail. This will disrupt the chrome finish.
If you notice any lifting or chipping, it’s best to get them professionally touched up or removed to prevent further damage.
You can learn more about nail care and maintenance from resources like the American Academy of Dermatology Association, which offers general tips for healthy nails: AAD Nail Care.
FAQ: Your Chrome Nail Questions Answered
Q1: Can I use chrome powder on regular nail polish?
No, you generally cannot achieve the true mirror chrome effect with regular nail polish. Chrome powder needs to adhere to the uncured tacky layer of a gel top coat, which regular polish doesn’t provide.
Q2: Do I need a special top coat for chrome nails?
Yes! You absolutely need a “no-wipe” gel top coat. Regular gel top coats create a sticky layer that you wipe off after curing, but for chrome, you need the residual tackiness of the cured no-wipe top coat to hold the powder.
Q3: How do I remove chrome nail polish?
Chrome gel manicures are removed the same way as regular gel manicures: by soaking them off with acetone. You can gently file the top layer of the polish to help the acetone penetrate better, then soak cotton balls in acetone, place them on the nails, wrap with foil, and let sit for about 10-15 minutes before gently scraping away the softened gel.
Q4: Is chrome powder safe for my nails?
When used correctly over a protective base and top coat, chrome powder is safe. The powder itself is a pigment. Ensure you’re using a reputable brand to avoid any potential irritants. Always protect your natural nail with a base coat and seal the chrome thoroughly with top coats.
Q5: Can I do chrome nails at home without a UV/LED lamp?
Unfortunately, no. Gel polish, no-wipe top coats, and the sealing process require a UV/LED lamp for proper curing. Without it, the gel will not harden, and the chrome will not adhere correctly. A good quality LED lamp is relatively inexpensive and a worthwhile investment if you plan on doing gel manicures at home.
Q6: What’s the difference between fine and ultra-fine chrome powder?
Ultra-fine chrome powders are milled to a much smaller particle size, creating a smoother, more liquid-like, and intensely reflective mirror finish. Fine powders can sometimes have a slightly glittery or more textured look. For beginners aiming for the classic mirror effect, ultra-fine is typically recommended.
Conclusion
See? Chrome nail designs are totally achievable at home, even if you’re a beginner! By following these simple steps and using the right tools, you can create those dazzling, mirror-like finishes that look like they came straight from a salon. Remember to focus on thorough nail prep, use that essential no-wipe gel top coat, and cure each layer properly under your lamp. Don’t be afraid to experiment with different colors and designs!
The beauty of DIY nail art is the freedom to express yourself. With chrome, you’re adding a touch of futuristic glamour and confidence to your look. So grab your supplies, get creative, and let your nails shine! You’ve got this!

