The holidays are the perfect time to pamper yourself, and what better way to embrace the Christmas spirit than with a festive Christmas pedicure? Whether you’re preparing for a holiday party, relaxing in your Christmas PJs, or just want to treat your feet, a Christmas pedicure is a great way to get into the festive mood.
If you’re planning to do a pedicure at home, we’ve got you covered with step-by-step tips on how to achieve salon-worthy results in the comfort of your own home. Plus, we’ve included Christmas pedicure ideas to try, from candy cane stripes to Christmas tree designs.
How To Do A DIY Christmas Pedicure At Home: Step-By-Step Guide
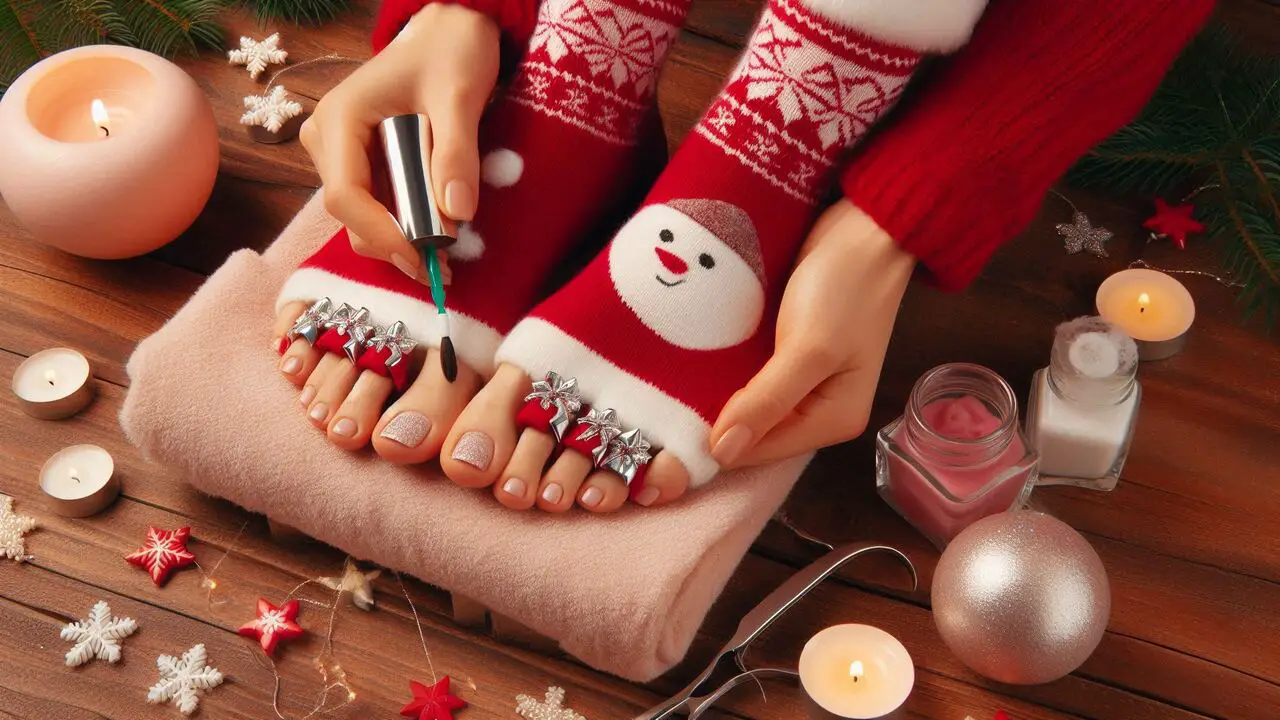
If you prefer to get your Christmas pedicure done at home, you don’t need fancy tools or a salon visit to get beautiful results. Here’s a simple process to follow:
1.Gather Your Tools And Products
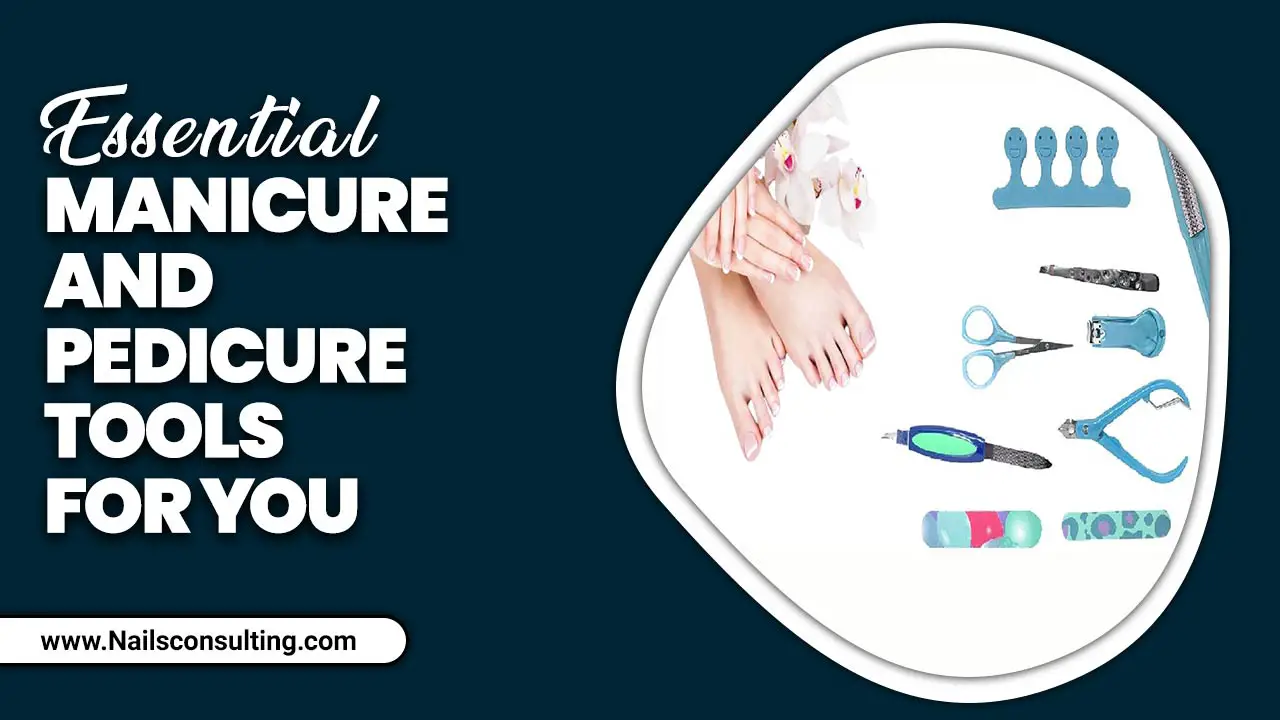
Start by making sure you have everything you need:
- Nail polish remover (for any existing polish)
- Foot scrub or foot soak to soften your feet
- Nail clippers and a nail file to shape your nails
- Cuticle pusher or cuticle remover for neat cuticles
- Moisturizing foot cream or lotion to hydrate your feet
- Base coat to protect your nails
- Holiday-themed nail polishes (red, green, gold, glitter, etc.)
- Nail art tools (like a nail art brush or dotting tools) for detailed designs
2.Prep Your Feet

Start by soaking your feet in warm water with a bit of Epsom salt or a foot soak to relax and soften your skin. You can even add a drop of peppermint oil for an extra festive touch! After soaking, use a foot scrub to exfoliate your heels and remove any rough patches.
3.Trim And Shape Your Nails
Use a nail clipper to trim your toenails to the desired length. Gently file the edges to prevent any sharp corners. If you like a rounded shape, file in a curve; for square nails, file straight across.
4.Push Back Your Cuticles
Gently push back your cuticles with a cuticle pusher or a soft towel. If your cuticles are dry, use a cuticle remover to soften them, then gently push them back.
5.Moisturize
After your feet are clean and prepped, massage a generous amount of foot cream into your feet. This will hydrate your skin and leave it feeling soft and smooth. You can even use a moisturizing mask for extra pampering!
6.Apply Base Coat
Start with a thin layer of base coat to protect your nails from staining and ensure your polish lasts longer.
7.Apply Your Christmas Nail Polish

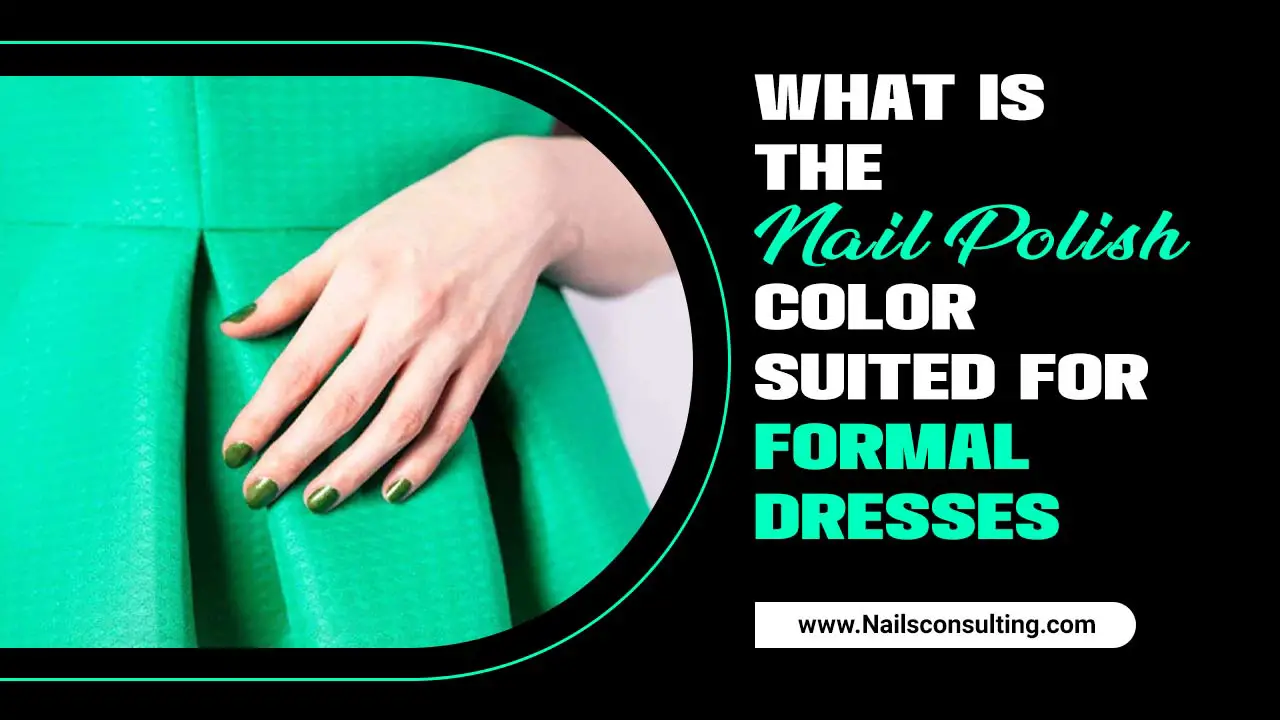
Now it’s time to add color! For a classic Christmas look, try red polish as a base color or green nails for a festive touch.
Festive Christmas Pedicure Ideas To Try
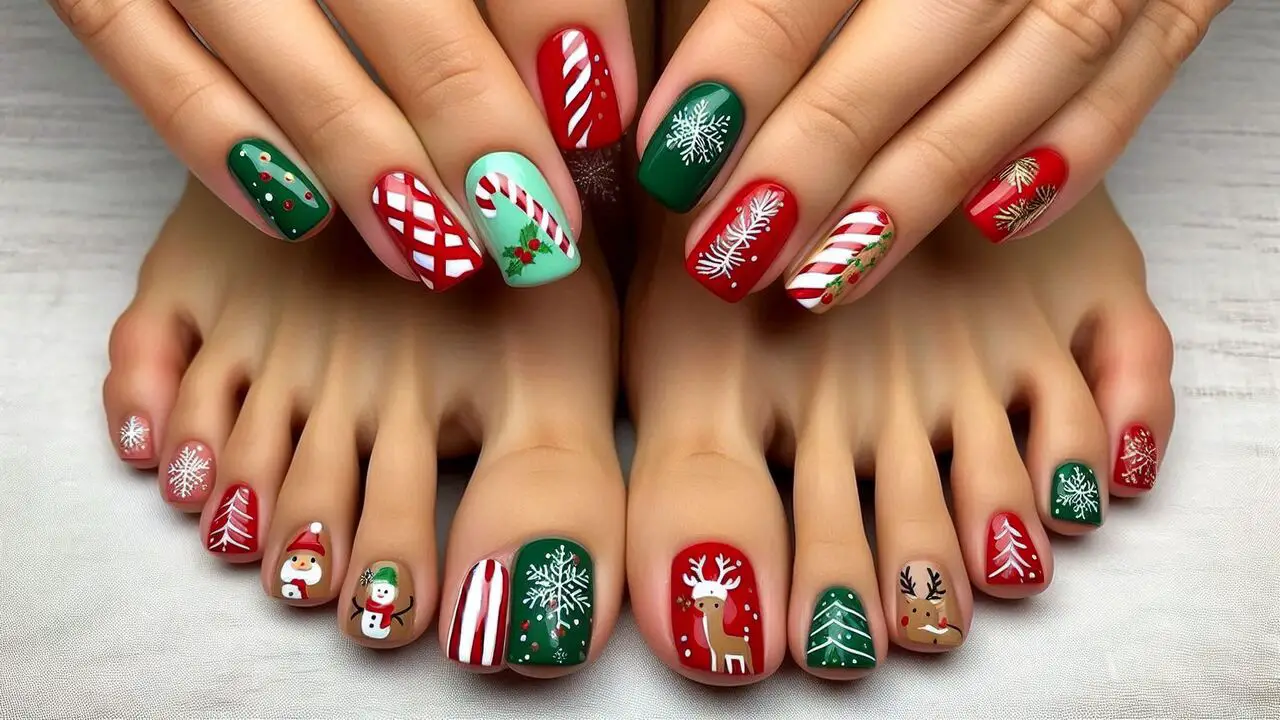
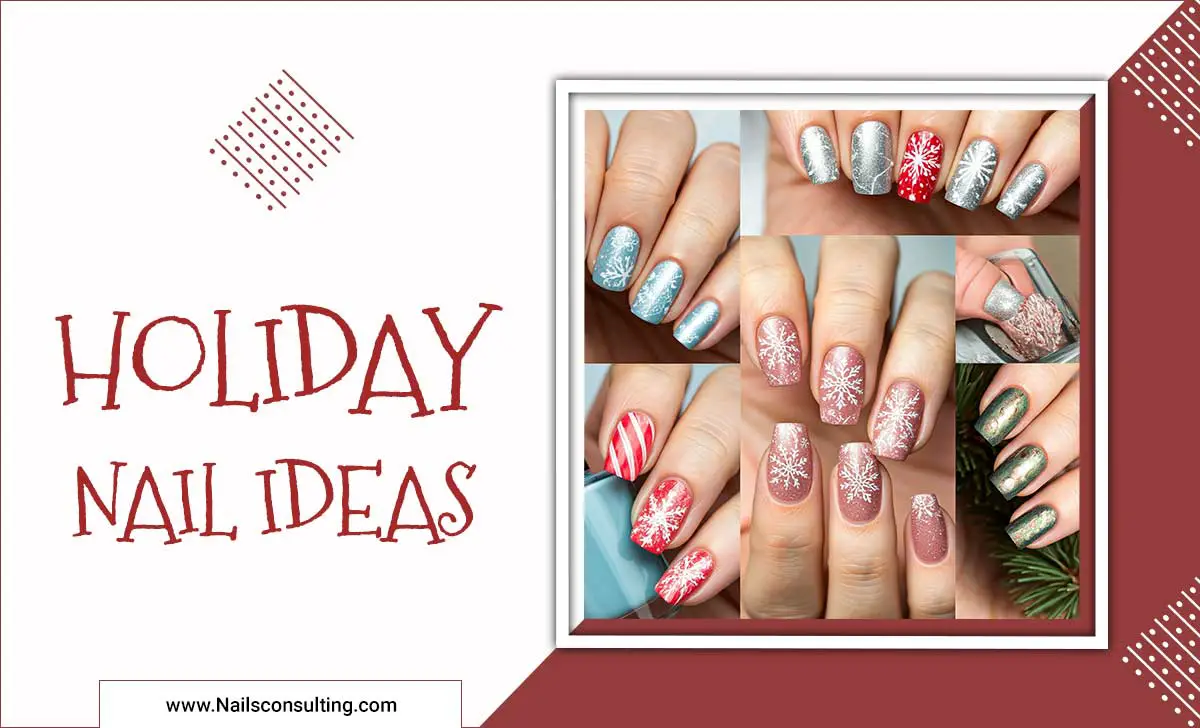
Once your nails are prepped and primed, it’s time to get creative with your Christmas nail art. Here are some fun and festive pedicure ideas for the holiday season:
1.Candy Cane Stripes Pedicure
Nothing says Christmas like the iconic candy cane! This classic design is perfect for a Christmas pedicure and looks adorable on your toes.
How To Create Candy Cane Stripes:
- Start with a red base coat on all your toes.
- Use white nail polish to paint diagonal stripes across the nails. You can also use nail art tape to make straight lines.
- Add a glittery topcoat for an extra sparkly effect.
Tip: Keep the stripes simple and bold, or alternate red and white stripes on different toes for a more playful look.
2.Christmas Tree Pedicure
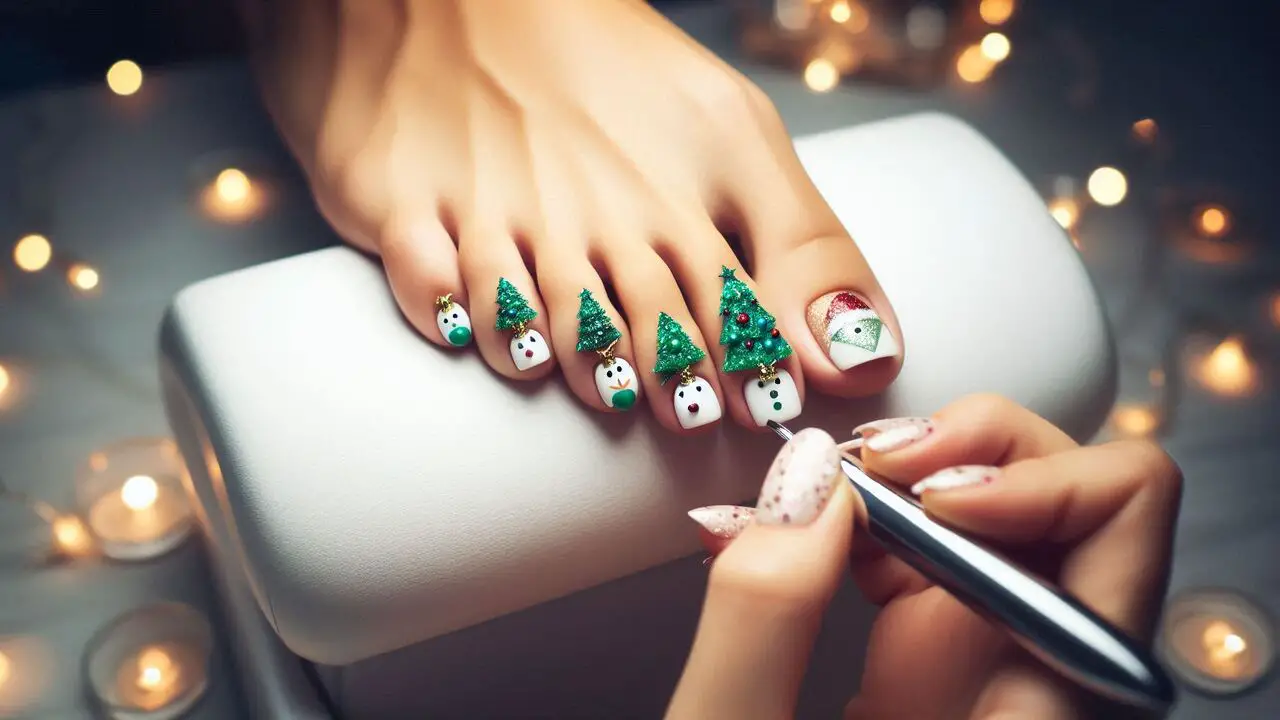
Bring a little holiday magic to your feet with Christmas tree designs. You can keep it simple with a minimalist tree or go all out with decorations.
How To Create Christmas Tree Nails:
- Use green polish as the base color for your accent nails.
- Create a triangle shape with green polish to resemble a Christmas tree.
- Decorate your tree with tiny gold or red ornaments. You can use nail gems or nail art stickers for this part.
- Add a gold glitter star at the top for the finishing touch.
Tip: Keep the rest of the nails simple with red nails or sparkly glitter to complement the tree design.
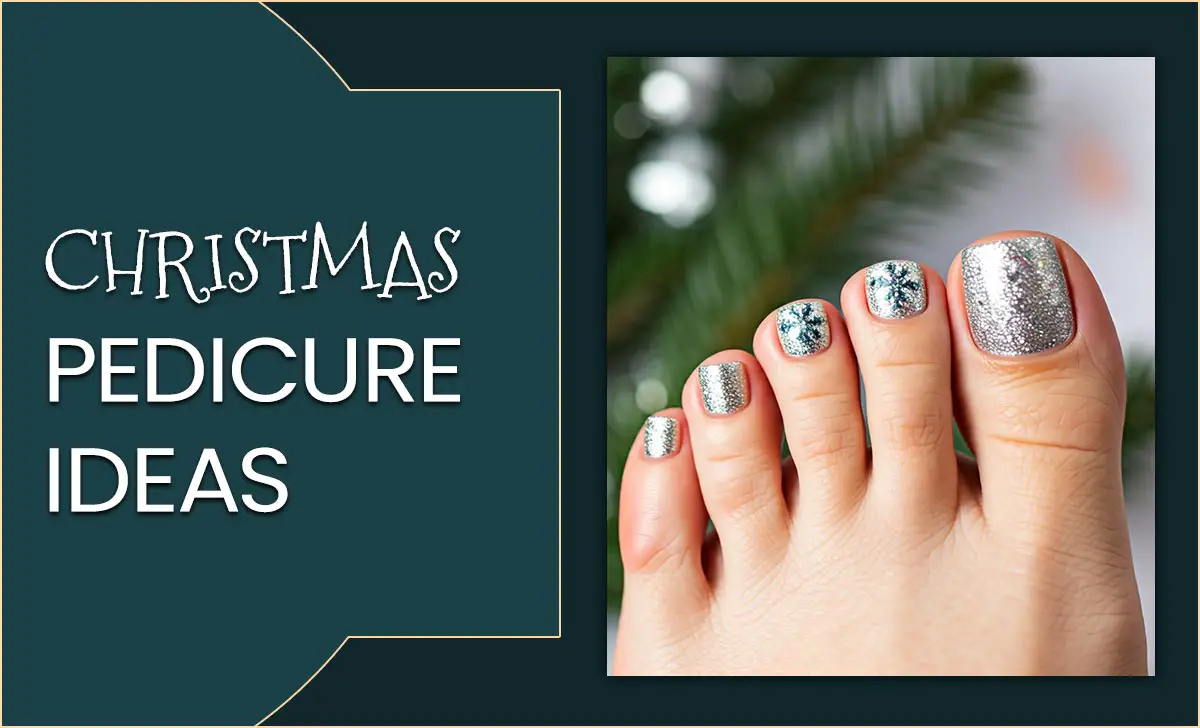
3.Snowflakes Pedicure
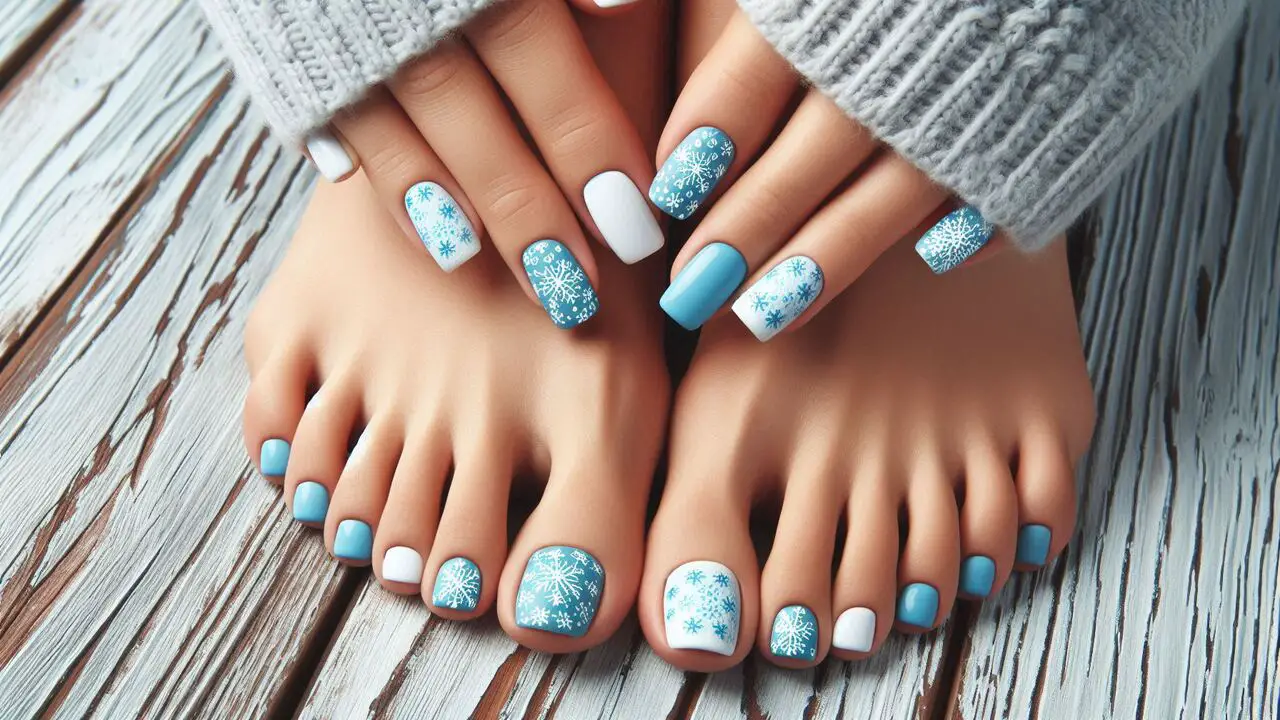
For a winter wonderland vibe, try snowflake pedicure designs. Snowflakes are perfect for adding a delicate, magical touch to your nails.
How To Create Snowflakes Pedicure:
- Start with a base of white, light blue, or even nude nails.
- Use a nail art brush or snowflake stickers to add intricate snowflake designs to your accent nails.
- Add silver glitter or a shimmery topcoat to make the snowflakes sparkle.
Tip: You can keep the design subtle by using gold glitter for the snowflakes or go all out with detailed designs using nail art brushes.
4.Santa Claus Or Reindeer Pedicure

Add some holiday whimsy to your pedicure with cute Santa Claus or reindeer designs. These fun designs will make your feet look festive and playful.
How To Create Santa Claus Or Reindeer Pedicure:
- For Santa Claus: Start with red as the base color. On one accent toe, use white for Santa’s beard and red for his hat. Add a red rhinestone as his nose for a cute 3D effect.
- For Reindeer: Use brown for the base, and then paint tiny antlers with a nail art brush. Add a red rhinestone for the nose for a fun, festive touch.
Tip: You can create both designs on different toes or keep the rest of the nails simple with a red polish base.
5.French Pedicure With Holiday Twist
For those who love a classic look, a French pedicure with a holiday twist is the way to go. Add festive color to the tips of your nails for a chic and subtle design.
How To Create A French Pedicure With A Holiday Twist:
- Apply a nude base for the classic French look.
- Paint the tips of your nails with red, green, or gold to add a holiday vibe.
- For extra sparkle, you can add glitter to the tips or use glittery topcoats on accent nails.
Tip: You can alternate between gold glitter tips and a simple red polish on other toes for a festive yet elegant look.
6.Glittery Holiday Pedicure
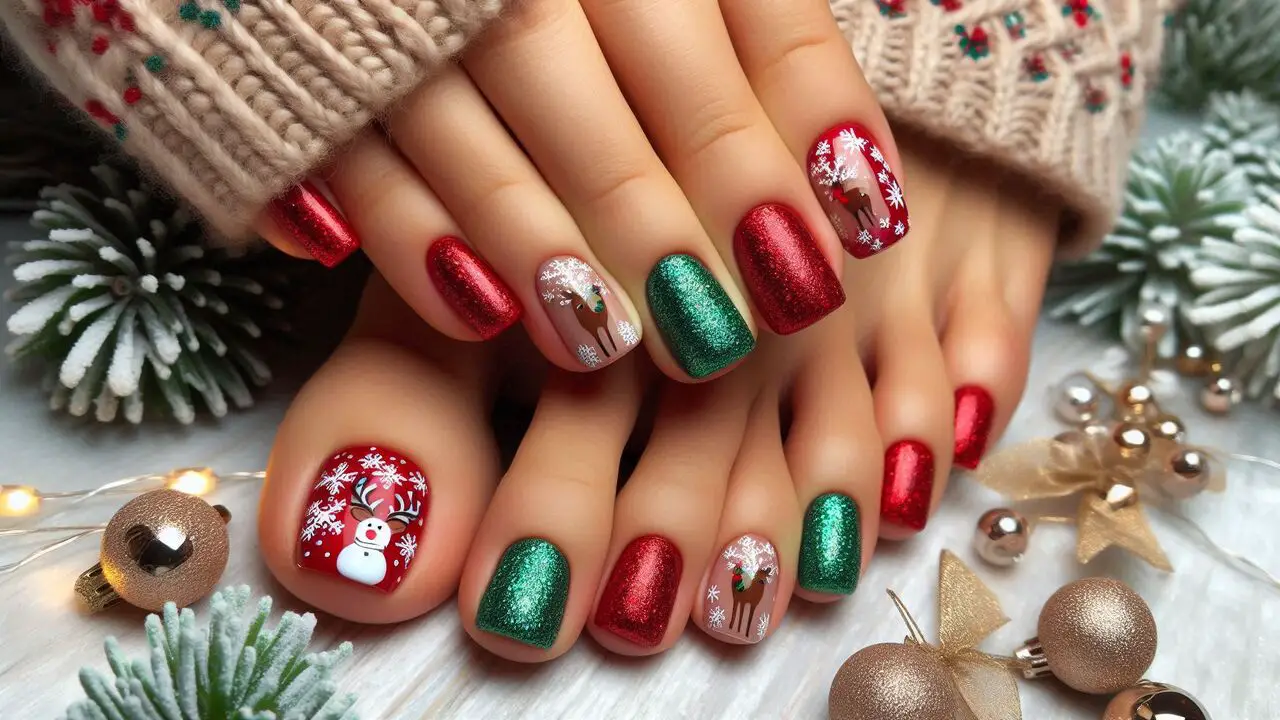
A glittery pedicure is perfect for the holiday season, adding sparkle to your look. Whether you’re wearing Christmas Eve or attending a holiday party, glittery nails are always a winner.
How To Create Glitter Pedicure:
- Choose a red, green, or silver base polish.
- Apply a glitter topcoat or chunky glitter polish to all your nails or just a few accent nails.
- You can also use gold glitter for a more elegant look or go for snowflake glitter for a wintery feel.
Tip: Layer the glitter for a more dramatic effect or keep it subtle with just a few accent nails glittered.
Conclusion
Creating a beautiful Christmas pedicure at home is a fun and easy way to celebrate the holiday season. With these simple tips and festive nail art ideas, you can give yourself a professional-looking pedicure without leaving your house. Whether you choose classic candy cane stripes, whimsical Santa Claus designs, or elegant French pedicure with a holiday twist, you’re sure to step into the holiday season in style.
So, grab your nail art brush, your favorite red, green, or gold polish, and let your creativity flow to create a Christmas pedicure that will make your feet feel festive and fabulous!
FAQs:
1.What Are Some Good Ideas For Christmas Nail Art Designs With Glitter And White Tips?
A classic French tip with white tips, accented with gold or silver glitter along the edges, gives a festive touch. You can also try adding a snowflake or Christmas tree design with glitter for extra sparkle.
2.What Are The Christmas Pedicure Ideas For A Cozy Night In?
For a cozy night in, opt for deep red or green polish with glitter accents or a simple snowflake design. A French pedicure with gold tips or reindeer designs adds a festive vibe.
3.What Are Some Beginner Nail Art Designs To Do At Home?
For beginners, try easy designs like polka dots, striped nails, or glitter tips. You can also create a simple snowflake accent or a festive French manicure with red and green tones.
4.What Are Some Of Your Key Pieces Of Equipment When Doing Art On Nails During The Holiday season?
Key pieces include base and top coats, nail art brushes, dotting tools, nail stickers, glitter polish, and striping tape. These tools help achieve a variety of holiday designs like snowflakes, candy canes, and Christmas trees.
5.How Do You Do Easy Christmas Stamping Nail Art That Looks Professional?
Apply a base coat, use a Christmas-themed stamping plate, and scrape off excess polish. Stamp the design onto your nails, then finish with a top coat or glitter for a polished, festive look.

