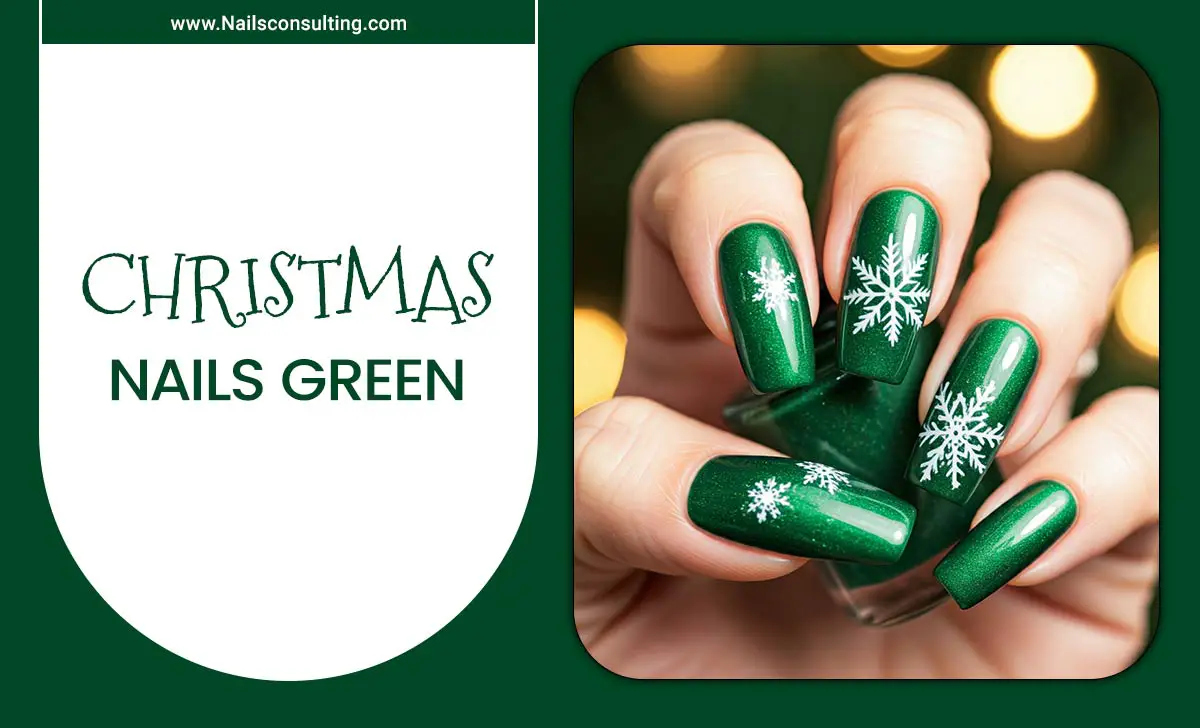
Red and green Christmas nail designs are a festive and fun way to get into the holiday spirit! These classic colors offer endless creative possibilities for beginners and experienced nail artists alike. You can achieve stunning holiday looks easily with simple techniques and a few essential tools. Let’s dive into some essential, easy-to-create red and green Christmas nail designs!
Hey there, nail lovers! Lisa Drew here, and I am so excited to talk about one of my absolute favorite nail art palettes: red and green for Christmas! This time of year, our nails get to join the festive fun, and honestly, what’s more iconic than a pop of cherry red and a touch of emerald green? If you’ve ever looked at intricate holiday nail art and thought, “There’s no way I can do that,” I’m here to tell you to think again! Many gorgeous red and green Christmas nail designs are surprisingly simple to achieve. We’ll walk through easy techniques that will have your nails looking like tiny holiday masterpieces in no time. Get ready to deck your nails out!
The Magic of Red & Green: Why They’re Perfect for Christmas Nails
Red and green are the undisputed champions of Christmas color. But why do they work so well, and how can we make them shine on our nails? It’s all about the contrast and the festive vibes they instantly evoke. Red brings warmth, passion, and a touch of sparkle, reminding us of Santa’s suit, vibrant poinsettias, and candy canes. Green, on the other hand, offers a refreshing, natural feel, calling to mind Christmas trees, holly leaves, and mistletoe. Together, they create a classic, joyful, and instantly recognizable holiday look. They’re bold enough to make a statement but versatile enough to be dressed up or down.
The beauty of using red and green is that you don’t need to be a professional artist to create something stunning. With just a basic set of nail supplies and a little imagination, you can transform your nails into miniature holiday decorations. We’re going to break down some of the most essential and achievable looks, perfect for anyone who wants to add a festive sparkle to their fingertips this holiday season. These ideas are designed to be super beginner-friendly, so let’s get started!
Essential Tools for Your Red & Green Christmas Nail Art
Before we jump into the designs, let’s gather our holiday nail ammunition! Having the right tools makes all the difference, especially when you’re starting out. Don’t worry; you probably already have most of these or can find them easily at your local drugstore or beauty supply store. Investing in a few key items will unlock a world of creative possibilities for all your future manicures, not just Christmas ones!
Here’s a quick rundown of what you’ll need to create those gorgeous red and green Christmas nail designs:
- Base Coat: This is crucial for protecting your natural nails and helping your polish last longer.
- Top Coat: Seals in your design and adds a beautiful glossy finish.
- Red Nail Polish: A classic cherry red or a deeper crimson will work beautifully.
- Green Nail Polish: Think emerald, forest green, or even a bright lime for a pop!
- White or Cream Nail Polish: Great for creating backgrounds, snowflakes, or adding highlights.
- Thin Nail Art Brush or Dotting Tool: Essential for fine lines, dots, and delicate details. A toothpick can work in a pinch for dots!
- Nail Polish Remover and Cotton Swabs: For cleaning up any mistakes (because they happen!).
- Optional: Glitter Polish: For that extra festive sparkle! Gold, silver, or red/green glitter polishes are fantastic.
- Optional: Nail Art Stickers or Stencils: If you’re really short on time or want perfectly crisp lines, these are lifesavers.
Having these on hand will make executing your red and green Christmas nail designs a breeze. Remember, practice makes perfect, so don’t be afraid to experiment!
Beginner-Friendly Red & Green Christmas Nail Designs: Step-by-Step
Now for the fun part! Let’s dive into some easy-to-create, impactful red and green Christmas nail designs that will have you mastering holiday nail art in no time. These are perfect for beginners and can be customized to your style.
1. The Classic Red and Green French Tips
The French manicure gets a festive makeover! This is a super chic and simple way to incorporate red and green.
- Prep Your Nails: Start with clean, dry nails. Apply a base coat and let it dry completely.
- Base Color: Paint all your nails with a sheer nude, milky white, or even a classic clear polish. This provides a clean canvas.
- Red Tips: Using a thin nail art brush or the polish brush itself (if you’re steady!), carefully paint a curved line of red polish across the tip of each nail. You can make them thick or thin depending on your preference.
- Green Tips: On your ring finger or accent nail, paint the tip with green polish instead of red. Or, alternate red and green tips on all fingers!
- Clean Up: Dip a cotton swab in nail polish remover to clean up any stray polish around your cuticles.
- Seal It: Apply a top coat to protect your design and add shine.
Pro Tip: For super crisp lines, try using french tip guides or stickers! Place the sticker where you want the line to be, paint your tip, and carefully peel off the sticker while the polish is still slightly wet.
2. Candy Cane Stripes: Sweet & Simple
Who doesn’t love a candy cane? This design is playful and surprisingly easy to achieve.
- Prep & Base: Apply base coat, then paint all nails with a crisp white polish and let it dry completely. White is essential for the candy cane stripes to pop.
- Red Stripes: Using a fine nail art brush dipped in red polish, draw diagonal stripes across your white nails. Aim for relatively even spacing.
- Clean Up: Use a cotton swab and remover to neaten any messy lines.
- Seal: Apply a generous layer of top coat.
Variation: For an even easier version, use red and green nail art striping tape! Apply the tape in diagonal lines over your white base, then paint over the tape. Once the polish is dry, carefully peel off the tape.
3. Festive Polka Dots: Cheerful & Easy
Polka dots always look fun and festive, and they’re super forgiving for beginners!
- Prep & Base: Apply base coat. For a classic look, paint your nails either red or green. Let it dry thoroughly.
- Dotting Time: Dip your dotting tool (or the rounded end of a toothpick) into the contrasting color (green on red, or red on green).
- Create Your Dots: Gently dab the polish onto your nail to create dots. You can arrange them in neat rows, scattered randomly, or even create a gradient effect. Try putting white dots on a red or green base too!
- Accent Nail Idea: On one nail, try a base of white polish and then create alternating red and green dots for a festive pop.
- Clean Up & Seal: Clean up any mistakes with a brush and remover, then finish with a top coat.
Double the Fun: For a bolder look, use a single nail color (like red) as your base and then do a mix of red and green dots on all your nails. Or, use white as your base and add alternating red and green dots!
4. The Glitter Bomb Accent Nail
Sometimes, all you need is a touch of sparkle! This is the ultimate easy festive look.
- Choose Your Base: Paint all your nails with your favorite red or green polish. Let it dry completely.
- Glitter Accent: On your ring finger or accent nail, apply a layer of glitter nail polish. You can use a red, green, gold, or silver glitter for a dazzling effect. For more intense glitter coverage, apply a second coat.
- Option 2: Glitter Gradient: Apply your solid color polish to all nails. Then, on your accent nail, start with glitter near the cuticle and blend it upwards towards the tip, creating a gradient effect.
- Seal: Once dry, apply a top coat over all nails to seal in the glitter and add shine. Top coats can sometimes dull fine glitter, so a thicker, glossy top coat works best here.
Where to Find Glitter: Many brands offer fantastic glitter polishes. Look for chunky glitters, fine glitters, or iridescent finishes for maximum festive impact. You can even find specific Christmas-themed glitter mixes!
5. Simple Christmas Tree Design
This design looks more complicated than it is! It’s a beautiful way to showcase green.
- Prep & Base: Apply base coat. Paint all your nails with a sophisticated red or deep burgundy polish and let it dry.
- Tree Shape: Using a thin nail art brush and green polish, carefully paint a simple triangle or a series of decreasing horizontal dashes on one or two accent nails. Start with a wider base and get narrower as you go up to create a tree shape.
- Add Ornaments (Optional): Use your dotting tool with small dots of red polish or tiny gold/silver glitter polish to add “ornaments” to your green tree.
- Ornaments on Red (Alternative): You can also paint a solid red nail and add tiny green dots for a “berry” or “ornament” look without a full tree.
- Clean Up & Seal: Clean up edges and apply a top coat.
Tree Topper: For an extra touch, add a tiny gold or silver dot at the very top of your tree using your dotting tool or a fine brush.
Leveling Up Your Red & Green Christmas Nail Game
Once you’re comfortable with the basics, you can start experimenting with more advanced techniques or adding extra flair. These ideas can be incorporated into the designs above or stand alone.
Adding Shimmer and Shine
Glitter isn’t the only way to add sparkle! Many polishes come with iridescent finishes or fine shimmer particles that can elevate a simple red or green base. Consider a sheer red polish with gold flecks or a deep green with a subtle blue shimmer.
Stamping & Decals (Stickers)
For perfectly crisp images like snowflakes, reindeer, or intricate patterns, nail stamping is your best friend. You’ll need a stamping plate, stamper, and scraper. Apply polish to the plate, scrape off the excess, stamp the image, and then transfer it to your nail. Nail decals or stickers work similarly but are even easier – just peel and stick!
If you’re looking for reliable stamping plates, brands like Konad offer a wide variety of intricate designs perfect for the holidays. They are a fantastic resource for detailed Christmas patterns.
Ombre Effects
A red and green ombre can be stunning. Using a makeup sponge, apply stripes of red and green polish onto the sponge, then ‘dab’ it onto the nail to blend the colors. You can achieve a smooth gradient or a more textured, painterly effect.
Matte Finish
Don’t forget about matte top coats! Applying a matte top coat over your red and green designs can give them a sophisticated, velvety look that’s very chic and unexpected for the holidays. It transforms the shine into a soft, elegant finish.
Red & Green Christmas Nail Design Ideas: A Quick Reference
To help you visualize and choose your perfect holiday look, here’s a table summarizing some popular red and green Christmas nail design concepts and their complexity level.
| Design Idea | Description | Colors Used | Difficulty Level (Beginner Friendly) |
|---|---|---|---|
| Classic French Tips | Festive colored tips on a nude or clear base. | Red, Green, White/Nude | Easy |
| Candy Cane Stripes | White base with thin red diagonal stripes. | White, Red | Easy |
| Sparkling Polka Dots | Alternate red and green dots on a contrasting base. | Red, Green, White | Easy |
| Glitter Accent Nail | One nail fully covered in festive glitter. | Red or Green base + Glitter (Silver, Gold, Red, Green) | Very Easy |
| Simple Christmas Tree | Painted green tree on a red or solid color background. | Green, Red, Optional Gold/Silver | Easy to Medium |
| Holly & Berries | Green leaf shapes with red dot “berries”. | Green, Red | Medium |
| Christmas Plaid | Classic plaid pattern in festive colors. | Red, Green, White/Black | Medium to Advanced |
Making Your Red & Green Christmas Nails Last
You’ve put in the effort to create beautiful red and green Christmas nail designs, so let’s make them last! Proper nail care and application techniques are key to extending the life of your manicure, whether it’s a simple solid color or intricate nail art.
1. The Foundation is Key
Always start with a clean, dry nail surface. Gently push back your cuticles and ensure there’s no oily residue. Apply a thin, even layer of a good quality base coat. This isn’t just about protection; it creates a smooth surface for polish adhesion, preventing chips and making your colors appear more vibrant. You can find excellent base coats from brands like Essie, which are known for their long-wearing formulas.
2. Apply Polish Properly
- Thin Coats: Avoid applying thick layers of polish. Thinner coats dry faster and are less prone to smudging and bubbling.
- Three-Stroke Method: For each coat, use three


