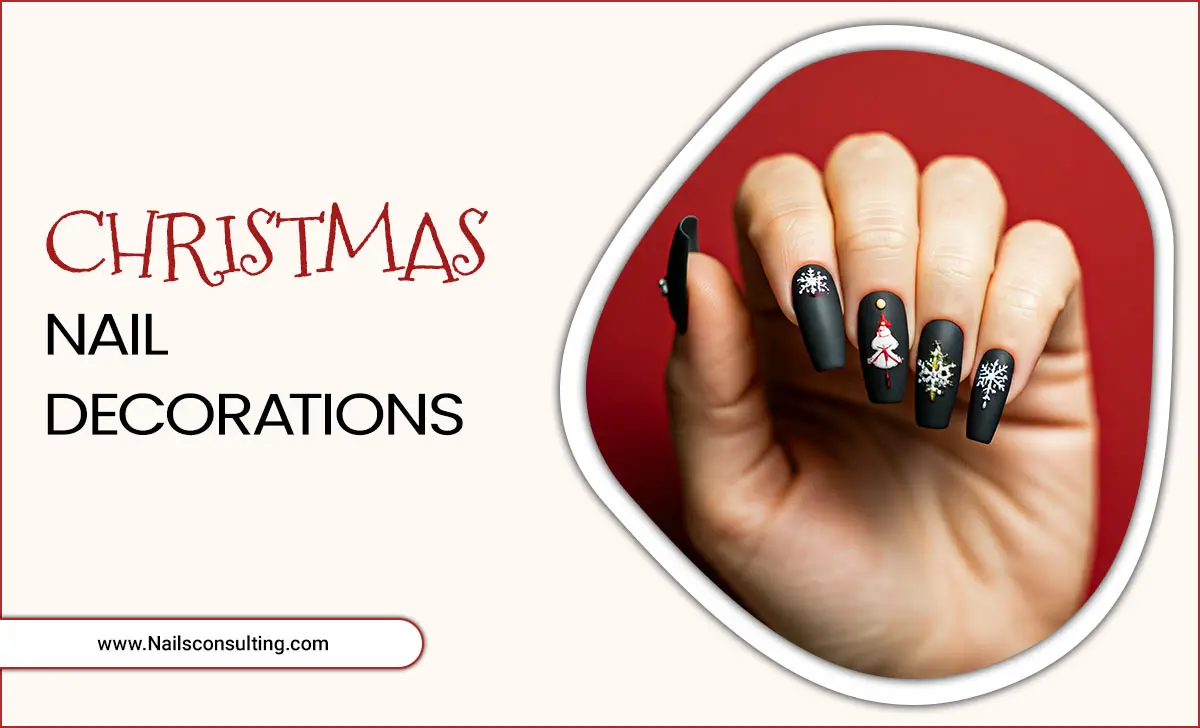
Christmas nail decorations are the perfect way to celebrate the holiday season with style. Whether you’re preparing for a cozy night by the fireplace or a festive Christmas party, nail art adds a fun and creative touch to your look. From sparkling gold glitter to cute Santa Claus designs, there’s a world of possibilities when it comes to Christmas nail designs.
Nail Decoration Trends
This festive season, red nails and green nails are the most popular color choices for Christmas nails. You can also mix things up by using white nail polish with a bit of gold glitter for a more elegant look. For a fun, quirky twist, gingerbread nails and Santa Claus designs are perfect for showing off your holiday spirit.
How To Get The Best Christmas Nail Art
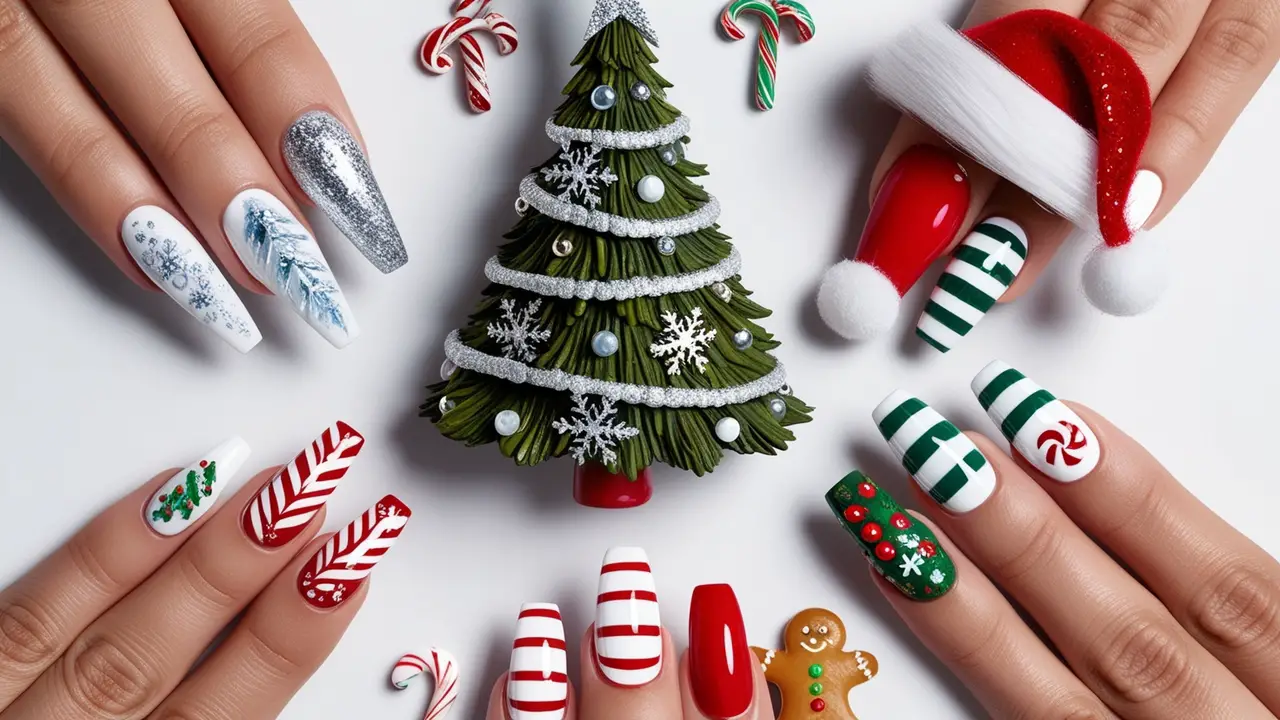
If you’re looking for unique Christmas nail decorations, it’s a great idea to consult a nail artist or a skilled nail tech. They can help you create custom designs that incorporate all of your favorite holiday motifs, from Christmas tree designs to snowflake nails.
1.Christmas Tree Nail Art
Description: A fun and festive way to celebrate Christmas, the Christmas tree nail art brings the holiday spirit to your fingertips. This design works well for both long and short nails.
How To Do It:
- Base Coat: Apply a clear base coat to protect your natural nails and ensure smooth application.
- Base Color: Choose a green nail polish for the Christmas tree. Apply two coats for an opaque finish.
- Tree Decoration: Use gold polish to paint tiny ornaments in the shape of stars, circles, or triangles. Add small dots of red polish for baubles.
- Tree Trunk: Use brown nail polish to create a small rectangle at the bottom for the tree trunk.
- Final Touches: Add a small glitter polish or gold glitter at the top of the tree for a starry effect.
- Top Coat: Seal the design with a clear top coat to keep the art intact.
2.Snowflake Nails
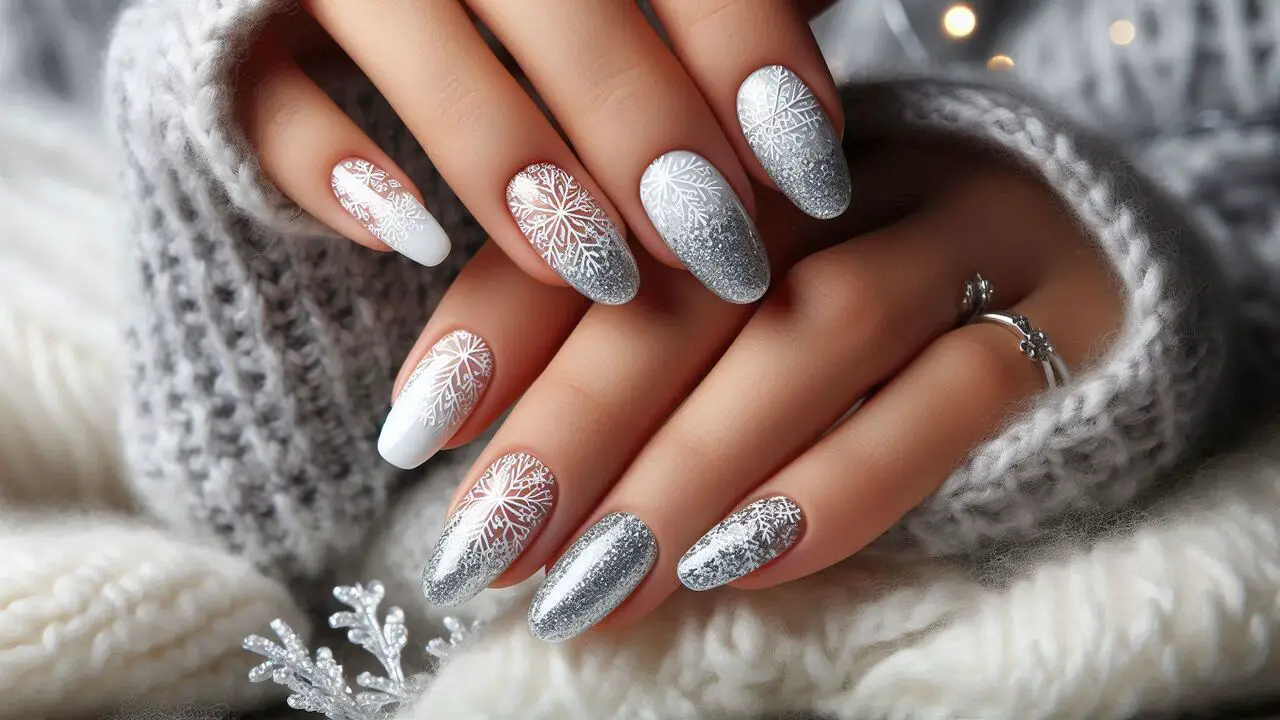
Description: Snowflakes create a delicate and elegant look, perfect for the winter season. This design can be customized for both short nails and longer nails.
How To Do It:
- Base Coat: Apply a base coat to prevent staining and smooth out any imperfections.
- Base Color: Choose white nail polish or a light blue for a wintery feel. Apply two thin coats for a smooth finish.
- Snowflake Design: Using a nail art brush or a dotting tool, draw small snowflakes on each nail. Start with a central dot and use four lines extending outwards. Add smaller branches to complete the snowflake.
- Accents: Add some glitter polish or silver glitter to the snowflakes to make them sparkle like fresh snow.
- Top Coat: Apply a top coat to lock in your design and add shine.
3.Santa Hat Accent Nails
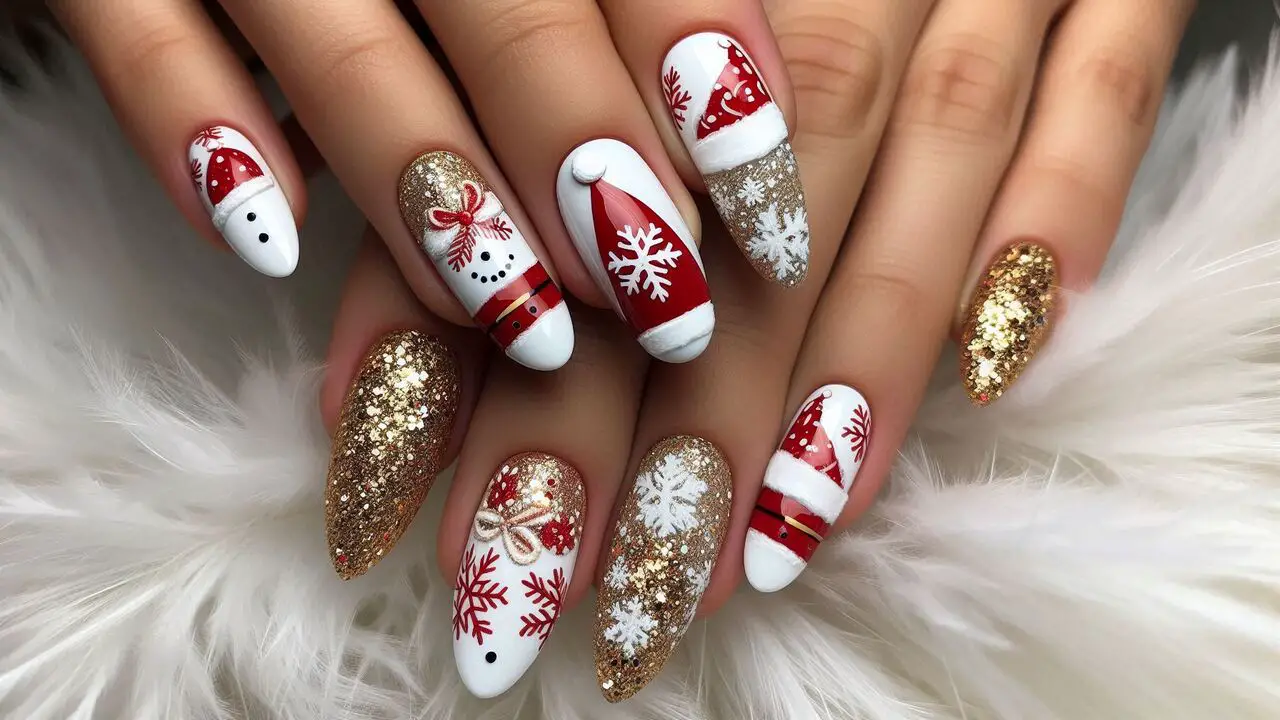
Description: Create a fun and playful design with a Santa hat on your accent nail. This design is cute and festive, perfect for a holiday party.
How To Do It:
- Base Coat: Start with a clear base coat to protect your nails.
- Base Color: Apply a red nail polish on the nail that you will use for the Santa hat. You can also paint your other nails with a neutral shade or even glitter polish for extra sparkle.
- Santa Hat Design: On the accent nail, use a white nail polish to create a curved line near the tip of the nail to represent the fluffy brim of the hat.
- Hat Pom-pom: Draw a small white pom-pom at the tip of the nail to finish off the Santa hat.
- Final Touch: For added detail, you can also use a nail art brush to add a little gold glitter at the base of the hat for a shimmering effect.
- Top Coat: Apply a clear top coat to protect your design.
4.Candy Cane Stripes
Description: Candy cane stripes are a classic design that screams Christmas. This design is bold and works well with red and white colors.
How To Do It:
- Base Coat: Apply a clear base coat to start.
- Base Color: Apply red nail polish to the entire nail. Let it dry completely before adding the stripes.
- Stripes: Using nail tape, mark off diagonal stripes on your nails. Then, paint over the exposed areas with white nail polish to create the candy cane effect.
- Detailing: After removing the tape, use a nail art brush to clean up any uneven lines.
- Accents: For a touch of sparkle, add a layer of gold glitter over the red stripes.
- Top Coat: Finish with a clear top coat for a smooth, glossy finish.
5.Gingerbread Nails
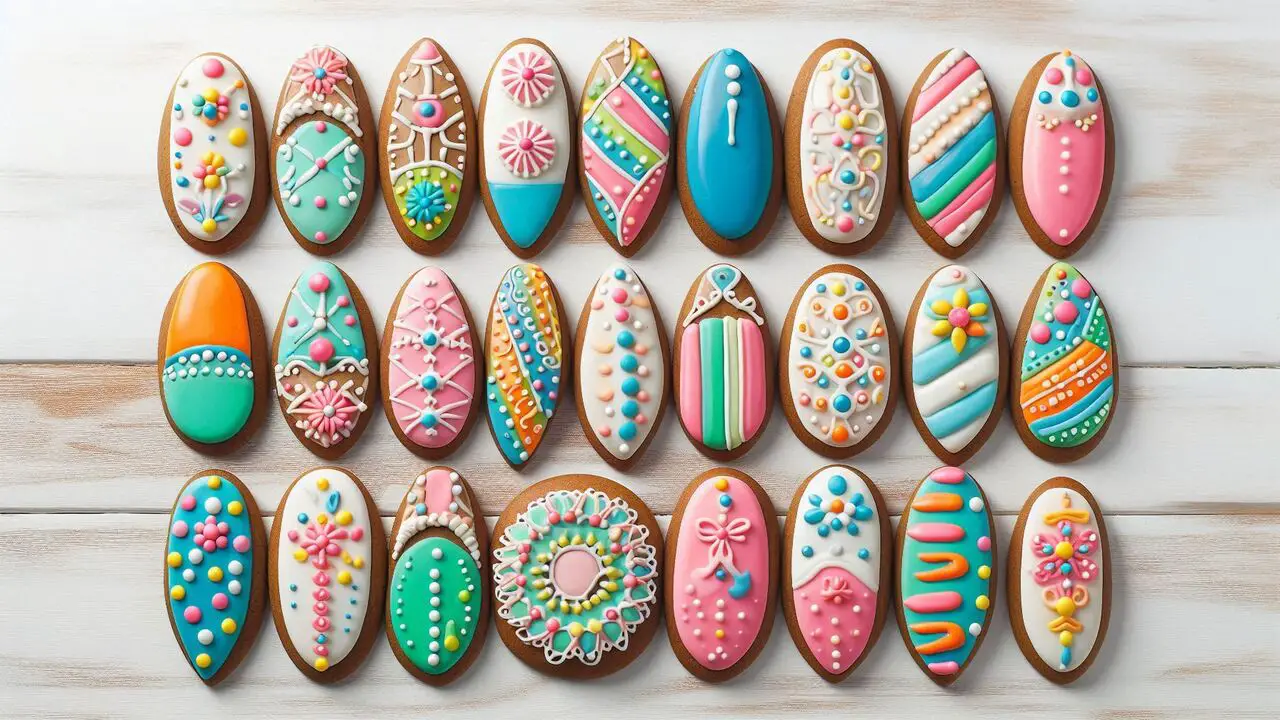
Description: Gingerbread nails are a fun and sweet design for Christmas. This design is perfect for a festive look with cute gingerbread man accents.
How To Do It:
- Base Coat: Start with a base coat to protect your natural nails.
- Base Color: Apply brown nail polish to all nails to resemble gingerbread cookies. Apply two coats for an even finish.
- Gingerbread Men: Use white nail polish and a nail art brush to create small gingerbread man shapes on your accent nails. Add tiny buttons using red polish for detail.
- Detailing: Outline the gingerbread men with gold glitter for extra sparkle and dimension.
- Top Coat: Apply a top coat to seal in the design and give it a glossy finish.
6.Christmas Lights Nail Art
Description: Christmas lights are a fun way to add colorful charm to your nails. This design can be simple or elaborate, depending on the amount of detail you want.
How To Do It:
- Base Coat: Start with a clear base coat to protect your nails.
- Base Color: Apply a neutral color, such as white nail polish or red to all nails. Let the color dry completely before adding the lights.
- Light String: Use a black or dark green nail polish and a nail art brush to create the outline of the Christmas lights. Draw a simple line across each nail as if the lights are hanging.
- Light Bulbs: Use bright colors like red, yellow, green, and blue to create small bulb shapes along the string. Add a small dot of gold glitter at the center of each light bulb for a glowing effect.
- Top Coat: Finish with a clear top coat to ensure the design stays intact and shines.
7.Donut Nails
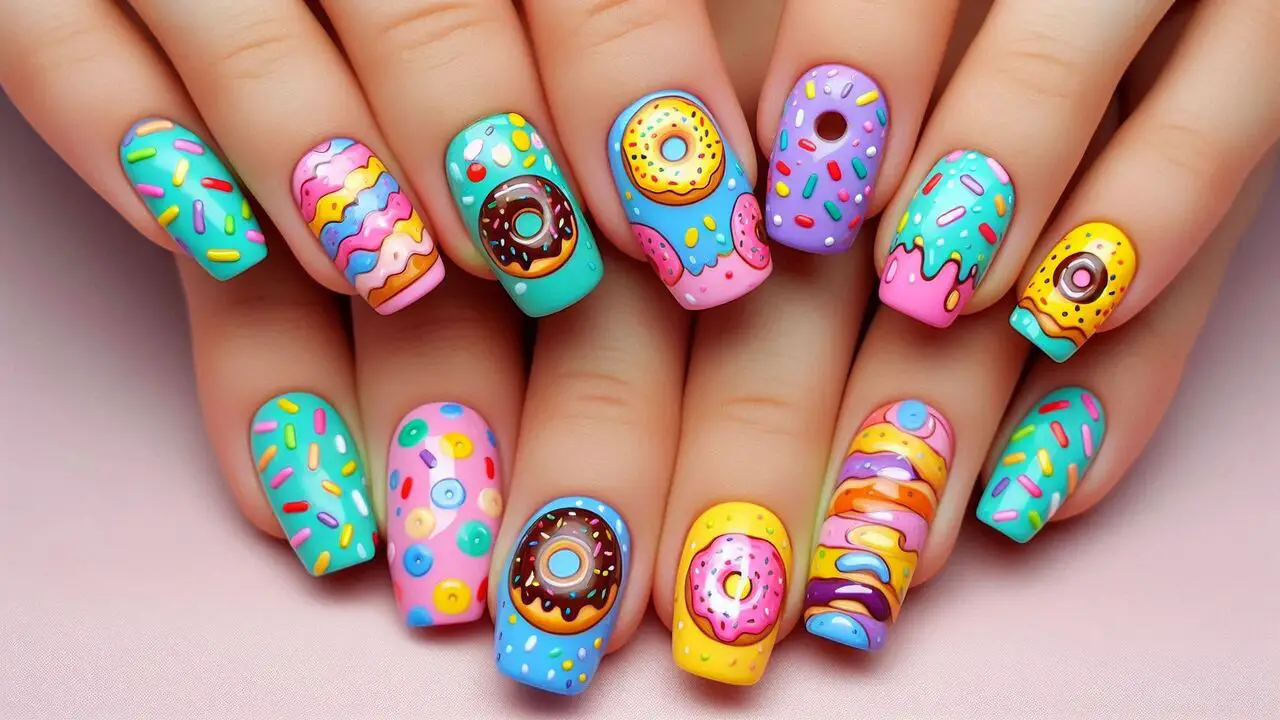
Description: For a whimsical Christmas design, create donut nails decorated with holiday motifs like candy canes or Christmas trees.
How To Do It:
- Base Coat: Start with a clear base coat.
- Base Color: Use nude or pink nail polish to create the “donut” base. You can use white or light pink to mimic the icing.
- Donut Decorations: Add small gingerbread men or Santa hats using nail art brush or nail stickers. You can also use candy cane stripes as a fun detail.
- Accents: Add glitter polish to make the icing sparkle.
- Top Coat: Seal the design with a clear top coat to keep everything in place.
Conclusion
These Christmas nail decorations offer a fun way to express your festive spirit and creativity. Whether you’re rocking Santa hats, snowflakes, or candy cane stripes, the possibilities for beautiful and playful Christmas nails are endless.
From simple designs with nail stickers to more intricate art with nail brushes, there’s something for everyone. Get into the holiday season with these festive nail art ideas and add your personal touch to make your Christmas mani truly special.
FAQs About Christmas Nail Decorations
1.What Christmas Nail Art Designs Are Best For Beginners?
Simple designs like Santa hats, snowflakes, or candy cane stripes are great for beginners. Use nail stickers or nail tape to make things easier.
2.How Can I Make My Christmas Nails Last Longer?
Always apply a base coat and top coat to protect your nails and help your design last longer. Choose long-lasting nail polishes for best results.
3.Can I Use Glitter Polish For Christmas Nail Designs?
Yes! Glitter polish is perfect for adding sparkle to any Christmas nail art. You can use it for accents like Christmas tree ornaments or to top off your design.
4.What Are Some Festive Color Combinations For Christmas Nails?
Classic Christmas colors like red, green, white, and gold are always popular. Mix and match these colors for fun, festive looks.
5.Can I Use Nail Art Brushes For Detailed Designs?
Absolutely! Nail art brushes are essential for creating intricate Christmas nail designs like snowflakes, gingerbread men, and Christmas lights.

