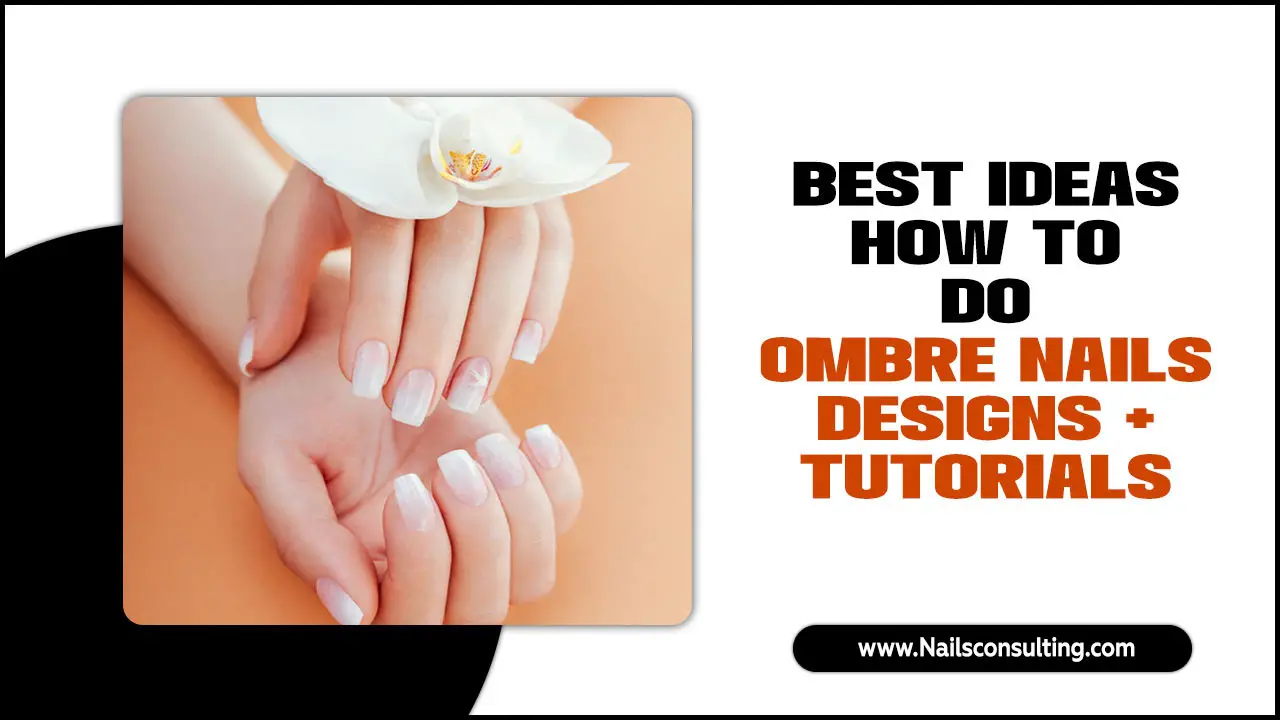
Chic nail designs are easy to achieve and essential for adding a polished touch to any look. Explore simple yet stunning ideas, essential tools, and step-by-step tips to elevate your manicure game confidently, even as a beginner.
Ever look at your nails and wish they had a little more… sparkle? You’re not alone! Sometimes our nails feel a bit bare, and we want that perfect finishing touch. The good news is, creating chic nail designs isn’t as hard as it looks. It’s all about knowing a few simple tricks and having the right inspiration. We’re going to break down how to get those stunning nails you’ve been dreaming of, step-by-step, making it super easy for anyone to try.
Get ready to discover how to transform your nails from ordinary to extraordinary with designs that are both stylish and achievable. We’ll cover everything from the basic tools you’ll need to creating eye-catching looks that will have everyone asking, “Where did you get your nails done?” Let’s dive into the world of beautiful nails!
Why Chic Nail Designs Matter
Nails are like the jewelry for your hands! They can totally change how polished and put-together you look. A great manicure can boost your mood, express your personal style, and make a subtle but confident statement. Sometimes, just a hint of design on your nails can make your everyday outfits feel a little more special. It’s a simple way to add a touch of personality and flair, making you feel fantastic from your fingertips up.
The Power of a Polished Manicure
Think about it: when your nails look good, you often feel good too. Whether you’re heading to an important meeting, a fun brunch with friends, or just tackling your to-do list, well-cared-for and beautifully designed nails can give you that extra boost of confidence. They are a canvas for your creativity and a reflection of your attention to detail. Plus, embracing chic nail designs can be a fun and relaxing way to pamper yourself and express your unique style.
Essential Tools for Chic Nail Designs
To create stunning nail designs at home, you don’t need a professional salon setup. A few key tools can make all the difference. Having the right supplies will make the process smoother and help you achieve cleaner, more professional-looking results. Let’s look at what you should have in your nail art toolkit:
Your Starter Nail Art Kit
- Nail Polish: A variety of colors is essential! Include neutrals, a few bold shades, and perhaps a glitter or metallic polish for accents.
- Top Coat: Crucial for sealing your design, adding shine, and making your manicure last longer. Don’t skip this!
- Base Coat: Protects your natural nails from staining and helps polish adhere better.
- Dotting Tools: These come with different-sized ball tips and are perfect for creating dots, flowers, and other small patterns.
- Fine-Tip Brushes: Great for drawing thin lines, swirls, and intricate details. A set with various sizes is ideal.
- Nail Polish Remover: For mistakes and clean-up. Acetone-free is gentler on your nails and cuticles.
- Cotton Pads/Balls: For applying remover and cleaning up edges.
- Cuticle Pusher/Orange Stick: To gently push back your cuticles for a clean nail bed.
- Nail Files and Buffers: For shaping and smoothing your nails. A good buffer can make a natural nail shine beautifully.
- Clear Tape or Stencil Tape: For creating crisp lines and geometric designs.
Having these basic tools at your fingertips will empower you to try a wide range of chic nail designs. Remember, you can always add more specialized tools as you get more comfortable!
Beginner-Friendly Chic Nail Designs
Starting with nail art can feel a little daunting, but there are many simple designs that look incredibly chic and are perfect for beginners. The key is to start with easy techniques and build your confidence. These designs focus on clean lines, simple patterns, and elegant color combinations.
1. The Classic French Manicure (with a Twist!)
The French manicure is timeless, but you can easily update it for a chic look.
- Start with a base coat. Most prefer a sheer nude or pink polish for the nail bed. Let it dry completely.
- Use a fine-tip brush or a steady hand to paint a crisp white or colored line along the tip of your nail. For a modern twist, try a colored French tip (like navy, deep red, or even a metallic shade) or a “baby blue” tip.
- Alternatively, use tape. Apply tape across your nail where you want the line to be, paint the tip, and carefully remove the tape while the polish is still wet.
- Finish with a clear top coat.
2. Minimalist Dots
Simple dots are elegant and surprisingly easy to achieve with a dotting tool.
- Apply your favorite base color (a soft pink, nude, or even black works beautifully). Let it dry thoroughly.
- Dip the tip of your dotting tool into a contrasting polish color (white, gold, or a metallic silver are great choices).
- Gently press the dotting tool onto your nail to create a dot. You can place dots randomly, create a pattern (like a line of dots or a small cluster), or even form simple shapes like hearts.
- If you don’t have a dotting tool, the tip of a bobby pin or a toothpick can also work in a pinch!
- Seal with a top coat.
3. The Accent Nail
This is one of the easiest ways to add a design without committing to it on every nail. Pick one nail (usually the ring finger) and make it special.
- Paint all your nails with one color.
- On your accent nail, either paint a simple design (like stripes or dots) or use a glitter polish for a touch of glamour.
- Ensure the accent nail polish is completely dry before applying your top coat over all nails.
4. Chic Stripes
Vertical or horizontal stripes can add visual interest and sophistication.
- Paint your nails with a base color. Once dry, decide on your stripe direction and colors.
- For precise stripes: Use striping tape or regular clear tape cut into thin strips. Apply the tape over your dried polish, paint over the tape and the exposed nail, and carefully remove the tape while wet.
- For freehand stripes: Use a fine-tip nail art brush. Load the brush with polish and draw thin, steady lines across your nail. Practice makes perfect here!
- Let your stripes dry completely before applying a top coat.
5. Gradient or Ombre Nails
This effect looks intricate but is surprisingly simple to create using a makeup sponge.
- Apply a base coat and let it dry.
- Paint your entire nail with your lightest color. Let it dry.
- On a piece of foil or a flat surface, paint two or three shades of polish next to each other (e.g., light pink, medium pink, dark pink).
- Gently dab a makeup sponge (a clean cosmetic sponge works well) into the polishes, blending the colors slightly.
- Lightly dab the sponge onto your nail, pressing the gradient onto the surface. Re-apply to the sponge and dab again on the nail if needed to build color intensity.
- Clean up any excess polish around your cuticle with a brush dipped in nail polish remover.
- Seal with a top coat.
Elevate Your Designs: Intermediate Tips & Tricks
Once you’ve mastered the basics, you might be ready to try designs that are a little more involved but still totally achievable. These techniques add extra polish and create real “wow” factor.
1. Geometric Patterns
Geometric designs offer a modern and sharp look. For clean lines, tape is your best friend.
- Paint your nails with a base color and let it dry completely.
- Apply striping tape or stencil tape to create your desired shapes (triangles, squares, diagonal lines). Ensure the tape is smoothed down firmly to prevent polish from bleeding underneath.
- Paint over the taped areas with a contrasting color.
- Carefully peel off the tape while the polish is still wet.
- Let it dry completely before applying a top coat.
2. Marble Effect
This design mimics the luxurious look of marble and is easier than it seems!
- Start with a base coat and a main color (white or a light neutral is popular). Let it dry.
- On a piece of foil, create a few random streaks of your accent colors (black, grey, a deep contrasting color).
- Dip a fine-tip brush or a toothpick into nail polish remover.
- Gently drag the brush/toothpick through the streaks of polish on the foil. This will help dilute and swirl them.
- Lightly dab the brush/toothpick with the swirled polish onto your nail. Don’t oversaturate; you want wispy, organic lines.
- Repeat as needed to build the marble effect.
- Allow to dry thoroughly and seal with a top coat.
For a truly sophisticated marble, consider colors found in natural stone. Resources on the National Park Service might even inspire your color palettes, showing the diverse hues and patterns found in rock formations.
3. Glitter Accents
Glitter is your secret weapon for adding instant chicness. Whether it’s a full glitter nail or just a subtle accent, it always works.
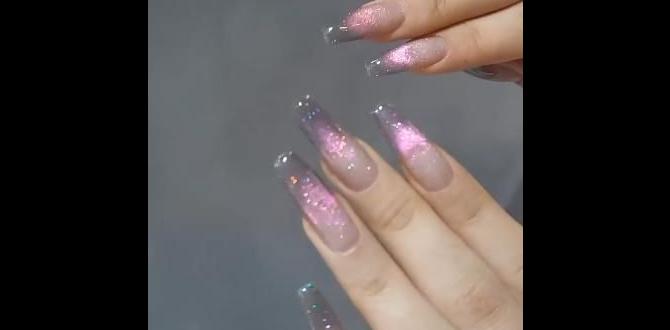
- Glitter Ombre: After applying your base color and letting it dry, start applying glitter polish at the tip of your nail, blending downwards with a cosmetic sponge or a fine brush. Concentrate most of the glitter at the tip and gradually feather it down.
- Glitter Gradient: Apply your base color. Then, use a sponge to “push” glitter polish onto the nail, starting with a dense layer at the tip and fading it upwards.
- Glitter Top Coat: Apply your colored polish and let it dry fully. Then, apply a sheer glitter polish over the top for a subtle shimmer.
4. Foiling Techniques
Metallic foils can add a high-impact, modern finish to your nails. You’ll need special transfer foils and foil glue.
- Apply a base coat and your main polish color. Let it dry completely.
- Apply a thin layer of foil glue to the areas of your nail where you want the foil to adhere. Let the glue dry until it becomes clear and slightly tacky (not wet!).
- Place a piece of foil, metallic side up, onto the tacky glue.
- Press down firmly.
- Quickly peel off the foil. The metallic design should transfer to your nail.
- Gently brush away any excess foil particles.
- Seal immediately with a top coat. A good top coat is essential to protect delicate foil designs.
Color Palettes for Chic Nail Designs
The right color choices can instantly elevate a simple design to something truly chic. Think about how colors work together and what mood you want to convey.
Timeless Neutrals
Nudes, creams, soft grays, and muted pastels are always in vogue. They are sophisticated, versatile, and provide a perfect backdrop for subtle designs or metallic accents.
Deep & Moody Hues
Navy, forest green, oxblood, deep plum, and charcoal gray exude elegance and can feel very luxurious, especially in cooler months.
Bold & Bright Statements
Don’t shy away from vibrant colors! A single bold accent nail in a bright coral, electric blue, or fiery red can be incredibly striking. Juxtaposing a bold color with a neutral can also create a chic contrast.
Metallic Accents
Gold, silver, rose gold, and bronze are fantastic for adding that extra touch of glam. They work beautifully as stripes, dots, or full accent nails.
Table: Color Pairing for Chic Nail Designs
Here’s a quick guide to some chic color combinations:
| Base Color | Accent Color/Design | Occasion/Vibe |
|---|---|---|
| Soft Beige | Thin Gold Stripe or Small Gold Dots | Everyday Chic, Professional |
| Classic Black | White French Tips or White Geometric Lines | Edgy Sophistication, Evening |
| Muted Rose Pink | Silver Glitter Accent Nail | Feminine, Romantic, Special Occasions |
| Denim Blue | White Dotted Line or Minimalist White Swirls | Casual Elegance, Day Out |
| Creamy White | Navy Blue or Burgundy Solid Accent Nail | Modern Classic, Versatile |
| Deep Emerald Green | Rose Gold Foiled Details | Luxurious, Bold Statement |
Maintaining Your Chic Manicure
Even the most stunning nail design won’t last if not cared for properly. A little maintenance goes a long way in keeping your nails looking fresh and chip-free.
1. The Power of Top Coat
Apply a fresh layer of top coat every few days. This reseals the polish, adds extra shine, and helps prevent chipping, especially on the free edge of the nail.
2. Protect Your Hands
Wear gloves when doing household chores, washing dishes, or anything involving prolonged contact with water or harsh chemicals. This is one of the best ways to protect your manicure.
3. Moisturize
Keep your cuticles and hands hydrated. Dry cuticles can lead to peeling and make your whole manicure look less polished. Use cuticle oil or a rich hand cream regularly.
4. Touch-Ups
For minor chips, you can sometimes get away with carefully applying a tiny bit of top coat or a matching polish color just to the chipped area. It’s a temporary fix, but it can extend the life of your manicure.
Frequently Asked Questions (FAQs)
Here are some common questions beginners have about chic nail designs:
Q1: How do I make my nail polish dry faster?
A1: Try using a quick-dry top coat specifically designed for fast drying. You can also use a nail dryer machine, or dip your nails in ice-cold water for a few minutes once the polish is mostly set (be careful not to smudge!).
Q2: My nail polish always chips quickly. What can I do?
A2: Ensure you’re using a good base coat and top coat. Apply thin layers of polish, and cap off the free edge of your nail (paint the very edge) with both your colored polish and top coat. Also, avoid using your nails as tools.
Q3: What’s the best way to clean up polish mistakes?
A3: A small, angled brush (like a detailer brush for makeup) dipped in nail polish remover is fantastic for precise clean-up around the cuticles and sides of your nails. You can also use a Q-tip, but a brush often gives more control.
Q4: Do I need special nail polish for nail art?
A4: Not necessarily for beginner designs! Regular nail polish works well for most techniques. You might want to invest in polishes with fine-tip applicators or specific “nail art” polishes for very detailed work later on.
Q5: How can I make my hand steady for drawing lines and dots?
A5: Rest your wrists on a stable surface (like your table) and anchor your pinky finger on the nail you are working on. Take deep breaths and paint slowly. Practicing on paper with just polish can also help improve your control.
Q6: What are “cuticles” and why do I need to care for them?
A6: Cuticles are the thin layer of skin at the base of your nail. Caring for them by gently pushing them back after a shower or softening them with oil helps create a clean canvas for polish and makes your manicure look much neater and more professional.
Q7: Can I do nail art if I have short nails?
A7: Absolutely! Short nails are perfect for many chic designs. Minimalist patterns, dots, single accent nails, and simple stripes look fantastic on shorter lengths and are often easier to manage.
Conclusion
Achieving chic nail designs is an accessible and rewarding way to express your personal style and boost your confidence. From the simplest dot to intricate geometric patterns, there’s always a

