Bold nail design ideas for Gen Z are all about vibrant colors, unique patterns, and self-expression. Think abstract swirls, graphic art, and eye-catching gradients that showcase your personality. Get ready to rock nails that are as unique and dynamic as you are!
Unleash Your Inner Artist: Bold Nail Design Ideas for Gen Z
Hey nail lovers! Are you ready to step up your nail game and make a statement? If your nails feel a little… blah lately, don’t worry! We’ve all been there. Sometimes, your manicure just needs a serious jolt of personality and style. That’s where bold nail designs come in. Gen Z knows how to rock designs that are expressive, fun, and totally unforgettable. Think of your nails as tiny canvases just waiting for your creative touch. Ready to dive into some stunning ideas that will have everyone asking, “Who did your nails?” Let’s get started!
Why Bold Nails Are a Gen Z Essential
Gen Z is all about authenticity and self-expression. Bold nail designs are a fantastic way to show the world who you are without saying a word.
- Self-Expression: Nails are a personal accessory, and bold designs let your personality shine through.
- Trendsetting: Gen Z often leads the way in fashion and beauty trends, and unique nail art is a big part of that.
- Creativity Unleashed: From abstract art to vibrant color blocking, the possibilities are endless.
- Confidence Booster: A killer manicure can totally transform your mood and boost your confidence.
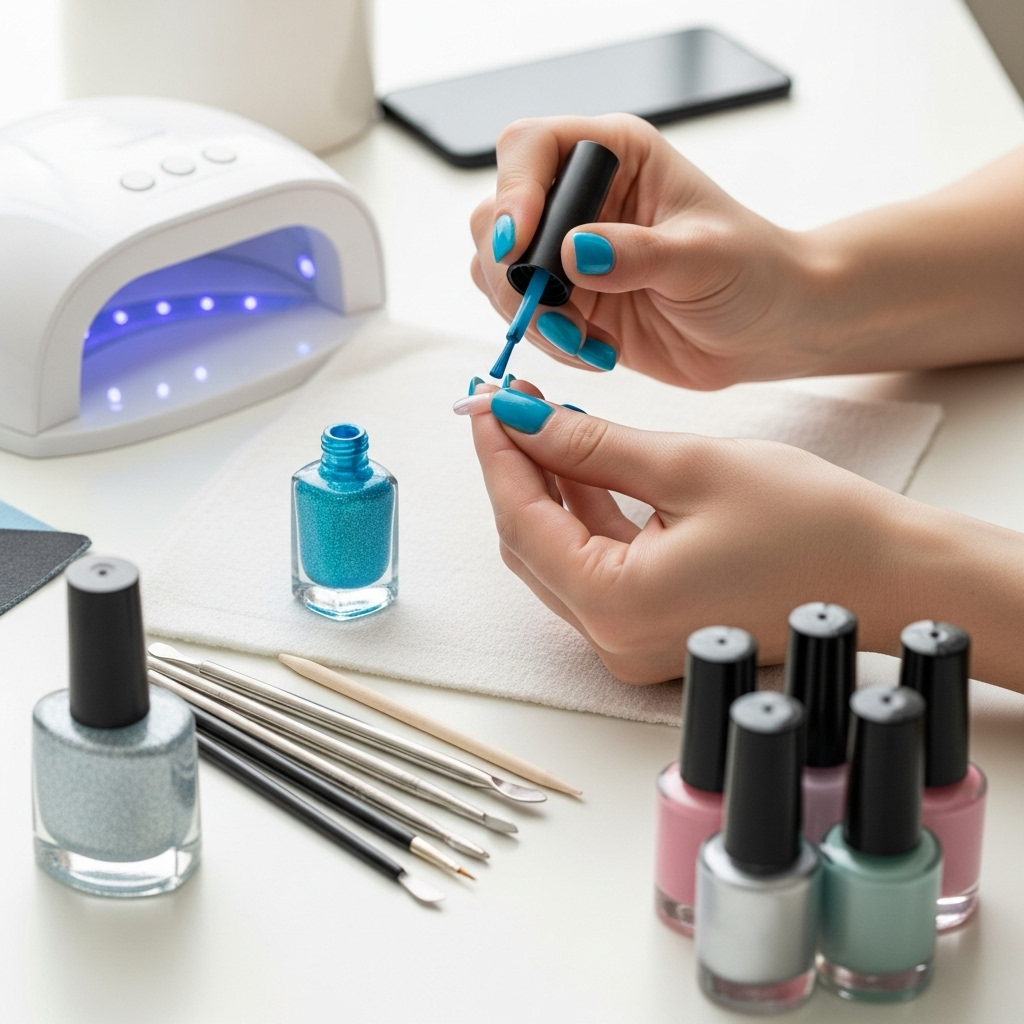
Getting Started: Essential Tools for Bold Designs
Don’t be intimidated by complex designs! With a few basic tools, you can create amazing looks at home.
- Base Coat: Protects your natural nails and helps polish adhere better.
- Top Coat: Seals your design, adds shine, and prevents chipping.
- Nail Polish: A rainbow of colors is your best friend!
- Dotting Tools: Perfect for creating dots, swirls, and small details.
- Thin Nail Art Brushes: Essential for lines, intricate patterns, and freehand designs.
- Nail Polish Remover & Cotton Pads: For clean-up and mistakes.
- Tweezers: Handy for picking up small embellishments like rhinestones.
- Clean-up Brush: A small, flat brush dipped in remover to clean up polish around your cuticles.
Bold Nail Design Ideas You’ll Love
Let’s dive into some eye-catching designs that are perfect for any occasion.
1. Abstract Swirls & Squiggles
These are super popular because they’re easy to create and look effortlessly cool. You don’t need to be a perfect artist – the more abstract, the better!
- Start with a solid base color (white, black, or a pastel works well).
- Using a thin brush or a dotting tool, freehand swirl different colors onto your nails.
- Don’t aim for perfection; embrace the imperfect, organic look.
- Think yin-yang inspired curves, wavy lines, or scattered squiggles.
- Add a glossy top coat to seal the deal.
2. Graphic Lines & Shapes
This trend is all about clean, sharp lines and geometric figures. It’s modern, chic, and can be as simple or as complex as you like.
- Choose a base color.
- Use striping tape to create sharp lines if you want precision, or a thin brush for freehand geometric shapes.
- Try contrasting colors for a striking effect.
- Ideas: checkered patterns, half-moon designs, triangles, or bold diagonal stripes.
- A good quality top coat is key to keeping those lines crisp under the finish.
3. Vibrant Color Blocking
This is a fun way to experiment with bold color combinations. Think about colors that complement each other or create a dramatic contrast.
- Divide your nail into sections using tape or freehand.
- Fill each section with a different, bold color.
- You can block colors diagonally, in squares, or in abstract sections.
- Experiment with neons, neons, pastels, and metallics!
- Ensure each color is dry before applying the next to avoid smudging.
4. Bold French Tips with a Twist
The classic French manicure gets a modern makeover with bold colors.
- Apply a nude or clear base coat.
- Instead of white, use brightly colored polish for the tip.
- Try neon pink, electric blue, or even a metallic shade.
- You can also do a “double French” with two different colored tips, one on top of the other.
- Another variation is a “sideways French,” where the color is applied along the cuticle line.
5. Gradient (Ombre) Nails
This looks super professional but is surprisingly easy to achieve with a makeup sponge.
- Apply a white or light base coat.
- On a makeup sponge, apply two or three coordinating bright colors side-by-side.
- Gently dab the sponge onto your nail, rocking it back and forth slightly to blend the colors.
- Repeat until you achieve the desired opacity and blend.
- Clean up any excess polish around your cuticles.
- Seal with a thick, glossy top coat.
6. Edgy Negative Space Designs
Negative space means leaving parts of your natural nail visible. This adds a sophisticated yet bold touch.
- Apply a clear or nude base coat.
- Use tape or stencils to section off areas you want to leave bare.
- Paint the remaining sections with bold colors or metallic polishes.
- Think abstract shapes, geometric patterns, or bold outlines.
- This technique requires patience and precision, but the result is stunning.
7. Playful Character & Icon Art
Show off your favorite characters, emojis, or icons for a truly personalized look.
- This requires a steady hand and some fine detail brushes.
- You can use stencils, practice freehand, or even try nail stickers.
- Popular choices include cartoon characters, unique emojis, or simple symbols like hearts or stars.
- Consider painting them on accent nails or spreading a design across multiple nails.
8. Glitter Explosion & Embellishments
Who doesn’t love a little sparkle? Glitter and small embellishments can take any design to the next level.
- Apply glitter polish over a solid color or use it to create patterns.
- Small rhinestones, studs, or pearls can be applied with a dot of nail glue or top coat.
- Place them strategically – along the cuticle, in patterns, or on accent nails.
- You can find a huge variety of nail embellishments online.
- Ensure they are securely sealed with a top coat.
Maintaining Your Bold Manicure
Keeping your gorgeous nails looking fresh is key!
- Apply a Top Coat Regularly: Reapply your top coat every 2-3 days to maintain shine and protect your design.
- Wear Gloves: When doing household chores or washing dishes, wear gloves to protect your nails from harsh chemicals and prolonged water exposure.
- Moisturize: Keep your hands and cuticles hydrated with cuticle oil and hand cream daily. This prevents dryness and hangnails, which can ruin a beautiful manicure.
- Avoid Using Nails as Tools: Don’t use your nails to open cans or scrape surfaces. This is a surefire way to chip or break them.
- Touch-Ups: For minor chips, you can often do a small touch-up with the original polish color on that specific nail.
Table: Bold Nail Trend Popularity & Difficulty
Here’s a quick guide to some popular bold nail trends, their general difficulty level, and why they’re great for Gen Z.
| Nail Design Idea | Gen Z Appeal | Difficulty Level (Beginner Friendly?) | Key Characteristics |
|---|---|---|---|
| Abstract Swirls & Squiggles | High (Expressive, Trendy) | Easy | Freehand, organic shapes, vibrant colors. |
| Graphic Lines & Shapes | High (Modern, Edgy) | Medium (Easier with tape) | Clean lines, geometric patterns, sharp angles. |
| Vibrant Color Blocking | High (Playful, Bold) | Easy | Sections of distinct, bright colors. |
| Bold French Tips | Medium (Classic re-imagined) | Easy | Colored tips instead of white, modern twist. |
| Gradient (Ombre) Nails | High (Seamless, Artistic) | Medium (Sponge technique) | Smooth transition of colors. |
| Negative Space Designs | High (Sophisticated, Chic) | Medium (Requires precision) | Partially exposed natural nail, strategic color. |
| Character & Icon Art | Very High (Personalized, Fun) | Hard (Requires skill/tools) | Detailed drawings of popular icons or characters. |
| Glitter Explosion & Embellishments | Very High (Glamorous, Eye-catching) | Easy to Medium | Sparkle, rhinestones, studs, charms. |
Pro-Tips for Achieving Professional-Looking Nails
Want to elevate your nail art even further? Try these tips!
- Prep is Key: Always start with clean, dry nails. Push back your cuticles gently and file them to your desired shape. A smooth canvas makes a huge difference. You can learn more about proper nail preparation from resources like the American Academy of Dermatology Association.
- Thin Coats are Better: Apply multiple thin coats of polish rather than one thick coat for a smoother, more durable finish.
- Clean Up Mishaps Quickly: Keep a clean-up brush (a small, flat brush) handy. Dip it in nail polish remover and carefully trace around your cuticle line and sidewalls to remove any stray polish before it dries.
- Invest in Good Polish: While budget-friendly options are great, investing in a few high-quality polishes can make application smoother and the finish last longer.
- Practice Makes Perfect: Don’t get discouraged if your first attempt at a new design isn’t perfect. The more you practice, the better you’ll become!
Frequently Asked Questions about Bold Gen Z Nail Designs
Q1: How do I make my nail polish last longer, especially with bold designs?
A1: Always start with a good base coat and finish with a high-quality top coat. Reapply your top coat every 2-3 days. Avoid prolonged exposure to water and harsh chemicals by wearing gloves for chores.
Q2: What are the easiest bold nail designs for beginners?
A2: Abstract swirls, simple color blocking, and bold French tips are great starting points. Using dotting tools for polka dots or making simple lines with a thin brush is also beginner-friendly.
Q3: Can I use regular nail polish for these designs, or do I need special gel polish?
A3: You can absolutely use regular nail polish! Gel polish offers longer wear and a super glossy finish, but regular polish is easier to work with at home, more affordable, and works perfectly for creating these bold looks.
Q4: How do I prevent my nail polish from chipping quickly?
A4: Ensure your nails are clean and completely dry before applying polish. Apply thin coats, and always cap the free edge of your nail with your top coat (painting a tiny bit on the edge where your nail ends) to seal it off.
Q5: Where can I find inspiration for new bold nail designs?
A5: Social media platforms like Instagram and Pinterest are gold mines for nail art inspiration. Search hashtags like #boldnails, #genzinails, #nailart, and #naildesign. Also, keep an eye on Gen Z fashion influencers!
Q6: I’m terrible at drawing straight lines. How can I achieve clean graphic designs?
A6: Don’t worry! Striping tape is your best friend. Apply it to your nail to create crisp lines, paint over it, and then carefully peel away the tape while the polish is still slightly wet for the cleanest result. You can also find nail art stencils.
Conclusion
See? Creating bold, stunning nail designs for Gen Z is totally achievable and incredibly fun! Whether you’re drawn to messy abstract art, sharp geometric patterns, or vibrant color combinations, there’s a design out there that perfectly captures your unique vibe. Remember, nails are a fantastic way to express yourself, boost your confidence, and add a pop of excitement to your everyday look. So grab your polishes, experiment with these ideas, and most importantly, have fun with it! Your nails are your canvas – go create something amazing!