Boho style nail art design is all about embracing your inner free spirit with earthy tones, intricate patterns, and a touch of whimsy. Learn the essential tools, colors, and techniques to create beautiful, bohemian-inspired manicures at home.
Hey there, fellow nail art lovers! Are you ready to add a touch of free-spirited artistry to your fingertips? Boho style nail art is such a fun and expressive way to showcase your personality. Think flowing patterns, natural elements, and a relaxed vibe that feels totally you. Sometimes, though, getting started with a new style can feel a little overwhelming, right? You might wonder where to begin, what colors to pick, or what tools are a must-have. But don’t you worry! I’m here to break it all down for you in a super easy, beginner-friendly way. We’ll go from understanding the boho aesthetic to mastering the techniques, equipping you with all the genius essentials you need to create stunning boho nails right at home. Get ready to unlock your creativity and let your nails tell a beautiful, bohemian story!
What is Boho Style Nail Art?
Boho, short for Bohemian, is a style inspired by the free-spirited, unconventional, and artistic lifestyle. When it comes to nail art, this translates into designs that are often intricate, eclectic, and influenced by nature, global textiles, and a relaxed, artistic sensibility.
Think of designs that evoke feelings of wanderlust, connection to nature, and a love for handcrafted beauty. It’s not about perfection; it’s about personality and a touch of playful imperfection. Boho nails embrace a mix of patterns, symbols, and a color palette that feels grounded and earthy.
The Boho Color Palette: Earthy Tones and Natural Hues
The foundation of any great boho nail art design lies in its color palette. Boho style thrives on colors that remind us of nature and worldly travels. Forget harsh neons or overly cool tones; we’re diving deep into warmth and grounding.
Here’s your go-to guide for the perfect boho shades:
- Earthy Neutrals: Think creamy beiges, warm taupes, sandy browns, and soft ivories. These create a beautiful, natural base.
- Deep Greens: Olive, forest green, moss, and sage hues bring in that natural, earthy element.
- Rusty Reds & Oranges: Terracotta, burnt sienna, rust, and muted coral add a touch of warmth and spice, reminiscent of desert landscapes.
- Muted Blues: Dusty blues, teal, and deep indigos can add a touch of bohemian mystery and depth.
- Creamy Whites & Off-Whites: Perfect for delicate details, floral elements, or as a soft contrast.
- Occasional Pops: While the focus is on muted tones, a touch of metallic gold or a deep burgundy can add a glamorous bohemian twist.
When choosing your colors, aim for shades that feel harmonious and organic. They should look like they’ve been pulled straight from a sunset, a forest floor, or a vintage tapestry.
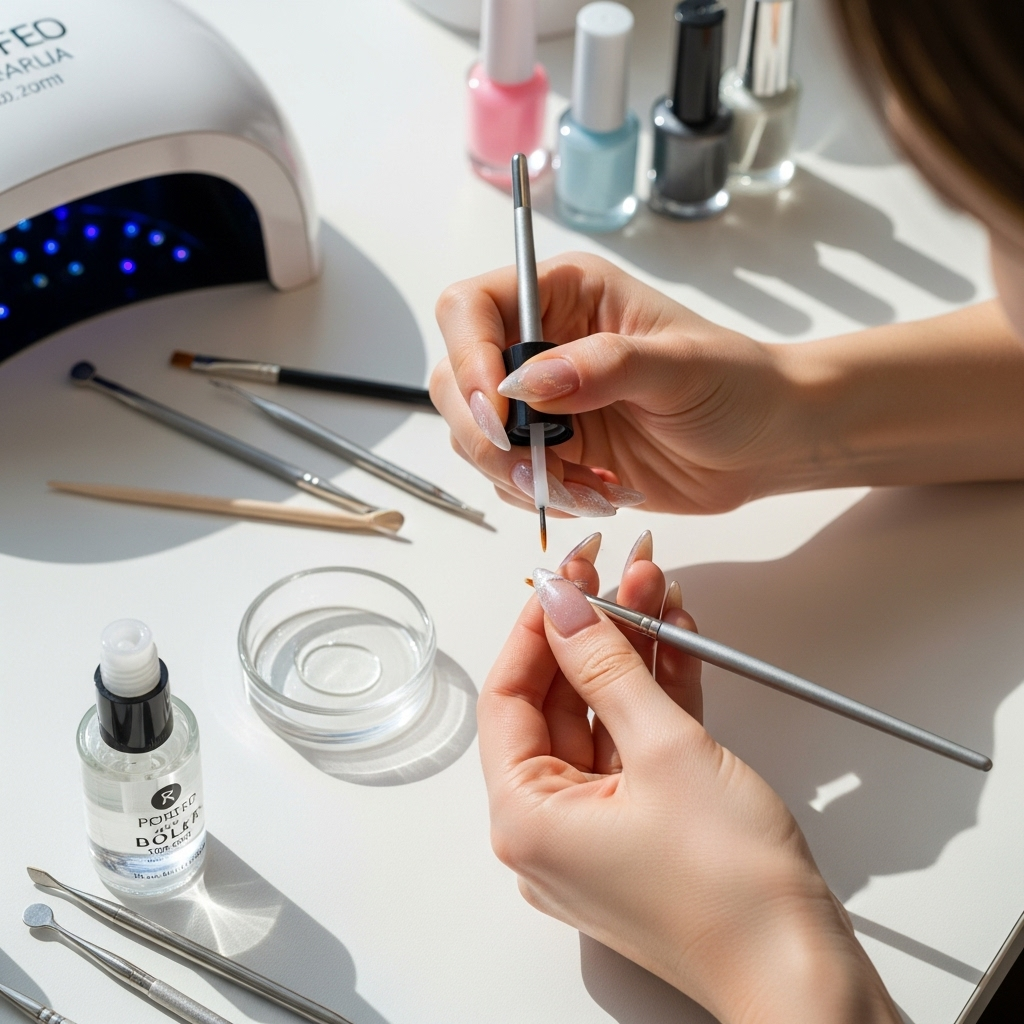
Essential Tools for Your Boho Nail Art Journey
You don’t need a whole professional salon setup to create amazing boho nails! A few key tools will set you up for success. These are your allies in bringing those intricate designs to life.
Must-Have Tools:
- Detail Brushes: These are crucial for drawing fine lines, dots, and delicate patterns. Look for sets with various tip sizes.
- Dotting Tools: Perfect for creating neat dots, small circular designs, and even flower petals. They come in different ball sizes for varied dot dimensions.
- Nail Art Pens: For beginners, these are a dream! They offer more control for drawing lines, swirls, and simple shapes.
- Thin Striping Tape: Excellent for creating clean lines, geometric patterns, and French tips with a boho flair.
- Stencils or Stickers: If freehand isn’t your jam yet, stencils and stickers featuring feathers, mandalas, or tribal patterns are fantastic shortcuts.
- A Good Top Coat: To seal your art and give it that lasting shine and protection.
- A Base Coat: To protect your natural nails and help your polish adhere better.
- Nail Polish Remover & Cotton Pads: For cleaning up mistakes and switching colors.
- Tweezers: Handy for applying small gems, glitter, or even placing stickers precisely.
Optional but Helpful Tools:
- Dotting Swirl Tool: For creating intricate swirl patterns.
- Fan Brush: Can be used for a feathered or watercolor effect.
- Rhinestones or Gems: For adding a touch of sparkle and dimension.
The most important tool? Your creativity! Don’t be afraid to experiment.
Decoding Boho Nail Art Motifs and Patterns
Boho style is rich with symbolism and visual patterns. Incorporating these into your nail art will instantly elevate your design.
Popular Boho Motifs:
- Feathers: A classic bohemian symbol representing freedom, spirit, and connection to the earth.
- Mandals: Intricate circular designs that symbolize unity, harmony, and the universe.
- Tribal Patterns & Geometric Shapes: Think Aztec-inspired prints, chevron, triangles, and zig-zags. These add a strong, graphic element.
- Floral Designs: Especially loosely sketched or ditsy floral patterns. Think wildflowers and bohemian bouquets.
- Crescent Moons & Stars: Representing celestial connection, intuition, and dreams.
- Paisley Prints: The iconic teardrop-shaped motif adds a touch of ethnic charm.
- Southwestern & Global Influences: Patterns inspired by Native American art, Moroccan tiles, or Indian textiles.
Look for inspiration in nature, tapestries, jewelry, and even henna designs. The key is to embrace the organic and the intricate.
Step-by-Step: Creating Simple Boho Nail Art Designs
Ready to get your hands (and nails!) dirty? Here are a few beginner-friendly boho nail art designs you can try. We’ll start with the basics and build from there.
Design 1: Earthy Ombre with Feather Accent
This design combines a soft, gradient look with a classic boho symbol.
What You’ll Need:
- Creams, beiges, or dusty rose polishes
- A dark brown or black polish for the feather
- A makeup sponge or nail art sponge
- A fine-tipped detail brush or nail art pen
- Top coat
Steps:
- Apply Base Coat: Start with a clear base coat on all nails. Let it dry completely.
- Apply Base Color: Paint your nails with your chosen creamy neutral polish. Apply two coats for full opacity and let them dry thoroughly.
- Create the Ombre:
- On a clean surface (like a plastic lid or palette), draw two streaks of polish next to each other – one of your base color and one of a slightly darker shade (e.g., beige and taupe, or taupe and light brown).
- Dab your sponge into the polishes, picking up both colors.
- Gently dab the sponge onto your nail, starting from the tip and working down. You want to blend the colors in a gradient.
- Repeat this dabbing motion a few times, reapplying polish to the sponge as needed, until you achieve a smooth ombre effect.
- Be patient! It might take a few tries to get the blend just right. You can clean up any messy edges with a small brush dipped in nail polish remover.
- Add the Feather: Once the ombre is completely dry, use your fine-tipped brush or nail art pen and the dark brown or black polish. On one accent nail (or all, if you’re feeling brave!), delicately draw a simple feather shape. Think of a central quill with wispy lines radiating outwards.
- Seal with Top Coat: Apply a generous layer of top coat over all your nails to protect the design and add shine.
Design 2: Simple Geometric Lines & Dots
This design uses clean lines and dots for a modern yet bohemian feel.
What You’ll Need:
- A neutral base polish (e.g., off-white, sandy beige)
- A darker accent polish (e.g., terracotta, olive green, deep blue)
- A fine-tipped detail brush or nail art pen
- A dotting tool
- Thin striping tape (optional)
- Top coat
Steps:
- Apply Base Coat & Color: Apply a base coat, then two even coats of your neutral polish. Let it dry completely.
- Add Geometric Lines (Option A – Freehand):
- With your detail brush or nail art pen and the accent color, carefully draw thin, straight lines diagonally across a few nails.
- Try creating simple patterns like chevrons, triangles, or intersecting lines. Think minimalist and clean.
- Add Geometric Lines (Option B – Striping Tape):
- Once your base color is fully dry, apply strips of thin nail striping tape to create your desired geometric pattern (e.g., a diagonal line, a triangle).
- Paint over the tape with your accent color.
- While the polish is still wet, carefully peel off the striping tape using tweezers.
- This gives you super sharp, clean lines!
- Add Dots: Using your dotting tool and the accent color, place small dots around your geometric lines or scattered across other nails. You can create clusters of dots or a simple line of them.
- Seal with Top Coat: Apply a final layer of top coat to lock in your design.
Design 3: Ditsy Florals & Paisley Swirls
Embrace a more intricate, free-flowing boho look.
What You’ll Need:
- A creamy or beige base polish
- A few accent colors like muted green, dusty rose, and a deep earthy tone
- A fine-tipped detail brush
- A dotting tool
- Top coat
Steps:
- Apply Base Coat & Color: Prep your nails and apply your chosen base polish. Let it dry thoroughly.
- Paint Ditsy Florals: With your fine-tipped brush and accent colors, delicately paint tiny, scattered flowers. These don’t need to be perfect! Think simple petals and a tiny dot in the center. You can also use your dotting tool to create small dots that represent flower centers. Place them sparsely across your nails.
- Add Paisley Swirls: Using a darker accent color and your detail brush, draw simple, flowing paisley shapes or small swirls between your floral elements. Don’t overthink the symmetry; the organic flow is key.
- Embellish with Dots: Use your dotting tool to add small dots within or around your paisley shapes to add texture and detail.
- Seal with Top Coat: Finish with a durable top coat.
Tips for Achieving Flawless Boho Nail Art
Even with simple designs, a few best practices can make a world of difference. Here’s how to elevate your boho nail art game:
- Patience is Key: Always let each layer of polish dry completely before adding the next. This prevents smudging and bubbling.
- Clean Up Mistakes Immediately: Keep a small brush (an old eyeliner brush works great!) dipped in nail polish remover nearby. Gently use it to clean up sharp edges or any polish that lands where you didn’t want it.
- Thin Coats are Better: Instead of one thick coat of polish, opt for two or three thin ones. They dry faster and look smoother.
- Practice on a Nail Art Mat: Before you commit to your nails, practice your designs on a silicone nail art mat or even a piece of paper. This helps you get a feel for the brushes and the flow of the polish.
- Embrace Imperfection: Boho is all about a free spirit. Don’t stress if a line isn’t perfectly straight or a dot is slightly off. The charm often lies in the handmade, slightly imperfect look.
- Steady Your Hand: Rest your wrists or forearms on a stable surface to keep your hands steady while painting fine details. You can even brace your pinky finger on your desk.
- Use Quality Tools: Investing in a few good quality detail brushes and dotting tools will make a significant difference in the precision and ease of your designs.
Boho Nail Art: Pros and Cons
Like any style, boho nail art has its unique advantages and considerations.
| Pros | Cons |
|---|---|
| Expressive & Unique: Allows for significant creativity and personal style. | Can Be Time-Consuming: Intricate designs may require patience and practice. |
| Versatile: Can be adapted for casual or more dressed-up occasions. | Requires Specific Tools: May need to purchase detail brushes or dotting tools. |
| Appeals to Nature Lovers: Uses earthy tones and natural motifs. | Can Be Tricky for Beginners: Freehand drawing of complex patterns may be challenging initially. |
| Trendy and Timeless: Elements of boho style consistently resurface in fashion and beauty. | Potential for Smudging: Intricate details can smudge if not allowed to dry properly. |
| Achievable DIY: Many designs are simple enough for home manicures. | Needs a Steady Hand: Detailed work requires some level of precision. |
Beyond the Basics: Taking Your Boho Nails Further
Once you’ve mastered the simple designs, you might be eager to explore more advanced boho nail art. Here are some ideas to inspire your next manicure:
- Mandala Mania: Practice drawing more complex mandala patterns. Start with concentric circles and expand outwards with intricate details. For inspiration on symmetrical designs, exploring the principles of sacred geometry can be fascinating, as it often informs these intricate patterns found in nature and art.
- Textured Finishes: Experiment with matte top coats for a softer, velvety feel, or use textured polishes designed to mimic sand or stone.
- Nail Gems & Charms: Carefully place small rhinestones, beads, or even tiny charms (like small metal feathers) onto your nails with top coat or nail glue for a truly statement look. Nail hygiene is crucial when working with embellishments to prevent any issues.
- Mix and Match Patterns: Don’t be afraid to combine different boho motifs on one hand. For instance, a feather on one nail, geometric lines on another, and tiny dots on a third.
- Two-Tone Nails: Create a layered effect by painting one color over another in specific sections, or try a reverse French tip with boho details.
- Incorporate Real Elements (Carefully!): Some very advanced artists incorporate tiny dried flowers or even metallic leaf into their designs. This requires careful application and a sealing top coat to ensure longevity and safety.
Remember to always prioritize nail health. A good holistic approach to beauty includes ensuring your natural nails are strong and healthy beneath the polish.
Frequently Asked Questions About Boho Style Nail Art
Q1: What are the most common colors for boho nail art?
The most common colors are earthy and natural tones. Think creams, beiges, taupes, deep greens, rusty oranges, muted blues, and terracotta. These hues create a grounded and organic feel.
Q2: Do I need special brushes to do boho nail art?
While you can get started with basic dotting tools and nail art pens, owning a few fine-tipped detail brushes will significantly help you create intricate lines, swirls, and patterns common in boho designs.
Q3: How can I make my boho nail art last longer?
Always start with a good base coat and finish with a high-quality top coat. Ensure each layer of polish is completely dry before proceeding to the next step. Avoid harsh activities that could chip your nails.
Q4: I’m a beginner. What’s the easiest boho nail design to try?
An easy starting point is painting your nails a solid neutral color and then adding simple dots with a dotting tool in an accent color. You can also try drawing thin, straight diagonal lines with a nail art pen or striping tape.
Q5: Can I mix different boho patterns on one hand?
Absolutely! Boho style thrives on eclectic mixes. You can combine feathers, mandalas, geometric shapes, and floral elements across your nails for a unique and personalized look.
Q6: How do I clean up my nail art mistakes?
Keep a