Blush gold accent nails are a chic and versatile trend that adds a touch of modern elegance to any manicure. Perfect for beginners, these designs combine soft blush tones with shimmering gold accents for a look that’s both sophisticated and playful, turning simple nails into wearable art.
Hey nail lovers! Are you ready to add a little sparkle and sophistication to your fingertips? You’ve probably seen those gorgeous nail designs with a soft pinky-nude shade paired with that elegant, warm glow of gold. They look amazing, right? But maybe you’ve wondered if they’re easy to recreate at home or what makes them so popular. Don’t worry, I’ve got you covered!
Blush gold accent nails are a dream for anyone wanting a manicure that’s both trendy and timeless. They’re super versatile, working with almost any outfit and for any occasion. Plus, they’re surprisingly simple to achieve, even if you’re just starting out.
In this guide, we’ll dive into why blush gold is the ultimate power couple for your nails. We’ll explore the hottest trends, break down exactly how to create these stunning looks yourself, and share some pro tips to make your nails shine. Get ready to fall in love with blush gold accent nails!
Why Blush Gold is Your Next Nail Obsession
Blush gold isn’t just a color; it’s a feeling! It’s that perfect blend of soft, romantic blush and luxurious, radiant gold. This pairing creates a look that’s incredibly chic, sophisticated, and surprisingly wearable. It’s like a subtle wink of glamour that catches the light and draws attention in the most elegant way.
Here’s why it’s become a go-to for so many:
- Elegance Meets Warmth: The blush tone offers a soft, approachable feminine feel, while the gold adds a touch of opulence and warmth. It’s never too loud, but always impactful.
- Versatility Queen: This color combo works with nearly every skin tone and complements a vast array of outfits, from casual jeans to evening gowns.
- Timeless Appeal: Unlike some fleeting trends, blush and gold have a classic quality that never truly goes out of style. It’s a reliable choice for those who want polished nails.
- Subtle Statement: It’s the perfect way to add an accent without being overwhelming. The gold highlights the blush beautifully, creating dimension and interest.
- Beginner-Friendly: Many blush gold designs rely on simple techniques, making them super accessible for DIY manicures.
Essential Blush Gold Accent Nail Trends for 2024
Ready to get inspired? Blush gold is showing up in so many creative ways! These trends are easy to adapt and seriously stylish. Whether you love minimalist chic or a bit more sparkle, there’s a blush gold look waiting for you.
1. The Classic Gold Stripe
This is where simplicity meets style. A clean, thin stripe of gold polish slanting across a blush base is incredibly modern and chic. It elongates the nail and adds a sophisticated edge. It’s perfect for a minimalist vibe or to add just a hint of glam to your everyday look.
- How to Achieve It: Paint your nails with a solid blush shade. Once completely dry, use a fine-tipped nail art brush or striping tape dipped in gold polish to carefully draw a diagonal line. A steady hand is key here, but don’t worry if it’s not perfect – a little variation can add character!
2. Subtle Gold Flakes & Foil
For a touch of ethereal shimmer, gold flakes or foil are a game-changer. These add depth and a diffused sparkle that catches the light beautifully. It’s less about a distinct pattern and more about an overall luminous effect.
- How to Achieve It: Apply your blush polish. While the top coat is still wet, or using a nail art glue, gently press small pieces of gold foil or a pinch of gold flakes onto one or two accent nails. Seal with another layer of top coat.
3. Delicate Gold French Tips
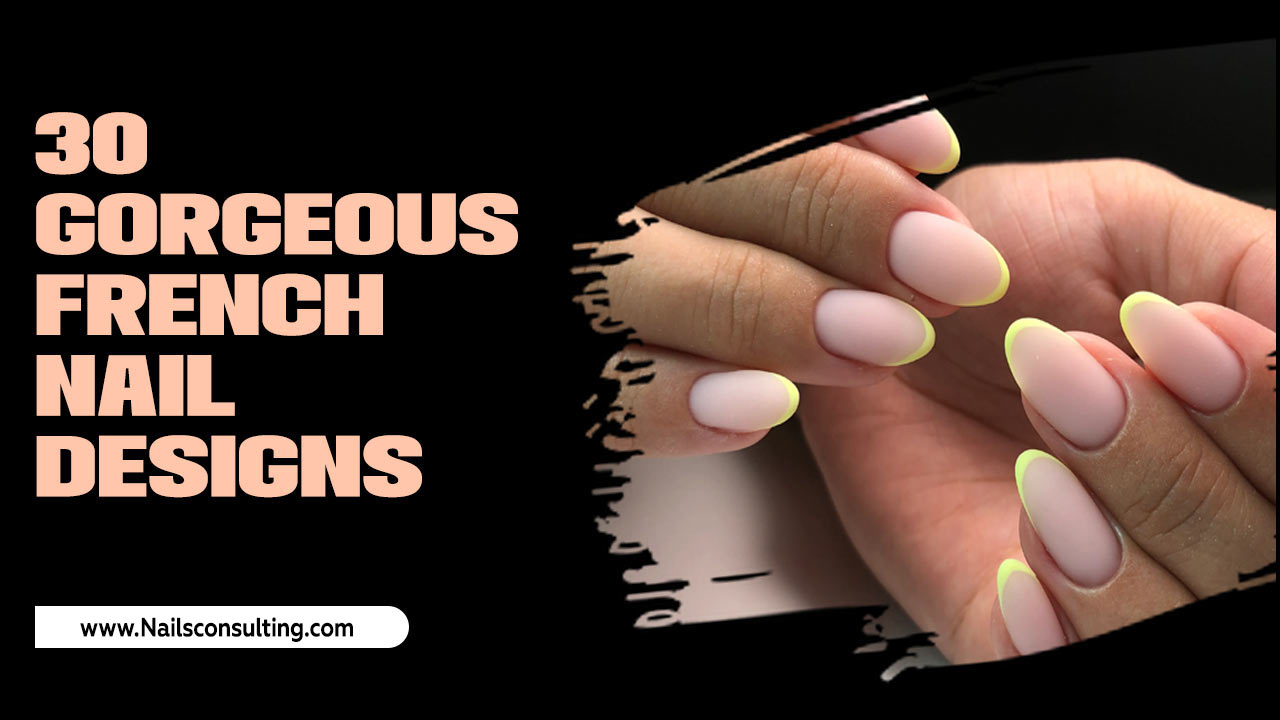
A modern twist on the classic French manicure! Instead of white tips, imagine a soft blush base with delicate, fine gold lines defining the tips. This is incredibly elegant and surprisingly easy to do with a detail brush or even a stencil.
- How to Achieve It: Paint your nails with your blush shade. Once dry, carefully paint a thin gold line along the natural curve of your nail tip. Alternatively, use a French tip sticker or guide and paint the tip with gold.
4. Geometric Gold Accents
Geometric patterns are super on-trend and blush gold makes them pop! Think clean lines, triangles, or even abstract shapes in metallic gold against a matte or glossy blush background. This trend is bold and artistic.
- How to Achieve It: Apply your blush base. Once dry, freehand geometric shapes with a gold detail brush, or use nail stamping plates with geometric designs and gold polish. Nail stickers are also a super easy option for this.
5. Glitter Gradient
This design transitions from a solid blush at the cuticle to a shimmering cascade of gold glitter towards the tip. It’s playful, festive, and adds a lot of visual interest. It’s like a sunset of sparkle!
- How to Achieve It: Apply your blush base color. On your accent nail, start applying gold glitter polish near the tip, gradually feathering it down towards the middle of the nail. You can use a sponge for a softer blend. Apply a few coats to build up the sparkle.
DIY Blush Gold Accent Nails: A Step-by-Step Guide
Creating beautiful blush gold accent nails at home is totally doable! You don’t need to be a pro artist to achieve stunning results. We’ll cover the basic steps and then look at a few specific techniques.
Tools You’ll Need:
Gathering the right tools makes all the difference. Here’s a helpful list:
- Base Coat: To protect your natural nails and help polish adhere.
- Blush Nail Polish: Choose a shade that complements your skin tone.
- Gold Nail Polish or Foil: Metallic gold polish, gold flakes, or gold foil accents.
- Top Coat: For shine and longevity.
- Fine-Tipped Nail Art Brush or Dotting Tool: For precise gold details.
- Nail Polish Remover & Cotton Swabs: For cleanup.
- Optional: Striping tape, nail stencils, nail glue (for foils/flakes).
Basic Application Steps:
Follow these steps for a flawless blush gold manicure:
- Prep Your Nails: Start with clean, dry nails. Push back your cuticles and gently buff the surface for a smooth canvas. Apply a thin layer of base coat and let it dry completely. This step is crucial for preventing staining and helping your polish last longer.
- Apply Blush Color: Apply two thin coats of your chosen blush nail polish. Allow each coat to dry for a minute or two before applying the next. Thin coats are better than one thick, gloopy one!
- Let It Dry (Really Dry!): This is the most important step for accent nails. Make sure your blush color is completely dry before moving on to the gold accent. If you rush this, your accent might smudge or lift.
- Add Your Gold Accent: This is where the magic happens! Choose your accent nail (usually the ring finger or pinky) and decide on your design. We’ll go over specific techniques next.
- Seal the Deal: Once your gold accent is dry, apply a generous layer of top coat over all your nails. This will smooth out any texture, add a beautiful shine, and protect your design from chipping.
Creating a Simple Gold Stripe Accent:
This is one of the easiest and most effective blush gold looks.
- Follow steps 1-3 from the Basic Application Steps above.
- If using striping tape: Apply a piece of striping tape diagonally across your blush-painted nail. Ensure it’s pressed down firmly to prevent polish from seeping underneath. Apply gold polish over the tape, covering the section you want to be gold. Immediately and carefully peel off the tape while the gold polish is still wet/tacky.
- If using a brush: Dip a fine-tipped nail art brush into your gold polish. Gently draw a thin, clean line across the nail at your desired angle. Start at one edge and guide the brush across.
- Let the gold polish dry completely.
- Apply your top coat to seal everything in.
Applying Gold Foil for a Shimmering Effect:
Gold foil adds an instant touch of luxury and iridescence.
- Follow steps 1-3 from the Basic Application Steps.
- Apply a thin, even layer of nail art glue or a dedicated foil transfer gel to the accent nail. Let it dry until it becomes tacky – you’ll know it’s ready when you lightly touch it with a fingertip, and it feels sticky but doesn’t transfer product.
- Cut a piece of gold foil slightly larger than your nail. Place the colored side of the foil down onto the tacky glue. Press down firmly and evenly across the entire nail using your fingertip or a silicone tool.
- Quickly and carefully peel off the foil backing. The metallic design should now be transferred to your nail.
- If some areas didn’t transfer well, you can go back over those spots with a small piece of foil and more glue.
- Once satisfied with the foil transfer, apply a top coat. For extra durability, you might need two layers of top coat to fully encapsulate the foil.
Pro Tips for Stunning Blush Gold Nails
Want to take your blush gold accent nails from nice to absolutely breathtaking? Here are a few of my best tips:
- Nail Shape Matters: Blush gold accents can enhance different nail shapes. Almond and stiletto shapes often look amazing with sharp geometric gold lines, while squoval or round shapes can be beautifully complemented by softer, free-flowing gold details like flakes or gradients.
- Matte vs. Glossy: Don’t be afraid to play with finishes! A matte blush base with glossy gold lines can create a sophisticated contrast. Or, go for a full gloss look for maximum shine. Experiment to see what you love!
- Color Intensity: The “blush” tone can range from a super light, almost-nude pink to a richer, deeper rose. Consider your skin tone when choosing your blush shade. Deeper blush tones can make the gold really pop, while lighter blush shades offer a more delicate, understated look.
- Placement is Key: Think about where you place your gold accent. It could be a single stripe, a delicate outline, a full accent nail, or even just dots near the cuticle. Experiment with asymmetry and unexpected placement for a modern edge.
- Don’t Forget Cleanup: Even the most intricate designs can be ruined by messy edges. Keep nail polish remover and a fine-tipped brush (like a tiny eyeliner brush) handy for cleaning up any stray polish around your cuticles and sidewalls. Dip the brush in remover and carefully trace around your nail.
- Top Coat is Your Best Friend: I can’t stress this enough! A good quality top coat not only adds shine but is essential for preventing chipping and making your gorgeous accent nails last longer. Gel top coats, when used with gel polish, offer the most durable finish.
Comparing Gold Finishes: Polish vs. Foil vs. Flakes
When creating blush gold accent nails, you have several options for achieving that coveted gold effect. Each offers a slightly different look and application process. Here’s a quick comparison:
| Option | Look & Feel | Best For | Ease of Use (Beginner) | Durability |
|---|---|---|---|---|
| Gold Nail Polish (Metallic): | Smooth, solid metallic sheen. Can range from bright to antique gold. | Clean lines, geometric shapes, French tips, full nail accents. | Very High. Easy to work with using brushes. | Good, depends heavily on top coat. |
| Gold Foil (Transfer Foil): | High-shine, mirror-like, often iridescent finish. Irregular, unique patterns as it transfers. | Creating eye-catching, reflective accents. Great for abstract or marbled effects. | Medium. Requires a bit of practice with tackiness and application. | Excellent when sealed properly. Can be prone to lifting at edges if not fully covered. |
| Gold Flakes: | Textured, dappled, glitter-like sparkle. Can be fine or chunky. | Adding subtle shimmer, a diffused glow, or a textured gem-like effect. | High. Easy to pick up with a brush or tool and apply. | Very Good. Can sometimes feel slightly raised but seals well with top coat. |
Maintaining Your Blush Gold Accent Nails
You’ve got your stunning blush gold accent nails, now how do you keep them looking fabulous? A little care goes a long way!
- Be Gentle: Avoid using your nails as tools. Don’t scrape, pry, or pick at things with your accent nails, especially if you’ve used foils, as this can lift the design.
- Moisturize: Keep your hands and nails hydrated with a good cuticle oil and hand cream. Healthy nails are less prone to breakage and polish chipping.
- Gloves are Your Friend: Wear gloves when doing chores like washing dishes, cleaning, or gardening. Water and harsh chemicals are the biggest enemies of manicures.
- Touch-Ups: If you notice a tiny chip or lift on an accent nail, a dab of top coat can often fix it before it gets worse.
- Refreshing the Shine: If your top coat starts to lose its shine after a week or two, you can often bring it back to life with another thin layer of your favorite clear top coat.
Frequently Asked Questions (FAQs)
What is the best blush shade for my skin tone?
Blush shades are quite adaptable! Fair skin tones often look great with peachy or very pale pink blushes. Medium skin tones can pull off rosy or warmer pinks. Deeper skin tones can rock richer berry-toned blushes or even a vibrant magenta-pink. When in doubt, try a few testers or look for shades described as “dusty rose” or “mauve” for a universally flattering look.
Can I use regular nail polish for gold accents if I’m using gel polish for the base?
It’s best to stick to one type of polish for your entire manicure if possible. If you use regular gold polish over a gel base, it may not adhere properly and could lift or chip off quickly, especially since regular polish doesn’t cure under a UV/LED lamp. For best results with a gel base, use gold gel polish or gel-friendly foil and glue.
How do I prevent my gold nail polish from looking streaky?
Apply gold polish in thin, even coats. If you’re using a metallic polish that’s a bit sheer, two thin coats will usually provide better coverage and a smoother finish than one thick coat. Ensure the brush is not overloaded. For very stubborn streaks, consider using a metallic gold stamping polish, which is designed for opacity.
Are blush gold nails suitable for special occasions?
Absolutely! Blush gold accent nails are incredibly elegant and sophisticated, making them perfect for weddings, parties, holidays, or any event where you want to feel a bit more glamorous. The blend of soft color and metallic shine is a winning combination for formal wear.
Can I combine blush gold accents with other nail art elements?
Yes! You can absolutely mix and match. Try a blush gold stripe on one nail and delicate gold dots on another. You can also combine blush gold with subtle glitter, tiny rhinestones, or even a different metallic accent like rose gold. Just be mindful not to overdo it – a little goes a long way!
What’s the best way to clean up polish mistakes with accent nails?
The easiest way is to use a small, fine-tipped brush (like a clean-up liner brush or even a stiff-bristled cosmetic brush) dipped in nail polish remover. Carefully trace around the edges of your nail, cleaning up any stray polish from your skin. A cotton swab dipped in remover can also work, but a brush offers more precision.
The Takeaway: Embrace the Blush Gold Glow!
Blush gold accent nails are more than just a pretty trend; they’re a beautiful way to express your style with a touch of effortless glamour. From the simple elegance of a gold stripe to the ethereal shimmer of flakes, there’s a blush gold design out there for everyone, no matter your skill level.
Remember


