Best Nail Designs 2025: Stunning Essentials
Ready to rock the hottest nail trends for 2025? This guide breaks down the must-have designs, from chic minimalist looks to dazzling statement pieces. We’ll cover easy DIY techniques and essential tools, making stunning manicures totally achievable for everyone. Get ready to elevate your nail game and express your unique style with confidence!
Hey nail lovers! Lisa Drew here from Nailerguy. Are you always on the lookout for fresh, exciting nail ideas? It can be tough to keep up with the latest trends or figure out how to create them yourself, right? You see those gorgeous manicures in magazines or online and think, “How can I ever do that?” Don’t worry, you’re not alone! That’s exactly why I’m here. We’ll dive into the most amazing nail designs for 2025, making them super simple to understand and create. You’ll be doing your own fabulous nails in no time, feeling totally confident and ready to show them off! Let’s get started on your most beautiful nails yet.
Frequently Asked Questions About 2025 Nail Designs
What are the most popular colors for nails in 2025?
Expect a mix of earthy neutrals, soft pastels, and vibrant jewel tones to be big in 2025. Think creamy beiges, muted lavenders, deep emerald greens, and rich sapphire blues. Metallics, especially rose gold and silver, will also continue to shine!
Are French manicures still in style for 2025?
Absolutely! French manicures are getting a modern twist. While the classic white tip is timeless, we’re seeing colorful tips, metallic accents, and unique shapes that give the traditional French a fresh, updated feel.
What’s the easiest nail design for beginners?
Simple, solid colors are always a win! Beyond that, a single accent nail with a bit of glitter or a simple dot is a fantastic starting point. Ombre effects and very minimalist line art are also beginner-friendly with a little practice.
How can I make my DIY nail designs last longer?
Start with clean, dry nails. Use a good base coat to prevent staining and help polish adhere better. Apply thin, even coats of polish, allowing each to dry slightly before the next. Finish with a high-quality top coat and reapply it every few days. Avoid harsh chemicals and prolonged water exposure for best results.
Do I need special tools for trendy nail designs?
For many designs, basic nail polish, dotting tools, and striping brushes are enough. For more advanced looks like 3D embellishments or intricate art, you might consider gel polish kits, nail art pens, or even small rhinestones and charms. But don’t let that stop you – there are plenty of stunning looks you can achieve with just regular polish!
How do I care for my nails to support these designs?
Regular hydration is key! Use cuticle oil daily to keep your nails and surrounding skin healthy and flexible. Keep your nails at a consistent length and shape to prevent breakage. Gentle filing in one direction is also important. Think of it as giving your nails a healthy canvas for all that beautiful art!
Navigating the Best Nail Designs 2025: Your Essential Guide
Welcome to the future of fabulous nails! 2025 is shaping up to be an incredible year for nail art, offering something for everyone. Whether you’re a seasoned pro or just dipping your toes into the world of manicures, this guide is your passport to the most stylish and achievable nail designs. We’re talking about looks that are not only on-trend but also totally wearable for your everyday life. Get ready to be inspired and empowered to create stunning looks right at home.
The Color Palette of 2025: More Than Just Polish
Colors speak volumes, and for 2025, they’re whispering sophistication, embracing nature, and shouting playful joy. This year’s palette is wonderfully diverse, moving beyond single-season fads to offer enduring appeal and versatility. Get ready to fall in love with hues that complement your skin tone and your mood.
Earthy Neutrals & Soft Pastels: The Serene Side
Think of the calm of a sunrise or the gentle touch of a cloud. 2025 brings a renewed appreciation for grounding, natural tones. These shades are incredibly versatile, acting as the perfect canvas for more elaborate designs or standing beautifully on their own. They exude a quiet confidence that’s always in style.
- Creamy Beiges: Imagine the subtle warmth of sand or unbleached linen. These are sophisticated and universally flattering.
- Muted Lavenders & Dusty Pinks: Soft, dreamy hues that add a touch of feminine charm without being overly sweet.
- Sage Greens & Muted Blues: Think of the calming effect of nature – these tones bring tranquility to your fingertips.
Vibrant Jewel Tones & Bold Brights: The Statement Makers
Ready to add a pop of personality? Jewel tones are back with a bang, offering depth and richness. And for those who love to stand out, bold, saturated colors are the way to go. These shades are perfect for making a statement, whether for a special occasion or just to brighten your day.
- Emerald Greens & Sapphire Blues: Deep, luxurious colors that feel opulent and mysterious.
- Ruby Reds & Amethyst Purples: Rich, passionate shades that command attention.
- Electric Oranges & Hot Pinks: For the daring, these vibrant hues deliver pure energy and fun.
Metallic Accents: The Glimmering Touch
Metallics are no longer just for the holidays! Rose gold, silver, and even bold holographic finishes are integrated into everyday designs. They add a touch of glamour and modern edge, whether used as a full nail color or as subtle accents.
Trending Nail Shapes and Lengths: What’s Hot
The shape and length of your nails play a crucial role in how a design appears. 2025 sees a beautiful balance between practical and glamorous, with styles that cater to different lifestyles and preferences. Comfort and chicness go hand-in-hand this year.
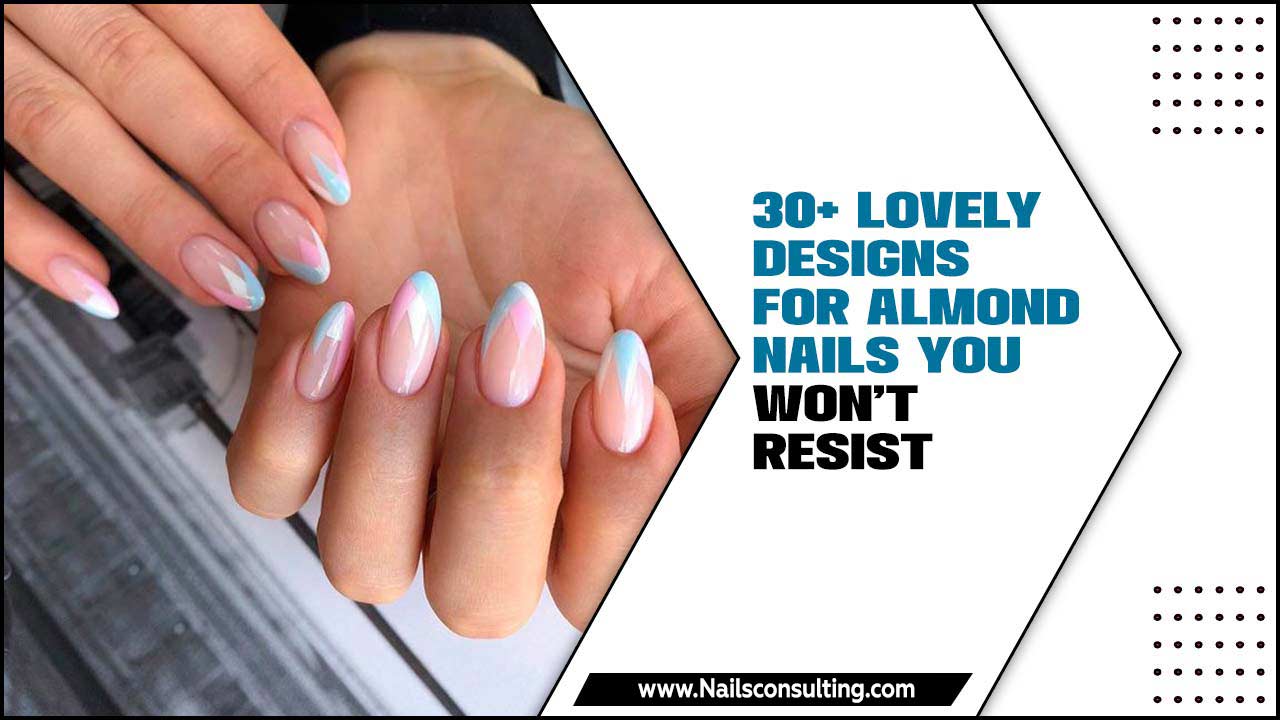
- The Almond Shape: This elegant, tapered shape remains a huge favorite. It’s flattering on most hands and elongates the fingers, making it a perfect canvas for intricate art or sophisticated single colors.
- The Soft Square/Squoval: A more practical and durable option, this shape offers the clean lines of a square but with softened, rounded edges. It’s less prone to chipping and perfect for those who have a busier lifestyle or prefer shorter to medium lengths.
- The Natural Length: Embracing your natural nail length is chic and sustainable. Many trending designs look fantastic on shorter nails, proving you don’t need length for style.
Stunning Nail Designs 2025: Essential Looks & How-Tos
Now for the fun part – the designs! We’ve curated a list of the most impactful trends that are easy to recreate. Remember, practice makes perfect, and there’s no right or wrong when it comes to expressing yourself!
1. The Modern French: A Timeless Classic Reimagined
Forget the stark white tip! The modern French is all about playing with color, texture, and placement. It’s incredibly sophisticated and surprisingly easy to achieve, even for beginners.
Materials You’ll Need:
- Base coat
- Nail polish in your chosen colors (for the base and the tips)
- Thin striping brush or a fine-tip polish applicator
- Top coat
- Optional: Nail art foils or glitter
Step-by-Step Guide:
- Prep Your Nails: Start with clean, dry nails. Apply a base coat and let it dry completely.
- Apply the Base Color: Paint your nails with a sheer nude, milky white, or soft pastel polish. Let it dry thoroughly.
- Create the Tip: This is where you get creative!
- Colored Tips: Dip your striping brush into a contrasting or complementary color and carefully paint a thin line along the tip of each nail. You can do classic French tips, or try a diagonal line.
- Glazed Tips: Apply a thin layer of a chrome or pearl-finish polish over the dried base color for a subtle, pearly effect.
- Dual Tips: Paint a thin line, then line another color just above or below it.
- Add Embellishments (Optional): For extra flair, add a tiny rhinestone at the base of the tip, or use nail foils for a metallic accent.
- Seal the Deal: Once completely dry, apply a generous layer of top coat to protect your design and add shine.
2. Abstract Art & Minimalist Lines: Effortless Chic
This trend is perfect for those who love a touch of artistic flair without being overly complicated. Simple lines, dots, and smudges create a sophisticated, modern vibe that’s incredibly versatile.
Materials You’ll Need:
- Base coat
- Your choice of polish colors (often two or three complementary shades work best)
- Fine-tip polish brush, dotting tool, or even a toothpick
- Top coat
Step-by-Step Guide:
- Start with a Clean Canvas: Apply your base coat and let it dry.
- Apply Your Base Polish: Paint your nails with a solid color. Let it dry completely.
- Add the Art:
- Minimalist Lines: Using your fine-tip brush dipped in a contrasting color, paint a single thin vertical or horizontal line across one or two nails. You can also try abstract squiggles.
- Dot Play: Use a dotting tool (or the rounded end of a toothpick) dipped in a different color to place a few dots strategically on one or two nails. Vary the size of the dots for added interest.
- Smudge Effect: While the polish is still slightly wet (but not runny), gently drag a toothpick or brush through it to create a subtle smudge or marble-like effect.
- Let it Dry: Ensure your artistic touches are fully dry before moving on.
- Seal and Shine: Apply a good top coat to lock in your design.
Tip: Look at abstract art for inspiration! You don’t need to be an artist; the beauty of this trend is in its casual, freeform nature. Check out resources on abstract expressionism from institutions like Tate for visual ideas.
3. Chrome & Metallic Finishes: Shine Bright
Chrome nails aren’t going anywhere! This high-shine finish gives an almost futuristic or liquid-metal look that’s incredibly eye-catching. It’s surprisingly easy to achieve with the right products.
Materials You’ll Need:
- Base coat
- Black or white gel polish (black gives a deeper, more intense chrome; white gives a lighter, iridescent effect)
- Your chosen chrome powder or flakes
- A silicone applicator sponge or eyeshadow brush
- No-wipe top coat (essential for chrome powders)
- Optional: Regular top coat for over the no-wipe top coat
Step-by-Step Guide (for Chrome Powder):
- Prep and Base: Apply base coat and let dry.
- Apply Colored Base: Paint your nails with your black or white gel polish. Cure under a UV/LED lamp according to the product instructions. You might need two coats for full opacity.
- Apply No-Wipe Top Coat: Apply a thin layer of a no-wipe gel top coat over the cured color. Cure this layer under the lamp. This is crucial as it leaves a sticky residue that the chrome powder adheres to.
- Apply Chrome Powder: Dip your applicator sponge into the chrome powder. Gently rub the powder onto the uncured no-wipe top coat in a circular motion until the entire nail surface is covered and looks intensely shimmery. You don’t need too much product.
- Brush Away Excess: Use a soft brush to sweep away any loose chrome powder from the nail and surrounding skin.
- Seal It In: Apply another layer of the no-wipe top coat over the chrome to seal it. Cure under the lamp. The no-wipe top coat is key to preventing the chrome finish from becoming dull or transferring. Some people like to add a final layer of regular top coat for extra protection and shine, but it’s often not necessary with a good quality no-wipe top.
Tip: If using regular polish, look for metallic polishes or chrome effect topcoats. They might not achieve the same intense mirror finish as gel powders, but they offer a lovely shimmer. For more on nail coatings and their properties, resources like the National Institute of Standards and Technology (NIST) offer insights into material science that can apply to polish longevity.
4. Gemstones & 3D Embellishments: Adding Dimension
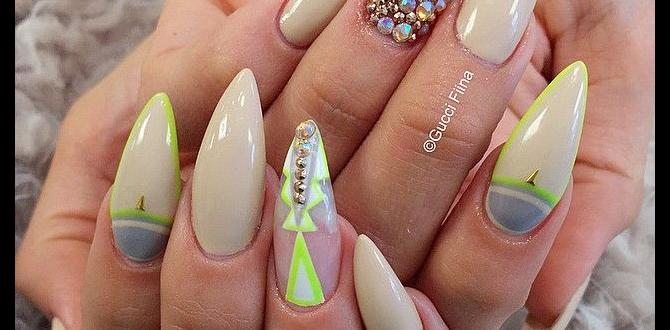
For those who love a little sparkle and texture, 3D embellishments are a fantastic way to elevate your manicure. Think small rhinestones, pearls, or even tiny charms strategically placed to add instant glamour.
Materials You’ll Need:
- Base coat & top coat
- Your choice of polish colors
- Rhinestones, pearls, or nail charms
- Strong nail glue or builder gel
- A fine-tip tool or tweezers for placement
Step-by-Step Guide:
- Prep and Polish: Apply your base coat, polish colors, and let them dry completely.
- Plan Your Placement: Decide where you want to place your embellishments. A single focal point on one nail (like the base or tip) or a scattering across multiple nails are popular choices.
- Adhere the Embellishments:
- Using Nail Glue: Apply a tiny dot of nail glue to the nail where you want to place the stone. Use a fine-tip tool or tweezers to carefully pick up the embellishment and press it into the glue.
- Using Builder Gel: Apply a small bead of builder gel to the nail. Place the embellishment into the gel and then cure the gel under a UV/LED lamp. This provides a very secure hold.
- Seal Around the Edges: Once the glue or gel is dry/cured, carefully use your top coat to seal around the edges of the embellishment, not over the top of it (unless it’s a flat charm that can be fully covered). This helps prevent it from snagging or falling off. Be precise!
Pro Tip: Less is often more with 3D embellishments. One or two well-placed stones can make a bigger impact than overcrowding a nail. Consider using these on an accent nail for maximum visual appeal.
5. Ombre & Gradient Nails: Blending Beauty
The smooth transition of colors in ombre and gradient nails is mesmerising. Whether it’s a subtle blend of similar shades or a bold transition of contrasting colors, this look is always a showstopper.
Materials You’ll Need:
- Base coat
- 2-3 polish colors that blend well together (e.g., different shades of blue, or pink fading to orange)
- A makeup sponge (the triangle wedges work great)
- Tweezers or a way to hold the sponge
- Top coat
- Optional: Liquid latex or tape to protect your skin
Step-by-Step Guide (using a sponge):
- Prep & Protect: Apply base coat and let dry. For easier cleanup, apply liquid latex around your cuticles or use tape to protect the skin.
- Load the Sponge: Apply stripes of your chosen polish colors directly onto the makeup sponge. Work relatively quickly as the polish will start to absorb.
- Dab Onto the Nail: Gently press and dab the sponge onto your nail. You may need to reapply polish to the sponge and repeat the dabbing process a few times to build up the color transition.
- Clean Up: If you used liquid latex, peel it off carefully. If not, use a small brush dipped in nail polish remover to clean up any polish on your skin


