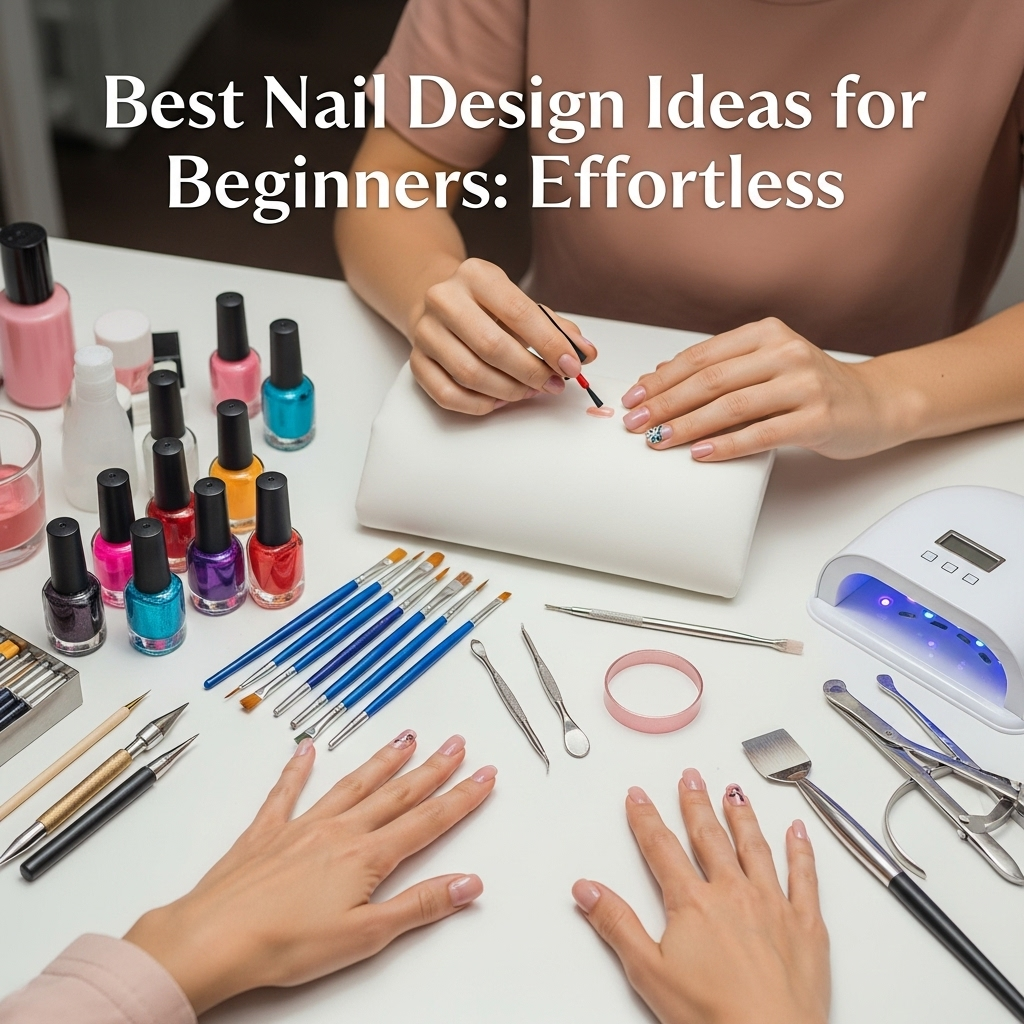
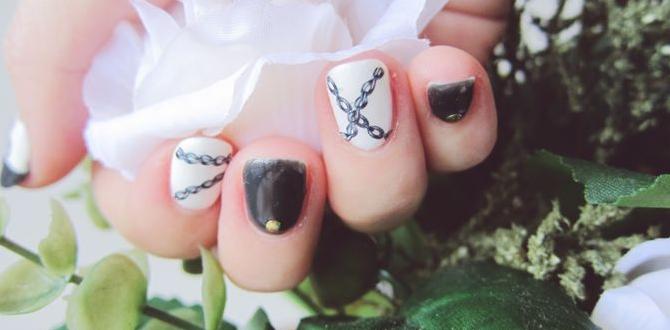
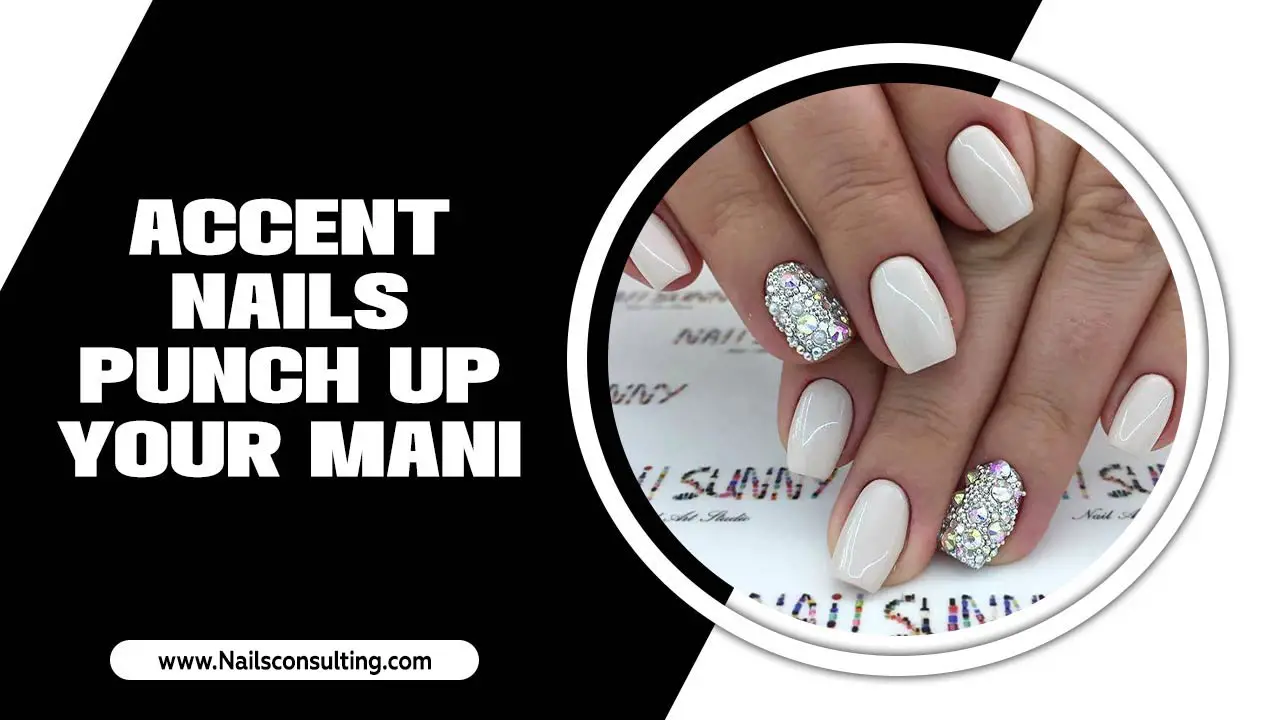
Start your nail art journey with stunning, easy-to-create designs perfect for beginners! Discover simple techniques and trendy looks you can achieve effortlessly at home.
Are you dreaming of beautiful, eye-catching nails but feel like intricate nail art is out of reach? Many of us start our nail design adventures feeling a little overwhelmed by complex tutorials and tiny brushes. It’s easy to think you need professional skills to create something pretty. But that’s not true! You can absolutely achieve gorgeous results with simple steps and a few handy tips.
This guide is here to show you just how easy and fun creating beautiful nails can be, right from your own home. We’ll break down some of the most creative and effortless nail design ideas that are perfect for beginners. Get ready to boost your confidence and express your personal style, one easy manicure at a time!
Frequently Asked Questions About Beginner Nail Designs
What are the easiest nail designs for beginners?
The easiest nail designs for beginners often involve minimal steps and simple tools. Think solid colors with accent nails, dotting with a toothpick, simple lines with striping tape, or glossy top coats. Even a perfectly applied solid color counts as a great design!
What basic nail art tools do I need to start?
To begin, you’ll need a few essentials: quality nail polish in your favorite colors, a good base coat, and a shiny top coat. For simple designs, a dotting tool (or a toothpick/ballpoint pen tip), striping tape, and maybe some nail art brushes will get you far. Don’t forget nail polish remover for clean-ups!
How can I make my nail designs last longer?
Applying a good base coat prevents staining and helps polish adhere better. Applying thin, even coats of color and allowing each to dry completely is crucial. Always finish with a strong, quick-drying top coat. Reapply the top coat every few days to maintain shine and protect your design.
What’s the best way to practice nail art?
Practice is key! Start with simple techniques on scrap paper or even your non-dominant hand. Focus on clean lines and smooth application. Watching beginner-friendly video tutorials can also offer visual guidance. Don’t be afraid to experiment – mistakes are part of the learning process!
Can I achieve professional-looking nails at home without special equipment?
Absolutely! While special equipment can help, many professional-looking results can be achieved with basic household items and a little creativity. Toothpicks, sponges, and even everyday pens can be transformed into nail art tools. The focus is on technique and patience.
How do I ensure my nail polish dries quickly?
Apply polish in thin coats, as thick coats take longer to dry. Avoid touching your nails for at least 15-20 minutes after painting. Quick-drying top coats are excellent investments. Some people use cold water or even a nail dryer fan to speed up the process, though patience is often the best method.
What are some common mistakes beginners make and how can I avoid them?
Common mistakes include applying polish too thickly, rushing the drying process, and not using a base or top coat. Avoid these by applying thin coats, waiting patiently between layers, prepping your nails properly with a base coat, and sealing your design with a good top coat.
Best Nail Design Ideas for Beginners: Effortless & Stylish Manicures at Home
Welcome, fellow nail enthusiasts! Lisa Drew here from Nailerguy, ready to dive into the wonderful world of nail art with you. If you’ve ever scrolled through stunning nail designs online and thought, “Wow, I could never do that,” then this post is exactly for you. We’re about to uncover the most beginner-friendly, yet incredibly chic, nail design ideas that you can totally recreate at home. Forget complicated steps and fancy tools; we’re focusing on effortless style and maximum impact!
Mastering nail art doesn’t require a degree in fine arts or a salon budget. It’s about simple techniques, a little patience, and a lot of fun. Whether you have five minutes or an hour, there’s a design waiting for you. So grab your favorite polishes, and let’s get those nails looking fabulous!
Getting Started: Essential Tools and Prep for Success
Before we jump into the fun designs, let’s talk about setting ourselves up for success. The right preparation and a few key tools can make all the difference in achieving a smooth, professional-looking finish, even with the simplest designs. You don’t need a massive collection of expensive gadgets!
Your Nail Art Toolkit: The Absolute Basics
Here’s what you’ll want to have on hand. You might already own some of these!
- Base Coat: This is non-negotiable! A good base coat protects your natural nails from staining and creates a smooth surface for your polish to grip onto. Look for one that helps with longevity and smooth application.
- Nail Polishes: Begin with a few classic colors you love. A good nude, a classic red, a chic black, and maybe a trendy pastel or metallic will give you plenty of options.
- Top Coat: This is your design’s best friend! A quality top coat seals your polish, adds shine, and prevents chipping. A “quick-dry” top coat is a lifesaver for us busy folks.
- Nail Polish Remover & Cotton Pads: Essential for clean-ups and starting fresh.
- Orange Stick or Cuticle Pusher: For tidying up the cuticle area before painting.
- Optional but Helpful: A fine-tipped brush (an old, clean eyeliner brush works in a pinch!) for touching up edges or creating simple lines, and dotting tools (or even a toothpick or the end of a ballpoint pen!) for creating dots.
Nail Prep Steps for a Flawless Canvas
A little prep goes a long way. Follow these steps for a manicure that looks polished and lasts longer:
- Clean Your Nails: Remove any old polish completely. Wash your hands thoroughly and dry them well.
- Shape Your Nails: File your nails into your desired shape. Always file in one direction to prevent splitting.
- Push Back Cuticles: Gently push back your cuticles with an orange stick or cuticle pusher. Avoid cutting them, as this can lead to damage and infection.
- Buff (Optional): Lightly buff the surface of your nails to create a slightly rough texture for better polish adhesion. Don’t over-buff.
- Apply Base Coat: Apply one thin, even layer of your base coat. Let it dry completely. This is the foundation for your masterpiece!
Effortless Nail Design Ideas for Beginners
Now for the fun part! These designs are all about simplicity, impact, and ease. You don’t need steady hands of a surgeon or a palette of 50 colors. Let’s get creative!
1. The Chic Accent Nail
This is the gateway to nail art, and for good reason! It’s incredibly simple but makes a statement. The idea is to paint all your nails one color, and then make one nail (usually your ring finger) stand out with a different color or a simple design.
- How-to:
- Paint all nails (except one) with Color A. Apply a second coat if needed, allowing each to dry.
- Paint your accent nail with Color B.
- Optional Upgrade: Once Color B is dry, add a simple dot or a tiny stripe of Color A onto your accent nail using a dotting tool or toothpick.
- Why it works for beginners: It limits the “area” you need to decorate, making it less intimidating. The contrast is visually appealing without requiring complex techniques.
- Tips for success: Ensure the accent color is complementary or a fun contrast to your base color. A metallic or glitter polish often works beautifully as an accent.
2. The Simple Dot Mani
Dots are effortlessly cute and surprisingly easy to create. You can make them uniform or irregular, big or small – the possibilities are endless!
- How-to:
- Paint all nails with your chosen base color and let it dry completely.
- Dip your dotting tool (or toothpick tip) into a contrasting polish color.
- Gently press the tip onto your nail to create a dot. Rotate the dot on the nail if you want a slightly different shape.
- Place dots evenly across the nail, or create a scattered effect. Work one nail at a time to prevent polish from drying on your tool.
- Why it works for beginners: It’s forgiving! If one dot isn’t perfect, you can often gently nudge it into place before it dries, or simply cover it with another dot.
- Tips for success: Use a polish that isn’t too thick or too watery for your dots. Wipe excess polish from your tool onto a paper towel before dipping into the bottle to avoid messy clumps.
3. The Easy Half-Moon or Reverse French
This design is a stylish twist on the classic French manicure. Instead of the tip, you highlight the cuticle area.
- How-to:
- Apply your base color and let it dry completely.
- Once dry, carefully use your polish brush to create a curved line along your cuticle, filling in the half-moon shape with a contrasting color. Alternatively, use striping tape for a cleaner line. Place the tape just above where you want your half-moon to be, paint the exposed area, and carefully remove the tape when the polish is still slightly wet but not smudged.
- Why it works for beginners: You can easily correct wobbly lines with a small brush dipped in nail polish remover. Using tape provides a guide for beginners.
- Tips for success: Don’t try to draw the entire half-moon in one go. Use short, overlapping strokes. For the reverse French, consider leaving the half-moon bare (a “skinny French”) for a minimalist look that requires less precision.
4. The Gorgeous Gradient or Ombré
This effect creates a beautiful blend of colors, moving from one shade to another. It looks complex but is achievable with a simple makeup sponge!
- How-to:
- Paint your nails with a light base color (white often works best as a base for vibrant gradients) and let it dry.
- Apply two contrasting colors next to each other on a dry makeup sponge or a piece of foil. You can also use one color and have it fade from dark to light on the sponge.
- Dab the sponge lightly onto your nail, pressing down to transfer the colors and create a gradient.
- Repeat the sponging process to build up the color and blend.
- Clean up any excess polish around your cuticle with a brush and remover.
- Apply a top coat to smooth out the texture and seal the gradient.
- Why it works for beginners: The blending nature of the sponge hides imperfections. It’s about dabbing and layering rather than precise lines.
- Tips for success: Don’t oversaturate the sponge with polish. Use a “stippling” motion rather than dragging. For a multi-color ombré, use more than two colors on the sponge. You can find many videos demonstrating this beginner-friendly technique.
5. The Simple Stripe Design
Lines are classic and can be as bold or as delicate as you like. Striping tape is your best friend here!
- How-to:
- Paint your nails with your base color and let them dry completely.
- Carefully apply strips of striping tape onto the dry polish to create your desired pattern (e.g., horizontal, vertical, diagonal lines).
- Paint over the tape with a contrasting color. For a cleaner look, apply a thin coat. For a bolder stripe, apply a couple of coats.
- While the new polish is still slightly wet (but not smudged), carefully peel off the striping tape using tweezers or your fingers.
- Let the polish dry completely before applying a top coat.
- Why it works for beginners: Striping tape acts as a stencil, creating perfectly straight lines with minimal effort.
- Tips for success: Ensure your base color is completely dry before applying tape to prevent lifting. Removing the tape while the top color is still slightly wet helps create a sharp edge. You can also use striping tape to create geometric patterns by layering tape over dried polish. For a different approach, a thin striping brush and a steady hand can also create fine lines.
6. The Glitter Explosion
Glitter is incredibly forgiving and instantly adds sparkle and glam. Layering glitter is a foolproof way to elevate a simple manicure.
- How-to Option 1 (Glitter Top Coat):
- Apply your base color and let it dry.
- Apply a glitter top coat over your base color. You can apply it all over for full coverage or dab it on the tips or cuticle area for a more subtle sparkle.
- How-to Option 2 (Glitter Ombré):
- Apply your base color and let it dry.
- Apply glitter polish primarily to the tips of your nails.
- Use a dabbing motion with the brush to feather the glitter down towards the cuticle, creating a gradient effect.
- Repeat to build desired opacity.
- Why it works for beginners: Glitter hides minor imperfections in application, and the sparkle distracts from any slight wobbly bits.
- Tips for success: For full glitter coverage, apply glitter polish in thin coats. If the glitter is sparse, you might need to “fish” for glitter pieces with your brush from the bottle or use a dedicated glitter placement technique.
7. The Minimalist Line Art
Simple lines can create sophisticated and modern looks. You don’t need to be an artist to create a few clean lines!
- How-to:
- Paint your nails with a base color and let them dry completely.
- Using a fine-tipped nail art brush or a toothpick dipped in a contrasting color, draw thin lines across your nail. These can be horizontal, vertical, diagonal, or even abstract squiggles.
- Alternatively, use striping tape as described in the “Simple Stripe Design” section for cleaner lines.
- Why it works for beginners: The beauty is in the simplicity. Even a single, perfectly placed line can look very chic.
- Tips for success: Keep the lines thin and precise. Use a steady hand and consider resting your pinky finger on your work surface for stability. If using a brush, ensure it’s not overloaded with polish.
8. The Color-Block Effect
This playful design uses solid blocks of color to create a modern, geometric look. It’s all about clean lines and exciting color combinations.
- How-to:
- Paint your nails with your base color and let them dry completely.
- Use striping tape to section off parts of your nail. For example, you could tape off a triangle in one corner.
- Paint the exposed section with a contrasting color.
- Allow that color to dry slightly, then carefully remove the tape.
- You can add more tape to create further sections and fill them with different colors, or leave it as a simple two-color design.
- Why it works for beginners: Striping tape is your secret weapon for achieving crisp, defined edges that make the design look professional.
- Tips for success: Ensure each color is dry before applying the next layer of tape and polish to prevent the colors from bleeding. Think about color theory – which colors look good together? Check out resources from institutions like the Victoria and Albert Museum for inspiration on color combinations.
Pro Tips for Beginner Nail Designs
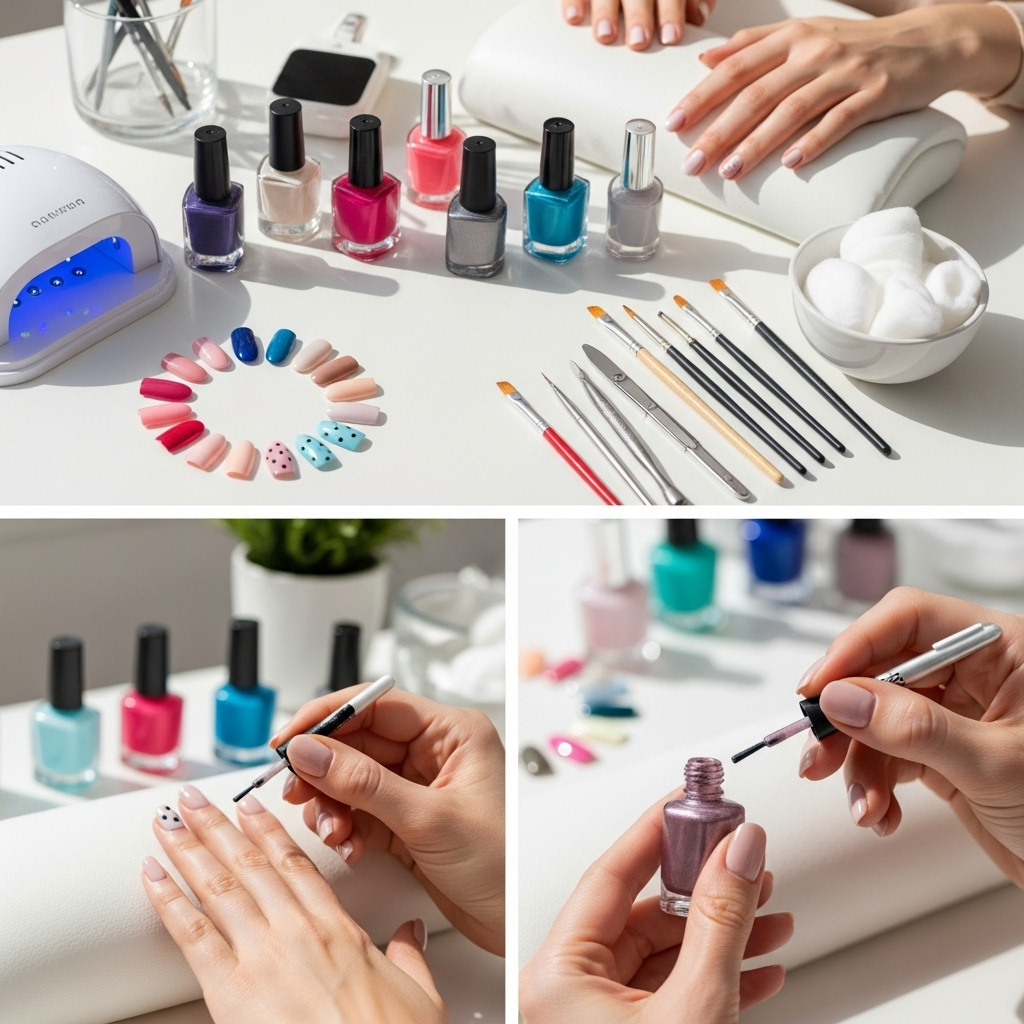
Even with the easiest designs, a few extra tips can elevate your nail game and make the process smoother and more enjoyable. These are the little secrets that make a big difference!
Thin Coats are Key
Resist the urge to slather on thick layers of polish. Thin, even coats dry faster and look much neater. It’s better to apply two or three thin coats than one thick, gloopy one. This is especially true for darker colors and glitter polishes.
Patience is a Virtue
This is probably the most crucial tip for any beginner. Let each layer of polish dry completely before adding the next, or before applying any design elements. Rushing will lead to smudges, dents, and frustration. Set aside enough time for your manicure, perhaps while watching a favorite show or listening to a podcast.
The Clean-Up Crew
Don’t fear polish on your skin! A small, flat brush (like an angled liner brush) dipped in nail polish remover is your best friend for cleaning up messy edges around the cuticle and sidewalls. Doing this carefully after painting, but before applying top coat, can make a huge difference in the final look. Check out tutorials on “clean-up” techniques for the best results.
Practice Runs
Before tackling your nails, try out a new technique or design on a piece of paper, or even on artificial nail tips if you have them. This allows you to get a feel for the tools and polish without the pressure of perfecting it on your actual nails. You can even “paint” designs on your toenails first if you want more practice!
Top Coat is Your Sealant
Never skip the top coat! It not only adds incredible shine but also protects your design from chipping and wear. Reapply your top coat every two to three days to refresh the shine and extend the life of your manicure. A good quick-dry top coat can help you get back to your busy life faster.
Tools of the Trade: Dotting Tools vs. Toothpicks
Understanding your tools can make a big difference. Here’s a quick comparison:
| Tool | Pros | Cons | Best For |
|---|---|---|---|
| Dotting Tools (Various Sizes) | Consistent dot size, ergonomic handle, comes in sets with multiple sizes. | Requires purchase. Handle can be a bit much for tight spaces. | Perfectly uniform dots, creating patterns with dots, larger dot designs. |
| Toothpick | Readily available (household item), inexpensive. | Wood can fray, inconsistent dot size, tip can break off, requires frequent replacement. | Quick, smaller dots, testing out dotting for the first time. |
| Ballpoint Pen Tip | Comes up with a nice rounded end if you take the ink cartridge out. Can be less pokey than a toothpick. | Slightly larger than a toothpick tip. Ink can sometimes interfere with polish. | Medium-sized dots, creating small, simple shapes. |
Exploring Color Combinations
Don’t be afraid to experiment with colors! A classic pairing is a neutral base with a bright accent. Or, try analogous colors (colors next to each other on the color wheel) for a harmonious look. For more vibrant combinations, consider complementary colors (colors opposite each other on the wheel), like blue and orange, or purple and yellow. Resources from organizations like the National Gallery of Art can offer insights into how colors interact powerfully.
Achieving Your Signature Style
The best nail design ideas are the ones that make you feel fantastic. These beginner-friendly techniques are just starting points. As you get more comfortable, don’t hesitate to mix and match them!
Combine glitter on one nail with simple dots on another. Try stripes on your index and middle fingers, and a solid color on the rest. The goal is to experiment and find what you love. Nail art is a form of self-expression, and there are no strict rules.
Remember the importance of nail health. While you’re experimenting with designs, also take care of your natural nails. Keeping them moisturized, using a good cuticle oil, and giving them breaks from polish can ensure they remain strong and healthy, ready for any design you dream up.
Conclusion: Your Nail Art Journey Begins
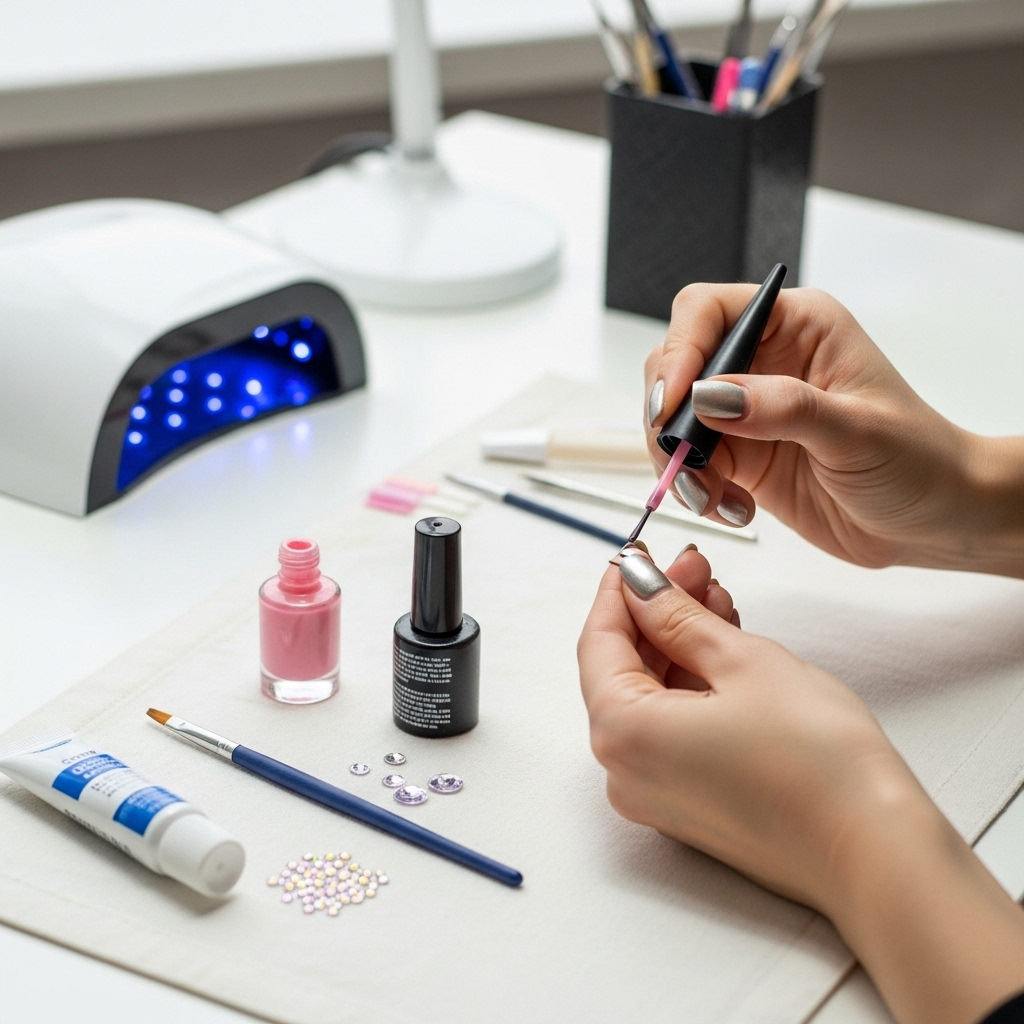
And there you have it! A treasure trove of effortless and beautiful nail design ideas perfect for beginners. You’ve learned about essential tools, simple prep steps, and a variety of techniques that are both stylish and easy to achieve at home. From the ever-chic accent nail to playful dots and sleek stripes, there’s a design here for every mood and occasion.
The most important takeaway is to have fun and be patient with yourself. Every manicure is a learning experience, and every mistake is a step towards perfection. Don’t be discouraged if your first attempt isn’t salon-worthy; it’s about celebrating your creativity and enjoying the process. Embrace these ideas, experiment with colors and patterns, and soon you’ll be confidently creating stunning nail art that reflects your unique style.
So go ahead, grab those polishes, and let your creativity shine through your fingertips. Your journey to beautiful, expressive nails has just begun!
