Quick Summary:
Create stunning bat-themed Halloween nails with ease! Discover simple DIY designs and expert tips for a spooky, stylish manicure perfect for any Halloween celebration. Get ready to impress with effortless creepy-chic nails that are fun to create and wear.
Halloween is just around the corner, and you want your nails to join the fun! But sometimes, nail art can feel super intimidating. Maybe you’ve tried intricate designs before and ended up with a mess, or perhaps you’re just starting your nail art journey. Don’t worry, we’ve all been there! The good news is that creating a chic, spooky vibe with bat-themed Halloween nails doesn’t have to be complicated. We’re going to walk through easy-to-follow steps to get you those perfect, playful, and a little bit spooky nails that will make your Halloween extra special. Get ready to unleash your inner nail artist!
This guide is all about making bat nail art accessible and enjoyable, even if you’re a total beginner. We’ll cover everything from the basic tools you’ll need to simple design techniques that look impressive but are surprisingly easy to achieve. Think of it as chatting with your most nail-savvy friend, breaking down all the cool trends into steps you can totally nail (pun intended!). So, whether you’re heading to a party, handing out candy, or just want to get into the Halloween spirit, get ready to transform your fingertips into tiny masterpieces.
Why Bat-Themed Halloween Nails Are a Winning Choice
Bat-themed nails are fantastic for Halloween for so many reasons! They strike the perfect balance between spooky and stylish. Bats are iconic Halloween imagery, but they can be depicted in a way that’s more cute and whimsical or elegantly mysterious, depending on your preference. This versatility means you can tailor your bat nails to your personal style, making them as subtle or as bold as you like.
Plus, bat designs are surprisingly easy to adapt for DIY manicures. You don’t need years of art school to draw a few bat shapes! We’ll show you how to create them using simple techniques that require minimal tools and practice. It’s a chance to express your creativity without the stress, and honestly, who doesn’t love a good themed manicure when the spooky season rolls around?
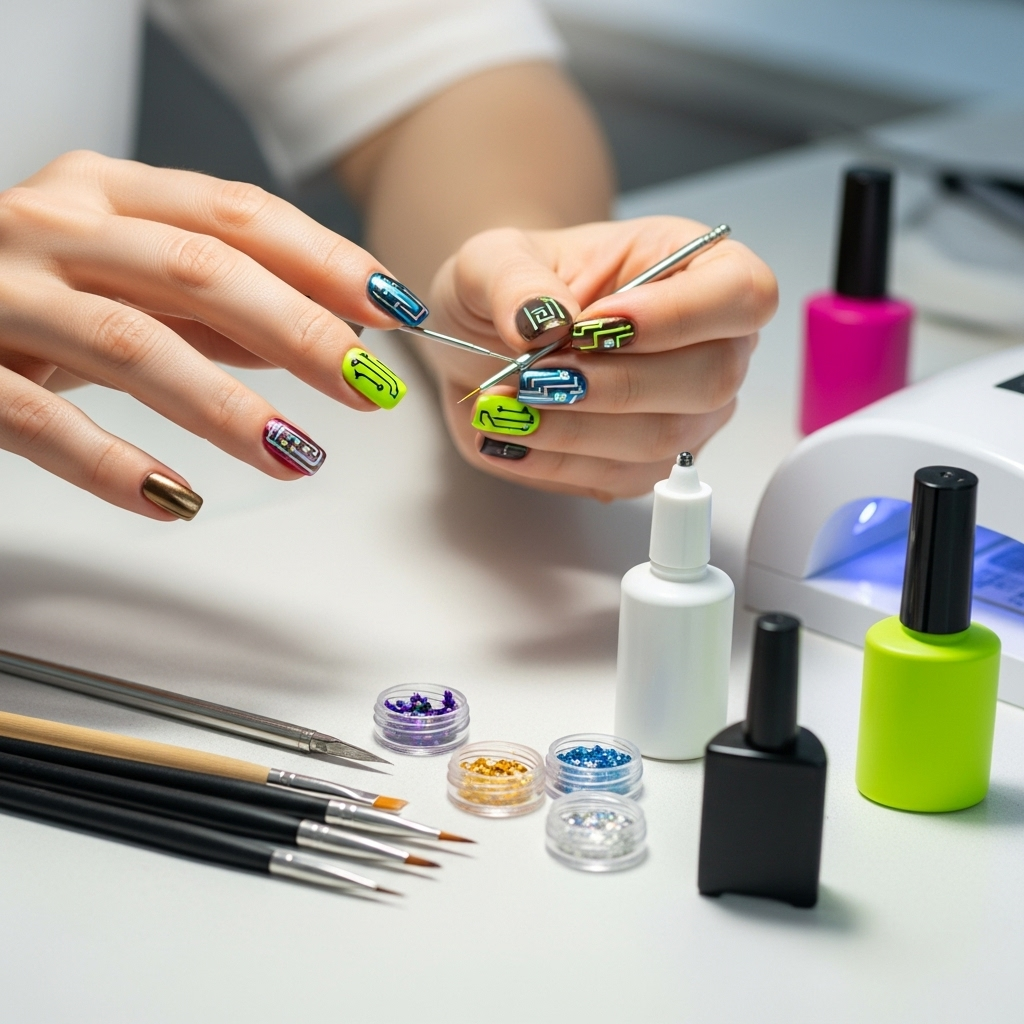
Getting Started: Essential Tools and Supplies
Before we dive into the fun designs, let’s gather your nail art toolkit. You don’t need a professional salon’s worth of equipment! Here’s a simple list of what will help you create amazing bat-themed Halloween nails:
- Base Coat: This protects your natural nails from staining and helps your polish adhere better.
- Top Coat: Essential for sealing your design, adding shine, and making your manicure last longer.
- Nail Polish Colors: Black, white, grey, deep purple, and maybe a deep red or orange are great staples for bat designs.
- Dotting Tools: These have a small ball at the end, perfect for creating dots, small shapes, and even tiny bat wings! You can find them in various sizes.
- Thin Nail Art Brush: A fine-tipped brush is excellent for drawing finer details like bat ears or outlines.
- Sponge (Optional): A makeup sponge can be used for creating easy gradient effects or textured backgrounds.
- Nail Polish Remover & Cotton Swabs: For cleaning up any mistakes.
- Cuticle Pusher/Orange Stick: To prep your nail bed and clean up around the cuticle line.
Having these basics will make your nail art experience much smoother and more enjoyable. Remember, practice makes perfect, but with these tools, you’re already well on your way!
Easy Bat Nail Design: Step-by-Step Tutorials
Let’s get to the fun part! Here are a few super-easy bat nail designs that even beginners can master.
Design 1: Simple Silhouette Bats on a Gradient Sky
This design uses a simple shape and a trendy background. It looks sophisticated but is incredibly easy to achieve.
What You’ll Need:
- Base Coat
- Black Nail Polish
- White, Grey, and Dark Purple Nail Polish
- Cosmetic Sponge
- Thin Nail Art Brush or Toothpick
- Top Coat
Steps:
- Prep Your Nails: Start with clean, dry nails. Apply a base coat and let it dry completely.
- Create the Gradient: On a piece of plastic wrap or a clean, flat surface, dab stripes of white, grey, and dark purple nail polish next to each other. Don’t worry about them being perfect lines.
- Apply the Gradient: Lightly dab a cosmetic sponge into the polish stripes. Then, gently dab the sponge onto your nail in an up-and-down motion. Overlap your dabs to blend the colors. You might need to reapply polish to the sponge and dab again to build up the color and blend it smoothly. Let this dry for a minute or two. This creates a spooky, cloudy sky effect.
- Paint the Bats: Once the gradient is dry, take your black nail polish and your thin nail art brush (or a toothpick). On an accent nail (or all of them!), paint simple bat silhouettes. To make a bat:
- Draw a small curved line for the body.
- From each side of the body, draw a slightly curved “M” shape for the wings. Think of a wide, upside-down “W”.
- Add two tiny dots or small curves above the body for ears.
- Refine and Dry: If you made any wobbly lines, you can use a cotton swab dipped in nail polish remover to carefully clean them up. Let the bats dry completely.
- Seal the Deal: Apply a generous layer of top coat to protect your design and add a beautiful shine.
Pro Tip: If painting the bats freehand feels too tricky, you can try drawing them on a piece of plastic wrap, letting them dry, and then carefully picking them up with tweezers to place them on your nail. This is called the “reverse sticker” method!
Design 2: Cute Bat French Tips
This is a fun twist on the classic French manicure, adding a spooky element with adorable bat shapes.
What You’ll Need:
- Base Coat
- Black Nail Polish
- White or Grey Nail Polish
- Dotting Tool (medium size)
- Thin Nail Art Brush
- Top Coat
Steps:
- Base Coat: Apply a thin layer of base coat and let it dry.
- Color the Nail: Apply your desired base color for the nails. A sheer nude, light grey, or even a pale purple works wonderfully here. Let it dry completely.
- Create the Bat: On each nail, at the tip where the French tip would normally go, use your dotting tool to make a slightly flattened, upside-down “U” shape. This will be the body and head of your bat.
- Add Ears: Use your thin nail art brush to add two small triangles or curved lines at the top of the “U” for the ears.
- Paint Wings: With the same thin brush, carefully paint wing shapes extending from the sides of the bat’s body. These can be simple curved lines, or you can try a more defined wing shape. For a super easy wing, just draw a curved line outwards and then back towards the nail tip.
- Fill and Dry: Once you’re happy with the shape, fill in the bat with black polish. Ensure the bat shape is fully painted within the French tip area. Let it dry thoroughly.
- Accent Nail (Optional): For an extra touch, you could do a full black tip on one nail and paint a small white dot or crescent moon on it as a background for a bat.
- Seal: Apply a good layer of top coat.
Beginner Hack: Don’t worry about perfect symmetry. The slight quirks can add to the charm!
Design 3: Minimalist Bat Accents
For those who prefer a cleaner look, minimalist bat accents are the way to go.
What You’ll Need:
- Base Coat
- Black Nail Polish
- Your preferred nail polish color (e.g., deep purple, grey, or even a nude)
- Fine-tipped Nail Art Brush or Toothpick
- Top Coat
Steps:
- Prep: Apply base coat and let it dry.
- Main Color: Apply your chosen nail polish color. You can do one coat for a sheer look or two for full opacity. Ensure it’s completely dry.
- Paint the Bat: Using your fine-tipped brush or a toothpick dipped in black nail polish, paint a very small, simple bat silhouette on one or two nails. These can be placed on the side of the nail, near the cuticle, or centered on the nail.
- A simple way to draw it: make a small upside-down V for the ears, connect them with a small curved line for the head, and then draw two curved lines down from the head for the body, ending in angled lines for detached wings.
- Keep it Simple: You don’t need elaborate wings. A few strategic lines can suggest a bat shape effectively.
- Clean Up and Dry: Carefully clean up any stray marks with a cotton swab dipped in remover. Let the polish dry fully.
- Seal: Apply a layer of top coat.
Why this works: A small, simple graphic on a solid background is very chic and less prone to looking messy. It’s a subtle nod to Halloween that can be worn beyond just the holiday.
Making Your Bat Nails Last Longer
No one wants their amazing Halloween nails to chip after just a day! Here’s how to ensure your spooky creations stay looking fresh:
- Always Use a Base Coat: This is crucial for protecting your nails and creating a smooth canvas for polish. It also helps prevent polish from staining your nails, especially dark colors like black.
- Apply Thin Coats of Polish: Thick coats take longer to dry and are more prone to smudging and chipping. It’s better to apply two thin coats of color than one thick one.
- Be Patient with Drying Times: This is probably the most important tip! Let each layer of polish (base coat, color coats, nail art) dry as much as possible before moving to the next. This prevents smudging and makes your polish last longer. A quick-dry top coat can be a lifesaver here.
- Seal with a Good Top Coat: A quality top coat not only adds shine but also acts as a protective barrier against chips and wear. Reapply every 2-3 days for maximum durability.
- Be Gentle with Your Hands: Try to avoid using your nails as tools – don’t scrape, pry, or pick at things. Wear gloves when doing dishes or cleaning.
Following these steps will help your bat-themed Halloween nails maintain their spooky allure throughout the season!
Troubleshooting Common Nail Art Issues
Even with the simplest designs, nail art hiccups can happen. Here’s how to fix them:
It’s totally normal to encounter a few bumps when doing nail art. The key is to know how to recover gracefully!
Soggy Polish Mishaps
- The Problem: You touched a freshly painted nail, and now there’s a smudge or dent.
- The Fix: Don’t panic! If the polish is still wet, you might be able to gently smooth it out with a clean brush or a toothpick. If it’s slightly dry but smudged, carefully paint over the affected area with a thin layer of the same color polish. Let it dry, then touch up any details and apply a top coat. For bigger smudges, you might need to remove the polish on that nail and start over on that finger.
Wobbly Lines
- The Problem: Your bat wings or ears aren’t as neat as you’d hoped.
- The Fix: Grab a fine-tipped brush or an orangewood stick. Dip it in nail polish remover (just the tip!). Very gently, you can “erase” the wobbly bits or refine the lines. Be careful not to remove too much polish from underneath. Sometimes, a tiny bit of black polish added with a fine brush can help clean up edges too.
Polish Not Drying
- The Problem: Your nails feel tacky and won’t seem to harden.
- The Fix: Patience is key here! Avoid using fast-drying drops until the very end; sometimes they can seal wet polish underneath. Try submerging your hands in cool water for a minute or two – the cold can help harden the polish. Also, ensure your polish bottles aren’t too old; thick polish takes longer to dry.
Remember, a little imperfection can add character! Most minor issues are easily fixable or simply add to the charm of DIY nail art.
A Table of Bat Nail Art Inspiration & Difficulty
Here’s a quick look at some popular bat nail art ideas and their general difficulty level, perfect for choosing your next Halloween project:
| Design Idea | Description | Estimated Difficulty (Beginner-Friendly: ⭐⭐⭐⭐⭐) | Key Elements |
|---|---|---|---|
| Simple Silhouette Bats | Black bat shapes on a plain or gradient background. | ⭐⭐⭐ (Mostly color and simple shapes) | Black polish, fine brush/dotting tool, base color |
| Bat French Tips | Bat shapes integrated into the French tip area. | ⭐⭐⭐⭐ (Requires some precision with shape) | Black polish, white/grey polish, dotting tool, fine brush |
| Minimalist Accents | Tiny, subtle bat outlines on a single or few nails. | ⭐⭐ (Very simple detail work) | Black polish, fine brush/toothpick, base color |
| Glow-in-the-Dark Bats | Bats that glow under blacklight or in the dark. | ⭐⭐⭐ (Requires specific polish, application is similar to silhouette) | Glow-in-the-dark polish, black polish, fine brush |
| 3D Bat Embellishments | Small 3D charms or acrylic additions shaped like bats. | ⭐⭐⭐⭐⭐ (Requires advanced application or pre-made charms) | Adhesive, 3D charms, tweezers |
| Bat Wing Negative Space | Using tape or stencils to create bat wing shapes as negative space. | ⭐⭐⭐⭐ (Requires steady hands with tape/stencils) | Tape/stencils, black polish, base color |
This table should give you a good idea of what to expect when trying different bat nail designs. Remember, even a “⭐⭐⭐⭐” design can be achievable with a little patience!
Beyond Halloween: Making Your Bat Nails Work
Who says bat nails are only for October 31st? The beauty of the bat motif is its subtle Gothic appeal that can be incorporated into your style year-round.
- Gothic Vibes: Pair deep purple, black, or silver bat accents with darker outfits for a chic, mysterious look.
- Edgy Everyday: A few tiny, minimalist bats on a neutral or metallic base can add a cool, edgy touch to your everyday manicure.
- Concert Ready: For music festivals or concerts, especially rock or alternative genres, bat nails can be the perfect rebellious accessory.
- Subtle Spooky: If you want just a hint of Halloween, opt for a single small bat on an accent nail with a classic manicure on the other fingers.
Don’t be afraid to play with different colors and placements. A metallic bat can look very elegant, while a glittery one can be fun and festive.
FAQ: Your Bat Nail Art Questions Answered
Q1: What kind of polish is best for drawing bats?
For drawing bat shapes, a standard nail polish with good opacity works well. A fine-tipped nail art brush or even a toothpick is ideal for application. If you want them to stand out, choose a bold black, but consider metallic silvers and deep purples for a more sophisticated look.
Q2: How do I get clean lines for my bat wings?
The key to clean lines is a good, fine-tipped nail art brush that isn’t shedding and a polish that isn’t too thick or too watery. Gently load the brush with polish, wipe off excess, and use light, steady strokes. You can also practice the shape