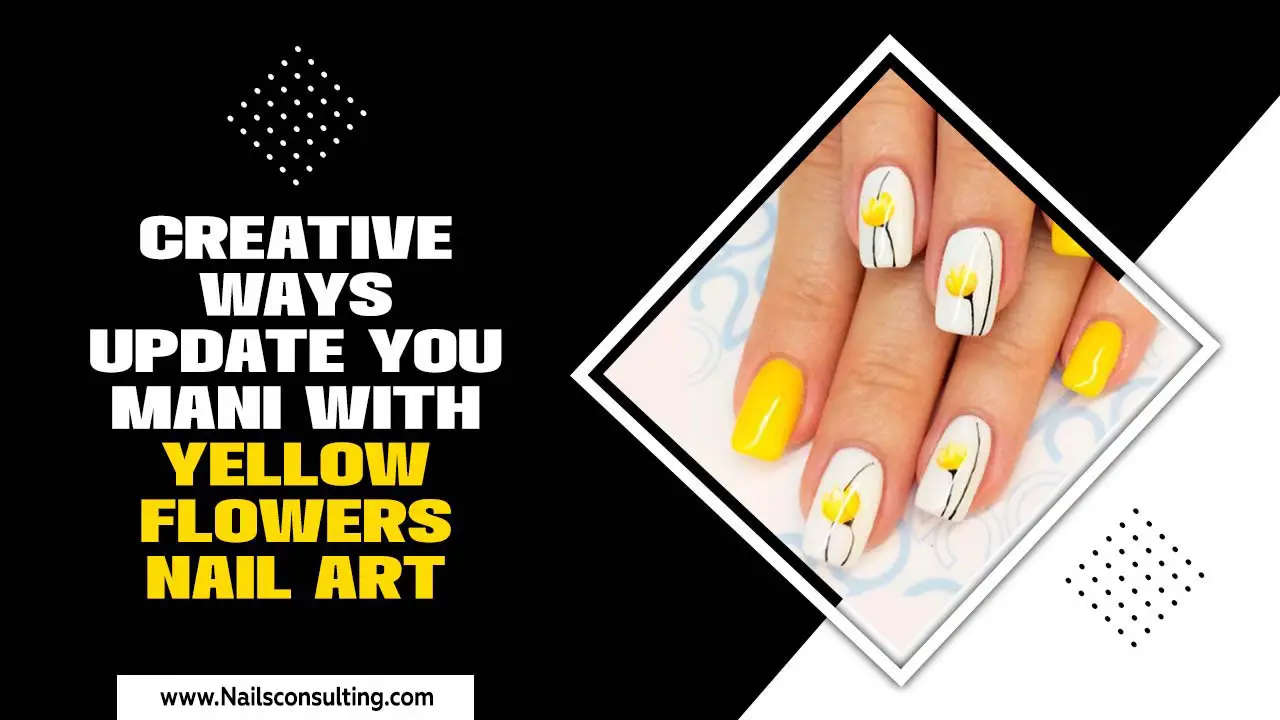
Ballet pink manicures are a timeless, chic choice for a sophisticated look. Explore easy-to-achieve, elegant designs perfect for any occasion, from subtle classics to modern twists. Discover why this versatile shade is an essential for every nail lover’s collection.
Ever find yourself staring at your nails, wishing for a look that’s both polished and pretty? Achieving that perfect, sophisticated manicure can sometimes feel tricky. But what if I told you there’s a shade that’s universally flattering, incredibly chic, and surprisingly easy to work with? Enter ballet pink. This delicate, soft hue is a dream for achieving that “my nails but better” look, adding a touch of grace to any outfit or occasion. Forget complicated patterns or bold colors; sometimes, simplicity is the ultimate sophistication. Whether you’re a nail art novice or a seasoned pro looking for inspiration, this guide is here to help you master the ballet pink manicure. Get ready to fall in love with this essential shade as we explore dazzling ideas and simple tips!
Why Ballet Pink is an Essential Nail Shade
Ballet pink is more than just a color; it’s a statement of understated elegance. Its charm lies in its versatility and how it complements nearly every skin tone. It’s the go-to for achieving that clean, healthy-looking nail, making your hands appear more graceful and refined. Unlike some bolder shades that can feel overwhelming or trend-specific, ballet pink offers a timeless appeal that never goes out of style. It’s the perfect canvas for subtle nail art or can stand beautifully on its own. Think of it as the little black dress of nail polish – always appropriate, always chic.
Skin Tone Friendliness
One of the biggest wins for ballet pink is its incredible ability to flatter a wide spectrum of skin tones. While deeper pinks can sometimes wash out lighter complexions or look too stark on darker ones, ballet pinks, with their balanced undertones, tend to blend beautifully. They offer a soft, natural flush that enhances the skin’s warmth rather than fighting against it. This makes it an incredibly safe and universally flattering choice, eliminating the guesswork when picking out a flattering shade.
Versatility for Any Occasion
From a busy workday at the office to a fancy evening event, a ballet pink manicure transitions effortlessly. It’s subtle enough for professional settings, adding polish without distracting. Yet, it possesses an inherent elegance that makes it perfect for weddings, parties, or date nights. It’s a shade that whispers sophistication rather than shouts for attention, making it suitable for almost any dress code or personal style.
Timeless and Classic Appeal
Trends come and go, but ballet pink remains a constant. Its classic appeal makes it a staple in many nail polish collections for good reason. It evokes a sense of grace and refinement that transcends fleeting fashion moments. Investing in a good quality ballet pink polish means you’ll always have a reliable option for a clean, elegant, and timeless manicure.
Essential Tools for Your Ballet Pink Manicure
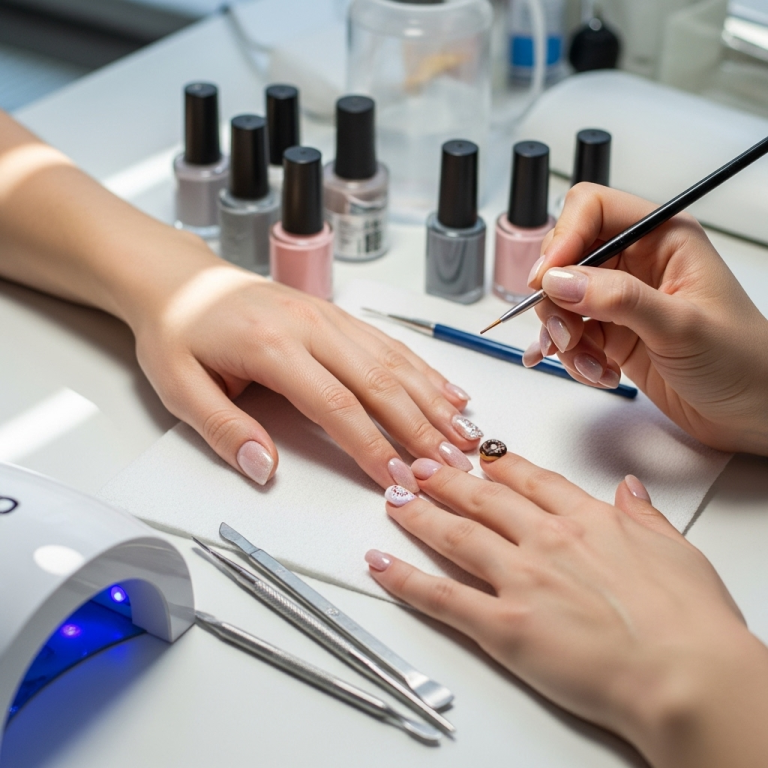
Before we dive into the fun designs, let’s gather your toolkit. Having the right tools makes the process smoother and the results more professional, even at home!
The Basics
- Nail File: For shaping your nails to perfection. A medium-grit file (150-240 grit) is great for natural nails.
- Buffer: To smooth out ridges and create a glossy base. A 4-way buffer is excellent for beginners.
- Cuticle Pusher/Orange Stick: Gently push back cuticles for a clean nail bed.
- Nail Polish Remover: Acetone-free is gentler on nails and cuticles.
- Cotton Pads or Lint-Free Wipes: For applying remover and cleaning up mistakes.
- Base Coat: Crucial for protecting your natural nail and helping polish adhere evenly.
- Ballet Pink Nail Polish: Your star player!
- Top Coat: To seal the color, add shine, and prevent chipping.
- Optional: Nail Polish Dryer Drops/Spray: To speed up the drying process.
Advanced Tools for Extra Flair
- Dotting Tools: For creating small dots and simple patterns.
- Fine-Tip Nail Art Brush: Essential for delicate lines and detailed designs.
- Stencils or Nail Stickers: For quick and easy graphic elements.
- UV/LED Nail Lamp: If you plan to use gel polish for longer-lasting results. You can learn more about how UV lamps work from resources like the FDA’s guidance on UV lamps.
Prep Work: The Foundation of a Flawless Mani
A stunning ballet pink manicure starts with properly prepped nails. This simple routine makes a huge difference in how your polish looks and lasts!
Step 1: Clean and Shape
Start by removing any old nail polish with your remover and cotton pads. Then, use your nail file to shape your nails. Whether you prefer a square, squoval, or almond shape, file in one direction to avoid weakening the nail. Gently push back your cuticles using a cuticle pusher or an orangewood stick. Avoid cutting your cuticles, as this can lead to infection. If they are very overgrown, consider a cuticle remover and gentle push back.
Step 2: Buff for Smoothness
Use a nail buffer to gently buff the surface of your nails. This removes any natural oils that might prevent polish from adhering and smooths out any ridges. A light buffing is all you need – you don’t want to thin your nails!
Step 3: Cleanse and Dry
Wipe each nail with a lint-free wipe slightly dampened with nail polish remover. This ensures no dust or oil is left on the nail surface. Make sure your nails are completely dry before moving on.
Genius Ballet Pink Manicure Ideas for Beginners and Beyond
Now for the fun part! Ballet pink is a dream base for many looks. Here are some ideas to get you inspired, ranging from super simple to a little more artistic.
The Classic Chic: Solid Color
This is where ballet pink truly shines. A perfectly applied solid coat of ballet pink polish is sophisticated and always in style.
- Apply a thin layer of base coat and let it dry completely.
- Apply your first coat of ballet pink polish. Aim for thin, even strokes.
- Let the first coat dry for at least 1-2 minutes.
- Apply a second thin coat of ballet pink polish.
- Let the second coat dry; then apply your top coat. A good top coat, like one with UV protection, can prevent yellowing and add incredible shine. Look for brands that offer long-wear formulas.
- Apply drying drops or spray if you have them.
Pro Tip: For the smoothest finish, gently cap the free edge of your nail with your top coat. This means swiping the brush horizontally across the very tip of your nail. It helps prevent chipping!
The Subtle Twist: Minimalist Line Art
Add a touch of modern flair with delicate line details. This is easier than it looks!
- Perform steps 1-4 from the “Classic Chic” solid color manicure. Your nails should have two coats of ballet pink polish and be completely dry.
- Using a fine-tip nail art brush or a dotting tool dipped in a contrasting color (like white, black, gold, or even a darker pink) or a glitter polish, create a simple design.
- Ideas:
- A single thin vertical or horizontal line down the center of the nail.
- A tiny dot at the base of the nail, near the cuticle.
- A few scattered dots across the nail.
- A thin outline around the edge of a single accent nail.
- Let the art dry completely, then apply your top coat.
Beginner Hack: If freehanding feels daunting, use striping tape! Apply strips of tape in your desired pattern, paint over them with your accent color, and carefully peel the tape off while the polish is still slightly wet or fully dry (experiment to see what works best for your polish). Then apply your top coat.
The French Fade: Modern French Mani
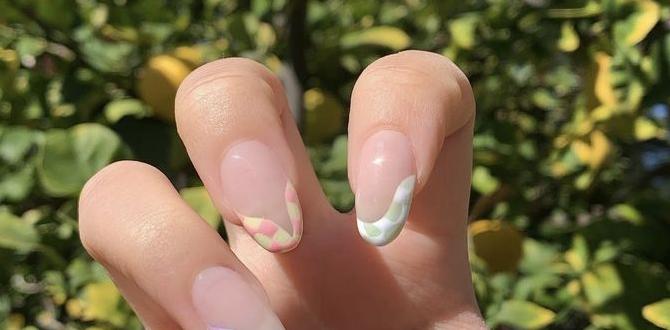
This is a softer, more blended take on the classic French manicure. It’s elegant and incredibly chic.
- Apply base coat and let it dry.
- Apply one or two thin coats of your ballet pink polish. Let it dry completely.
- On an accent nail (or all nails!), use a small brush or sponge (like a makeup sponge corner) to gently dab a sheer white or off-white polish just on the tips of your nails.
- While the white/off-white is still slightly wet, use a clean, small brush (an old lipstick brush or a stiff concealer brush works) to gently blend the edge between the pink and white. You can also use a tiny bit of ballet pink polish on the brush to help the blend.
- Alternatively, you can use a sheer nude or milky white polish for the entire nail and add a very thin, barely-there white line at the tip.
- Once you achieve your desired blend, let it dry, and then apply your top coat.
Why it’s genius: The blurred line adds a soft, romantic feel that’s perfect for a ballet pink base. It looks sophisticated yet is forgiving if your blending isn’t perfect.
The Subtle Sheen: Pearlescent Finish
Want a little something extra without a full-on design? A pearlescent top coat or powder can add a beautiful, ethereal glow.
- Apply your base coat, two coats of ballet pink polish, and your top coat. Ensure the top coat is completely dry.
- If using a pearlescent chrome powder: Lightly buff a small amount of the powder onto your nail using a silicone applicator or your fingertip. You only need a thin layer.
- If using a pearlescent top coat: Simply apply a thin layer over your dried polish.
- Brush away any excess powder.
- Apply another thin layer of regular top coat to seal in the effect and add extra shine.
Where to find it: Pearlescent polishes, top coats, and powders are readily available online and in beauty stores. A quick search for “opal chrome powder” or “pearlescent nail top coat” will yield many options.
The Modern Glitter Accent
Glitter doesn’t have to be over the top! A touch of sparkle can elevate your ballet pink mani.
- Complete your ballet pink base with a base coat and two coats of polish, dried.
- Choose one accent nail (like your ring finger).
- Apply your top coat to the accent nail.
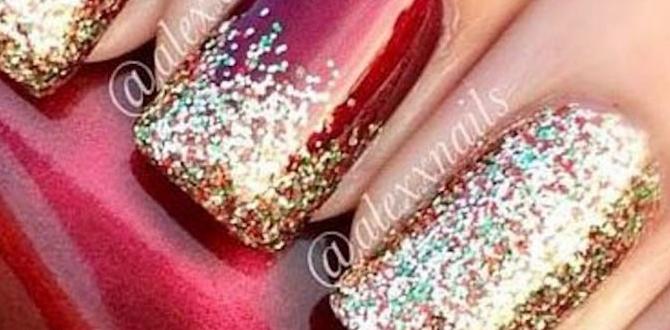
- While the top coat is still wet, carefully apply your glitter polish. You can either apply a full coat of glitter, create a gradient fade from the tip down, or place glitter strategically with a small brush. Ultra-fine iridescent glitters or holographic glitters work beautifully with ballet pink.
- Let the glitter layer dry thoroughly.
- Apply another layer of top coat over the glitter nail to smooth out the texture and seal it in.
Tip: Many nail polish brands offer sheer glitter polishes that are perfect for this. Look for “glitter top coat” or “sheer glitter” in shades like rose gold, silver, or holographic.
The Delicate Floral or Dot Accents
For a touch of femininity, tiny hand-painted details can be stunning.
- Apply your ballet pink base polish (base coat, 2 color coats, let dry completely).
- Using a fine-tip nail art brush and a contrasting color polish (white, a soft pastel, or even a metallic), paint tiny dots in a pattern. You can create small flower shapes by placing five dots in a circle and adding a tiny dot in the center, or simply create clusters of dots.
- Let the tiny designs air dry completely for about 5-10 minutes.
- Apply your top coat.
For absolute beginners: Use dotting tools! Dip the ball end of a dotting tool into polish and gently place dots on your nail. You can create simple patterns or even just random polka dots.
The Negative Space Design
Negative space manicures are very on-trend and surprisingly easy to achieve. They involve leaving parts of your natural nail visible.
- Start with your prep routine.
- Apply a base coat.
- Use striping tape or fine-tipped brushes to create geometric shapes or lines on your nail where you want the ballet pink polish to appear.
- Carefully paint the areas between the tape or lines with your ballet pink polish.
- For a true negative space look, you can paint a few thin lines of ballet pink across your nail, leaving gaps between them where the bare nail shows through.
- Let the ballet pink polish dry completely, then very carefully peel off the tape.
- Apply a top coat over the entire nail to seal everything in.
Why it works: The contrast between the polished ballet pink and the natural nail creates a modern, airy look that’s sophisticated and chic.
Tables for Easy Reference
To help you choose the perfect ballet pink shade and keep track of your tools, here are a couple of handy tables.
Ballet Pink Shade Guide
Ballet pink isn’t just one shade! Many variations offer different undertones. Here’s a guide to help you find your perfect match:
| Shade Name Example | Undertones | Best For | Vibe |
|---|---|---|---|
| Sheer Ballet Pink | Neutral to slightly warm | Natural, “clean girl” aesthetic, glossy finish | Effortless, healthy |
| Pale Pink Rose | Slightly cool/pink | Fair to medium skin tones, soft, romantic look | Delicate, feminine |
| Warm Ballet Pink | Peachy or beige undertones | Medium to deep skin tones, adds warmth | Sophisticated, natural |
| Opaque Creamy Pink | Neutral or slightly warm | Full coverage, clean look, base for art | Polished, classic |
Troubleshooting Common Manicure Issues
Even with the best intentions, sometimes things don’t go perfectly. Here’s how to fix common nail issues:
| Problem | Solution |
|---|---|
| Streaky Polish | Apply thinner coats and allow each coat to dry slightly before applying the next. Ensure your polish isn’t too old or thick; add a drop of thinner if needed. |
| Bubbles in Polish | Avoid shaking your polish bottle vigorously (roll it between your hands instead). Ensure coats are thin and dry properly. Don’t apply polish too thickly or in direct sunlight/heat. |
| Chips and Peeling | Proper nail prep is key! Ensure nails are clean and dry. Always use a base coat and a good quality top coat, and cap the free edge. Reapply top coat every 2-3 days. |
| Polish on Skin | Carefully clean up edges with an angled
|

