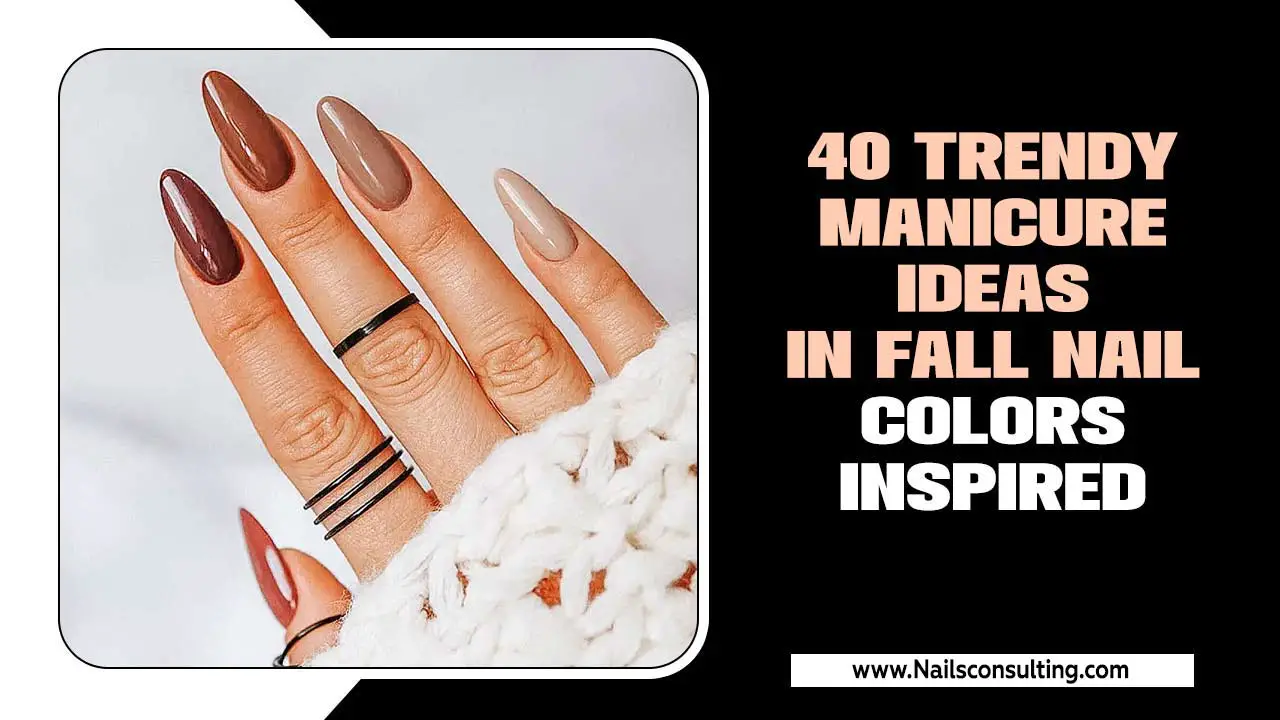
Autumn nail design ideas with leaves are all about embracing fall’s warm colors and iconic imagery. This guide offers simple, beautiful ways to paint leaves on your nails, perfect for beginners to create stunning seasonal manicures.
Autumn is such a magical time of year! The air gets crisp, the leaves change to gorgeous shades of red, orange, and yellow, and there’s just this cozy feeling that settles in. It’s the perfect season to express yourself through your nails, and what says autumn better than pretty leaf designs? Sometimes, seeing these intricate designs can feel a little daunting, especially if you’re just starting out. But don’t worry! We’re going to break down some super fun and easy autumn nail design ideas featuring leaves. Get ready to have your nails looking as beautiful as a walk through a fall forest!
—
Why Leaves Are a Fall Nail Favorite
Leaves are iconic for a reason! They instantly evoke the feeling of autumn. Their shapes are diverse, their colors are breathtaking, and they can be adapted to so many styles. Whether you love a minimalist accent nail or a full-blown fall foliage masterpiece, leaves are your go-to motif. They’re forgiving for beginners and can be made incredibly sophisticated for those with more experience. Plus, they pair perfectly with other fall elements like pumpkins, acorns, and cozy sweaters.
—
Getting Started: Your Autumn Leaf Nail Toolkit
Before we dive into the diseños, let’s make sure you have the right tools. Don’t worry, you don’t need a professional salon setup! With a few basics, you’ll be ready to create some autumn magic on your fingertips.
Must-Have Polishes for Autumn Leaves
Base Coat: Essential for protecting your natural nails and helping polish adhere better.
Top Coat: Seals your design, adds shine, and prevents chipping.
Autumnal Color Palette:
Rich browns (like dark chocolate or warm caramel)
Deep reds (burgundy, rust)
Vibrant oranges (pumpkin spice, burnt orange)
Golden yellows (mustard, antique gold)
Earthy greens (olive, forest green)
Creamy neutrals (ivory, beige) for backgrounds
Essential Tools for Leaf Art
Fine-Tipped Brushes: These are your best friends for detailed lines and shapes. Look for brushes specifically designed for nail art.
Dotting Tools: Perfect for creating berry accents or adding small details.
Toothpicks or Orange Sticks: Great for simple leaf shapes and cleanup.
Nail Art Pens: Come with a fine tip for easy drawing.
Dotting Swirls: Also known as “dotting sticks,” these have a small ball on the end, useful for creating dots and small circular leaf shapes.
A steady hand! Practice makes perfect, so be patient with yourself.
Prep Work: The Foundation of a Flawless Manicure
A great design starts with well-prepped nails.
1. Cleanse: Remove any old polish. Wash your hands thoroughly.
2. Shape: File your nails to your desired shape.
3. Cuticle Care: Gently push back your cuticles. You can use a cuticle remover for an easier process.
4. Buff (Optional): Lightly buff the nail surface for a smoother canvas, but avoid over-buffing.
5. Apply Base Coat: One thin layer will do. Let it dry completely.
—
Beginner-Friendly Autumn Nail Design Ideas with Leaves
Let’s get painting! These ideas are designed to be easy to follow, even if you’ve never done nail art before.
Design 1: The Simple Single Leaf Accent
This is the easiest way to incorporate leaves.
What you’ll need:
A neutral or cream base polish
A fall color polish for your leaf (e.g., deep red, burnt orange)
A fine-tipped nail art brush or a toothpick
Top coat
How to do it:
1. Paint all your nails with the neutral or cream base color. Let them dry completely.
2. On one accent nail (usually your ring finger), use your fine-tipped brush or toothpick. Dip it into your fall leaf color.
3. Gently touch the tip of your nail and draw a simple almond or teardrop shape. This is your basic leaf outline.
4. For a more detailed look, add a tiny line down the center for a vein.
5. Let it dry, then add a top coat to all nails.
Pro Tip: If freehand drawing feels tricky, you can use a very fine nail art sticker and just paint over it with your top coat for a professional finish.
Design 2: Scattered Leaf Confetti
This look mimics scattered autumn leaves and is surprisingly simple to achieve.
What you’ll need:
A deep brown or wine-red base polish
Two or three accent fall colors (e.g., orange, yellow, rust)
A fine-tipped nail art brush or a dotting tool
Top coat
How to do it:
1. Apply your deep base color to all nails and let it dry.
2. Using your fine-tip brush or dotting tool, pick up a small amount of one accent color.
3. Lightly tap or dab it onto your nail in small, irregular shapes – think tiny, abstract leaf forms. Don’t aim for perfection; random is good!
4. Repeat with your other accent colors, scattering them across the nail. You can overlap them slightly.
5. Once dry, seal with a top coat.
Tip: This design works beautifully with a matte top coat for an extra cozy feel.
Design 3: The Ombre Leaf Fade
This design blends colors softly and then adds a leaf element.
What you’ll need:
A nude or light beige base polish
Two or three fall colors for your ombre (e.g., light orange, deep red, gold)
A makeup sponge or a specialized nail art sponge
A fine-tipped brush for the leaf
Top coat
How to do it:
1. Paint all nails with your light base color. Let it dry.
2. Apply thin stripes of your fall colors onto the makeup sponge. The colors should touch each other.
3. Gently dab the sponge onto your nail, starting just above the cuticle and working upwards. You might need to reapply colors to the sponge and dab a few times to build up the gradient.
4. Let the ombre dry completely.
5. On one accent nail, use your fine brush to draw a simple leaf silhouette in a contrasting fall color over the ombre.
6. Add a top coat.
External Link Resource: For more on achieving a smooth ombre effect, check out these tips from Nail Pro.
Design 4: Leaf Outline Art
Sophisticated and chic, perfect for a more minimalist look.
What you’ll need:
A cream or light brown base polish
A darker fall color (e.g., black, dark green, or deep burgundy)
A very fine liner brush (00 or 000)
Top coat
How to do it:
1. Apply your base color to all nails. Let dry.
2. On an accent nail, use your liner brush and the darker polish to draw the outline of a leaf. Think of simple shapes like maple, oak, or even a teardrop. It doesn’t have to be filled in!
3. You can draw one large outline or a few smaller ones scattered.
4. If you want a bit more detail, use the liner brush to add a single vein down the center of the leaf outline.
5. Let dry, then apply a top coat.
—
Taking it Up a Notch: More Advanced Autumn Leaf Techniques
Ready to try something a little more advanced? These can still be achieved with practice!
Design 5: Watercolor Leaves
This technique creates a soft, dreamy effect.
What you’ll need:
A sheer white or nude base polish
Leaf-colored polishes (various fall shades)
Clear top coat or a specialized watercolor gel
A fine brush
Water (if using traditional polish) or gel solution
A thin brush for detail (optional)
How to do it (using traditional polish):
1. Apply a sheer base coat to all nails and let it dry.
2. Take a small amount of your first fall color with your brush.
3. Add a tiny drop of water to your polish on your palette or a piece of foil. This dilutes the polish, making it more translucent.
4. Gently paint a loose, amorphous leaf shape onto your nail. Don’t worry about sharp edges.
5. While the first color is still slightly wet, add another fall color next to or overlapping it, allowing them to blend softly. You can use a clean, damp brush to help blend.
6. Repeat with other colors until you have a few soft, blended leaf shapes.
7. If you want to add a vein detail, wait until the watercolor is mostly dry and use a very fine brush with a slightly more opaque polish.
8. Once completely dry, seal with a clear top coat.
Key to Watercolor: The key is to keep the polish very diluted and the strokes light. It’s about creating a translucent wash of color.
Design 6: Stamped Autumn Foliage
Stamping is a fantastic way to get intricate designs with ease.
What you’ll need:
A solid colored base polish (e.g., nude, cream, or a deep fall color)
An autumn leaf stamping plate (search for “fall leaf stamping plate”)
A stamper and scraper tool
A polish in a contrasting fall color (e.g., gold, copper, or metallic red)
Top coat
How to do it:
1. Apply your base color to all nails and let it dry completely – this is crucial for successful stamping.
2. Apply a generous amount of your stamping polish onto the chosen image on your stamping plate.
3. Use the scraper tool to quickly scrape off the excess polish at an angle (about 45 degrees).
4. Immediately use your stamper to pick up the design by rolling it over the plate.
5. Align the stamper over your nail and roll it gently to transfer the image.
6. Let the stamped image dry for a minute before applying a top coat. Work quickly, as stamping polish dries fast.
Where to find stamping plates? Many online beauty retailers and larger drugstores carry stamping plates from brands like Born Pretty, Pueen, and MoYou London. Look for designs featuring various leaf shapes.
Design 7: Layered Leaves with Texture
Add a bit of dimension to your autumn nails.
What you’ll need:
Base coat and top coat
A deep brown or dark green base polish
Accent fall color polishes (e.g., yellow, orange, red)
A fine-tipped brush or dotting tool
A slightly thicker top coat or a gel top coat for creating a bit of raised texture (optional)
How to do it:
1. Apply your base and then the deep base color to all nails. Let dry.
2. Using a fine brush, paint a simple leaf shape in one accent color on an accent nail.
3. While the first color is still slightly wet, lightly dab the edges with a second accent color to create a blended look.
4. If you want texture, carefully apply a tiny bit more polish to the center of the leaf, building a slight raised effect. You can also achieve this by applying a slightly thicker top coat only over the leaf design after it’s fully dry, building up thin layers if necessary.
5. Let everything dry completely before applying your final top coat over the entire nail.
—
Essential Tables for Autumn Nail Design
Here’s a quick reference for color pairings and a comparison of tools.
Table 1: Effortless Autumn Leaf Color Palettes
| Base Color | Leaf Colors | Vibe |
| :—————- | :—————————————- | :—————– |
| Creamy Beige | Burnt Orange, Mustard Yellow, Deep Red | Classic Fall |
| Deep Chocolate | Gold, Olive Green, Copper | Rich & Earthy |
| Muted Burgundy | Cream, Light Brown, Ochre | Cozy & Sophisticated |
| Forest Green | Mustard Yellow, Crimson, Dark Brown | Moody & Bold |
| Soft Grey | Rust, Burgundy, Pale Gold | Modern Fall |
Table 2: Nail Art Tool Comparison for Leaf Designs
| Tool | Best For | Ease of Use (Beginner) | Detail Level |
| :————— | :————————————————– | :——————— | :———– |
| Fine-Tipped Brush | Outlines, veins, small detailed leaves | Moderate | High |
| Toothpick | Simple small leaf shapes, dotting | Very Easy | Low-Moderate |
| Dotting Tool | Uniform dots, small circular leaf shapes, berries | Easy | Moderate |
| Nail Art Pen | Easy drawing of lines and shapes | Easy | Moderate |
| Stamping Plate | Intricate, repeating patterns | Easy (with practice) | Very High |
—
Caring for Your Autumn Leaf Manicure
To keep your beautiful leaf designs looking fresh and fabulous, a little care goes a long way!
Wear gloves when doing household chores like washing dishes or cleaning.
Moisturize your cuticles daily with cuticle oil. This keeps the skin around your nails healthy and prevents hangnails, which can detract from your design.
Reapply top coat every few days to refresh the shine and protect against chipping.
Avoid using your nails as tools to open cans or scratch labels.
—
Frequently Asked Questions About Autumn Nail Designs with Leaves
Q1: What are the easiest leaf designs for beginners?
A1: The simplest are single-outline leaves, scattered small leaf shapes using a toothpick or dotting tool, and minimalist leaf outlines on an accent nail.
Q2: What colors are best for autumn leaf nails?
A2: Think of the fall season: warm browns, deep reds, burnt oranges, golden yellows, and earthy greens. Metallics like gold, copper, and bronze also work beautifully.
Q3: How do I make my leaf designs look less like blobs?
A3: Use a very fine brush for the outline and veins. For scattered leaf effects, try varying the size and shape. Don’t aim for perfect symmetry; organic shapes are beautiful!
Q4: Can I use nail polish stickers for leaf designs?
A4: Absolutely! Nail polish stickers or decals are a fantastic shortcut for beginners. You can find many beautiful autumn leaf designs. Just remember to apply them to a smooth, dry base and seal with a good top coat.
Q5: How long should I let my nail polish dry before adding details?
A5: For detailed work like adding veins or drawing outlines, wait until the base polish or ombré is completely dry to the touch. This prevents smudging. For stamping, the polish needs to be dry enough that it won’t smudge when you stamp but not so dry that the stamper won’t pick up the image.
Q6: What if my painted leaves look messy?
A6: Clean up is your friend! Use a small brush dipped in nail polish remover to carefully erase any mistakes around the edges of your design. For a quick fix, a good top coat applied carefully can often smooth minor imperfections.
Q7: How can I make my autumn leaf nails last longer?
A7: A high-quality base coat and top coat are essential. Reapply your top coat every 2-3 days. Moisturizing your cuticles regularly also helps keep nails healthy and reduces the chance of polish chipping at the edges.
—
Conclusion: Your Autumn Nail Canvas Awaits!
See? Creating gorgeous autumn nail designs with leaves doesn’t have to be complicated. We’ve explored simple yet stunning ideas perfect for beginners, from single leaf accents to more artistic watercolor effects and the magic of stamping. Remember, the beauty of nail art is in the self-expression. Don’t be afraid to experiment with colors, play with different brush strokes, and adapt these ideas to your unique style. Grab your polishes, get creative, and let your nails bloom with the vibrant spirit of fall. Happy painting!

