Autumn leaf nail art ideas are the perfect way to embrace the cozy, vibrant beauty of fall. These designs are simple to create, incredibly stylish, and add a touch of seasonal magic to your fingertips. From classic maple leaves to abstract fall color palettes, you can achieve stunning results right at home with easy-to-follow steps and basic tools.
Fall is here, and the world outside is bursting with color! As the leaves change to brilliant reds, oranges, and yellows, it’s only natural to want to bring that gorgeous autumnal vibe to your look. If you’ve ever admired intricate nail art and thought, “I could never do that!”, I’ve got great news for you. Autumn leaf nail art is surprisingly beginner-friendly and incredibly rewarding. We’ll walk through simple techniques to get you these stunning fall nails, no professional artist needed! Get ready to fall in love with your manicure.
—
Why Autumn Leaf Nail Art is a Must-Try
Autumn leaf nail art isn’t just pretty; it’s a whole vibe! It’s a fantastic way to celebrate the season, express your personal style, and add a little DIY joy to your routine.
- Seasonal Spirit: Nothing says fall like the iconic colors and shapes of autumn leaves. It’s like carrying a miniature, chic piece of autumn wherever you go.
- Creative Expression: These designs offer a fantastic canvas for creativity. You can go for a realistic look or embrace abstract, artistic interpretations of fall foliage.
- Beginner-Friendly: Many autumn leaf designs rely on simple techniques like dotting, stamping, or freehand painting with basic shapes. You don’t need to be a pro to get amazing results!
- Versatile Styles: Whether you love a subtle accent nail or a full fall-themed mani, there’s an autumn leaf design for every preference and occasion.
- Confidence Booster: A beautiful, seasonally appropriate manicure can instantly lift your mood and make you feel put-together and stylish.
—
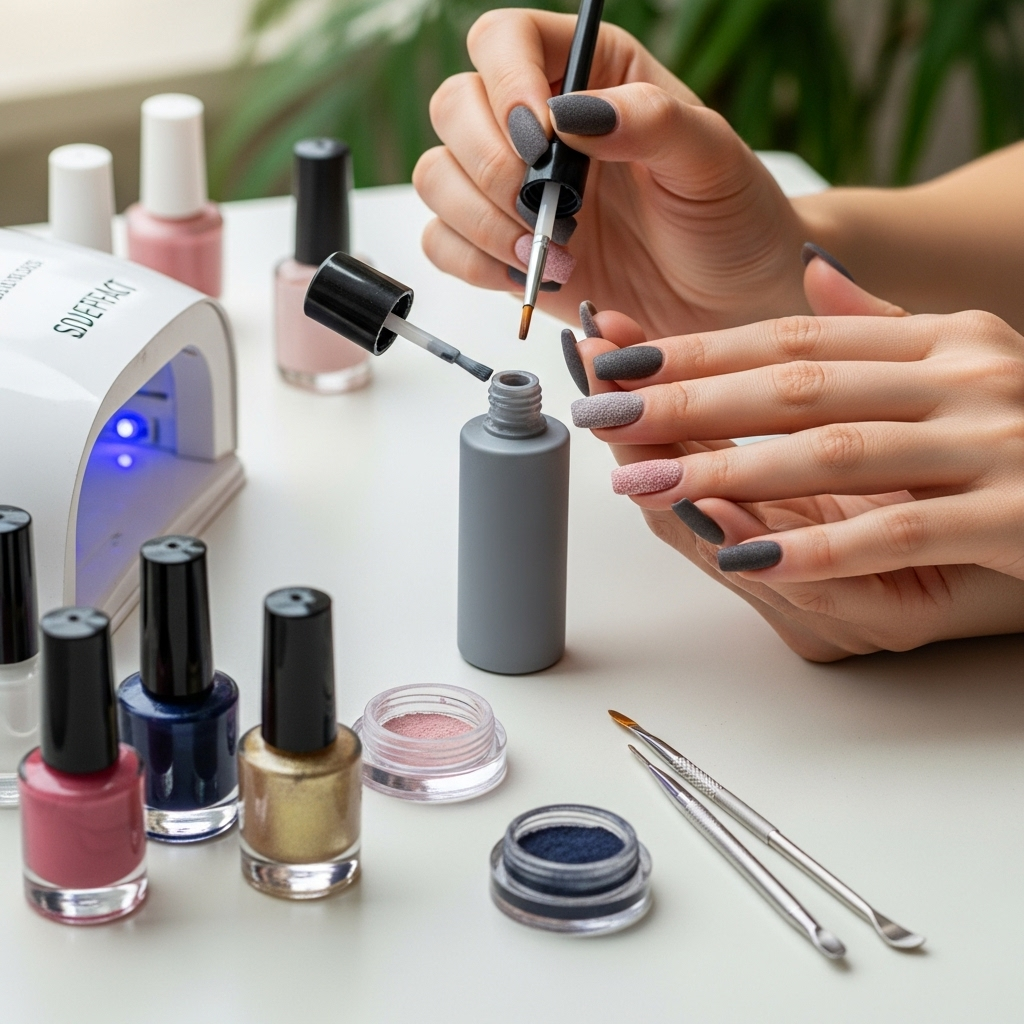
Essential Tools for Your Autumn Leaf Mani
Before we dive into the designs, let’s gather our tools. Luckily, you probably have most of these already! Having the right supplies makes the process smoother and the results even better.
The Must-Haves:
- Base Coat: Protects your natural nails and helps polish adhere better.
- Top Coat: Seals your design, adds shine, and extends the life of your manicure.
- Nail Polish Colors: Think fall spectrum! Reds, oranges, yellows, browns, deep greens, and even some burgundies.
- Thin Nail Art Brush(es): For detailed lines and painting shapes. A fine-tip brush is perfect for leaves.
- Dotting Tools: These have small spheres on the end, great for creating dots and small leaf shapes.
- Orange Stick or Cuticle Pusher: For tidying up edges and cleaning up mistakes.
- Nail Polish Remover & Cotton Swabs: Essential for quick clean-ups.
- Optional: Nail Stamping Plates & Stamper: If you want to add intricate leaf patterns easily.
Choosing Your Colors: The Fall Palette
The heart of autumn leaf nail art is, of course, the color! Here’s a guide to building your perfect fall palette:
| Color Family | Shades to Try | Why It Works for Fall |
|---|---|---|
| Reds | Crimson, Burgundy, Scarlet, Wine | Mimics vibrant maple leaves and cozy autumn sunsets. |
| Oranges | Terracotta, Burnt Orange, Pumpkin Spice, Marigold | The quintessential fall color, evoking pumpkins and changing leaves. |
| Yellows | Mustard, Gold, Amber, Ochre | Represents the golden hues of sunlight and turning foliage. |
| Browns | Chocolate, Chestnut, Tan, Mocha | The earthy tones of tree bark, soil, and fallen leaves. |
| Deep Greens | Forest Green, Olive, Evergreen (muted) | These suggest lingering late-season foliage and a touch of nature. |
| Accent Colors | Cream, Beige, Soft Grey, Deep Purple | Provide a neutral or complementary base, making fall colors pop. |
—
Easy Autumn Leaf Nail Art Ideas for Beginners
Ready to get your hands on some gorgeous fall nails? Here are some simple and stunning ideas you can create at home.
Idea 1: The Classic Maple Leaf
This is iconic! The maple leaf is instantly recognizable and surprisingly simple to paint.
What You’ll Need:
- Base coat
- Top coat
- Red, orange, or yellow nail polish (for the leaf)
- Brown or dark red nail polish (for outline/details)
- Thin nail art brush
- Optional: A green or pink polish for a contrasting accent nail
Step-by-Step:
- Prep Your Nails: Apply a base coat and let it dry completely.
- Paint Your Base: Apply one or two coats of your chosen base color (like a creamy beige, soft grey, or even a dark brown) and let it dry thoroughly.
- Paint the Leaf Shape: Using your thin nail art brush and your red, orange, or yellow polish, paint a simple leaf shape. Think of a rounded teardrop with a few shallow indents for the lobes. Don’t worry about perfection; organic shapes are beautiful!
- Add the Stem: With the same brush and a bit of your brown or dark red polish, gently add a small stem extending from the base of the leaf.
- Outline (Optional): For a more defined look, take a tiny bit of dark polish on your brush and carefully outline the edges of the leaf.
- Add Veins (Optional): With the very tip of your brush, paint a few thin lines radiating from the stem area to mimic leaf veins.
- Accent Nail: If you want, paint your accent nail in a solid contrasting color like deep green or a muted pink.
- Seal It In: Apply a generous layer of top coat over all your nails and let it dry.
Idea 2: Falling Leaf Ombre
This technique creates a beautiful, blended effect reminiscent of leaves softly drifting down.
What You’ll Need:
- Base coat
- Top coat
- Gradient of fall colors (e.g., yellow, orange, red, brown polish)
- Cosmetic sponge or makeup wedge
- A small dish or piece of foil for polish
- Orange stick or clean-up brush
Step-by-Step:
- Prep and Base: Apply base coat, then your lightest fall color (e.g., yellow) as the base for all nails. Let it dry.
- Create the Gradient: On your foil or dish, create stripes of your other fall colors: orange next to yellow, then red, then brown.
- Apply to Sponge: Gently dab your cosmetic sponge onto the polish stripes, picking up a bit of each color.
- Dab onto Nail: Lightly and dab the sponge onto your nail, starting from the cuticle and moving upwards. Reapply polish to the sponge and repeat, layering and blending the colors as you go. Aim for a seamless transition.
- Clean Up Edges: Use your orange stick dipped in nail polish remover to clean up any polish that got on your skin.
- Repeat: Repeat this process on all your nails, or just an accent nail.
- Seal: Apply a thorough layer of top coat. The top coat will help meld the ombre colors together beautifully.
Idea 3: Dotted Autumn Accents
This is a super simple way to add fall flair with minimal effort, perfect for a busy bee!
What You’ll Need:
- Base coat
- Top coat
- A neutral base polish (beige, cream, light grey)
- Fall accent polishes (red, orange, yellow, brown)
- Dotting tool (or the tip of a bobby pin/pen)
Step-by-Step:
- Prep and Base Coat: Apply your base coat.
- Apply Base Color: Paint all your nails with your chosen neutral color. Let dry.
- Start Dotting: Dip your dotting tool in one of your fall colors (start with orange, for instance).
- Create a “Leaf Cluster”: On an accent nail (or even on all nails!), place a few dots of orange close together. Then, add a few dots of red next to them, and maybe a couple of yellow dots.
- Connect and Shape: Use your dotting tool or a thin brush to gently connect the dots and feather them out slightly to resemble a cluster of fallen leaves or abstract fall color splashes.
- Add a Stem (Optional): If you want, use a brown polish and a fine brush to add tiny “stems” connecting some of your dots.
- Seal: Once dry, apply your top coat.
Idea 4: Leaf Stamping Magic
If freehand painting isn’t your jam, nail stamping is a game-changer for intricate designs like leaves!
What You’ll Need:
- Base coat
- Top coat
- A base polish color of your choice
- Nail stamping plate with leaf designs
- Nail stamper and scraper
- Stamping polish (often more opaque) in fall colors like brown, burgundy, or deep orange
Step-by-Step:
- Prep and Base: Apply base coat and your desired base polish color. Let it dry completely.
- Apply Stamping Polish: Paint a thick layer of your stamping polish over the leaf design on your stamping plate.
- Scrape Away Excess: Hold the scraper at a 45-degree angle and quickly scrape across the plate to remove excess polish, leaving polish only in the etched design.
- Pick Up the Design: Immediately roll your stamper across the plate to pick up the design.
- Stamp Your Nail: Gently roll the stamper onto your nail. Practice makes perfect – it might take a couple of tries to get the pressure right.
- Clean Up: Use your clean-up brush dipped in remover to tidy any stray stamping polish around your nail.
- Seal: Apply a top coat. Be gentle; sometimes too much top coat can smudge stamped designs if they aren’t fully dry.
—
Advanced Tips for Stunning Autumn Leaf Nails
Once you’ve mastered the basics, here are a few ways to elevate your autumn leaf nail art designs.
Matte Finish
A matte top coat can transform your glossy fall nails into something incredibly sophisticated and velvety.
- How-to: Simply apply a matte top coat instead of your usual glossy one. It works wonderfully with deep reds, browns, and oranges for a rustic, earthy look.
Glitter Accents
Add a touch of sparkle with fine gold or bronze glitter polish.
- How-to: Apply a light layer of glitter polish over your leaf design, or use it to create small “berries” or accents around your painted leaves. A glitter gradient can also look amazing with fall colors.
Negative Space
Don’t be afraid to let some of your natural nail (or base color) show through.
- How-to: Paint only a leaf shape onto a nude or clear base, leaving the rest of the nail bare. This creates a chic, modern look.
Layering Colors
For a more realistic leaf effect, layer different shades of the same color.
- How-to: Start with a base leaf color, then use a slightly darker shade to add depth in the creases or edges, and highlight with a lighter shade.
The Power of a Good Base Coat
A quality base coat does more than just prevent staining; it creates a smooth canvas for your art and helps your polish adhere better. For vibrant fall colors, using a sheer white or nude base can make reds and oranges truly pop. You can learn more about nail prep and care from resources like the American Academy of Dermatology Association, which offers essential tips for healthy nails.
—
Frequently Asked Questions (FAQ)
Q1: How do I make my nail art last longer?
A: Start with clean, dry nails. Always use a good quality base coat, and finish with a generous layer of top coat. Reapply top coat every few days if needed. Avoid prolonged exposure to hot water, which can soften polish.
Q2: My nail polish is too thick to paint details. What should I do?
A: If a polish is too thick, it can be difficult to work with. Try adding a single drop of nail polish thinner. Avoid using nail polish remover, as it can break down the polish. If it’s an old polish, it might be time to replace it.
Q3: How can I practice nail art without committing to a full manicure?
A: You can practice on paper or even on artificial nail tips. Many nail artists use a clear top coat on a piece of plastic wrap, do their design on it once it’s semi-dry, and then press it onto their nail. This is called a decal technique and is great for practice!
Q4: What’s the best way to clean up stray polish around my cuticles?
A: The easiest way is to use an orange stick or a small, stiff brush (like an old eyeliner brush) dipped in nail polish remover. Gently trace around your cuticle line to remove any mistakes. Doing this before your top coat is key!
Q5: Can I combine different autumn leaf nail art ideas on one hand?
A: Absolutely! Mixing and matching styles can create a unique and dynamic look. For example, you could have a maple leaf accent nail on one hand and a fall ombre on another. Just make sure the overall color palette remains cohesive.
Q6: What if I don’t have special nail art brushes?
A: No problem! You can use a toothpick for small dots or lines, the edge of a fine-tooth comb for subtle textures, or even a clean-up brush with a very fine tip. Just make sure the bristles are stiff enough for control.
—
Conclusion: Embrace Your Inner Autumn Artist!
See? Creating stunning autumn leaf nail art is totally achievable, even if you’re just starting out. By using the right tools and a little imagination, you can capture the beautiful essence of fall right on your fingertips. Whether you opt for a simple painted leaf, a gradient of warm hues, or playful dots, your manicure will be a stylish reminder of the coziest season.
Don’t be afraid to experiment with different color combinations and techniques. The most important thing is to have fun with it and let your creativity shine. So grab those polishes, pick your favorite design, and get ready to enjoy a manicure that’s as gorgeous and vibrant as the autumn landscape itself. Happy painting, and happy fall!