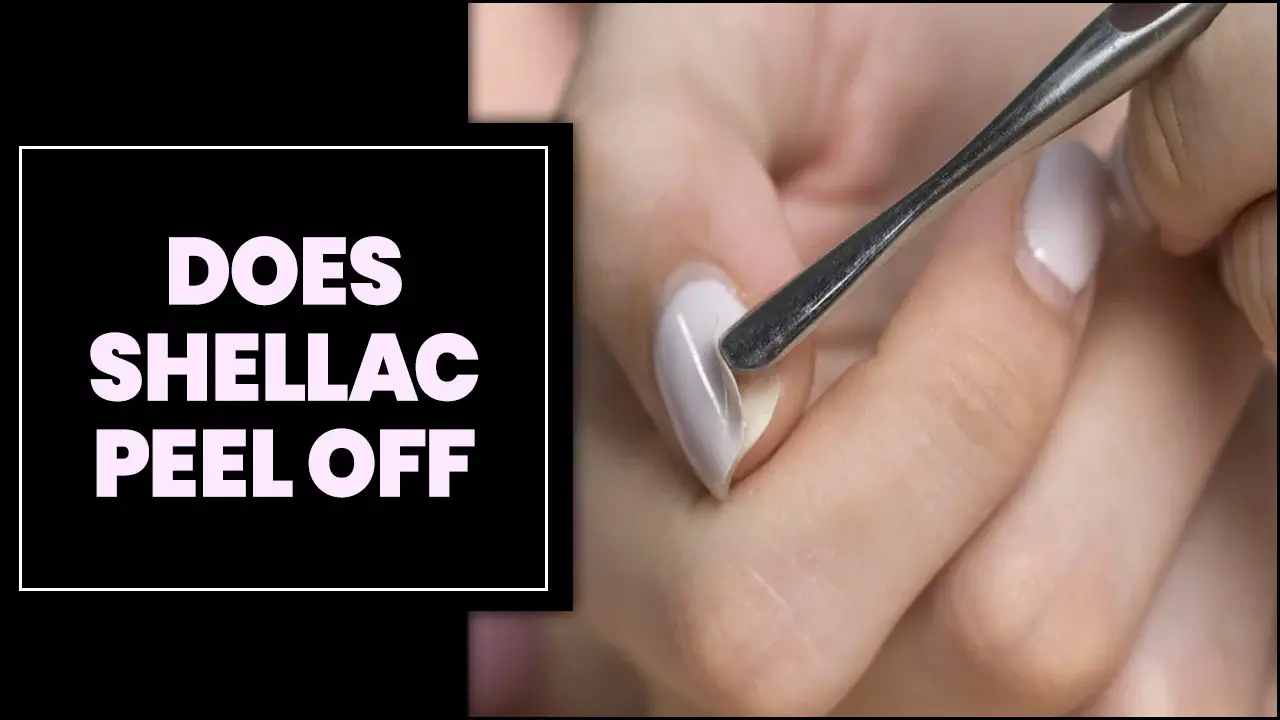
Shellac nail polish has been gaining popularity in the beauty world for its long-lasting and shiny finish. This hybrid polish combines the durability of gel polish with the ease of application of regular nail polish, making it a go-to choice for many.
However, applying shellac nail polish can be intimidating for those who are used to traditional nail polish methods. With the right techniques and tools, achieving a flawless shellac manicure at home is not as difficult as it may seem.
Here we will guide you through the step-by-step process of how to apply shellac nail polish like a professional. So, whether you are looking to save some money by doing your nails or simply want to master the art of shellac application, read on to learn everything you need to know to achieve salon-worthy results in the comfort of your own home.

How To Apply Shellac Nail Polish – Consistently Full Process
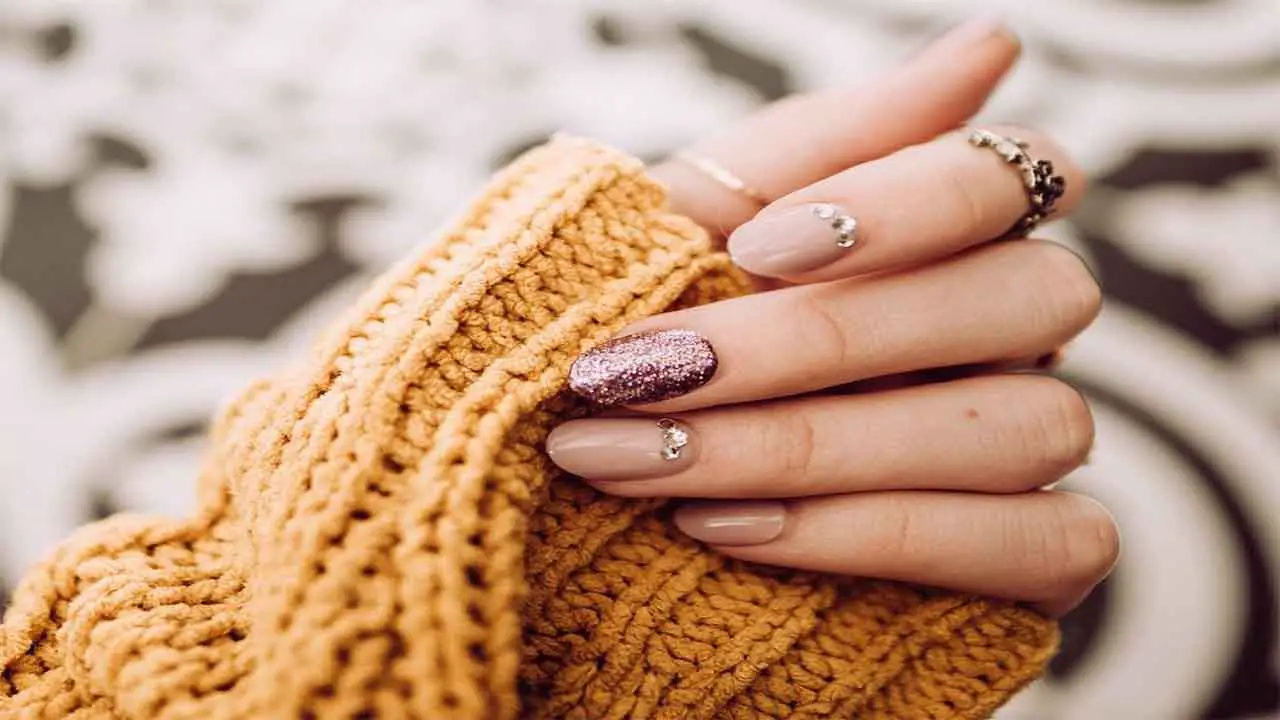
When applying Shellac nail polish, there are a few key steps to ensure a long-lasting and flawless manicure. First, start with clean and dry nails. Use a gentle nail file to shape your nails and push back your cuticles. Next, apply a thin layer of Shellac base coat and cure it under a UV or LED lamp for the recommended time.
Then, apply two thin coats of Shellac color, curing each layer under the lamp. Finally, finish off with a top coat and cure it as well. Remember to wipe away any residue with alcohol before applying each layer. Below we provide full guidelines in detail on how to apply shellac nail polish.
Products And Tools For Applying Shellac Nail Polish
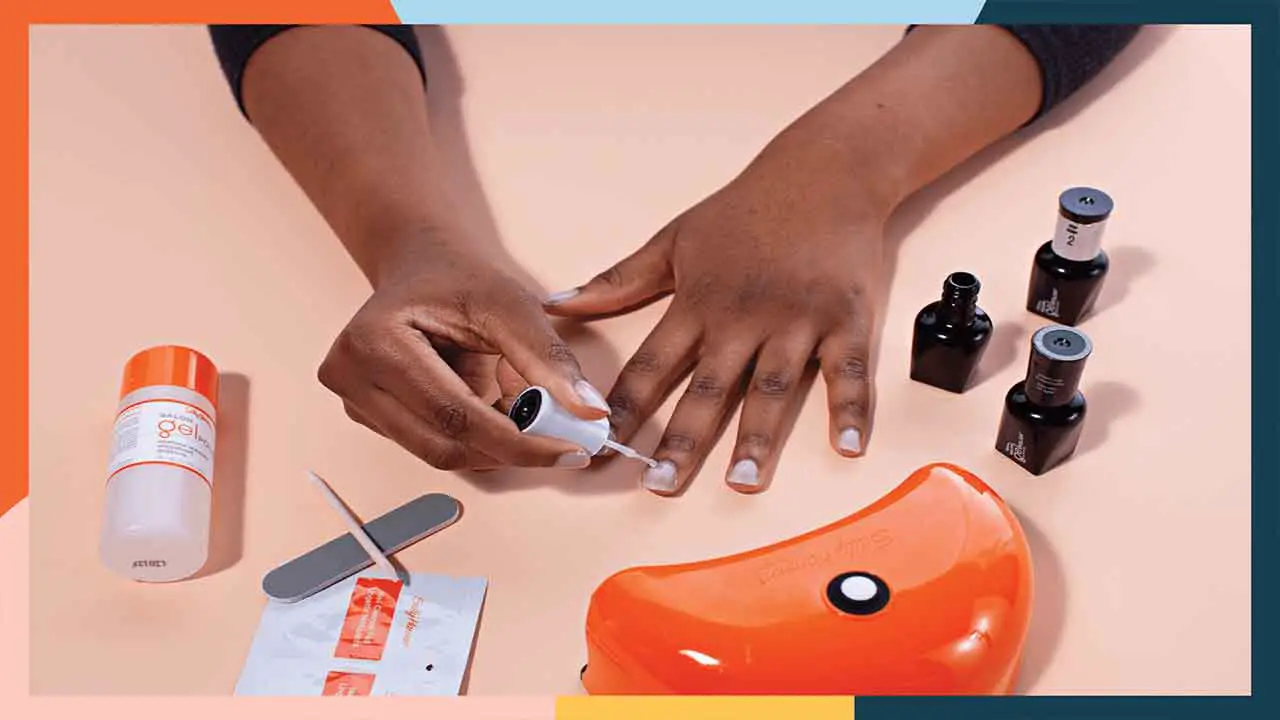
When it comes to applying Shellac nail polish, having the right products and tools is essential for achieving a long-lasting and professional-looking manicure. Here are some recommended items that you will need:
- Shellac base coat
- Shellac color polish
- Shellac top coat
- UV or LED lamp
- Alcohol wipes
- Cuticle pusher and trimmed
- Nail file and buffer
By using these recommended products and tools, you can achieve salon-quality results when applying Shellac nail polish at home. Remember to follow the instructions provided with each product for the best results.
Preparing Your Nails For Shellac Application
Before applying Shellac nail polish, it is important to properly prepare your nails to ensure a long-lasting and flawless application. Here are some steps to follow. By following these steps, you can prepare your nail for the Shelac application.
- Start by removing any existing nail polish using a gentle nail polish remover.
- Trim and shape your nails using a nail file, making sure to file in one direction to prevent splitting or damage.
- Gently push back your cuticles using a cuticle pusher or orangewood stick. Avoid cutting or trimming the cuticles, as this can increase the risk of infection.
- Use a buffing block or buffer to gently smooth the surface of your nails, removing any ridges or unevenness.
- Cleanse your nails with a lint-free wipe soaked in rubbing alcohol or a nail cleanser to remove any oils or residue.
Once your nails are properly prepared, you can proceed with applying the Shellac nail polish according to the manufacturer’s instructions. Remember to apply thin coats and cure each layer under a UV or LED lamp for the recommended time. With proper preparation and application, you can enjoy beautiful and long-lasting Shellac manicures at home.
Step-By-Step Guide On Applying Shellac Nail Polish
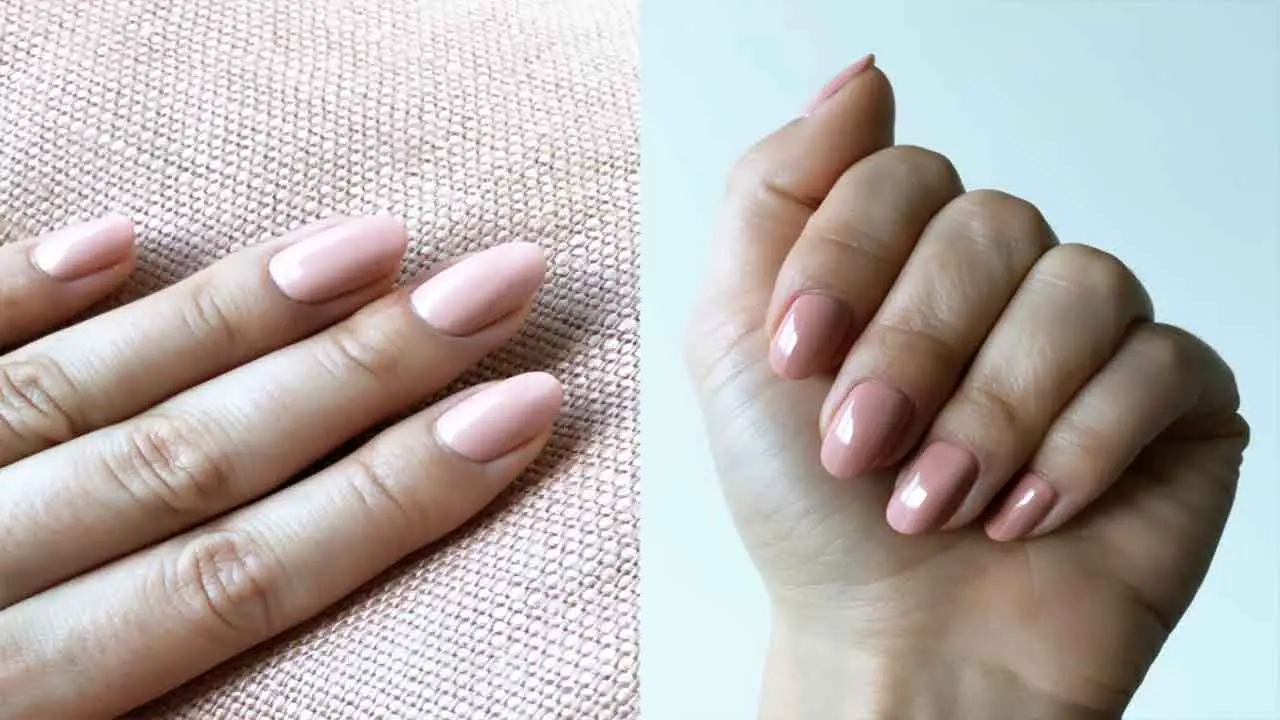
Applying Shellac nail polish is a great way to achieve a long-lasting, chip-free manicure. Follow these step-by-step instructions to achieve salon-quality results at home:
- Cleanse Your Nails: Use a lint-free wipe soaked in alcohol or a specialized cleanser to remove any oils or residue from your nails. This step is crucial for ensuring proper adhesion of the Shellac polish.
- Apply A Base Coat: Apply a thin layer of Shellac base coat to each nail, making sure to cap the edges for extra durability. Cure under a UV or LED lamp according to the manufacturer’s instructions.
- Apply Color: Choose your desired Shellac color and apply a thin, even layer to each nail. Avoid getting any polish on the skin or cuticles. Cure under the lamp again.
- Repeat Color Application (Optional): If desired, apply a second coat of color following the same steps as before. This will intensify the color and provide better coverage.
- Apply Top Coat: Finish off your manicure with a thin layer of Shellac top coat to seal in the color and add shine. Cap the edges as well. Cure under the lamp one final time.
- Remove Sticky Residue: After curing, there may be a sticky residue left on your nails. Simply wipe it away using an alcohol-soaked lint-free wipe or cleanser.
- Moisturize: Finish by applying cuticle oil or hand cream to nourish and hydrate your hands and nails.
With these easy steps, you can achieve a beautiful, long
Curing The Shellac Polish With A UV Or LED Lamp
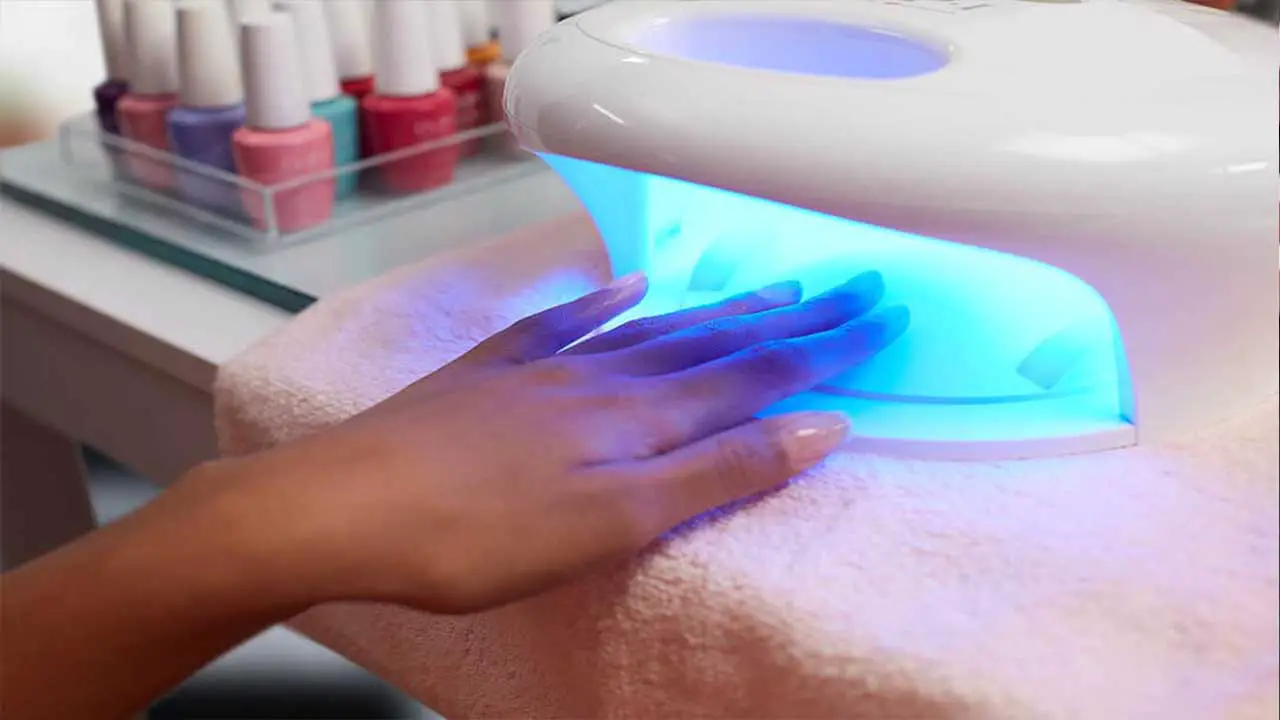
Curing the Shellac polish is a crucial step in achieving long-lasting and chip-free nails. To properly cure the Shellac polish, you will need to use a UV or LED lamp. Here’s how to do it. By properly curing the Shellac polish with a UV or LED lamp, you can ensure that your manicure lasts for up to two weeks without chipping or peeling.
- Apply a thin, even layer of Shellac polish to your nails.
- Place your hand under the UV or LED lamp and ensure that your nails are positioned directly under the light.
- Follow the manufacturer’s instructions for curing time. Typically, UV lamps require 2 minutes of curing time, while LED lamps only require 30-60 seconds.
- Repeat the process for each layer of Shellac polish, applying a base coat, color coat(s), and topcoat.
- After curing the final layer of topcoat, use a lint-free wipe soaked in rubbing alcohol to remove any residue or tackiness from the nails.
How To Remove Shellac Nail Polish Properly
When it comes to removing Shellac nail polish properly, there are a few steps you should follow to ensure the best results. Here’s a quick guide. Following these steps will help you remove Shellac nail polish properly without damaging your natural nails. Remember to take your time and be gentle throughout the process for the best results.
- Start by filing the top layer of the Shellac polish gently with a nail file. This will help break the seal and make the removal process easier.
- Soak a cotton ball or pad in acetone-based nail polish remover.
- Place the soaked cotton ball or pad on your nail and wrap it with aluminum foil. Repeat this step for all of your nails.
- Let the wrapped nails sit for about 10-15 minutes to allow the acetone to soften the Shellac polish.
- After the soaking time is up, gently press down on each nail and twist off the foil wraps.
- Use an orangewood stick or cuticle pusher to gently scrape off any remaining softened Shellac polish from your nails.
- Finish by washing your hands thoroughly and applying cuticle oil or hand cream to moisturize and nourish your nails and cuticles.
Maintaining The Longevity Of Your Shellac Manicure
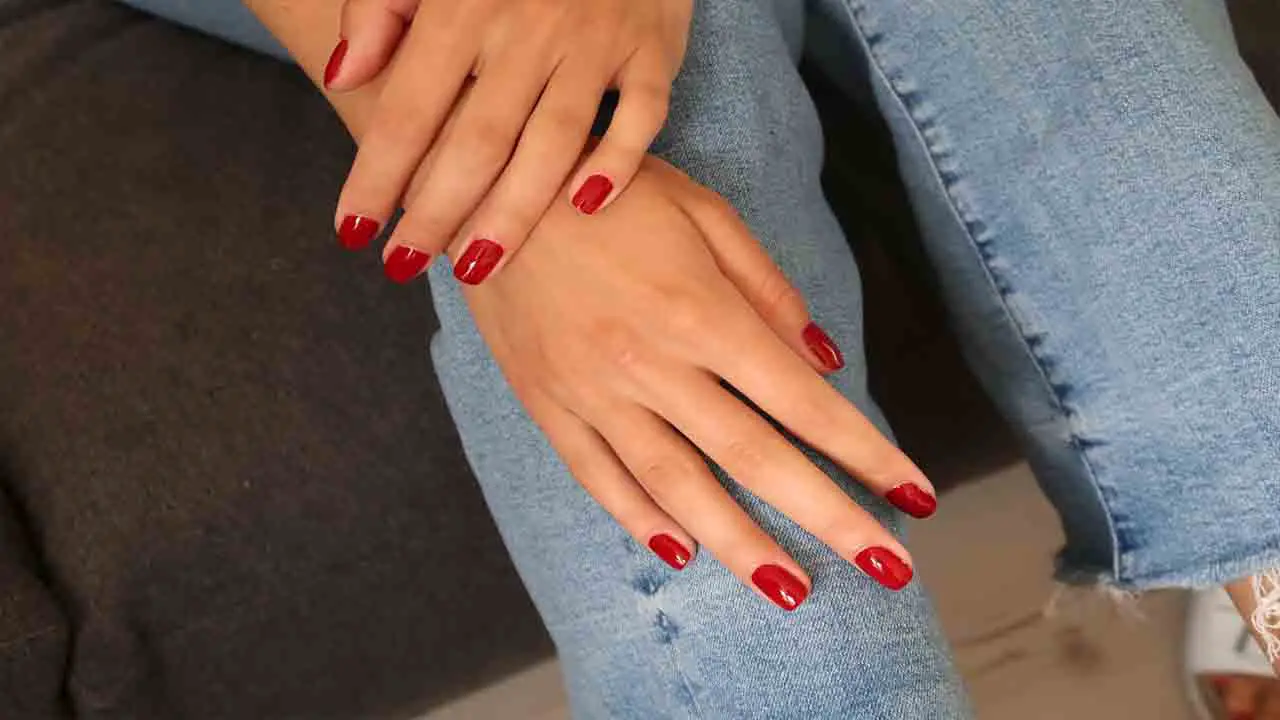
Maintaining the longevity of your Shellac manicure is key to enjoying beautiful, chip-free nails for as long as possible. Here are some tips to help you make your Shellac polish last. By following these tips, you can extend the life of your Shellac manicure and enjoy beautiful, long-lasting nails that are sure to turn heads.
- Avoid Using Your Nails As Tools: While it may be tempting to use your nails to open packages or scrape off stickers, this can cause the polish to chip or peel. Use a tool instead.
- Protect Your Nails During Household Chores: When doing chores like washing dishes or cleaning, wear gloves to prevent exposure to harsh chemicals and excessive moisture, which can weaken the polish.
- Moisturize Regularly: Keeping your cuticles and nail beds moisturized can help prevent the polish from lifting or peeling. Use cuticle oil or a nourishing hand cream daily.
- Be Cautious With Hot Water: Excessive exposure to hot water, such as long showers or hot tubs, can cause the polish to lift. Try using lukewarm water instead.
- Schedule Regular Touch-Ups: Over time, the natural growth of your nails may create a gap between the cuticle and the polish. To maintain a flawless look, schedule regular touch-ups at your salon.
Common Mistakes To Avoid When Applying Shellac Polish
Maintaining the longevity of your Shellac manicure is key to enjoying beautiful, chip-free nails for as long as possible. Here are some tips to help you make your Shellac polish last. By following these tips, you can extend the life of your Shellac manicure and enjoy beautiful, long-lasting nails that are sure to turn heads.
- Avoid Using Your Nails As Tools: While it may be tempting to use your nails to open packages or scrape off stickers, this can cause the polish to chip or peel. Use a tool instead.
- Protect Your Nails During Household Chores: When doing chores like washing dishes or cleaning, wear gloves to prevent exposure to harsh chemicals and excessive moisture, which can weaken the polish.
- Moisturize Regularly: Keeping your cuticles and nail beds moisturized can help prevent the polish from lifting or peeling. Use cuticle oil or a nourishing hand cream daily.
- Be Cautious With Hot Water: Excessive exposure to hot water, such as long showers or hot tubs, can cause the polish to lift. Try using lukewarm water instead.
- Schedule Regular Touch-Ups: Over time, the natural growth of your nails may create a gap between the cuticle and the polish. To maintain a flawless look, schedule regular touch-ups at your salon.
Shellac Nail Polish Benefits
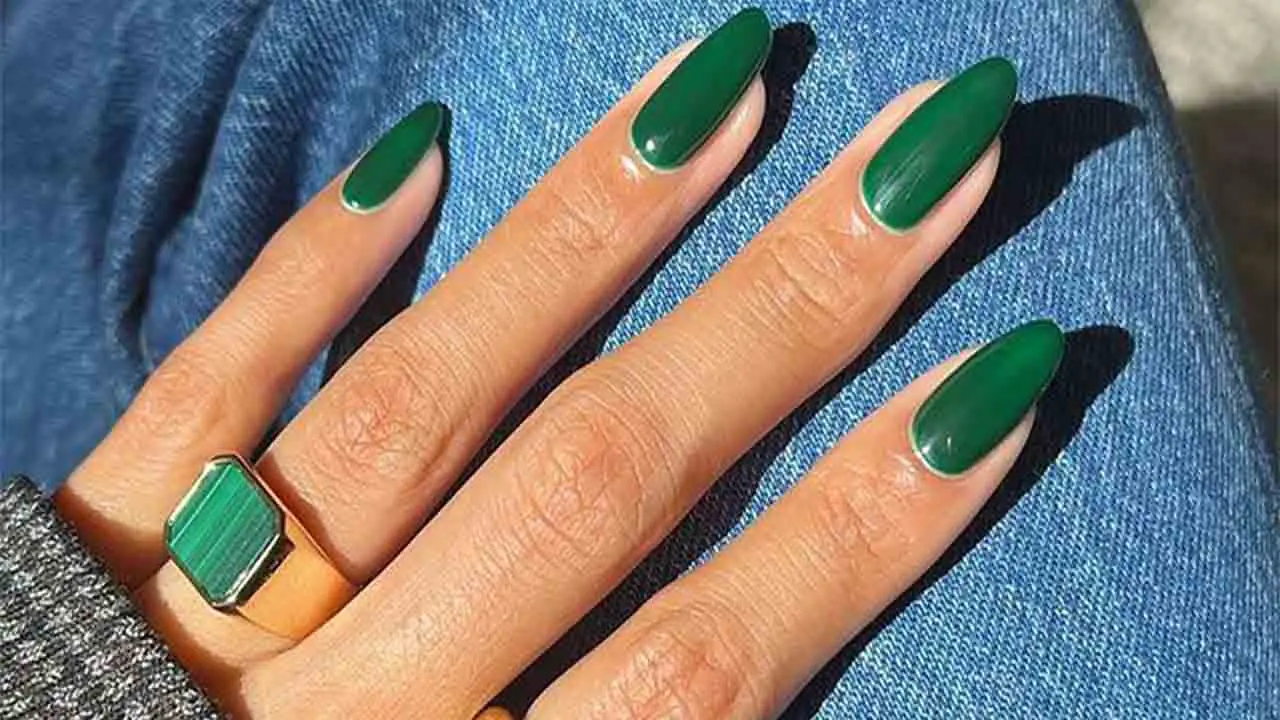
Shellac nail polish is a popular option for those looking for long-lasting, chip-free manicures. Unlike traditional nail polish, Shellac is a hybrid that combines the properties of both gel and regular polish. It is applied in several layers, each of which is cured under a UV or LED lamp to create a strong, durable finish. Some of the benefits of using Shellac nail polish include:
Longevity: Shellac can last up to two weeks without chipping or peeling, making it perfect for those who want low-maintenance nails.
Quick Drying Time: The curing process takes just a few minutes under a UV or LED lamp, meaning you can be out the door with dry nails in no time.
High Shine: Shellac provides a glossy finish that remains shiny throughout the entire wear time.
Easy Removal: While Shellac is known for its long-lasting qualities, it can still be easily removed without damaging the natural nails when done correctly with acetone wraps or foil wraps. So if you’re looking for salon-worthy nails that last without any hassle, give Shellac nail polish a try.
Conclusion
Achieving salon-quality nails at home is easier than you think, especially when it comes to applying shellac nail polish. By following these simple steps on how to apply shellac nail polish, you can achieve a long-lasting and flawless manicure that will make your nails the envy of everyone around you.
Remember always to prep your nails properly, apply thin layers of shellac polish, cure each layer under a UV or LED lamp, and finish with a top coat for added shine and durability. With a little practice and patience, you’ll be able to master the art of applying shellac nail polish in no time. So go ahead, give it a try and enjoy beautiful, chip-free nails that last for weeks.
FAQs
1.What Is The Purpose Of Shellac?
Ans: Shellac is a type of natural resin that is used for various purposes, primarily as a protective coating or varnish. It is derived from the secretions of the lac beetle and has been used for centuries in various industries, including woodworking, furniture making, and even in food and pharmaceutical applications.
2.Can You Do Shellac Nails At Home?
Ans: Yes, it is possible to do shellac nails at home with the right tools and products. However, it is important to note that shellac nails require a UV or LED lamp to cure the polish, which may be an additional expense.
3.Is Shellac The Same As Gel?
Ans: No, shellac and gel are not the same. Shellac is a natural resin that is derived from the secretions of the lac beetle and is commonly used as a protective coating for wood and other surfaces.
4.Does Shellac Polish Need Uv?
Ans: No, shellac polish does not need UV light to cure. Shellac polish is a blend of gel and traditional nail polish, and it cures through a chemical reaction when exposed to air.
5.How Many Coats Of Shellac?
Ans: The number of coats of shellac typically depends on the desired outcome and the condition of the project. However, it is common to apply 2-3 thin coats of shellac, allowing each coat to dry completely before applying the next.

