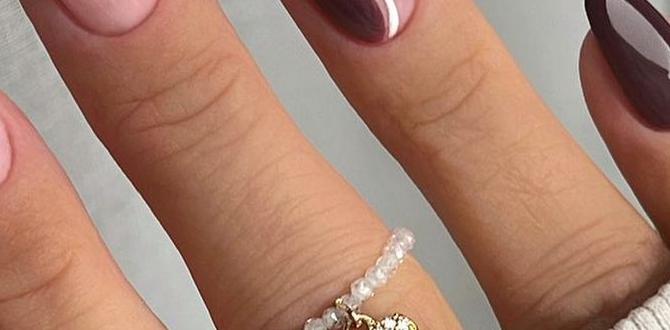
Anniversary date night nail designs add a special touch to your celebration! Get romantic, elegant, or fun looks with easy DIY ideas perfect for beginners, using simple tools and techniques to make your nails shine for your special occasion.
Planning a special anniversary date night? We often focus on the outfit, the restaurant, or the gift, but don’t forget your nails! Your fingertips can be the perfect canvas to express your love and add a little extra sparkle to your romantic evening. It’s easy to feel overwhelmed with complex nail art, but achieving beautiful anniversary nails doesn’t have to be difficult. We’re here to guide you through simple, stunning designs that anyone can do, making your special night even more memorable and letting your hands do the talking.
Why Your Anniversary Nails Matter
Your nails are a small detail that can make a big statement. For an anniversary date night, they’re a personal touch that completes your look. Think about it: you’ll be holding hands, perhaps toasting with champagne, or gesturing as you share stories. Beautifully done nails can boost your confidence and make you feel polished and radiant. It’s a way to show yourself some love, too!
Essential Tools for Your Anniversary Manicure
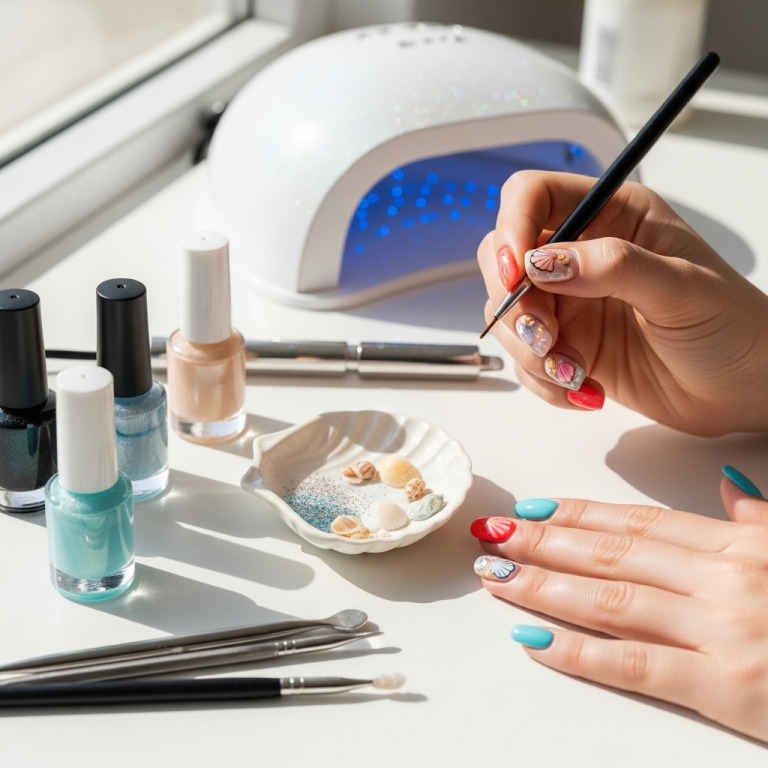
Before we dive into designs, let’s gather your nail art essentials. You probably have most of these at home already!
Nail Polish Remover: To start with a clean slate.
Cotton Pads or Balls: For applying remover.
Nail File: To shape your nails perfectly.
Nail Buffer: To smooth out ridges and create a shine.
Base Coat: Protects your natural nail and helps polish adhere.
Top Coat: Seals your design and adds gloss.
Your Chosen Nail Polishes: Think about colors that match your outfit or evoke romance.
Optional: Dotting Tool or Toothpick: For creating small dots and simple patterns.
Optional: Thin Nail Art Brush: For more intricate lines or designs.
Optional: Glitter Polish or Rhinestones: For that extra anniversary sparkle! More on choosing the right nail polish can be found on the U.S. Food & Drug Administration’s page on nail products, which highlights ingredients and safety.
Easy & Elegant Anniversary Date Night Nail Designs for Beginners
Let’s get creative! These designs are simple to execute and look incredibly chic.
1. The Classic Red Romance
Red is the ultimate romantic color. It’s timeless, bold, and perfect for an anniversary.
Step 1: Prep your nails. Ensure they are clean, dry, and shaped. Apply a base coat and let it dry completely.
Step 2: Apply red polish. Paint two thin, even coats of your favorite classic red polish. Allow each coat to dry fully.
Step 3: Add a touch of elegance. Once the red is dry, use a fine nail art brush or a toothpick dipped in metallic gold or silver polish to paint a thin line at the base of your nail, following your cuticle.
Step 4: Seal it. Apply a good quality top coat for shine and protection.
This design is sophisticated and requires minimal artistic skill. The pop of metallic adds a festive, celebratory feel.
2. Subtle Sparkle with Glitter Accents
Who doesn’t love a bit of sparkle for a special occasion? This design is all about adding a glamorous touch without being over the top.
Step 1: Start with a neutral base. Apply a sheer nude, pale pink, or soft white polish as your base color. Let it dry.
Step 2: Glitter accent nail. On one or two nails (your ring fingers are traditional), apply a fine-glitter polish. You can apply it all over or just to the tips. For a more controlled glitter look, use a makeup sponge: dab glitter polish onto the sponge and then press it onto the nail.
Step 3: Enhance the sparkle (optional). If you have tiny rhinestones, you can use a dot of clear polish or nail glue to adhere one or two near the cuticle on your glitter nails.
Step 4: Top it off. Apply a clear top coat over all your nails to seal everything and add shine.
3. The Chic French Twist
The French manicure is a classic for a reason, but we can give it an anniversary update!
Step 1: Base color. Apply a sheer nude or pink polish to your entire nail. Let it dry.
Step 2: Metallic tips. Instead of white, use a metallic polish (gold, rose gold, or silver) to paint the tips of your nails. For a clean line, you can use nail art tape if you have it, or carefully freehand it.
Step 3: Seal the deal. Apply a generous top coat over all nails.
This modern take on the French manicure is elegant and surprisingly easy to achieve with metallic polishes.
4. Deep Jewel Tones for Sophistication
Deep, rich colors like emerald green, sapphire blue, or deep burgundy exude luxury and sophistication, making them perfect for a romantic evening.
Step 1: Prep and base coat. As always, start by cleaning and shaping your nails, and apply a base coat.
Step 2: Rich color. Apply two coats of your chosen deep jewel-toned polish. These colors often have a beautiful sheen.
Step 3: Subtle detailing (optional). If you’re feeling a bit adventurous, use a toothpick to carefully add a few tiny dots of a contrasting metallic polish (like gold on emerald) along the cuticle line.
Step 4: Finalize with top coat. Apply a clear top coat for a high-gloss finish.
5. The “Love” Letter Accent Nail
This design is sweet, personal, and a fun way to celebrate your relationship.
Step 1: Base color. Choose a soft, romantic color like pale pink, lavender, or a creamy white. Apply two coats.
Step 2: Accent nail. On one or two nails (usually the ring finger), paint a small, neat heart shape using a contrasting red or pink polish. Alternatively, use a fine brush to write a single initial of your partner’s name, or a tiny “” symbol.
Step 3: Add sparkle (optional). A touch of fine glitter polish around the nail art can make it pop.
Step 4: Secure with top coat. Apply a clear top coat to protect your delicate art.
Creating a Professional Finish: Tips for Beginners
Even with simple designs, a few tips can elevate your DIY manicure:
Cleanliness is Key: Always start with clean, dry nails. Remove any old polish thoroughly.
Thin Coats are Better: Multiple thin coats of polish dry faster and look smoother than one thick coat.
Brush Strokes: Dip your brush into the polish, then wipe one side cleanly on the bottle neck to avoid excess polish. Apply polish in three strokes: one down the center, then one on each side.
Clean Up Mistakes: Keep a small brush dipped in nail polish remover handy to clean up any polish that gets on your skin around the nail. This makes a huge difference!
Patience, Please! Allow each layer of polish to dry completely before applying the next one or moving on to the next step.
Tools Comparison: Dotting Tools vs. Toothpicks
For simple dot designs, both dotting tools and toothpicks can work. Here’s a quick comparison:
| Feature | Dotting Tool | Toothpick |
| :————- | :————————————————- | :——————————————- |
| Tip Size | Comes in various sizes for different dot diameters. | Fixed, small size. |
| Consistency| More consistent dot shape and size. | Can be less consistent; shape can change. |
| Control | Generally offers better control. | Can be a bit more fiddly. |
| Availability| Purchase online or at beauty supply stores. | Readily available at home. |
| Best For | Uniform dots, creating patterns, small details. | Quick, tiny dots; emergency detail work. |
Both are excellent for beginners! If you plan on doing nail art regularly, investing in a dotting tool set is worthwhile. For a one-off anniversary design, a toothpick will certainly do the job.
What About Nail Shapes?
The shape of your nails can complement your design. For an anniversary date night, consider these popular and elegant shapes:
Squoval: A classic combination of square and oval, featuring straight sides with rounded corners. It’s universally flattering and practical.
Round: Following the natural curve of the fingertip, round nails are simple and chic. They tend to make fingers look longer and are less prone to breakage.
Almond: Longer and tapered to a soft point, almond nails are incredibly elegant and feminine. They are perfect for showcasing sophisticated colors and designs.
Stiletto: Similar to almond but with a sharper, more dramatic point. Best for those who want a bolder statement.
Choose a shape that you find comfortable and that flatters your hands. For beginner-friendly designs, squoval or round shapes are often the easiest to work with.
Incorporating Nail Art Trends
Feeling a little more adventurous? You can subtly incorporate trends into your anniversary nails:
Minimalist Lines: A single, thin metallic or black line drawn across a nude or pastel nail can be incredibly chic.
Negative Space: Leaving a portion of the nail unpolished, often in a geometric shape, adds a modern and sophisticated touch.
Holo-shimmer: A subtle holographic or shimmer top coat over a solid color can catch the light beautifully.
Caring for Your Anniversary Nails
To ensure your beautiful anniversary nails last through your special day (and potentially beyond!), follow these simple care tips:
Avoid Harsh Chemicals: Wear gloves when doing chores or handling cleaning products.
Moisturize: Keep your cuticles and hands hydrated with a good cuticle oil and hand cream. This prevents dry, flaky skin that can detract from your manicure.
Touch-Up if Needed: If you get a small chip, you can try to touch it up with a bit of polish and a top coat.
* Don’t Pick or Peel: Resist the urge to pick at your polish, especially if it starts to chip. This can damage your natural nail.
FAQ: Your Anniversary Nail Design Questions Answered
Q1: What are the best colors for anniversary date night nails?
A1: Classic choices include red, deep jewel tones (burgundy, emerald, sapphire), metallics (gold, silver, rose gold), and elegant nudes or soft pinks. You can also choose colors that complement your outfit or are meaningful to your relationship.
Q2: I have very short nails. Can I still do anniversary nail designs?
A2: Absolutely! Short nails are great for manicures. Simple designs like a solid deep color, a glitter accent nail, or metallic tips look fantastic on short nails. Focus on clean application and nail shape.
Q3: How long do DIY anniversary nail designs usually last?
A3: With a good base and top coat, and careful handling, most DIY manicures can last anywhere from 3 to 7 days. The longevity also depends on the quality of the polishes used and how much wear and tear your hands experience.
Q4: What’s the easiest way to get a smooth, chip-free finish?
A4: Start with a good base coat, apply thin, even coats of polish, and finish with a high-quality, quick-dry top coat. Sealing the free edge (the very tip of your nail) with your top coat can also help prevent chips.
Q5: I’m not artistic. What’s the simplest design I can try?
A5: A single, beautiful color like a classic red or a deep berry is always elegant! Alternatively, painting all your nails in one color and adding a glitter polish just on your ring finger(s) is super simple and very effective.
Q6: Can I use nail stickers or transfers for an anniversary design?
A6: Yes! Nail stickers and water transfers are fantastic for beginners. You can find many romantic or elegant designs that can be applied over a base coat and then sealed with a top coat for a professional look with minimal effort.
Conclusion: Your Love Story, On Your Fingertips
Your anniversary date night is a celebration of your unique love story. Adding a touch of personalized nail art isn’t about perfection; it’s about joy, self-expression, and feeling your absolute best as you celebrate someone special. Whether you opt for a timeless red, a subtle sparkle, or a chic metallic tip, the most important thing is that your nails make you feel confident and beautiful. With these simple designs and a few basic tools, you can create stunning anniversary date night nails that perfectly complement your romantic evening. So go ahead, have fun, and let your newly adorned fingertips add a little extra magic to your special celebration!


