Learn how to create stunning anime-inspired nail art with these easy-to-follow tips and essential tools. From choosing your characters to mastering the techniques, this guide breaks down anime nail designs for beginners, ensuring vibrant, long-lasting results that express your unique fandom!
Hey nail lovers! Are you ready to dive into the super fun world of anime nail designs? It might seem a little intimidating at first, but trust me, with a few simple tricks, you’ll be creating eye-catching manicures that showcase your favorite characters and series in no time. We’ll cover everything from finding inspiration to picking out the right colors and tools. Get ready to unleash your inner artist and make your nails a canvas for your anime passion!
I can’t wait to show you how to bring your beloved anime characters to life right on your fingertips. We’ll make sure it’s easy and enjoyable every step of the way!

Why Anime Nail Designs Are All the Rage
Anime nail designs have exploded in popularity, blending the vibrant, imaginative worlds of animation with the personal flair of nail art. Whether it’s the striking eyes of a beloved protagonist, the iconic colors of a magical girl’s outfit, or the distinct patterns of a powerful mecha, anime offers an endless wellspring of inspiration.

These designs allow fans to wear their passion, turning their nails into miniature works of art that tell a story. From subtle nods to bold statements, anime nails are a fantastic way to express personality and connect with fellow enthusiasts.
Getting Started with Anime Nail Designs: Your Beginner Guide
Embarking on your anime nail design adventure is exciting! The key is to start simple and build your skills. Think of it like learning a new drawing technique – practice makes perfect! We’ll break down the process into easy-to-understand steps.
1. Finding Your Anime Inspiration
The first step is to decide which anime you want to feature. Think about:
Your favorite characters: Who do you connect with? Their unique features, costumes, or even their signature colors can be great starting points.
Iconic symbols or logos: Many anime have instantly recognizable symbols, like the Survey Corps emblem from Attack on Titan or the Straw Hat Pirates’ Jolly Roger from One Piece.
Color palettes: Does a particular anime have a signature color scheme? Think of the pastel hues of Sailor Moon or the gritty browns and blacks of Death Note.
Series themes: Maybe you want to capture the general vibe of a genre, like the energetic shonen style or the serene beauty of a slice-of-life anime.
Once you have an idea, gather reference images. Save pictures of your chosen characters, symbols, or even screenshots from the anime itself. This will be your visual guide!
2. Essential Tools and Supplies
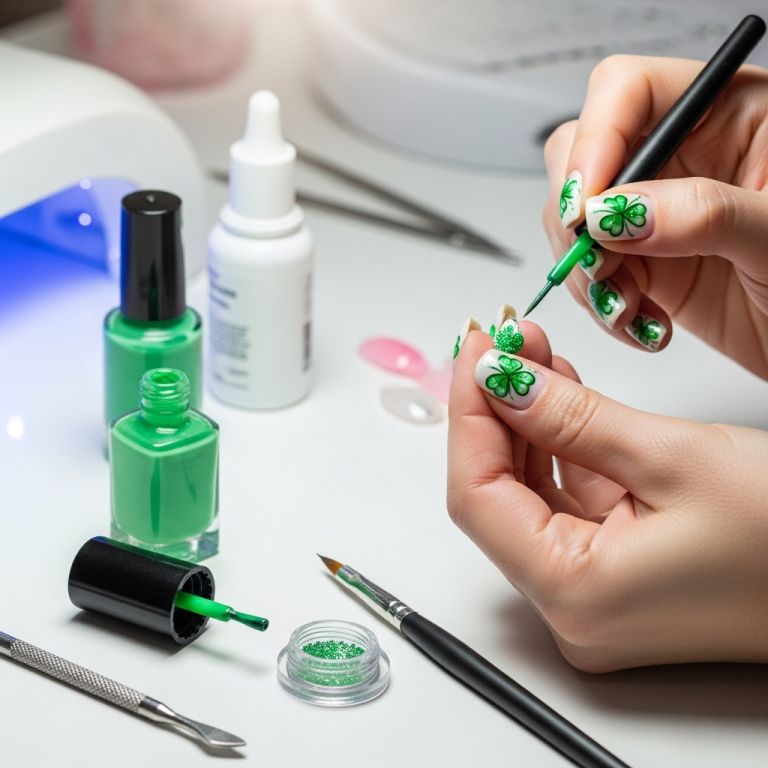
You don’t need a professional nail salon in your home to create amazing anime nails. Here’s a breakdown of what you’ll need, from basics to more advanced items:
Base & Top Coats
No nail art look is complete without a solid foundation and a protective finish. A good base coat prevents staining and helps polish adhere better. A top coat seals your design, adds shine, and prevents chipping, making your anime art last longer!
Nail Polish Colors
Gather a range of colors relevant to your chosen anime. Don’t be afraid to get creative! Sometimes, mixing your own shades can achieve that perfect anime hue. Check out this guide on basic color mixing to help unlock unique shades.
Fine-Tipped Brushes & Dotting Tools
These are your best friends for detailed work. A fine-tipped brush is perfect for drawing lines, outlines, and small details like eyes. Dotting tools are great for creating dots, patterns, and even tiny facial features. You can find beginner-friendly sets online or at beauty supply stores.
Dotting Tools Comparison
| Tool Type | Use Case | Beginner-Friendliness |
|---|---|---|
| Single Dotting Tool (Various Sizes) | Creating dots, small circles, blending, outlining. | Very High |
| Dual-Ended Dotting Tools | Multiple dot sizes in one tool, great for patterns. | High |
| Fine-Liner Brushes (e.g., 7mm, 9mm) | Drawing thin lines, intricate details, anime eyes, text. | Medium (requires some practice) |
| Fan Brush | Creating gradient effects, blending. | Medium |
Acrylic Paints or Gel Paints (Optional but Recommended)
While nail polish works, acrylic or gel paints offer more opacity and easier control for intricate details. They dry faster and can be easier to blend for smooth transitions, crucial for capturing anime-style shading. If you opt for gel polishes, remember you’ll need a UV/LED nail lamp to cure them.
Clear Tape or Stencils (Optional)
For sharp lines and geometric patterns, tape can be a lifesaver. Stencils can also help replicate specific logos or shapes.
Cleanup Tools
A small brush or cotton swabs dipped in nail polish remover are essential for cleaning up any smudges or mistakes along the edges. Precision is key!
3. Preparing Your Nails
Proper nail prep is crucial for any long-lasting manicure, especially detailed nail art.
Clean your nails: Remove any old nail polish. Wash your hands thoroughly.
Shape your nails: File them to your desired shape. Almond, squoval, or stiletto shapes can all work for anime designs!
Push back cuticles: Gently push back your cuticles with an orange stick or cuticle pusher. Healthy cuticles make your nail bed look longer and provide a clean canvas.
Apply a base coat: This is non-negotiable! A good base coat protects your natural nails from staining, especially if you’re using dark or vibrant colors. Let it dry completely.
4. Design Techniques for Anime Nails
Now for the fun part – bringing your anime vision to life! Here are some popular techniques and how to apply them for that authentic anime feel.
A. Solid Colors and Accent Nails
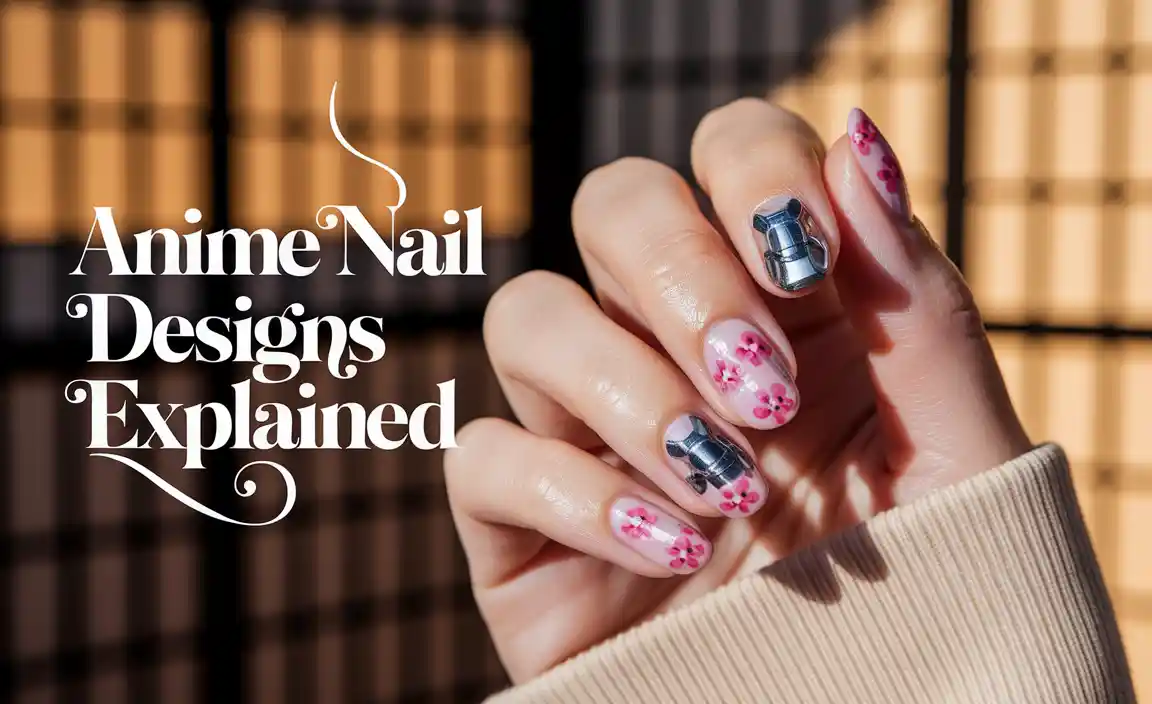
This is the easiest way to start! Choose a main color from your anime inspiration and paint all your nails. Then, pick one or two accent nails to feature a character face, symbol, or pattern. For example, you could have all nails in a bright “magical girl” pink, with one nail featuring a detailed drawing of a character’s eye.
B. Character Portraits and Eyes
Anime eyes are iconic and incredibly expressive! They are often large, detailed, and full of emotion. To draw them:
- Use a fine-tipped brush and a light color for the base of the iris.
- Add darker colors for the pupil and iris details.
- Create highlights with white or a lighter shade to make them pop. This is key to that “sparkling” anime look!
- Outline the eye with a thin black line for definition.
For full character faces, start with the eyes and build from there. It might be easier to practice drawing the face on paper first!
C. Symbols and Logos
Many anime have instantly recognizable symbols. These are great for accent nails:
- Use tape to create clean lines for geometric symbols.
- Alternatively, use a fine-tipped brush to carefully paint the design.
- Gel pens designed for nails can also offer great precision for sharp logos.
D. Gradient and Ombre Effects
Gradients can mimic the sky in an anime scene or the smooth transition of a character’s powers.
- Use a makeup sponge to dab colors onto the nail, blending them together as you go.
- Start with your lightest color at the cuticle and blend into darker shades towards the tip, or vice versa.
E. Stamping and Decals
For a less hands-on approach, consider nail stamping or decals.
- Stamping: Use stamping plates with anime-themed designs and a stamper to transfer the image onto your nail. This is fantastic for intricate patterns that would be hard to freehand. Many companies offer anime-specific stamping plates.
- Decals: You can find pre-made anime nail decals or stickers. Apply them over a base coat and seal with a top coat. Ensure you get good quality decals that adhere well and don’t look too thick.
F. Simulating Anime Textures and Shading
To really capture the anime feel, think about how characters are drawn and shaded.
- Cel Shading: This is a technique where you use stark lines of color to create shadows, mimicking traditional animation cells. Think of a strong line of dark color to define the edge of a character’s jawline or hair.
- Bold Outlines: Many anime characters have clear, bold black outlines. Replicate this by carefully outlining your designs with a very fine brush and black polish or paint.
5. Applying Anime Nail Designs: Step-by-Step Example (Simple Character Icon)
Let’s create a simple, recognizable icon, like an anime character’s silhouette or a classic symbol. We’ll use a simplified version of the “Moon Prism Power Make Up” compact from Sailor Moon as an example.
Step 1: Prep Your Nails
Ensure your nails are clean, shaped, and have a base coat applied and dried. For this design, a solid baby pink or very light purple base would be lovely.
Step 2: Apply Base Color
Paint all your nails with your chosen base color (e.g., baby pink). Apply two thin coats for even coverage and let them dry completely under a UV/LED lamp if using gel polish.
Step 3: Paint the Symbol Shape
On your accent nail (usually the ring finger), use a fine-tipped brush and a metallic gold or yellow nail polish. Carefully paint a crescent moon shape. If you’re not confident freehanding, you might sketch a faint pencil line first (which will be covered by polish) or use a small stencil.
Step 4: Add Details
Use a very fine-tipped brush and black nail polish. Carefully paint a thin outline around the gold crescent moon to give it definition. You can also add a tiny dot of white polish to the moon for a subtle highlight or shine.
Step 5: Add Secondary Element (Optional)
To make it more identifiable but still simple, you could also add a small red dot in the center of the moon, mimicking the gem on the compact. Use a dotting tool or the tip of your fine brush.
Step 6: Seal Your Design
Once all the paint is completely dry (or gel is cured), apply a generous layer of clear top coat. Make sure to cap the free edge of your nail by running the brush along the tip. This is crucial for preventing chipping and sealing in your beautiful anime art!
6. Making Your Anime Nails Last
You’ve put in the effort, so you want your anime masterpiece to stick around!
Top Coat is King: Always use a high-quality top coat. Reapply every few days if needed, especially after activities that might cause wear.
Cap the Edges: As mentioned, running your top coat brush along the free edge of your nail seals the design and prevents lifting.
Wear Gloves: When doing household Chores like washing dishes or cleaning, wear rubber gloves. Water and harsh chemicals are enemies of nail polish.
Avoid Using Nails as Tools: Resist the urge to pick, scrape, or pry with your nails. They are for decoration, not for opening packages!
Moisturize: Keep your cuticles and hands moisturized with cuticle oil and hand lotion. Healthy nails and skin make your manicure look its best.
Common Anime Nail Design Themes and Ideas
Ready for some serious inspiration? Here are some popular anime themes that translate beautifully onto nails:
Shonen & Action Anime Designs
Bold Lines & Vibrant Colors: Think of Dragon Ball Z. Use bright oranges, blues, and yellows. Create Goku’s hair spikes or the iconic four-star ball.
Character Crests & Logos: Attack on Titan‘s Survey Corps or Wings of Freedom, My Hero Academia‘s various hero symbols.
Battle Effects: Swirling energy patterns, stylized “POW!” or “BAM!” text, or crackled effects.
Darker Palettes: For anime like Death Note or Tokyo Ghoul, use blacks, deep reds, grays, and stark white accents.
Magical Girl Anime Designs
Pastel Palettes & Sparkles: Sailor Moon is the ultimate example – think pinks, blues, yellows, and glitter! Crescent moons, stars, hearts, and magical wands are perfect motifs.
Character Outfit Motifs: Recreate the patterns or colors from iconic magical girl uniforms.
Transformation Sequences: Use gradients and glitter to evoke the magic of transformation.
Isekai & Fantasy Anime Designs
Mystical Symbols: Runes, ancient scripts, or glowing orbs.
Natural Elements: Forest greens, earthy browns, sky blues, or flame oranges.
* Character Silhouettes: Simple, elegant silhouettes of main characters against a gradient background.
Anime Eyes
As mentioned, distinct anime eyes are a popular design element. Experiment with different styles:
- Sharp & Intense: Common in action or dark fantasy anime.
- Large & Expressive: For shojo or slice-of-life series.
- Monochromatic or Limited Color: Some characters have striking, single-color eyes.
Minimalist Anime Nods
Not everyone wants a full character on their nail! You can incorporate subtle nods:
- A single iconic color from the series.
- A very small, minimalist symbol in white or black on an accent nail.
- A simple geometric pattern inspired by a character’s clothing.
Tip for Beginner Anime Nail Artists
Start with simpler elements. Don’t try to paint a full, detailed character face on your first attempt. Master painting clean lines, dots, and basic shapes first. Characters with distinct, graphic elements (like symbols or simple color blocking) are much easier to replicate when you’re starting out. Look for tutorials specifically for painting “anime eyes” or “anime symbols” if you want to learn those techniques in more detail.
FAQ: Your Anime Nail Design Questions Answered
Q1: What is the best type of paint for detailed anime nail art?
Acrylic paints or gel paints are often preferred for intricate anime designs because they offer better pigment opacity and control than traditional nail polish. They allow for finer detail work, smoother blending, and vibrant colors that truly pop. However, nail polish can still work well for simpler designs!
Q2: How do I make my anime nail designs look like they do in the anime?
Referencing your images is key! Pay close attention to the line weight, shading style (like cel-shading), and color palette used in the anime. Bold outlines and distinct highlights are common in anime art and can be replicated with fine brushes and strategic color placement.
Q3: I’m new to nail art. What’s the easiest anime nail design to try?
Start with solid colors in your favorite anime’s palette, and then add a simple, iconic symbol or character face on one accent nail. Designs like a simple character silhouette, a recognizable logo (like a guild or team emblem), or even just nail polish

