Almond shaped nail art offers a chic, elegant way to elevate your manicure. This guide breaks down essential designs and provides beginner-friendly tips to achieve stunning looks, proving that beautiful almond nails are achievable for everyone, no matter your skill level.
Hey nail lovers! Are your nails looking a little… plain? Do you scroll through Pinterest and wish you could recreate those gorgeous almond-shaped nail designs? It’s totally understandable! Getting that perfect almond shape at home can seem tricky, and then adding art on top? Even trickier! But what if I told you that with a few simple steps and some fun ideas, you can rock stunning almond-shaped nail art? You absolutely can! We’re going to dive into making that elegant almond shape a reality and explore some seriously beautiful designs that are surprisingly easy to do. Get ready to transform your nails into tiny works of art!
Why We Adore Almond Shaped Nails
The almond nail shape is a timeless favorite for a reason. It’s sophisticated, elongates the fingers, and provides a beautiful canvas for almost any nail art design. Unlike sharper stiletto nails, the rounded tip of an almond shape is less prone to snagging or breaking, making it a practical choice for everyday wear. Plus, it just looks so chic! It’s loved by celebrities and beauty enthusiasts alike, giving your hands an instantly polished and elegant appearance.
Getting the Perfect Almond Shape: A Beginner’s Guide
Before we jump into the fun designs, let’s nail down the shape itself. Achieving a neat almond shape at home is more achievable than you might think. It’s all about filing correctly!
Tools You’ll Need:
- Nail File (a medium-grit file, around 180-220 grit, is ideal for shaping natural nails)
- Buffer Block (optional, for smoothing edges)
- Cuticle Pusher (optional, for a clean nail bed)
- Top Coat and Base Coat
- Your favorite nail polish colors
Step-by-Step Shaping:
- Prep your nails: Start with clean, dry nails. Gently push back your cuticles if needed.
- Square it off (sort of): First, file the sides of your nail straight up to create a squarish base. This gives you a guideline.
- File towards the center: Now, begin filing the free edge of your nail at an angle, moving from the side towards the center tip. Imagine you’re creating two diagonal lines that meet at a point.
- Aim for a gentle taper: Don’t aim for a super sharp point just yet. Think of an actual almond – it’s rounded at the tip. File softly, creating a gradual taper.
- Mirror and refine: Look at your nails and compare them. File gently to even out any bumps or unevenness. The goal is symmetry. If you get too sharp, you can gently round the very tip with your file.
- Smooth it out (optional): Use a buffer block to gently smooth any rough edges.
- The magic trick: Once you’re happy with the shape, apply a base coat, your color polish, and a top coat. The polish will actually make the shape look even more defined!
Pro Tip: It’s always better to under-file and refine than to file too much. You can always take a little more off, but you can’t put it back on! Patience is key.
Essential & Stunning Almond Shaped Nail Art Designs
Now for the main event! Almond nails are fantastic canvases for all sorts of designs. Here are some beginner-friendly ideas that look super chic:
1. The Classic French Manicure (with an Almond Twist)
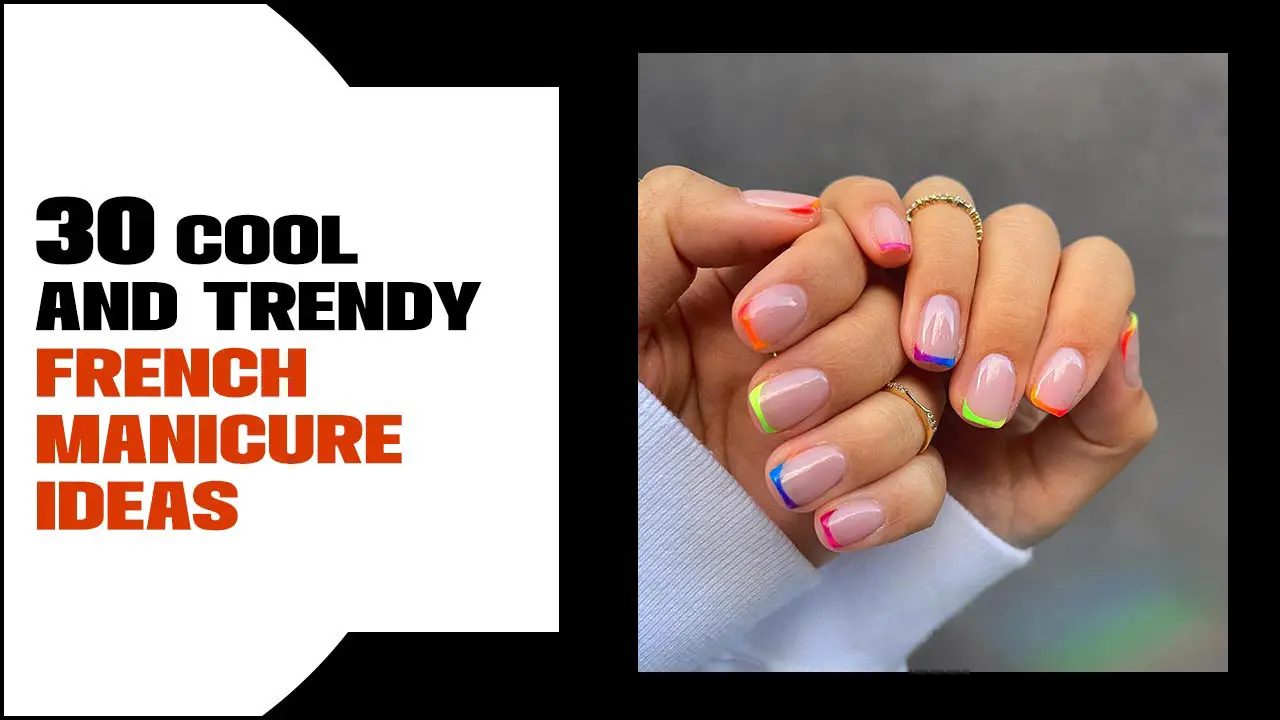
The French manicure is a staple, and it looks incredible on almond nails. The curve of the white tip naturally follows the curve of your almond shape.
Why it works:
- Elongates the nail even further.
- Universally flattering and elegant.
- Easy to achieve for beginners.
How to do it:
- Apply a sheer nude or pink base coat.
- Once dry, carefully paint a crisp white line along the free edge of your nail. A fine-tip brush or specialized French tip guides can help you achieve a clean line.
- Alternatively, use a sheer white polish for a softer look.
- Finish with a glossy top coat.
2. Minimalist Dots & Lines
Simple is often best, and this design is proof. A few strategically placed dots or a thin line can add a touch of modern flair.
Why it works:
- Subtle and sophisticated.
- Requires minimal artistic skill.
- Great for everyday wear.
How to do it:
- Paint your nails your desired base color (pastels, nudes, and deep jewel tones are gorgeous).
- Once dry, use a dotting tool or the tip of a toothpick to place a few small dots near the cuticle or near the tip.
- For lines, use a striping brush dipped in a contrasting polish and draw a thin line horizontally, vertically, or diagonally across one or two nails.
- Seal with a top coat.
3. Ombré/Gradient Effect
The smooth transition of colors in an ombré design looks absolutely stunning on the tapered shape of almond nails.
Why it works:
- Seamlessly blends color, highlighting the nail’s natural curve.
- Looks professional and high-end.
- Can be done with two or more colors.
How to do it:
- Apply a white or light base coat to make colors pop.
- Using a makeup sponge (a clean cosmetic sponge works great!), dab your lightest color onto the sponge.
- Next to it, dab your darker color.
- Gently dab the sponge onto your nail, starting from the cuticle and blending upwards towards the tip. You might need a few dabs to build up the color.
- While the polish is still wet, carefully clean up any smudges around your nail with a cleanup brush dipped in nail polish remover.
- Repeat on other nails, or transition colors as desired.
- Once dry, apply a top coat to smooth out the texture from the sponge.
4. Glitter Accents
Just a touch of sparkle can make a big statement. Glitter is your best friend for easy, eye-catching nail art.
Why it works:
- Instant glamour.
- Easy to apply, even for absolute beginners.
- Comes in endless colors and finishes.
How to do it:
- Option 1: Glitter tip: Apply your base color. Once dry, carefully paint the tip of your almond nail with glitter polish.
- Option 2: Glitter gradient: Apply your base color. Then, with a glitter polish, dab glitter onto the tip of your nail, gradually lightening the pressure as you move down to create a fade effect.
- Option 3: Accent nail: Paint all nails with your base color, then paint one accent nail entirely with glitter polish.
5. Simple Florals / Leaf Motifs
Don’t let the word “floral” intimidate you! Simple, stylized flowers or leaves can look incredibly elegant and are easier than you think.
Why it works:
- Adds a delicate, feminine touch.
- Can be as simple or detailed as you like.
- Perfect for spring and summer vibes.
How to do it:
- Paint your nails with a solid base color.
- Using a fine-tip brush or a dotting tool:
- For simple flowers: Make a few small dots in a circle and add a tiny dot in the center.
- For leaves: Make a small dot and gently pull the brush away to create a petal or leaf shape.
- For very easy flowers: Use the tip of a toothpick dipped in polish to make tiny dots in a circle.
- Let dry completely and add a top coat.
6. Abstract Swirls
Embrace the abstract! Loose, free-flowing swirls can look incredibly artistic and don’t require perfect precision.
Why it works:
- Looks effortlessly cool and artsy.
- Mistakes often blend into the design.
- Highly customizable with color choices.
How to do it:
- Apply a base color to your nails.
- Once dry, use a thin brush and a contrasting polish to draw loose, wavy lines. Don’t overthink it!
- You can create thin, delicate swirls or bolder, more prominent ones. Try layering different colors for depth.
- Seal your masterpiece with a top coat.
A Little More Advanced, But Totally Achievable!
Once you’re feeling more confident with the basics, here are a couple of designs that might look complex but are surprisingly doable with a little practice.
1. Marble Effect
This technique uses water and polish to create a beautiful, natural-looking marble pattern. It looks incredibly luxurious.
How to do it:
- Fill a small cup with room-temperature water.
- Drop a few colors of nail polish onto the surface of the water, one after another.
- Use a toothpick to swirl the colors together gently, creating a marbled pattern.
- Before dipping your finger, apply a thick layer of petroleum jelly or liquid latex around your cuticle to protect your skin from the polish.
- Dip your nail into the swirled polish.
- Carefully remove the excess polish from the surface of the water.
- Gently pull your finger out.
- Once dry, peel off the protective barrier and apply a top coat.
For a more detailed guide and video examples, reputable beauty blogs and tutorials often showcase this technique with visual aids.
2. Negative Space Designs
“Negative space” means leaving parts of your nail bare (or with just a clear coat) and adding art to the rest. This looks super trendy and modern.
How to do it:
- Start with a clear base coat or a sheer nude polish.
- Use nail tape or stencils to create geometric shapes or lines on your nail.
- Paint the exposed areas with your desired polish colors.
- Carefully remove the tape or stencil while the polish is still slightly wet.
- Let dry and apply a top coat over the painted sections and the bare areas to seal the design.
Tips for Long-Lasting Almond Nail Art
To keep your beautiful designs looking fresh, follow these tips:
- Always use a base coat: This protects your natural nails from staining and helps your polish adhere better.
- Apply thin coats of polish: Thick coats are more prone to chipping.
- Use a quality top coat: A good top coat seals the design, adds shine, and prevents chipping. Reapply every few days for maximum longevity.
- Keep your hands moisturized: Dry, brittle nails are more likely to chip. Use cuticle oil and hand lotion regularly.
- Avoid harsh chemicals: Wear gloves when doing household chores or handling cleaning products.
- Don’t use your nails as tools: Resist the urge to scrape or pry with your nails, as this can easily chip polish and damage the nail.
Maintaining Your Almond Shape
Your beautiful almond shape won’t last forever without a little upkeep.
- Regular filing: File your nails at the sides whenever you notice them starting to lose their taper. It’s easier to maintain than to reshape completely.
- Touch-ups: If any polish chips, clean it up with a little remover and reapply a thin coat of polish and top coat to that nail.
- Gentle buffing: If you notice any rough edges, a gentle buffing can smooth them out without affecting the shape too much.
Tool Spotlight: The Dotting Tool & Fine-Tip Brush
If you’re diving into nail art, a couple of inexpensive tools can make a world of difference:
Dotting Tools
These come in various tip sizes and are perfect for creating uniform dots for floral patterns, confetti looks, or simple accents. You can even use the rounded end of a bobby pin in a pinch!
Fine-Tip Brushes
These are essential for drawing thin lines, French tips, swirls, and intricate details. Look for brushes with very fine, synthetic bristles.
You can find these tools at most drugstores or beauty supply stores, and they’re a game-changer for creating professional-looking nail art at home.
Why Almond Shape is Great for Different Nail Types
The beauty of the almond shape is its versatility. It works well whether you have natural nails or opt for enhancements.
Natural Nails
For those with naturally long or medium-length nails, the almond shape can be achieved with careful filing as described above. It offers an elegant look without requiring extensions.
Artificial Nails (Acrylics, Gels, Dip Powder)
Almond shape is one of the most popular shapes for artificial nails. Nail technicians can easily sculpt acrylics, gels, or dip powders into this beautiful, tapered form. It’s a fantastic choice for adding length and creating a refined silhouette.
Common Mistakes & Fixes
Even experienced nail artists make mistakes, so don’t get discouraged!
Mistake: Uneven Sides When Filing
Fix: It happens! Just file gently from one side towards the center, then the other side. Keep checking in the mirror. If one side is significantly shorter, file the other side down to match, creating a slightly shorter but symmetrical nail. You can also use a nail clip to even out the length if needed. A tiny bit of extra filing usually sorts it out.
Mistake: Wobbly Lines or Dots
Fix: Don’t try to “scrape” thin polish off a wobbly line. Instead, let it dry and then carefully go over it with your base color to clean up the area. For dots, a bit of patience and a steady hand are key. If a dot is too big, you can gently nudge it with the tip of your dotting tool or toothpick before it dries.
Mistake: Polish Smudges
Fix: If you smudge a slightly wet nail, try to gently nudge it back into place with a clean cuticle pusher or the tip of your polish brush. If it’s a significant smudge, it might be best to let it dry completely and then attempt a cleanup with a fine brush and remover, or even consider an accent nail if it’s too far gone!
A Quick Comparison of Nail Shapes
To illustrate why almond is so popular, let’s look at a few others:
| Shape | Description | Pros | Cons |
|---|---|---|---|
| Almond | Tapered with a rounded tip, resembling an actual almond. | Elongating, elegant, less prone to breaking than stilettos, versatile for art. | Can be harder to achieve perfect symmetry than round or square nails. |
| Square | Straight edges with a blunt, squared-off tip. | Modern, strong, good canvas for bold colors and minimalist art. | Can make fingers look shorter, prone to chipping at the corners. |
| Squoval | A softer version of square, with rounded corners. | Combines the strength of square with the elegance of round, durable. | Less elongating than almond or stiletto. |
| Stiletto | Long and sharply pointed, with no rounded edges. | Dramatic, eye-catching, elongates fingers significantly. | Prone to breaking, can be impractical for daily tasks, sharp. |
| Round | Follows the natural curve of the fingertip, with no sharp edges. | Natural-looking, strong, easy to maintain, practical. | Less elongating and statement-making than other shapes. |


