Unlock stunning, budget-friendly nail art! Discover genius hacks and essential tips to create gorgeous DIY manicures at home without breaking the bank. Get ready for salon-worthy nails with everyday items and clever techniques for effortless beauty.
Hey there, nail lovers! Ever scrolled through stunning nail art on social media and thought, “Wow, I wish I could do that, but it looks so expensive!” I get it. Those intricate designs and perfect finishes can seem way out of reach when you’re trying to save a buck. But what if I told you that achieving fabulous, creative nails doesn’t require a trip to the salon or a massive haul of pricey tools? You absolutely can have beautiful, unique nails that express your style, and it can be surprisingly affordable. Forget those expensive gels and fancy gadgets for a moment. We’re diving into the world of genius, budget-friendly nail art hacks that will transform your DIY manicures. Get ready to unleash your inner artist with everyday items and clever tricks that make nail art accessible and fun for everyone!
What You Really Need to Know About Affordable Nail Art
Nail art is a fantastic way to express yourself, personalize your look, and just have fun with your style! But sometimes, the cost of nail supplies and salon services can add up faster than you can say “manicure.” The good news? You don’t need to be a professional or spend a fortune to create beautiful, eye-catching nail designs. Affordable nail art is all about smart choices, a little creativity, and using what you already have or can easily find.
Think of it this way: the most basic manicure involves nail polish, right? Well, that’s your starting point! Most of the amazing designs you see are built upon simple foundation techniques, enhanced with affordable additions. We’re talking about turning common household items into nail art tools and mastering simple painting tricks. It’s about working with your existing beauty arsenal and thinking outside the polish bottle. So, if you’re ready to elevate your nail game without emptying your wallet, you’ve come to the right place.
Let’s break down some of the smartest, most essential affordable nail art hacks that will make your nails the talk of the town (for all the right reasons!).
The Nail Art Toolkit on a Budget
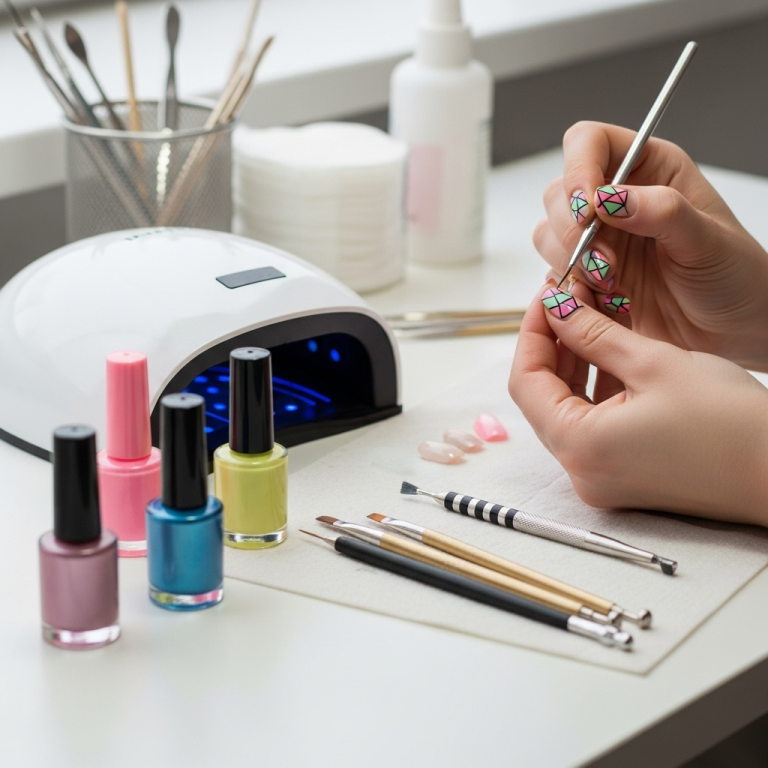
When you’re starting out with nail art, it’s easy to feel overwhelmed by all the specialized tools. But honestly, many of the best tools are already in your home! You can create an amazing array of designs with just a few key items.
Essential Affordable Nail Art Tools
Here’s a look at some must-have tools that won’t cost you much, or might even be free!
Toothpicks: These are your best friends for dotting, creating small swirls, and picking up tiny embellishments.
Bobby Pins: The rounded tip is perfect for creating small to medium-sized dots. Bend one end slightly for different dot sizes.
Scotch Tape (or Masking Tape): Crucial for creating crisp straight lines and geometric patterns.
Thin Nail Art Brushes: You can find inexpensive sets online or at drugstores. Look for a fine-tip brush for lines and a fan brush for subtle ombre effects.
Sponge (Makeup Sponges or Kitchen Sponges): Perfect for gradient (ombre) effects and textured looks. Just cut them into small pieces!
Dotting Tools: While you can use bobby pins and toothpicks, a set of dotting tools with various ball sizes is inexpensive and very useful.
Tweezers: Essential for picking up and placing small gems, glitter, or dried flowers precisely.
An Old, Clean Makeup Brush (Fan Brush or liner brush): Great for dusting glitter or cleaning up polish mistakes.
Clear Top Coat: Beyond protecting your design, it can be used to adhere larger embellishments.
Cotton Swabs (Q-tips): Indispensable for cleaning up edges and mistakes. Dip in nail polish remover for precision cleanup.
DIY Tool Hacks
Plastic Wrap: Scrunch it up and dip it into polish to create unique, textured patterns.
Foil Paper (Aluminum Foil): Use it as a palette for your polishes or to create crinkle nail effects.
Genius Nail Art Hacks You Need to Try
Now that you have your budget-friendly toolkit ready, let’s dive into some incredibly simple yet effective nail art hacks that beginner-friendly and totally achievable.
The Tape Manicure Magic
Tape manicures are your secret weapon for sharp, clean lines and geometric designs. It’s incredibly easy and the results look super professional.
-
Prep Your Nails:
Start with clean, dry nails. Apply your base coat and let it dry completely. Then, apply your first color (this will be the base for your tape design) and let it dry thoroughly. This is important! If the base color isn’t dry, the tape will lift it.
-
Apply the Tape:
Cut pieces of scotch tape or masking tape to the desired shapes and sizes. You can create stripes, chevrons, triangles, or even abstract shapes. Carefully apply the tape to your nail, pressing down the edges firmly to prevent polish from seeping underneath.
-
Paint Your Second Color:
Apply your second color of nail polish over the exposed parts of the nail. You can do solid colors separated by tape or even use a sponge for a gradient effect in the taped-off sections.
-
The Reveal:
This is the exciting part! While the second color is still slightly wet (but not runny), carefully peel off the tape. If you wait for it to dry completely, you risk chipping the polish. Pull the tape away slowly and at an angle.
-
Touch-ups and Top Coat:
Use a small brush dipped in nail polish remover to clean up any minor polish bleeds. Once your design is dry, apply a generous layer of clear top coat to seal the design and add shine.
Dotting Tool Dreams (Without the Splurge!)
Dots are a classic nail art element, and you don’t need fancy tools to create them.
-
The Foundation:
Start with a dry base coat and your chosen base color.
-
DIY Dotting:
Toothpick Method: Dip the tip of a toothpick into a dot of polish. Don’t overload it! Gently press the tip onto your nail to leave a perfect dot. For different sizes, use the side or the tip.
Bobby Pin Method: Dip the rounded end of a bobby pin into a polish. Gently touch it to the nail. The size of the ball on the bobby pin will determine the dot size. For varied sizes, you can use different sized bobby pins or bend one slightly. -
Creating Patterns:
Arrange your dots in rows for polka dots, create patterns like flowers, ladybugs, or even abstract designs by varying dot sizes and spacing.
-
Finishing Touches:
Let your dots dry, then apply a clear top coat to seal your masterpiece.
Gradient and Ombré Nails Made Easy (with Sponges!)
Achieving that gorgeous blended look, often called an ombré or gradient, is surprisingly simple with a regular sponge.
-
Prep Work:
Apply your base coat and let it dry. You might want to apply a white or light-colored polish as your first layer, as it makes the gradient colors pop. Let it dry completely.
-
Protect Your Skin:
This can get a little messy. Apply a thick layer of petroleum jelly or liquid latex (if you have it) around your cuticle area. This barrier will catch any excess polish from the sponge, making cleanup a breeze.
-
Create Your Color Palette:
Lay down thin stripes of your chosen nail polish colors onto a piece of foil or a plastic palette. Don’t make them too thick. You can use two, three, or even four colors!
-
Sponge It On:
Gently dab the sponge onto the polish stripes, picking up the colors. Then, lightly dab the sponge onto your nail, blending the colors upwards or downwards. You may need to re-apply polish to the sponge and dab multiple times to build up the color intensity. A makeup sponge or even a piece of a regular kitchen sponge (cut into a small piece) works perfectly.
-
Clean Up and Seal:
Carefully remove the petroleum jelly or liquid latex. Use a cotton swab dipped in nail polish remover to clean up any stray polish on your skin. Once you’re happy with the blend and everything is dry, apply a dazzling clear top coat.
Using Household Items for Unique Textures
Sometimes the most unexpected items create the most interesting effects.
-
The Crinkle Effect:
Paint your nail with your base color and let it dry. Apply a second, contrasting color over the top. While the second color is still wet, quickly scrunch up a piece of aluminum foil and gently press it onto the wet polish on your nail, then peel it off. This will create a cool, textured crinkle effect. Seal with a top coat.
-
Plastic Wrap Swirls:
Apply your base color and let it dry. Then, put dots or a thin layer of a contrasting color on your nail. While that’s still wet, scrunch up plastic wrap into a ball and gently dab it onto the polish. Twist and dab, and you’ll create swirls and marbled effects. Let it set slightly, then add a top coat.
-
Stamps with Nail Polish Bottles:
This might sound odd, but the bottoms of some nail polish bottles have interesting textures or raised logos. You can carefully apply a thin layer of contrasting polish to the bottom of the bottle (or a separate palette), then press the bottle straight down onto your nail to create an imprinted design. It’s a bit experimental, but can yield unique results!
The Power of Glitter and Gems on a Budget
Glitter and small gems can instantly elevate any manicure, and you can get them affordably.
-
Loose Glitter & Craft Glitter:
You can buy craft glitter from art supply stores for very little cost. Use a slightly tacky top coat or a dot of clear polish as your “glue.” Carefully sprinkle or place the glitter. For a full glitter nail, paint your nail with clear polish or a slightly tacky top coat, then dip your nail into a small pile of glitter.
-
Small Rhinestones & Studs:
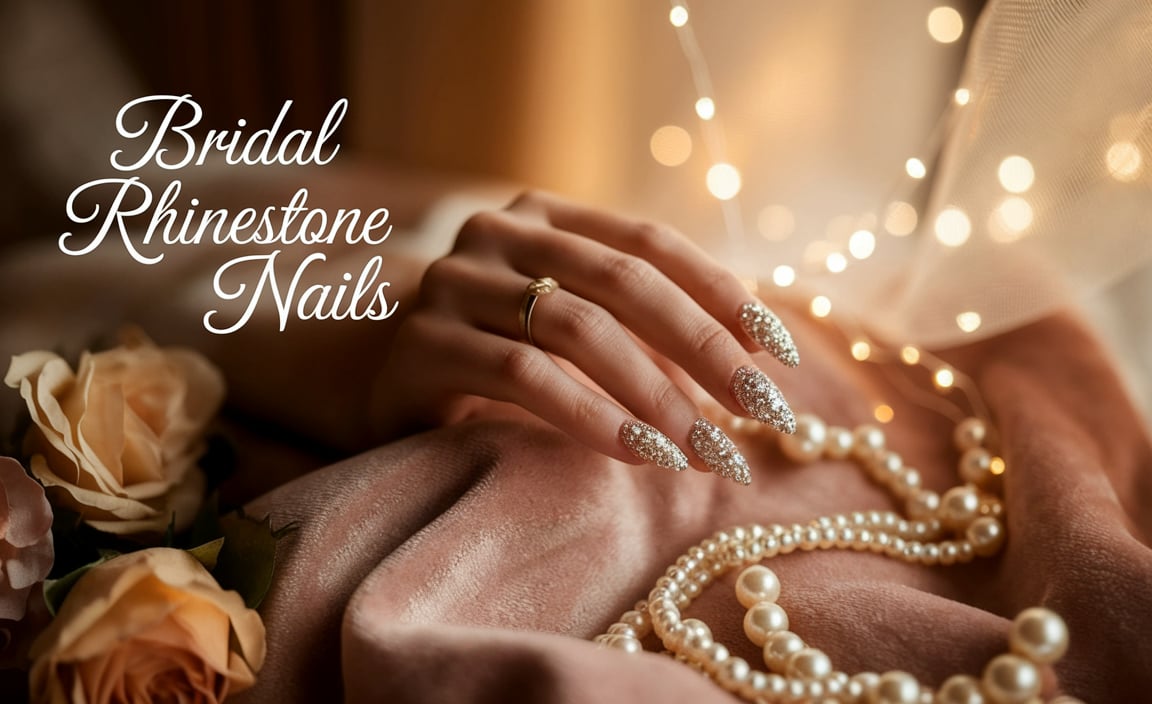
Look for small craft rhinestones or nail art studs at craft stores or online. Use tweezers to pick them up and place them onto a wet top coat or a dot of clear polish on your nail. They add amazing sparkle!
-
Accent Nail Magic:
You don’t need to cover every nail. Choose one accent nail (like your ring finger) to add glitter or gems for a sophisticated touch.
Pros and Cons of Budget Nail Art
Every approach has its advantages and disadvantages! Here’s a quick rundown to help you decide if budget-friendly nail art is for you.
| Pros | Cons |
|---|---|
| Cost-Effective: Saves significant money compared to salon services or high-end products. | Time Investment: Can take longer to achieve desired results as you carefully apply techniques. |
| Creative Freedom: Encourages experimentation and using everyday items in new ways. | Learning Curve: Some techniques may require a bit of practice to get perfect. |
| Accessibility: Uses readily available materials and tools. | Durability Variations: Homemade designs might not always last as long as professional gel manicures without careful application and top coating. |
| Fun & Rewarding: The DIY process can be a relaxing and enjoyable hobby. | Tool Limits: While versatile, basic tools may have limitations for extremely intricate or 3D designs compared to professional equipment. |
| Customization: You have complete control over colors, patterns, and designs. | Mess Potential: Some techniques, like sponging, can be a bit messy if not done carefully. |
Tips for Making Your Affordable Nail Art Last
Creating a beautiful design is one thing, but making it stick around is the real goal! Here are some essential tips for longevity.
-
Start with a Clean Canvas:
Always begin with clean, dry nails that have no oily residue. Use a nail polish remover to ensure they are prepped.
-
Use a Good Base Coat:
A quality base coat not only protects your natural nails from staining but also creates a smooth surface for polish to adhere to better. This might be one area to not skimp on entirely!
-
Let Each Layer Dry:
Impatience is the enemy of a lasting manicure. Make sure each coat of polish—base, color, design elements—is completely dry before applying the next. This prevents smudging and ensures better adhesion.
-
Apply Thin Coats:
Thick layers of polish take longer to dry and are more prone to chipping. Aim for thin, even coats. It’s better to apply two or three thin coats than one thick one.
-
Cap Your Free Edge:
This is a pro tip! When applying your color coats and especially your top coat, run the brush along the very tip (the free edge) of your nail. This seals the polish and prevents chips from the edges.
-
Invest in a Quality Top Coat:
A good top coat is crucial. Look for one that offers a chip-resistant, glossy finish. Reapply a fresh layer of quick-drying top coat every 2-3 days to refresh your manicure and add protection.
-
Be Gentle with Your Nails:
Try to avoid using your nails as tools. For example, don’t use them to scrape or pry things open. This will help prevent chips and breaks.
Expert Advice for Nail Care and Design
Getting your nails in tip-top shape is the first step to any great manicure, whether it’s a simple polish or a complex design. And when it comes to nail art, a little extra care goes a long way in making your creations shine.
Nail Health is Key
Beautiful nail art starts with healthy nails. Keeping your nails strong, moisturized, and smooth will make applying polish and creating designs so much easier and more effective.
Moisturize Regularly: Dry cuticles and nails are prone to peeling and breaking. Keep a cuticle oil or hand cream handy and apply it daily. A simple mix of olive oil and lemon juice can also work wonders as a natural moisturizer.
Push Back, Don’t Cut Cuticles: Your cuticles protect your nail bed from bacteria. Gently push them back after a shower or a warm soak using an orange stick or a cuticle pusher. Avoid cutting them, as this can lead to infection. For more on cuticle care, the American Academy of Dermatology offers comprehensive guidance.
File Correctly: Always file your nails in one direction to prevent weakening and splitting. Avoid sawing back and forth.
Take Breaks: Give your nails a break from polish every so often. This allows them to breathe and reduces the risk of staining.
Color Combinations and Inspiration
Where do you find ideas? Everywhere!
Color Theory Basics: Complementary colors (opposite on the color wheel, like blue and orange) create high contrast and make designs pop. Analogous colors (next to each other, like blue and green) create a more harmonious look.
Inspiration Sources: Look at nature, fashion magazines, art, fabrics, and even food for color and pattern ideas. Pinterest and Instagram are fantastic visual resources for nail art inspiration.
* Don’t Fear Pairing: Try combining different finishes – matte with glossy,


