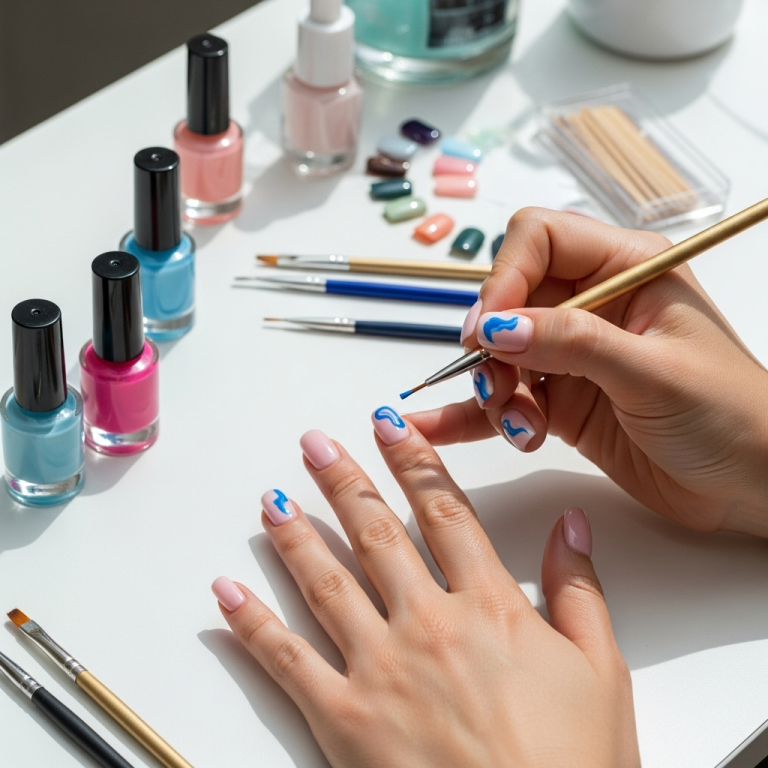
Get stunning acrylic nail designs with these genius tips! Learn simple techniques, essential tools, and creative ideas to achieve salon-worthy looks at home.
Ever look at those gorgeous acrylic nails and think, “How do they even DO that?” You’re not alone! Many of us dream of beautiful, statement nails but feel a little intimidated by the process. Don’t worry, creating amazing acrylic nail designs is totally achievable, even if you’re just starting out. It’s all about understanding the basics and having a few clever tricks up your sleeve. Let’s demystify acrylic nail art and unlock your inner nail artist!
Acrylic Nail Design Explained: Your Gateway to Gorgeous Nails
Acrylic nails have been a go-to for beauty lovers for ages, offering strength, length, and a fantastic canvas for creativity. But what exactly are they, and how do you get those jaw-dropping designs? At its core, acrylic nail design involves using a liquid monomer and a powder polymer to create a durable, moldable material that hardens when exposed to air.

This forms the base for all sorts of artistic expression. Whether you’re aiming for subtle elegance or bold, eye-catching art, mastering acrylics opens up a world of possibilities.
Why Acrylics? The Allure of Long-Lasting Beauty
Acrylic nails are popular for many reasons. They can instantly add length and strength to brittle or short nails. They’re also incredibly versatile, allowing for a vast range of shapes and styles. Plus, when applied and cared for properly, they can last for several weeks, meaning less time spent on touch-ups and more time enjoying fabulous nails.
However, achieving a professional look at home can seem daunting. Questions about tools, application, and, of course, the design itself can pile up. That’s where our genius tips come in! We’ll break down everything you need to know in a way that’s easy to follow, ensuring your acrylic nail design journey is fun and rewarding.
Getting Started: Essential Tools for Acrylic Nail Design
Before diving into designs, it’s crucial to have the right tools. Think of this as your artist’s toolkit. Having these on hand will make the entire process smoother and your results much better. Don’t feel overwhelmed; many of these are reusable and a great investment for your nail art journey.
The Must-Have Acrylic Nail Kit
- Acrylic Liquid Monomer: This is the liquid component that, when mixed with the powder, forms the acrylic dough.
- Acrylic Powder Polymer: Come in various shades (clear, pink, white, nude, and colored). This is the powder that interacts with the monomer.
- Nail Primer: Essential for preparing the natural nail, ensuring the acrylic adheres properly and preventing lifting.
- Dappen Dishes: Small glass or ceramic containers used to hold your monomer and powder. Using separate dishes prevents contamination.
- Nail Forms or Tips: Forms are stickers that go under the free edge of your nail to help you build the acrylic extension. Tips are pre-shaped plastic pieces glued to your natural nail to add length, then covered with acrylic.
- Acrylic Brushes: These are specially designed for working with acrylic. Different sizes are useful; a medium-sized oval or round brush is a great starting point. Keep it clean!
- Cuticle Pusher/Orange Stick: To gently push back the cuticles before application.
- Nail File and Buffers: Various grits are needed for shaping, smoothing, and refining the acrylic. A 100/180 grit file is common for shaping, while a finer buffer is for smoothing.
- Top Coat and Base Coat: For sealing the design and protecting the natural nail.
- Alcohol or Acetone: For cleaning brushes and removing excess product.
- Lint-Free Wipes: To avoid leaving fuzzy bits on your nails.
- Dust Brush: To sweep away filing dust.
- Optional: Cuticle oil for post-application hydration, nail glue (if using tips), and decorative elements like glitter, rhinestones, or polish for intricate designs.
Acrylic Nail Application: The Foundation for Your Masterpiece
Once you have your tools, it’s time to prepare your nails and apply the acrylic. This step is all about creating a strong, smooth surface that will hold your design beautifully. Take your time with this part – a good foundation makes all the difference!
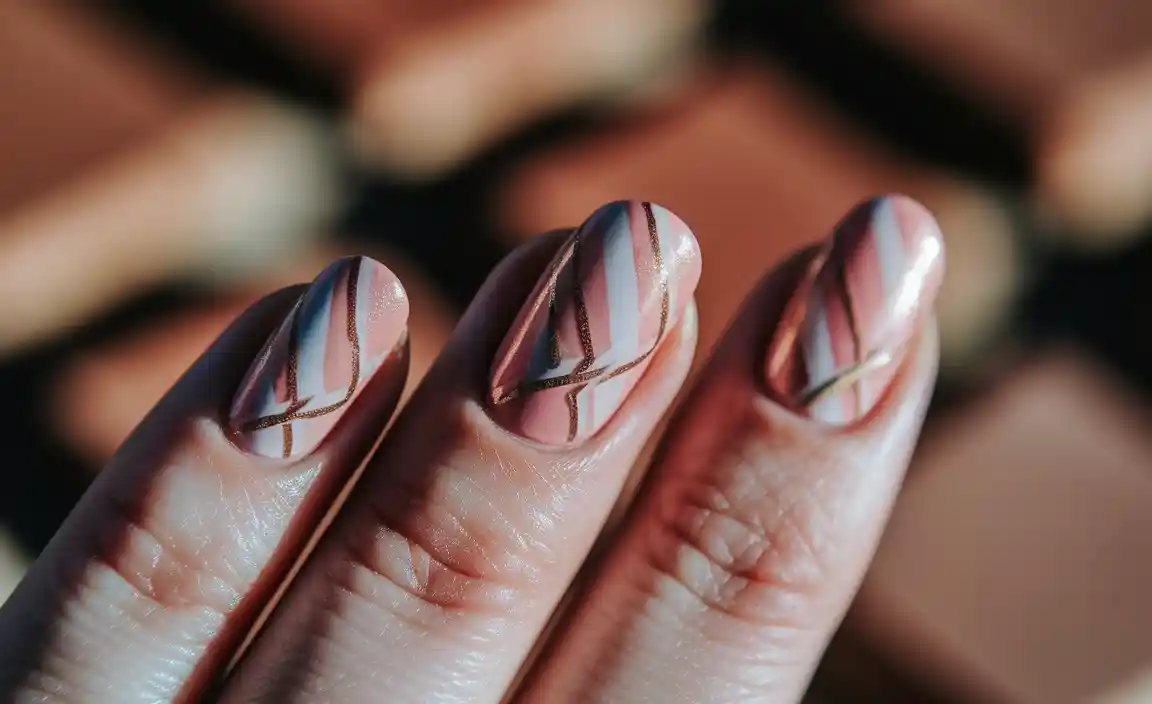
Step-by-Step Acrylic Application Guide
- Prep Your Natural Nails: Gently push back your cuticles using a cuticle pusher. Lightly buff the surface of your natural nails with a fine-grit file to remove natural shine; this helps the acrylic grip. Clean your nails thoroughly with alcohol or an acetone-based cleanser to remove any oils.
- Apply Nail Forms or Tips:
- For Forms: Slide a nail form snugly under the free edge of your natural nail. Ensure it’s secure and provides a smooth surface to build upon.
- For Tips: Select the correct size tip for each nail. Apply a thin layer of nail glue to the well of the tip and press it firmly onto your natural nail, holding for a few seconds until secure. Trim and shape the tip to your desired length and shape.
- Apply Primer: Apply a thin layer of nail primer to your natural nail, avoiding the cuticle area. This is a crucial step for adhesion.
- Mix Monomer and Polymer: Dip your acrylic brush into the liquid monomer, then gently wipe one side on a lint-free wipe to remove excess. Then, dip the brush into the acrylic powder to pick up a bead of product. You’re looking for a smooth, workable consistency that isn’t too wet or too dry.
- Apply the Acrylic Bead:
- The Base (Pink or Clear): Place the first bead of acrylic towards the cuticle area (but not touching it). Gently pat and shape the acrylic with your brush, extending it towards the tip of the nail (or the end of the form/tip).
- The Apex: Add a second bead to create the apex, the highest point of the nail, which provides strength and a natural-looking curve. This is typically one-third of the way down the nail from the cuticle.
- The Tip: Finish with a third bead to cover the free edge, seamlessly blending it with the previous beads. Ensure the application is smooth and even.
- Shape and Refine: Once the acrylic has hardened, carefully remove the nail form (if used). Use your nail file to shape the acrylic to your desired nail shape (square, almond, stiletto, etc.). Focus on creating smooth sidewalls and filing the surface to be even.
- Buff and Smooth: Use a finer grit buffer to smooth out any file marks and create a perfectly smooth surface for your design. Clean the dust away with your dust brush.
- Apply Top Coat: Once satisfied with the shape and smoothness, apply a thin layer of top coat and let it dry completely. This seals the acrylic and adds a beautiful shine.
Genius Tips for Stunning Acrylic Nail Designs
Now for the fun part – bringing your acrylic nail designs to life! These tips will help you elevate your nail art game, whether you’re a beginner or looking to refine your skills.
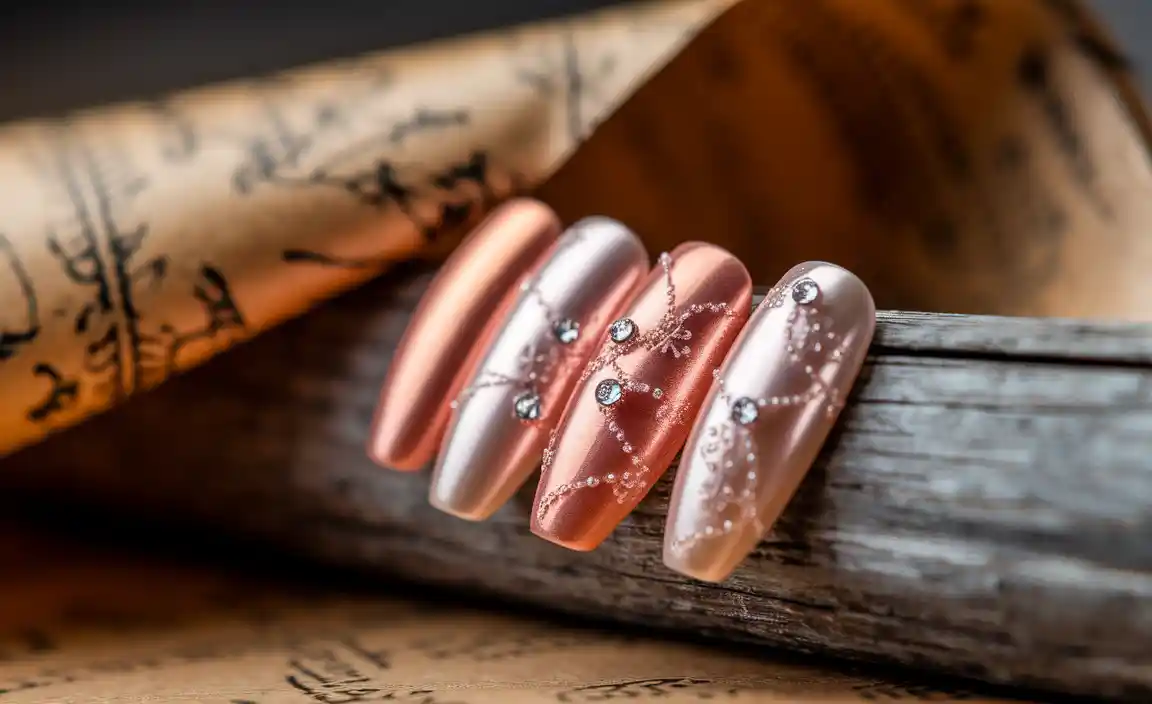
1. Master the Ombre Effect
Ombre is a classic for a reason! It’s surprisingly easy to achieve with acrylics and looks super chic.
- How-to: Apply a bead of your lighter acrylic color (e.g., white or pale pink) from cuticle to mid-nail. Then, apply a bead of your darker acrylic color (e.g., black or deep red) from the tip to mid-nail. Gently blend the two colors together in the middle using your brush. Work quickly but carefully to ensure a smooth transition.
2. Glitter Galore: Incorporating Sparkle
Glitter adds instant glam! You can embed glitter within the acrylic itself for a seamless look.
- How-to: After applying your base acrylic bead, gently press glitter (loose or from a glitter acrylic powder) into the wet acrylic. Then, cover the glitter with a clear acrylic bead to encapsulate it. File and buff as usual. This prevents the glitter from being rough or rubbing off.
3. Marble Magic: Effortless Elegance
Marble designs look complex but can be simplified for beginners.
- How-to: Apply a base color acrylic. Then, take small beads of white and a contrasting color (like black, grey, or gold) and place them randomly on the nail. Use your brush to gently swirl and marble the colors together. Be careful not to over-blend; you want distinct veins. Top with a clear acrylic bead for smoothness if needed, then file and buff.
4. French Tips Reinvented
The classic French tip gets a modern update with colored tips or different tip shapes.
- How-to: Apply your base pink or nude acrylic. Then, use colored acrylic powder to create the smile line at the tip of the nail. You can use a fine brush to create a crisp line or experiment with different tip shapes like a V-shape or a rounded “kitten” French.
5. 3D Acrylic Flowers and Designs
This might sound advanced, but even simple 3D elements can make a big impact.
- How-to: For simple flowers, create small beads of colored acrylic and place them on a wet bead of clear acrylic on your nail. Use a dotting tool or the tip of your brush to gently pull and shape the petals. You can also create swirls and other shapes this way. Start with just one or two simple elements on an accent nail.
6. Encapsulating Decals and Foils
Add intricate designs without the hassle of painting them.
- How-to: Apply a layer of clear acrylic. While it’s still wet, carefully place your dried decals or foil transfer pieces onto the acrylic. Pat them down gently to embed them. Then, apply another layer of clear acrylic over the top to encapsulate them securely. File and buff until smooth. This protects the design and gives it depth.
7. Chrome Powder Perfection
Chrome nails are incredibly popular and surprisingly easy to achieve over acrylic.
- How-to: Apply a dark gel polish (black is classic) and cure it under a UV/LED lamp. Apply a gel top coat (no-wipe is best) and cure. Rub the chrome powder into the tacky surface. Gently brush off any excess powder. Apply another layer of no-wipe top coat and cure to seal.
8. Using Stencils for Precision
Stencils are your best friend for clean lines and intricate patterns.
- How-to: After applying your base acrylic and buffing smooth, carefully place a nail stencil onto the nail. Apply your colored acrylic or gel polish over the stencil. Carefully peel off the stencil while the product is still slightly wet for a clean edge, or cure/dry it completely before peeling for a sharp line.
9. Keep Your Brushes Clean!
This is arguably the most important tip for beautiful acrylic work.
- How-to: After each bead application, thoroughly clean your brush in monomer and wipe it on a lint-free wipe until no product remains. At the end of your session, give your brush a deep clean with a brush cleaner to preserve its shape and longevity. Reshape it while wet and let it air dry.
10. Practice Makes Perfect
Don’t expect perfection on your first try.
- How-to: Set aside time to practice. Use old nail tips or practice hands if you have them. Focus on controlling the beads, shaping, and achieving a smooth finish before you get too intricate with designs. The more you practice, the more confident and skilled you’ll become!
Acrylic Nail Shapes: A Canvas for Your Designs
The shape of your acrylic nail dramatically influences the overall look and how your designs appear. Choosing the right shape can enhance your hand’s appearance and complement your lifestyle. Here’s a quick guide to popular shapes:
| Shape | Description | Best For |
|---|---|---|
| Square | Straight sidewalls with a sharp, 90-degree free edge. | Shorter to medium lengths; great for bold designs and classic looks. Gives fingers a wider appearance. |
| Squoval | A softer version of the square with rounded corners. | Versatile for most lengths and lifestyles; a more practical choice than a sharp square. |
| Round | Follows the natural curve of the fingertip. | Short, natural-looking nails; minimizes the risk of snagging. |
| Almond | Tapered towards the tip, resembling the shape of an almond. | Longer lengths; elongates fingers and offers a sophisticated, elegant vibe. Works well with delicate designs. |
| Stiletto | Tapered to a sharp point at the tip. | Dramatic and eye-catching; best for those who want a bold statement. Requires careful application to avoid breakage. |
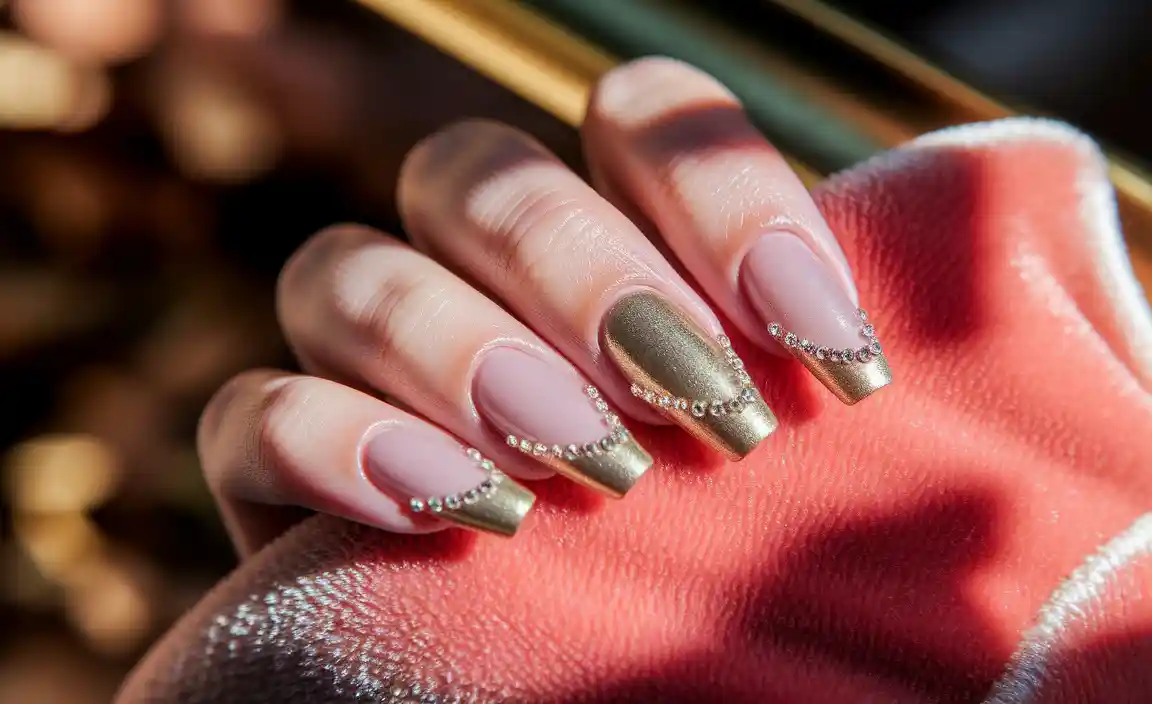
| Coffin/Ballerina | Tapered sidewalls that flatten into a square tip, resembling a coffin or ballerina shoe. | Trendy and chic for medium to long lengths; can be sharp or slightly rounded at the tip. |
Experimenting with different shapes can completely change how your acrylic nail designs are perceived. For instance, intricate floral designs might look stunning on almond nails, while geometric patterns could pop on coffin or square shapes. Consider how the shape will interact with the design you envision.
Avoiding Common Acrylic Nail Pitfalls
Even with genius tips, sometimes things don’t go as planned. Here are common issues and how to steer clear of them:
- Lifting: This is when the acrylic separates from the natural nail.
- Cause: Improper nail prep (oils left on the nail), over-filing the natural nail, or not using primer.
- Solution: Ensure nails are dry and oil-free, use a nail dehydrator, and always apply primer.
- Cracking or Breaking: Acrylic that is too thin or improperly applied can break.
- Cause: Not enough product used, weak apex, or applying acrylic too far down the nail bed.
- Solution: Ensure you’re using enough product and properly building the apex for strength.
- Bubbles: Air trapped within the acrylic.
- Cause: Poor bead consistency or aggressive brush strokes.
- Solution: Focus on getting a smooth, workable bead consistency and gentle application.
- Curing Issues (with Gel Top Coats/Polishes):
- Cause: Top coat applied too thickly, lamp not strong enough, or over-curing.
- Solution: Apply thin, even layers of gel polish and top coat. Ensure your UV/LED lamp is functioning correctly (check manufacturer recommendations for curing times).
- Damage to Natural Nail:
- Cause: Aggressive filing, improper removal, or picking/peeling off enhancements.
- Solution: Be gentle during application and removal. If you need to remove acrylics, soak them off rather than prying them off. For safe removal practices, consult resources like the CDC’s information on nail salon hygiene and safety, which also touches on best practices of nail care.
Frequently Asked Questions About Acrylic Nail Design
Q1: How long do acrylic nails typically last?
With proper application and care, acrylic nails can last anywhere from 2 to 3 weeks. After this period, you’ll likely need an infill appointment to fill in the new growth near the cuticle.
Q2: Can I do acrylic nail designs at home?
Yes! While it takes practice, many simple acrylic nail designs can be achieved at home with the right tools and a willingness to learn. Start with basic techniques and gradually move to more complex designs.
Q3: Is applying acrylics bad for my natural nails?
When applied and removed correctly by a trained professional or with careful DIY techniques, acrylics are generally safe. Damage can occur from aggressive application, improper removal, or picking at the enhancements.
Q4: How do I clean my acrylic nails?
Regular acrylic nails can be cleaned with mild soap and water. Avoid harsh chemicals. For designs with gel polish or chrome, they are sealed and don

