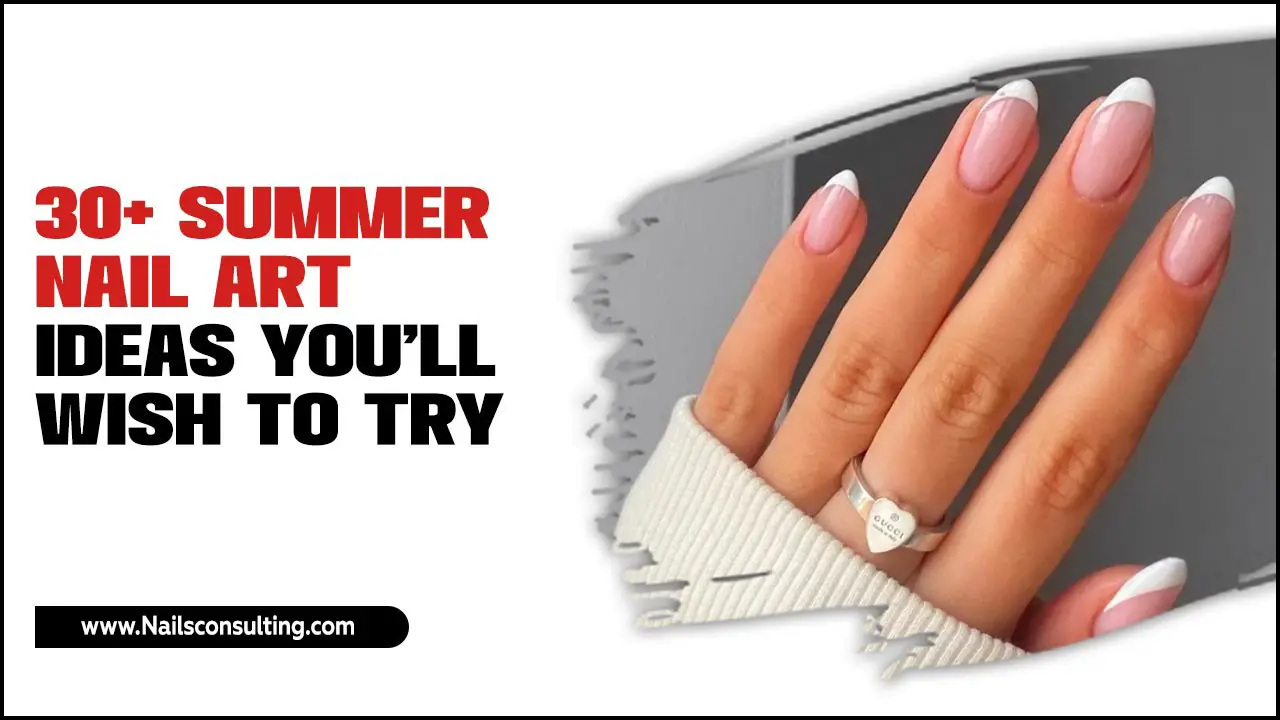
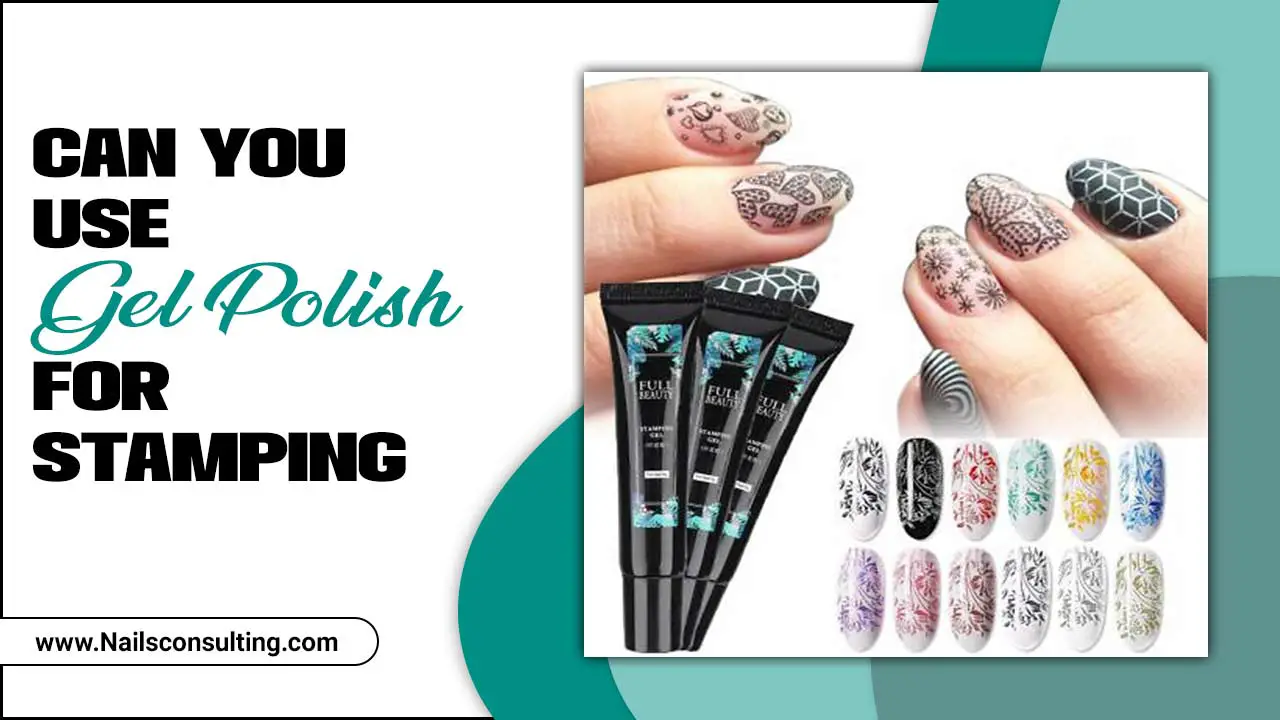
Looking for vibrant, eye-catching nails? Abstract neon nail design inspiration offers a playful way to express yourself with bold colors and unique patterns. This guide provides beginner-friendly ideas and tips to easily achieve stunning, modern manicures right at home.
Hey nail lovers! Lisa Drew here from Nailerguy. Are you ready to inject some serious fun and energy into your look? Sometimes, a simple swipe of color just doesn’t cut it, especially when you crave a manicure that truly pops. You see those amazing neon nails with cool, swirly patterns and think, “Wow, I could never do that!” But guess what? You absolutely can! We’re diving into the exciting world of abstract neon nail designs, and I promise to make it super simple. Get ready to unleash your inner artist and create some show-stopping nails that reflect your vibrant personality.
We’ll explore dazzling color combinations, easy techniques, and how to translate trendy looks onto your fingertips, no matter your skill level. So, grab your favorite neon polishes, and let’s get started on making your nails the life of the party!
Why Abstract Neon Nails Are the Ultimate Vibe
Neon colors are back, and they’re bolder than ever! What makes them so special for nail art? It’s their electrifying energy. These super-bright shades instantly lift your mood and add a playful, futuristic edge to any outfit. When you combine these dazzling colors with abstract designs, you get something truly unique. Abstract art is all about freedom and expression. There are no strict rules, which means you can experiment and create something that’s uniquely you. It’s a fantastic way to stand out and show off your creative side without needing to be a master painter.
Forget intricate portraits or perfect lines; abstract art lets you play with shapes, lines, and colors in a way that feels effortless and fun. Plus, neon abstract nails are surprisingly versatile. They can be a subtle pop of color on neutral nails or a full-on neon explosion. Ready to explore some stunning ideas?
Getting Started: Your Abstract Neon Toolkit
Before we jump into the designs, let’s make sure you have the essentials. Don’t worry, you don’t need a lot of fancy equipment to create amazing abstract neon nails at home.
Must-Have Nail Polishes and Tools:
- Neon Nail Polishes: This is your star player! Stock up on a few vibrant neon shades like electric pink, lime green, shocking yellow, vibrant orange, and dazzling blue.
- Base Coat: Essential for protecting your natural nails and helping your polish adhere better.
- Top Coat: Seals your design, adds shine, and makes your manicure last longer.
- Thin Nail Art Brush or Dotting Tool: Perfect for creating lines, swirls, and dots. A fine-tip brush is great for detail, and a dotting tool can create perfect little circles.
- Toothpicks or Nail Art Pusher: Can be used for fine details, cleaning up edges, or even marble effects.
- Clean-Up Brush: An angled brush (like a small paint brush) dipped in nail polish remover is your best friend for cleaning up any smudges around the cuticles.
- Nail Polish Remover: For those “oops” moments and cleaning your brushes.
- Cotton Pads or Balls: To apply remover.
- Optional: White or Black Nail Polish: A white base can make neons pop even brighter, while black can create a dramatic, edgy contrast.
Pro Tip for Neon Polish:
Neon polishes can sometimes be a bit sheer. Applying one or two coats of white nail polish as a base before your neon color can make the neon shades appear more vibrant and opaque. It’s a game-changer!
Abstract Neon Nail Design Inspiration: Stunning Ideas
Now for the fun part! Here are some beginner-friendly abstract neon nail design ideas that are totally achievable. We’ll explore different styles, from simple pops of color to more dynamic patterns.
1. The Electric Swirl
This design is all about fluid, movement. It looks artistic but is surprisingly simple to create.
- Concept: Curving lines and organic shapes in contrasting neon colors.
- How-To:
- Start with a clean nail and apply your favorite base coat.
- Paint your nails with a neutral base color like white, nude, or black. Let it dry completely.
- Using a thin nail art brush and your neon polishes, freehand organic swirls and curves. You can use two or three different neon colors.
- Don’t worry about perfection! The beauty of abstract is in its spontaneous flow.
- Let the design dry thoroughly.
- Apply a generous layer of top coat to seal everything in.
- Vibe: Energetic, artsy, chic.
2. Neon Pop Art Accents
This is a great way to try neon if you’re a bit hesitant about full-color nails. A little goes a long way!
- Concept: Bold, graphic shapes or lines in neon colors placed strategically on a neutral background.
- How-To:
- Apply a neutral base like nude, white, or a soft grey.
- Once dry, choose one or two neon colors.
- With a fine brush, add a few simple geometric shapes (like triangles or squares), a thick line, or a random splatter of neon polish on one or two accent nails.
- Alternatively, use nail tape to create sharp, clean lines in neon colors.
- Seal with a top coat.
- Vibe: Modern, edgy, minimalist with a punch.
3. The Radioactive Marble
Marble nails are always in vogue, but adding neon makes them pop! This technique creates a beautiful, watery effect.
- Concept: Swirling neon colors together on dried polish to create a marbled look.
- How-To:
- Apply a base coat and then your desired base color (white or black work wonderfully for contrast). Let it dry completely.
- On a disposable surface (like a piece of foil or a palette), mix a small amount of two or three neon polishes with a tiny drop of clear polish or nail art solvent. This thins them out.
- Quickly use a toothpick or thin brush to swirl the thinned polishes together.
- Gently dab or press the swirled polish onto your nail. You might need to dab a few times to get the desired pattern.
- Alternatively, you can drip a few drops of different neon colors close together on the nail, then use a toothpick to gently swirl them.
- Clean up any excess polish around your cuticles.
- Apply a top coat once completely dry.
- Vibe: Sophisticated, unique, eye-catching.
4. Neon Splatter Art
Embrace the mess with a controlled splatter effect! It’s surprisingly easy and gives a really cool, artistic vibe.
- Concept: Random splashes and drips of neon polish for a high-energy look.
- How-To:
- Apply your base color (white, black, or even a dark grey) and let it dry.
- Protect your surrounding skin with tape or a liquid latex barrier.
- Dip an old toothbrush or a stiff brush into a neon nail polish.
- Hold the brush a short distance above your nail and gently flick the bristles with your finger to splatter the polish.
- Repeat with different neon colors, varying the distance and intensity.
- Let it dry completely, then carefully remove the protective barrier.
- Clean up any stray splatters with your clean-up brush.
- Finish with a top coat.
- Vibe: Bold, rebellious, artistic, playful.
5. The Neon Gradient Fade
This technique creates a smooth transition between colors, and neon adds an extra glow.
- Concept: A seamless blend of two or more neon colors.
- How-To:
- Apply your base coat and a white base color for maximum vibrancy. Let it dry fully.
- Use a makeup sponge or a specific nail art sponge. Apply streaks of two or three neon polishes onto the sponge.
- Gently dab the sponge onto the nail, starting from the cuticle and working your way up.
- Reapply polish to the sponge and repeat the dabbing motion, overlapping slightly, to build up the color and blend the edges.
- You might need a few passes to get a smooth gradient.
- Clean up the edges with your clean-up brush.
- Apply a top coat.
- Vibe: Dreamy, vibrant, summery.
Advanced Abstract Neon Techniques (For When You’re Feeling Bolder!)
Once you’ve mastered the basics, why not try these slightly more involved techniques? They’ll take your abstract neon nails to the next level!
1. Neon Geometric Block Art
This involves using tape to create sharp, defined geometric shapes filled with neon colors.
- Concept: Clean lines and bold blocks of neon color forming geometric patterns.
- How-To:
- Start with a base color (e.g., black, white, or nude) and let it dry completely.
- Cut pieces of nail art tape and apply them to your nail to create your desired geometric pattern (e.g., triangles, squares, stripes). Press down the edges firmly.
- Paint the exposed sections with your chosen neon polishes. You can use multiple colors in different sections.
- While the polish is still wet, carefully peel off the nail tape. If you wait for it to dry, the tape might peel the polish with it.
- Let the design dry completely.
- Seal with a top coat.
- Vibe: Precise, modern, architectural.
2. Neon “Shattered Glass” Effect
This technique uses holographic or iridescent flakes to mimic shattered glass, often with a neon base.
- Concept: Iridescent flakes scattered over a neon background for a dazzling, multi-dimensional effect.
- How-To:
- Apply your neon base color and let it dry thoroughly.
- Apply a thin layer of “no-wipe” gel top coat (or regular top coat if you’re applying flakes while wet).
- While the top coat is still sticky, use tweezers or a dotting tool to pick up the “shattered glass” flakes and arrange them on the nail. You can place them randomly or create patterns.
- Once you’re happy with the placement, gently press them down.
- Apply another layer of no-wipe gel top coat (or regular top coat) to seal the flakes. If using regular top coat, ensure it’s completely dry before the next step.
- For a smoother finish, you might want to apply a full coat of regular top coat over the flakes after they’ve been sealed.
- Vibe: Futuristic, holographic, attention-grabbing.
3. Neon French Tips with Abstract Flair
Give the classic French manicure a modern, abstract twist!
- Concept: Neon tips with abstract lines, dots, or swirls.
- How-To:
- Apply a base coat and a neutral or sheer polish.
- Use a nail art brush or striping tape to create your French tips in a neon color.
- Once the tips are dry, use a contrasting neon color to add small abstract details like dots along the smile line, tiny squiggles, or a single abstract line above the tip.
- Seal with a top coat.
- Vibe: Playful twist on a classic, chic and trendy.
Color Combinations to Make Your Nails Shine
Choosing the right color combinations can elevate your abstract neon nail design from good to absolutely unforgettable. Here are some ideas to spark your creativity:
High-Contrast Power Duos:
- Electric Pink & Lime Green: A super bold and playful combination that screams summer fun.
- Shocking Yellow & Deep Teal: Unexpected yet stunning, the bright yellow pops against the cool, deep teal.
- Vibrant Orange & Hot Pink: Like a tropical sunset on your nails!
- Fluorescent Blue & Black: A seriously edgy and striking mix that’s futuristic and cool.
Monochromatic with a Pop:
- Various Shades of Neon Green with Black Accents: Use a few different green tones for depth, and add a tiny black dot or line for contrast.
- Neon Yellow and White: A sunny and bright combination that’s cheerful and clean.
- Neon Purple and Silver/Chrome: Sophisticated and eye-catching, the shimmer of silver or chrome adds a touch of glam.
Rainbow Brights:
- A Mix of All Neons: Don’t be afraid to go wild! Use pink, yellow, green, orange, and blue in abstract patterns for a vibrant, energetic look that’s pure joy.
Table: Neon Abstract Design & Difficulty Level
Here’s a quick guide to some of the designs we’ve discussed, along with an idea of how easy they are for beginners:
| Design Name | Description | Beginner Friendliness | Key Neon Colors |
|---|---|---|---|
| Electric Swirl | Fluid, organic lines and curves. | Easy | Any 2-3 neons |
| Neon Pop Art Accents | Graphic shapes or lines on a neutral base. | Very Easy | 1-2 neons |
| Radioactive Marble | Swirled, watery patterns. | Medium | 2-3 neons |
| Neon Splatter Art | Random splashes and drips. | Easy | 2-4 neons |
| Neon Gradient Fade | Smooth color transition. | Medium | 2-3 neons |
| Neon Geometric Block Art | Sharp, taped-off shapes. | Medium (requires steady hands) | 2-3 neons |
| Neon French Tips with Abstract Flair | Classic tips with added abstract details. | Medium | 2 neons + accent |
Tips for Longevity and Application
Want your vibrant neon art to last? A few simple steps can make a big difference. For more on nail health and care, resources from the American Academy of Dermatology Association can be very helpful.
Making Your Neon Masterpiece Last:
- Prep is Key: Always start with clean, dry nails. Push back your cuticles gently and ensure there’s no oily residue.
- Base Coat is Non-Negotiable: Use a good quality base coat. This prevents staining (especially with neons!) and helps polish adhere better, leading to a longer-lasting manicure.
- Thin Coats of Polish: Resist the urge to slap on thick layers of polish. Thin, even coats dry faster and are less prone to chipping and bubbling.
- Allow Drying Time: Be patient! Make sure each layer of polish is completely dry before applying the next, especially when layering abstract elements. This is crucial for preventing smudges.
- Seal with a Solid Top Coat: A good top coat is your best friend. Look for one that offers UV protection to prevent colors from fading, and one that is chip-resistant for extra durability. Apply it generously.
- Avoid Rough Activities: Try to avoid using your nails as tools for opening cans or scraping.
- Moisturize: Keep your cuticles and hands moisturized. Healthy skin and cuticles contribute to the overall appearance and health of your nails.
Common Beginner Questions About Abstract Neon Nails
It’s totally normal to have questions when you’re trying something new! Here are a few common ones:
Q1: My neon polish looks streaky. What can I do?
A: Neon polishes can sometimes be

