Abstract nail art is a fantastic way to express your unique style with easy-to-create, eye-catching designs. From simple strokes to bold geometric shapes, you can achieve stunning, personalized looks with essential tools and a dash of creativity.
Feeling a little uninspired by plain polish? Want to add some serious wow-factor to your fingertips without spending hours at a salon? You’re in the right place! Abstract nail art is your secret weapon for turning your nails into tiny canvases of pure expression. It’s forgiving, fun, and surprisingly simple to master, even if you’ve never picked up a nail art brush before. Forget complicated patterns – abstract designs are all about embracing freedom, color, and shape. Ready to dive in and make your nails the talk of the town? Let’s explore some genius ideas that are essential for any beginner!
Why Abstract Nail Art is a Beginner’s Best Friend
Abstract nail art is incredibly versatile. It doesn’t require perfect symmetry or detailed illustration, making it super forgiving. Think bold lines, playful dots, swirly patterns, and splashes of color. Did you know that nail art has evolved significantly over the years, with abstract designs now being a staple in both professional salons and home manicures? The beauty of abstract is that there are no rules! You can mix and match colors, play with textures, and create something truly unique to your mood and outfit. It’s a fantastic way to boost your confidence and let your personality shine through.
Your Abstract Nail Art Toolkit: What You’ll Need
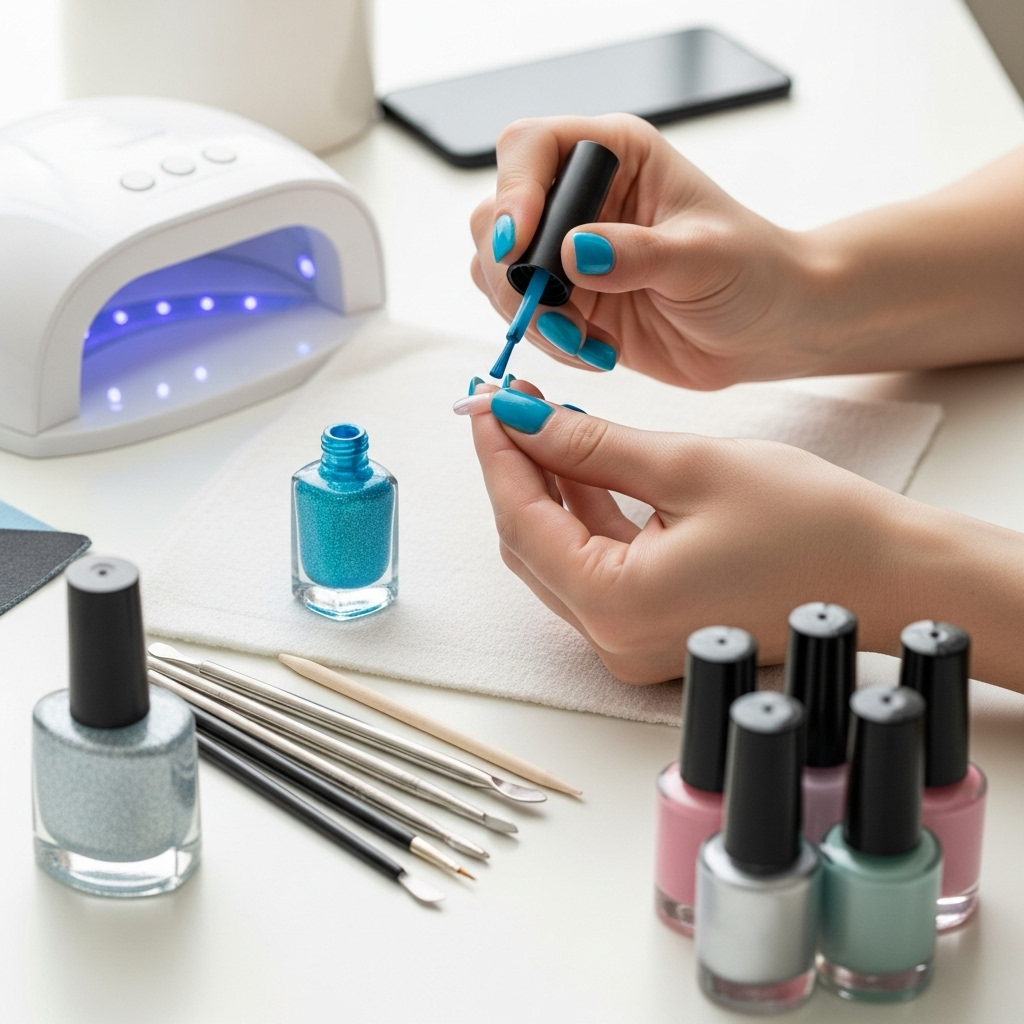
Don’t worry, you don’t need a professional kit to get started. A few key items will set you up for success.
The Bare Essentials:
- Base Coat: Protects your natural nails and helps polish adhere better. A good quality base coat can prevent staining and last longer.
- Top Coat: Seals your design, adds shine, and makes your manicure last much longer. Look for a quick-dry formula to save time!
- Nail Polish: This is your primary medium! Gather a few of your favorite colors. Don’t be afraid to experiment with finishes like matte, shimmer, or glitter.
- Dotting Tools: These little wonders come with different-sized balls on the end, perfect for creating dots, swirls, and small details. You can find them in sets with multiple sizes.
- Thin Nail Art Brushes: A fine-liner brush is invaluable for drawing clean lines and small details. Even a regular small paintbrush with synthetic bristles can work in a pinch if cleaned thoroughly.
- Toothpicks or Orange Sticks: Great for cleaning up mistakes, creating small dots, or even drawing thin lines if you’re in a pinch.
- Nail Polish Remover: Essential for cleaning up stray polish and fixing any slip-ups.
- Cotton Pads or Q-tips: To apply the nail polish remover.
Fancy (But Helpful) Additions:
- Stamping Plates and Stamper: For quick, intricate patterns that look super professional.
- Washi Tape or Painter’s Tape: Perfect for creating sharp geometric lines and sections.
- Gradients Sponges: For creating smooth color transitions.
Beginner-Friendly Abstract Nail Art Designs: Step-by-Step
Let’s jump into some easy designs that look amazing without needing to be a pro! These are perfect for practicing your strokes and getting comfortable with your tools.
Design 1: The Minimalist Line Art
This is about clean, simple lines that add a touch of modern sophistication.
What You’ll Need:
- Base Coat
- Your favorite nail polish color (e.g., nude, pastel, or classic white)
- A contrasting polish color for the lines (e.g., black, gold, or a metallic shade)
- Thin Nail Art Brush or Dotting Tool with a fine tip
- Top Coat
Steps:
- Prep Your Nails: Start with clean, dry nails. Apply a thin layer of base coat and let it dry completely.
- Apply Your Base Color: Paint your nails with your chosen base color. Apply two thin coats for even coverage, allowing each to dry fully. A smooth base is key!
- Create the Lines: Dip your fine-tip brush or dotting tool into the contrasting polish. Don’t overload the brush.
- Option A (Single Line): Draw a single, clean line diagonally across one or two nails. You can make it as thick or thin as you like.
- Option B (Multiple Lines): Draw a few parallel lines, or create a small intersecting pattern. Keep it super simple – think one or two lines per nail.
- Option C (Floating Lines): Draw lines that don’t quite touch anything, giving a floating effect.
- Clean Up: Use a toothpick dipped in nail polish remover to gently clean up any smudges or wobbles around the cuticle and sides of your nails.
- Seal the Deal: Once the polish is dry, apply a generous layer of top coat to protect your design and add a beautiful shine.
Design 2: The Playful Color Block
This design is all about geometric shapes and bold color combinations. It’s super easy to create clean edges using tape.
What You’ll Need:
- Base Coat
- 2-3 contrasting nail polish colors
- Washi Tape or Painter’s Tape
- Small scissors or a craft knife
- Top Coat
Steps:
- Prep and Base: Apply base coat and one layer of your lightest color polish to all nails. Let it dry thoroughly. This will be your background.
- Apply Tape: Once the base color is completely dry, carefully apply strips of tape to create geometric sections. For example, you could tape off a triangle, a stripe, or a geometric shape. Ensure the tape is pressed down firmly to prevent polish from bleeding underneath.
- Paint the First Section: Apply your second color into the taped-off section. Apply a thin coat.
- Remove Tape (Carefully!): While the second color is still slightly wet (but not so wet it will smudge), carefully peel off the tape at an angle. This gives you a cleaner line. If you wait for it to dry completely, the polish might peel up with the tape.
- Let Dry Completely: Allow the second color to dry completely.
- Repeat for More Sections (Optional): If you want to add a third color, reapply tape over the sections you’ve already painted and let dry, then apply your third color into the new taped-off area. Repeat step 5.
- Clean Up: Use a small brush dipped in polish remover to neaten any lines.
- Top Coat: Apply a careful layer of top coat over the entire nail.
Design 3: The Simple Dot and Dash Mani
This design is all about effortless charm. It’s quick, cute, and can be customized with any color palette.
What You’ll Need:
- Base Coat
- Your preferred base nail polish color
- A contrasting polish color for dots and dashes
- Dotting Tool (various sizes) or a Toothpick
- Top Coat
Steps:
- Prep and Base Color: Apply your base coat and then 1-2 coats of your chosen base polish. Let it dry completely.
- Create Dots: Dip the tip of your dotting tool (or toothpick) into the contrasting polish.
- Option A (Random Dots): Place dots randomly across your nail. Vary the sizes for a more dynamic look.
- Option B (Gradient Dots): Start with larger dots near the cuticle and get smaller as you move towards the tip.
- Option C (Line of Dots): Create a simple line of dots across the nail.
- Add Dashes: Use a thin brush or the side of your dotting tool to add small dashes or short lines between or around your dots. They can be straight, slightly curved, or even a bit messy for a more artistic feel.
- Clean & Refine: Use a brush dipped in remover to clean up any stray marks.
- Seal It: Apply a generous top coat once everything is dry.
Design 4: The Abstract Swirl
Swirls add a touch of organic elegance. They can be as messy or as refined as you like!
What You’ll Need:
- Base Coat
- A base nail polish color
- 1-2 swirling colors
- A thin Nail Art Brush
- Top Coat
Steps:
- Prep and Base: Apply your base coat and 1-2 coats of your chosen base color. Let it dry completely.
- Load Your Brush: Dip your fine-tip brush into one of your swirling colors. Wipe off excess polish on the side of the bottle neck so it’s not too blobby.
- Create Swirls:
- Option A (Single Swirl): Draw a simple, free-flowing swirl that starts at one side of the nail and curves across it.
- Option B (Double Swirl): Create two intertwined swirls.
- Option C (Partial Swirl): Have a swirl start at the cuticle and fade out towards the tip, or start at the tip and swirl down.
- Add a Second Color (Optional): If desired, use a clean brush or the same brush (cleaned and reloaded) to add a second, thinner swirl in a different color, perhaps weaving around the first.
- Clean Up: Use a small brush and remover to tidy any messy edges.
- Protect Your Art: Apply a top coat once all polish is dry.
Design 5: The Splatter Art Effect
This is one of the most forgiving and fun abstract designs. It looks intentionally messy and cool!
What You’ll Need:
- Base Coat
- A light-colored base polish (white or a pale pastel works best for splatters to pop)
- 2-3 splatter colors (contrasting colors work well)
- A stiffer brush (like a spare toothbrush, an old fan brush, or even a stiff detail brush)
- Nail Polish Remover and Q-tips/cotton swabs (for cleanup!)
- Top Coat
Steps:
- Protect Your Workspace: This can get messy, so cover your surface with newspaper or paper towels.
- Base Coat and Color: Apply your base coat and 1-2 coats of your light base color. Let it dry completely. This is important so the splatter doesn’t sink into it.
- Prep Your Brush: Dip your stiff brush into your first splatter color. Wipe away any excess.
- Create Splatters: Hold the brush a few inches above your nail. Flick the bristles with your finger (or another brush) to send tiny droplets of polish onto the nail. You can try different angles and flicking techniques to get various splatter effects.
- Experiment with different amounts of polish on the brush.
- Try flicking from different directions.
- Add More Colors: Repeat steps 3 and 4 with your other splatter colors, layering them to create depth. Don’t overdo it; a few well-placed splatters are often more effective.
- Clean Up IMMEDIATELY: While the polish is still wet, use a Q-tip or a small brush dipped in nail polish remover to carefully clean up any splatters on your skin or cuticles. This is much easier to do when wet!
- Seal Your Masterpiece: Once everything is completely dry, apply a generous layer of top coat.
Keeping Your Nails Healthy and Your Art Looking Great
Nail art is fun, but healthy nails are the foundation for beautiful polish. Here are some tips to keep your nails strong and your manicures looking salon-worthy.
Nail Prep is Key:
- Cleanliness: Always start with clean, dry nails. Remove any old polish thoroughly.
- Cuticle Care: Gently push back your cuticles before painting. Using a cuticle oil regularly can keep them healthy and prevent dryness. You can learn more about proper cuticle care from resources like the American Academy of Dermatology Association.
- Buffing (Gently!): Lightly buffing your nails can smooth out ridges and create a better surface for polish adhesion. Don’t over-buff, as this can thin your nails.
Application Techniques for Flawless Results:
- Thin Coats: Apply polish in thin, even coats rather than one thick one. This prevents bubbling and allows for faster drying.
- The Three-Stroke Method: For base color, start with a stroke down the center, then one on each side. This ensures even coverage.
- Cap the Edge: After applying your color and top coat, gently run the brush along the free edge (the tip) of your nail. This “caps” the color and prevents chipping from the edges.
- Let Each Layer Dry: Patience is a virtue! Allow each layer of polish and design elements to dry before moving to the next step. This prevents smudging and ensures crisp lines.
Extending Your Manicure’s Life:
- Top Coat is Your Best Friend: Reapply top coat every 2-3 days to refresh the shine and add an extra layer of protection.
- Avoid Harsh Chemicals: Wear gloves when doing chores, especially when using cleaning products, as they can break down polish and dry out your nails.
- Moisturize: Keep your hands and cuticles moisturized. Dry skin can make manicures look old before their time.
Troubleshooting Common Nail Art Problems
Even the pros have off days! Here’s how to fix common hiccups.
Smudges and Mistakes:
It happens to everyone! Grab a small brush (like a fine-tipped art brush or an old eyeliner brush) dipped in nail polish remover. Carefully use it to clean up the smudged area. For larger smudges, you might need to gently dab with a Q-tip dipped in remover. If it’s really bad, don’t be afraid to carefully remove the polish from that nail and start again!
Polish Not Drying:
This is frustrating! Ensure you’re applying thin coats. If it’s still not drying, try a quick-dry top coat. You can also use a nail drying spray or drops, or briefly (and carefully!) hold your hands under a fan. Some people swear by dipping nails in ice water after polish has set for a minute or two, but always ensure the polish is mostly dry first to avoid marks.
Streaky or Uneven Application:
This often means the polish isn’t being applied evenly, or the coats are too thick. Ensure your polish isn’t too old or thick – adding a nail polish thinner can sometimes revive it. Stick to the three-stroke method and thin coats. If it’s still streaky, a good top coat can help even out the finish.
Tool Cleanup:
Clean your dotting