Nail Design Hacks For Beginners: Essential Tips
Ready to elevate your nail game without the nail art stress? This guide is packed with simple, game-changing nail design hacks for beginners. We’ll cover easy techniques, smart tool tricks, and how to get salon-worthy results at home. Let’s make beautiful nails achievable for everyone, no matter your artistic skill level!
Hey there, fellow nail enthusiasts! Lisa Drew here from Nailerguy. Ever scrolled through stunning nail art online and thought, “There’s no way I can do that”? I get it! Many of us start out intimidated by intricate designs, messy brush strokes, and the sheer number of tools. But here’s some exciting news: incredible nail designs are totally within your reach, even if you’re just starting. Forget perfectionism; we’re all about fun, flair, and fabulous nails that express you. This isn’t about complicated steps; it’s about smart shortcuts and clever tricks that make nail art accessible and enjoyable. Ready to unleash your inner nail artist? Let’s dive into some amazing nail design hacks for beginners!
The Foundational Hacks Every Beginner Needs
Before we jump into fancy designs, let’s lay down some solid groundwork. These foundational hacks will make almost any nail design easier to achieve and look a million times better. Think of these as your secret weapons for smoother application, cleaner lines, and longer-lasting manicures.
Prep Like a Pro for Flawless Designs
This is the most crucial step, and often the most overlooked by beginners. Properly prepping your nails isn’t just about hygiene; it’s about creating the perfect canvas for your art. A clean, smooth surface ensures polish adheres well and designs don’t lift or chip prematurely.
- Cleanliness is Key: Start by removing any old polish. Then, wash your hands thoroughly with soap and water. Make sure your nails are completely dry before applying any product. Water trapped under polish can cause lifting.
- Shape Up: File your nails to your desired shape. Always file in one direction to preventSplitting and weakening of the nail. For a smooth edge, use a fine-grit file.
- Cuticle Care: Gently push back your cuticles using an orange stick or a cuticle pusher. Don’t cut them unless you’re experienced, as it can lead to infection. Hydrated cuticles are easier to manage. Applying a cuticle oil or balm regularly can help keep them healthy and soft.
- Buff for Smoothness: Lightly buff the surface of your nails with a fine-grit buffer. This removes ridges and creates a slightly rougher surface, giving your polish and designs better grip. Don’t over-buff, as this can thin your nails.
- Wipe Down: Before applying polish or base coat, give your nails a final wipe with a lint-free cloth soaked in nail polish remover or rubbing alcohol [70% isopropyl alcohol]. This removes any lingering oils or dust that could interfere with adhesion.
The Power of the Base Coat
A good base coat is your best friend for both longevity and design integrity. It’s not just about preventing stains (though it does that wonderfully!). A base coat creates a smooth, even surface, fills in minor imperfections, and provides a grippy layer for your colored polish and nail art.
- Smooth Sailing: It fills microscopic ridges, ensuring a perfectly flat surface for your color.
- Adhesion Helper: It acts like double-sided tape for your polish, helping it stick better and last longer.
- Stain Prevention: Especially important for dark or vibrant polishes, a base coat acts as a barrier, stopping your natural nail from getting stained.
- Tip for Beginners: Apply one thin, even layer. Let it dry completely before moving on to your color.
Top Coat Triumph: Seal the Deal!
Just as vital as the base coat, the top coat is your design’s protective shield. It seals in your design, adds incredible shine, and prevents chips and smudges. For beginners, a good top coat can be the difference between a design lasting a day or a week!
- Shine On: A good top coat adds a beautiful, glossy finish that makes any manicure look professional.
- Lock It In: It seals your polish and design, protecting it from everyday wear and tear.
- Quick Dry Options: Many “quick dry” top coats are available, which are fantastic for busy beginners who don’t want to wait ages for their nails to dry.
- Pro Tip: Apply your top coat carefully, making sure to cap the free edge of your nail (swipe a little top coat along the very tip of your nail). This is a crucial hack for preventing chips.
Easy Nail Design Hacks That Wow
Now for the fun part! These hacks focus on simple techniques that deliver maximum impact with minimal effort. You don’t need to be a Picasso to create beautiful, eye-catching nail art.
The Tape Trick for Straight Lines and Geometric Shapes
Achieving crisp, clean lines can be notoriously tricky. Enter masking tape or painter’s tape! This simple tool is a lifesaver for beginners wanting to create sharp geometric patterns, French tips, or even simple accent stripes.
- Apply to Dry Color: Ensure your base color is completely dry. If it’s not, the tape will peel it off.
- Cut and Place: Cut small pieces of tape to your desired shape. Carefully place them onto your nail, pressing down the edges firmly to prevent polish from seeping underneath.
- Paint Over: Apply your second color over the tape. For crisp lines, don’t apply too thick a layer of polish.
- Peel Gently: While the second color is still slightly wet (but not liquid), carefully peel off the tape at an angle. Pulling when it’s too wet can smudge the design; pulling when it’s too dry can create a jagged edge.
- Seal: Once completely dry, apply a generous coat of your favorite top coat to seal the design.
Hack Variation: Try using different widths of tape, or combining angled strips to create even more complex geometric patterns. Even a simple accent line down the center of the nail can look incredibly chic with this method.
The Dotting Tool Delight: Polka Dots and Beyond
Don’t have a fancy nail art brush? A dotting tool (or even the ball-end of a bobby pin or a toothpick!) is your new best friend for creating perfect dots. This is one of the most versatile and easy nail design hacks for beginners.
- Load and Dot: Dip the ball-end of your dotting tool into a small pool of polish. Don’t overload it.
- Gentle Touch: Lightly touch the polish to your nail to create a dot.
- Consistent Size: Use the same side of the tool and the same pressure for consistent dot sizes.
- Vary the Size: Use different sized dotting tools to create a mix of large and small dots for a dynamic look.
- Beyond Dots: You can also use dotting tools (especially finer ones) to create small swirls, tiny hearts, or even connect dots to make simple lines or patterns.
Hack for Even Dots: If your dots are looking uneven, try creating a “dotting palette” by putting a small drop of polish on a piece of paper or a tile. Dip your tool into the drop rather than directly into the bottle. This helps control the amount of polish on the tool.
The Sponge Technique for Ombre and Gradient Nails
Dreaming of that seamless color transition (ombre or gradient)? It looks complex, but a simple makeup sponge can make it incredibly easy for beginners!
- Prep Nails: Apply your base coat and one layer of your lightest color. Let it dry. If desired, apply a thin layer of petroleum jelly or liquid latex around your nails and cuticles to catch excess polish – this makes cleanup much easier!
- Apply to Sponge: Paint 2-3 stripes of your desired colors onto the makeup sponge, side-by-side. Work quickly as the polish will start to dry on the sponge.
- Sponge On: Gently press the sponge onto your nail, rocking it slightly back and forth to blend the colors.
- Repeat and Blend: Reapply polish to the sponge and repeat the process on all nails. You might need a few passes to build up the color intensity.
- Clean Up: Immediately remove the liquid latex or petroleum jelly. Use a brush dipped in nail polish remover to clean up any stray polish around your cuticles.
- Seal: Once your nails are completely dry, apply a generous layer of top coat to smooth out the sponged texture and add shine.
Tip for Beginners: Start with just two colors for a simpler gradient. A softer makeup sponge works best; if using a cosmetic sponge, try a denser one. Always ensure the colors transition smoothly on the sponge before pressing to the nail.
Using Everyday Items for Unique Textures
You don’t always need specialized tools for unique nail effects. Look around your home – you might discover a whole toolkit!
- Toothpicks & Needles: Great for fine lines, tiny details, dotting, and creating simple swirls or feather patterns by dragging polish.
- Bobby Pins: The ball end is perfect for creating dots of varying sizes.
- Stamps (from craft stores): Use with polish to transfer simple images or patterns onto your nails.
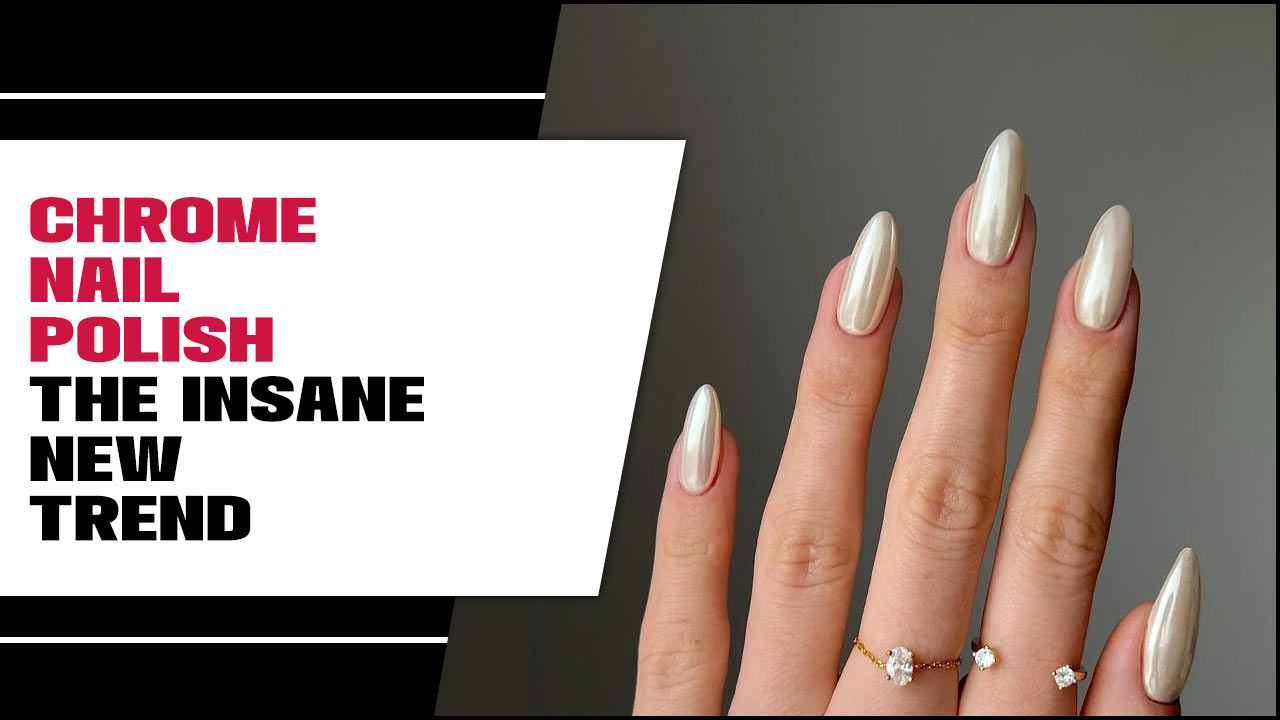
- Eyeshadow Pigments: Rubbing finely milled pigment onto a tacky nail surface (after it’s dry but not fully cured) can create a beautiful chrome, shimmer, or pearlescent effect. Always seal with a top coat.
- Glitter: Beyond just applying it over polish, try pressing loose glitter onto a tacky surface for a full glitter nail, or lightly dusting a small amount for a subtle shimmer.
Essential Nail Design Tools for Beginners (and Budget-Friendly Picks!)
While everyday items can be great, having a few basic nail art tools will significantly up your game and make designs even easier. The good news? They’re usually quite affordable!
Must-Have Tools Table
| Tool | What it Does | Beginner Hack |
|---|---|---|
| Dotting Tools | Creating dots, swirls, and small details. | Use different sized tips for varied dot sizes. Dip into a polish pool on paper for control. |
| Thin Nail Art Brushes | Fine lines, intricate designs, filling small spaces. | Clean thoroughly after each use to maintain bristles. Start with a simple stripe brush. |
| Striping Tape | Creating sharp geometric lines and French tips. | Press edges down VERY firmly to avoid bleed. Peel when polish is slightly wet. |
| Nail Art Sponge | Ombre, gradient, and textured finishes. | Use denser sponges for smoother blends. Practice on paper first. |
| Cuticle Pusher/Orange Stick | Gently pushing back cuticles. | Always use on clean, slightly moisturized cuticles. Can also be used to clean up polish mistakes. |
| Fine-grit Nail File & Buffer | Shaping and smoothing nails. | File in one direction for strength. Buff lightly to prep for polish. |
Budget-Friendly Tool Shopping Tips
- Starter Kits: Many online retailers and beauty supply stores offer affordable nail art tool starter kits that include a variety of brushes and dotting tools. These are a great way to try out different items without a big investment.
- DIY Your Own: As mentioned, don’t underestimate household items like toothpicks, bobby pins, and even sharpened pencils.
- Dollar Stores & Discount Retailers: You can often find basic nail art tools, sponges, and even some polishes at very low prices from these stores.
- Quality Matters (Sometimes): While budget is key, investing a little more in a good quality base and top coat will make a noticeable difference in the longevity and finish of your designs.
Simplifying Complex Designs: Beginner-Friendly Approaches
Sometimes, even a simple-looking design can feel daunting. Here’s how to break them down and adapt them for beginner success.
Faux French Tips
A classic French manicure can be tricky to get perfectly straight. Try these hacks:
- The Tape Method: Use striping tape to get super-sharp, clean lines.
- Freehand with a Thin Brush: Practice making a smile line Freehand. Start VERY light, and use a clean-up brush dipped in remover to perfect the edge. It takes practice, so be patient!
- French Tip Guides: You can buy sticker guides that help you paint the white tip.
- Color Variations: Don’t feel limited to white! Try colored tips for a fun, modern twist.
Marble Nails Made Easy
Marble looks intricate but can be simplified:
- Wet-on-Wet Method: Paint your base color. While it’s still wet, add a few random streaks or drops of contrasting colors onto the wet polish.
- Swirl Gently: Use a toothpick or dotting tool to gently swirl the colors together. Don’t over-swirl, or you’ll muddy them.
- Clean Up Lines: Use a clean-up brush and remover to perfect the edges.
- Seal: Top coat!
Hack: Sometimes, pressing a piece of saran wrap lightly onto these wet colors and then gently lifting can create a cool marble effect too. It’s a less controlled but often surprisingly chic outcome.
Animal Prints (Simplified!)
Leopard spots are easier than they look!
- Leopard Spots: Use a dotting tool or a fine brush to create irregular “C” shapes or blobs. Then, using a darker shade, outline some of these shapes or add smaller dots within them. Fill in any gaps with another color or leave plain.
- Cheetah Spots: Similar to leopard, but the spots are smaller and more elongated.
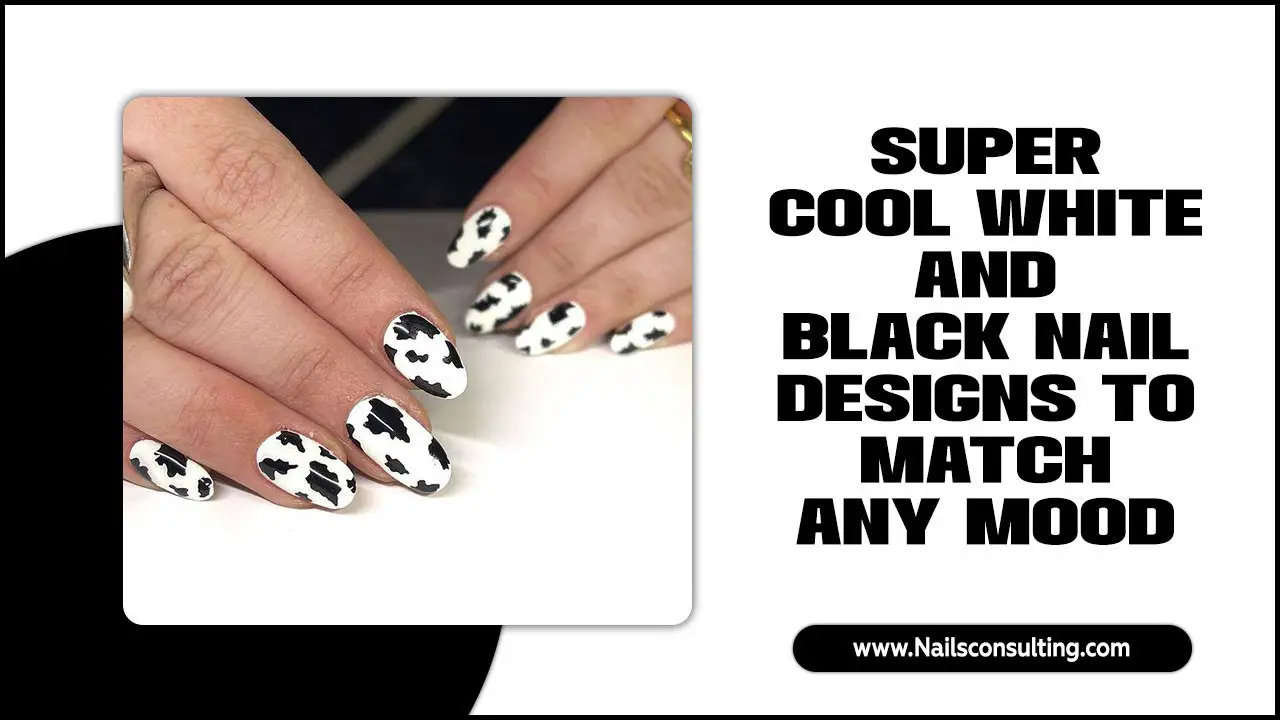
- Zebra Stripes: Use striping tape or Freehand thin black lines on a white background, or vice-versa.
Beginner Tip: Start with just one accent nail featuring an animal print. It adds a pop of fun without requiring you to do it on all ten nails perfectly.
Nail Care Hacks for Design Durability
A beautiful design is only as good as how long it lasts. These simple nail care hacks will help your creations stay pristine longer.
- Always Cap the Edges: When applying polish and top coat, make sure to swipe a little product across the free edge of your nail. This seal prevents chipping.
- Be Gentle: Avoid using your nails as tools. Don’t scrape, pry, or dig! This is one of the fastest ways to chip or break polish and nail art.
- Gloves are Your Friends: Wear gloves when doing chores, especially washing dishes or using cleaning chemicals. Harsh chemicals and prolonged water exposure are the enemies of manicures.
- Reapply Top Coat: Every 2-3 days, apply another thin layer of top coat. This refreshes the shine and adds an extra layer of protection.
- Moisturize: Keep your hands and cuticles moisturized. Dry, brittle nails are more prone to breaks and chips. Use cuticle oil daily.
Troubleshooting Common Beginner Nail Art Problems
Even with hacks, you might run into a few snags. Here’s how to fix them!
- Smudged Polish: If you smudge slightly while wet, gently use a clean brush tip or toothpick to smooth it out. If it’s mostly dry, a carefully applied layer of top coat can sometimes disguise minor smudges. For bigger smudges, it might be time for a fresh coat or a strategic accent design over the area.
- Polish Seeped Under Tape: This usually happens when the tape wasn’t pressed down firmly enough, or the base color wasn’t dry. Gently use a clean-up brush dipped in nail polish remover to carefully scrape away the excess polish along the line.
- Uneven Dots/Lines: A good top coat can often smooth out minor inconsistencies. For significant issues, consider adding more dots or using a fine glitter polish to camouflage imperfections.
- Bubbles in Polish: Apply polish in thin coats. Avoid shaking polish bottles vigorously (swirl instead). Ensure you’re not applying polish too thickly, and let each coat dry adequately before the next.
- Gel Polish Not Curing Fully: Ensure you are using the correct UV/LED lamp for your gel polish type and that you aren’t applying coats too thick. Always follow the manufacturer’s instructions for

