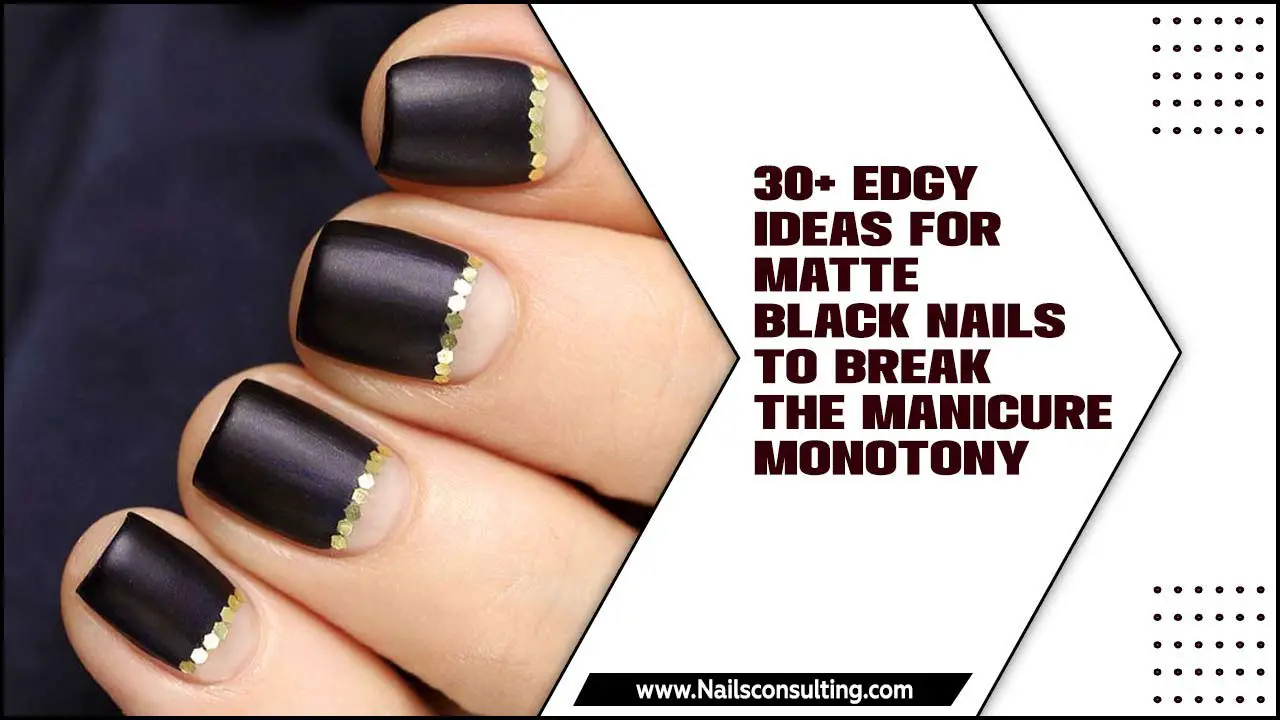
Quick Summary: Elevate your manicure with stunning gold leaf accent nails! This beginner-friendly guide shows you how to easily apply delicate gold leaf to your nails for a touch of luxe. Get ready for eye-catching, sophisticated looks that are surprisingly simple to achieve at home!
Ever admired those gorgeous nails shimmering with delicate flecks of gold and thought, “There’s no way I can do that myself!”? Many of us feel the same way, especially when diving into nail art. But guess what? Achieving those elegant gold leaf accent nails is totally within your reach, even if you’re a complete beginner. Forget complicated techniques; we’re going to break down how to add that touch of glamour with simple steps and a few easy-to-find tools.
Gold leaf nails add a sophisticated sparkle to any look. They’re perfect for special occasions or just for when you want to feel a little extra chic on a Tuesday. Ready to transform your nails into little works of art? Let’s get started on creating your own stunning gold leaf accent nails!
Why Gold Leaf Accent Nails Are Your Next Must-Try Trend
Gold leaf accent nails are a superstar in the nail art world for so many reasons. They’re versatile, surprisingly easy to implement, and instantly elevate any basic manicure into something extraordinary. Think of it as the perfect accessory to your fingertips – a subtle yet impactful way to express your style and add a luxurious touch. Unlike intricate hand-painted designs, gold leaf offers a unique, almost ethereal shimmer that catches the light beautifully.
For beginners, the appeal lies in the achievable results. You don’t need a steady hand of a professional artist to get gorgeous gold leaf effects. It’s more about placement and a little bit of patience. Plus, the trend allows for so much creativity. Whether you prefer a few scattered flakes or a bold, statement look, gold leaf can be adapted to fit your personal style and the vibe of your outfit. Let’s explore why this trend is so captivating and how you can easily join in.
Understanding Gold Leaf for Nails
Before we dive into the ‘how-to,’ let’s chat about what exactly ‘gold leaf’ means in the context of nail art. When we talk about gold leaf for nails, we’re typically referring to imitation gold leaf, also known as gold foil or gold flakes. This is a thin material made from metallic alloys that mimic the look of real gold without the hefty price tag. It comes in various forms:
- Flakes: These are irregular, tiny pieces of foil. They are the most common and easiest for beginners to work with, allowing for scattered, natural-looking textures.
- Sheets: These are larger, thin sheets of foil. They can be torn or cut into smaller pieces for more controlled application, but can be a bit trickier to handle initially.
- Strips: Sometimes gold foil comes in thin strips, which can be great for adding linear accents or geometric designs.
It’s important to note that real gold leaf is extremely delicate and expensive, rarely used for DIY nail art. The imitation gold leaf available in beauty stores or online is perfectly safe and designed for cosmetic application. It adheres well to nail polish and top coats, creating that stunning gilded effect.
Essential Tools and Materials You’ll Need
Gathering your supplies is the first step to a successful DIY manicure. Don’t worry, these are all pretty accessible! Here’s what you’ll need:
- Your favorite nail polish color(s): This will be your base.
- Gold leaf flakes or foil: Choose the type that appeals to you most. Small containers or flakes are easiest for beginners.
- Nail glue or a sticky top coat: This is crucial for the gold leaf to adhere. Some top coats are specifically designed to be “sticky” enough for foils.
- Tweezers: Fine-tip or angled tweezers are best for picking up and placing the delicate gold leaf.
- A clean-up brush or orangewood stick: For gently pressing down the foil and cleaning up any stray pieces.
- A good quality top coat: To seal everything in and add shine.
- Optional: Base coat, nail file, cuticle pusher.
Having these items ready will make the process smooth and enjoyable. Think of it like gathering your ingredients before baking – it makes all the difference!
Step-by-Step Guide: Creating Your Gold Leaf Accent Nails
Ready to get your hands (and nails!) on some gold? Follow these simple steps for a gorgeous gold leaf manicure:
Step 1: Prep Your Nails
Just like any great manicure, preparation is key. Start by cleaning your nails. If you have old polish on, remove it completely. Shape your nails with a file to your desired length and form. Gently push back your cuticles using an orangewood stick or a cuticle pusher. Applying a clear or colored base coat is also a good idea to protect your natural nails and provide a smooth canvas.
Step 2: Apply Your Base Polish
Paint your nails with your chosen nail polish color. You can opt for a classic nude, a bold red, or even a deep jewel tone. Apply one or two thin coats, allowing each to dry completely. Ensure the polish is fully dry before moving on to the next step, as this can affect how the gold leaf adheres.
Step 3: Apply Your Adhesive
This is where the magic begins! You have a couple of options for your adhesive:
- Method A: Using a Sticky Top Coat: Apply a thin layer of a specially designed “sticky” top coat over the nail(s) where you want to apply the gold leaf. Some nail polish brands offer top coats that remain tacky for a while after application, perfect for foil.
- Method B: Using Nail Glue: For a more durable hold, you can use a small amount of nail glue. Apply a very thin, even layer of nail glue to the dried polish on your accent nail(s). Work quickly, as glue dries fast.
Whichever method you choose, ensure the adhesive is in place while it’s still wet or tacky. This is what the gold leaf will stick to. If using a regular top coat that isn’t specifically designed for foiling, let it dry until it’s slightly tacky, not fully hardened.
Step 4: Apply the Gold Leaf
Now for the fun part! Using your tweezers, carefully pick up a small piece of gold leaf. Gently press it onto the tacky surface of your nail. Don’t worry about making it perfect; irregular placement is part of the charm! You can lightly dab it on, press it down with the back of your tweezers, or even use a clean-up brush or orangewood stick to gently pat it into place. Add more pieces as desired, layering them or scattering them across the nail. You can cover the whole nail, just a corner, or create a stripe. Experiment with different amounts and placements!
Step 5: Seal and Shine
Once you’re happy with the placement of your gold leaf, it’s time to seal it in. Apply a generous layer of a good quality top coat over the entire nail, making sure to cap the free edge (the tip of your nail). This will smooth out any rough edges of the foil and give your nails a beautiful, glossy finish. Apply a second coat of top coat for extra protection and shine, especially over the gold leaf areas. Allow your nails to dry completely.
Step 6: Clean Up
Use a clean-up brush dipped in nail polish remover to clean up any polish or gold leaf bits from around your cuticle area and fingertips. This gives your manicure a polished, professional look.
Popular Gold Leaf Accent Nail Designs
Gold leaf is incredibly versatile and can be incorporated into a multitude of stunning looks. Here are a few popular designs to inspire you:
| Design Style | Description | Best For |
|---|---|---|
| Scattered Flakes | Irregular, delicate pieces of gold leaf scattered randomly across a base color. Creates a subtle, ethereal shimmer. | Everyday wear, adding a touch of glam to solid colors. |
| Full Foiled Accent Nail | Covering an entire accent nail (or multiple nails) with gold leaf. Bold and statement-making. | Special occasions, pairing with neutral or dark base colors for high contrast. |
| Gold Leaf Tips | Applying gold leaf just to the tips of the nails, mimicking a French manicure style. | Sophisticated and modern look, works well with sheer or nude bases. |
| Geometric Accents | Using small pieces of gold leaf to create lines, shapes, or borders on the nail. | Edgy and minimalist designs, perfect for those who love clean lines. |
| Ombre with Gold Leaf | Applying gold leaf over a gradient or ombre manicure, often concentrated at the cuticle or tips. | Adding unique texture and shimmer to a popular trend. |
Tips for a Flawless Gold Leaf Manicure
Even with a simple technique, a few pro tips can make your gold leaf accent nails truly stand out:
- Less is More: Sometimes just a few strategically placed flecks can have a bigger impact than covering the entire nail.
- Work in Sections: If applying to multiple nails or a large area, have your adhesive ready and apply the gold leaf in small sections.
- Patience with Drying Time: Ensure your base polish is completely dry before applying adhesive and foil. Also, give your top coat ample time to dry to avoid smudging.
- Use a Good Top Coat: A thick, glossy top coat is essential for smoothing out the foil texture and protecting your design. Ensure it’s a formula that won’t “eat” or dull the foil. Some gel top coats can sometimes interact with foil, so test if you’re unsure.
- Practice Makes Perfect: Don’t get discouraged if your first attempt isn’t salon-perfect. The beauty of DIY is you can always try again!
- Consider Contrast: Darker base colors often make the gold leaf pop more dramatically, while lighter colors offer a more subtle shimmer.
Comparing Adhesive Options: Nail Glue vs. Sticky Top Coat
Choosing the right adhesive is key to making your gold leaf nails last and look their best. Here’s a quick comparison:
| Feature | Nail Glue | Sticky Top Coat |
|---|---|---|
| Adhesion Strength | Very Strong (can be more durable) | Moderate to Strong (depends on formula) |
| Ease of Use for Beginners | Slightly trickier, dries fast, can be clumpy if too much is used. | Easer, spreads more evenly, more forgiving with drying time. |
| Longevity | Generally longer-lasting. Good adherence can mean fewer chips. | Good, but may not be as robust as nail glue for some users. |
| Best Application | For accent nails needing extra durability or specific placement. | For overall foil application, scattered effects, or if you prefer a less intense adhesive. |
| Potential Issues | Can be too strong if applied heavily, may appear lumpy. | Some regular top coats aren’t “sticky” enough; requires a specific formula. |
For most beginners, a sticky top coat designed for nail foils is the easiest and most forgiving option. If you find your foil is lifting after a day or two, however, you might consider trying nail glue carefully on your next attempt. Always ensure your true nail health is a priority; improper glue application can be harsh on the nail bed. If you experience any irritation, discontinue use.
Maintaining Your Gold Leaf Accent Nails
Once you’ve achieved your stunning gold leaf look, you’ll want to keep it looking fabulous for as long as possible. Here are a few tips for maintenance:
- Be Gentle: Avoid using your nails as tools. Try not to pick at things or scrape surfaces, as this can lift the polish and the gold leaf.
- Wear Gloves: When doing household chores, especially those involving water or harsh cleaning products, wear rubber gloves. This protects your manicure from damage.
- Moisturize: Keep your hands and cuticles moisturized with cuticle oil and hand cream. Healthy nails and skin look better and help your manicure last longer.
- Avoid Acetone (when possible): While acetone is great for removing polish, it can be drying. Soak your nails in remover rather than scrubbing vigorously. For at-home gel polishes, follow the recommended removal process.
With proper care, your beautiful gold leaf accent nails can last for several days, bringing a touch of effortless elegance to your everyday style.
Gold Leaf and Nail Health: What You Need to Know
It’s always important to consider nail health when experimenting with beauty trends. Gold leaf itself, when used as imitation foil or flakes, is generally considered safe for cosmetic use. The primary considerations for nail health come from the products used to apply and seal it, and how one handles their manicure.
The key is using quality products and proper application techniques. Brands that specialize in nail art often formulate their glues and top coats with nail safety in mind. Always ensure you’re using products designed for cosmetic use and follow the instructions carefully. For instance, avoid applying excessive amounts of nail glue, which can weaken your natural nails over time. Similarly, ensure your top coat is fully cured before exposing your nails to harsh conditions. If you have very sensitive skin or nails, it’s always a good idea to do a patch test with any new adhesive or polish.
Proper nail care, including regular moisturizing and gentle treatment of the nails, will also contribute to overall nail health. If you notice any adverse reactions or persistent issues, it’s best to consult with a nail technician or dermatologist. For more information on basic nail care best practices, you can refer to resources from trusted health organizations, such as the American Academy of Dermatology, which offers comprehensive advice on maintaining healthy nails.
Frequently Asked Questions About Gold Leaf Accent Nails
Q1: Can I apply gold leaf over gel polish?
A: Yes, you can! The process is similar. After curing your gel polish, apply your adhesive (a sticky top coat designed for foils works well) over the cured gel color. Then, apply the gold leaf and seal it with a gel top coat, curing each layer as you go.
Q2: Does gold leaf fall off easily?
A: When applied correctly with a good adhesive and sealed with a durable top coat, gold leaf should adhere well and last for several days. Being gentle with your hands and avoiding harsh scrubbing can help prevent it from falling off prematurely.
Q3: Can I use real gold leaf?
A: While technically possible, real gold leaf is extremely expensive, delicate, and difficult to handle for nail art. The imitation gold leaf (foil flakes) available at beauty supply stores is designed for this purpose, is much more user-friendly, and gives a similar stunning effect for a fraction of the cost.
Q4: How much gold leaf should I use?
A: This is entirely up to your personal preference! For a subtle shimmer, a few scattered flakes are enough. For a bolder statement, you can cover an entire nail or create intricate patterns. Experiment to find what you love!
Q5: What’s the easiest way to apply gold leaf for beginners?
A: The easiest method for beginners is usually using small gold leaf flakes and applying them over a slightly sticky top coat on a pre-painted nail. Use tweezers to place the flakes, gently press them down, and then seal thoroughly with another coat of top coat.
Q6: Can I mix gold leaf with other nail art elements?
A: Absolutely! Gold leaf pairs beautifully with many other nail art elements like glitter, stamping, hand-painted designs, or even just plain nail polish. It’s a fantastic accent that can enhance various themes and styles.
Conclusion: Shine On with Your Gold Leaf Nails!
There you have it! Creating stunning gold leaf accent nails is absolutely achievable, even for those new to nail art. We’ve walked through the simple steps, discussed the essential tools, and explored a variety of gorgeous design ideas. Remember, the key is preparation, the right adhesive, and a good top coat to seal the deal. Don’


