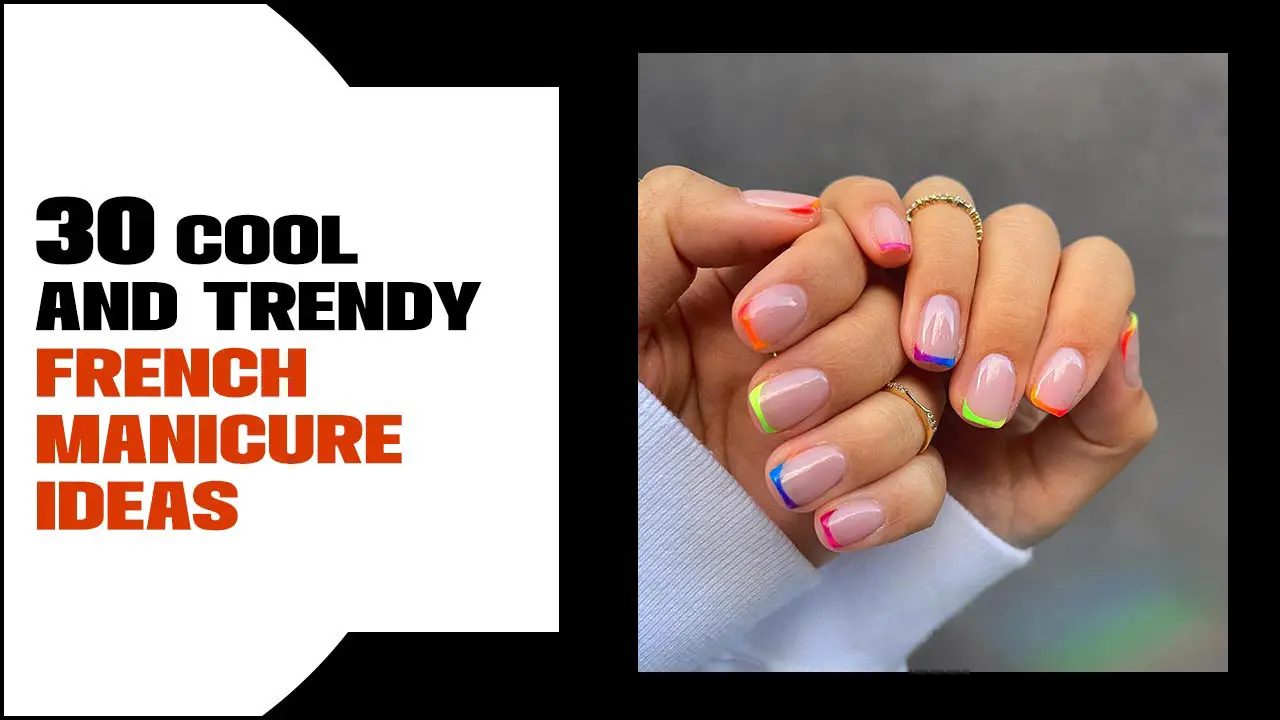
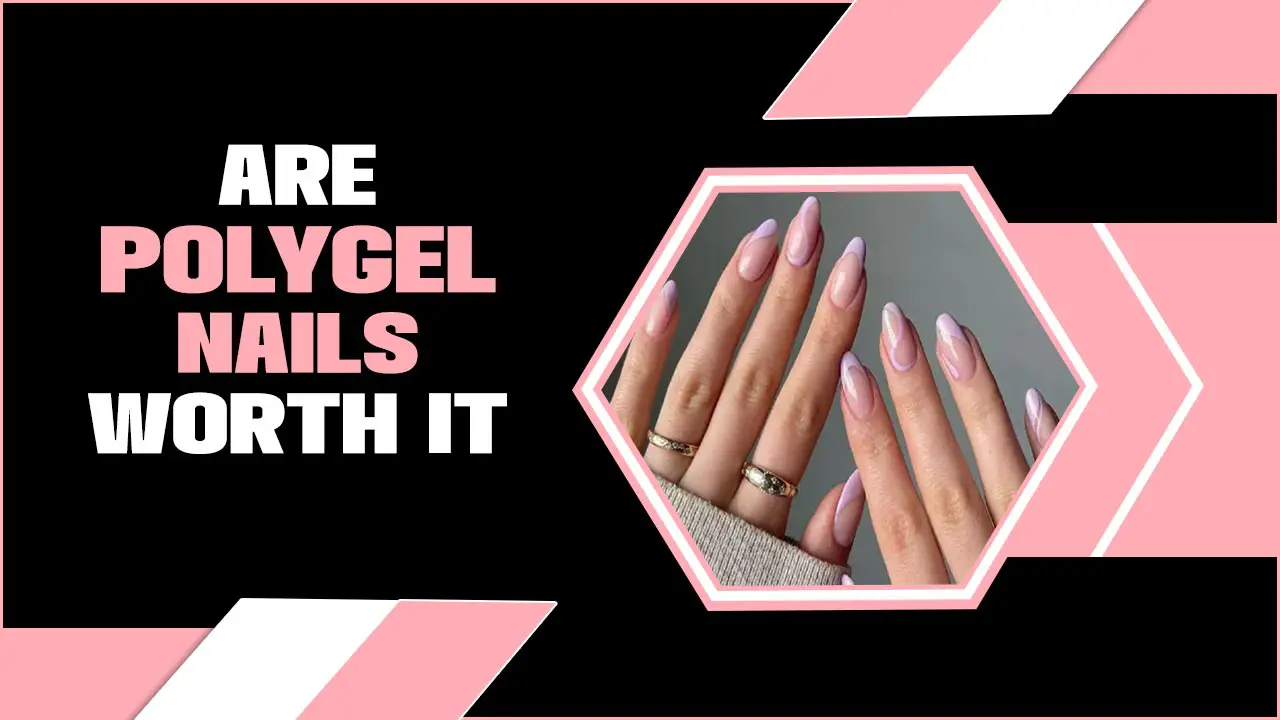
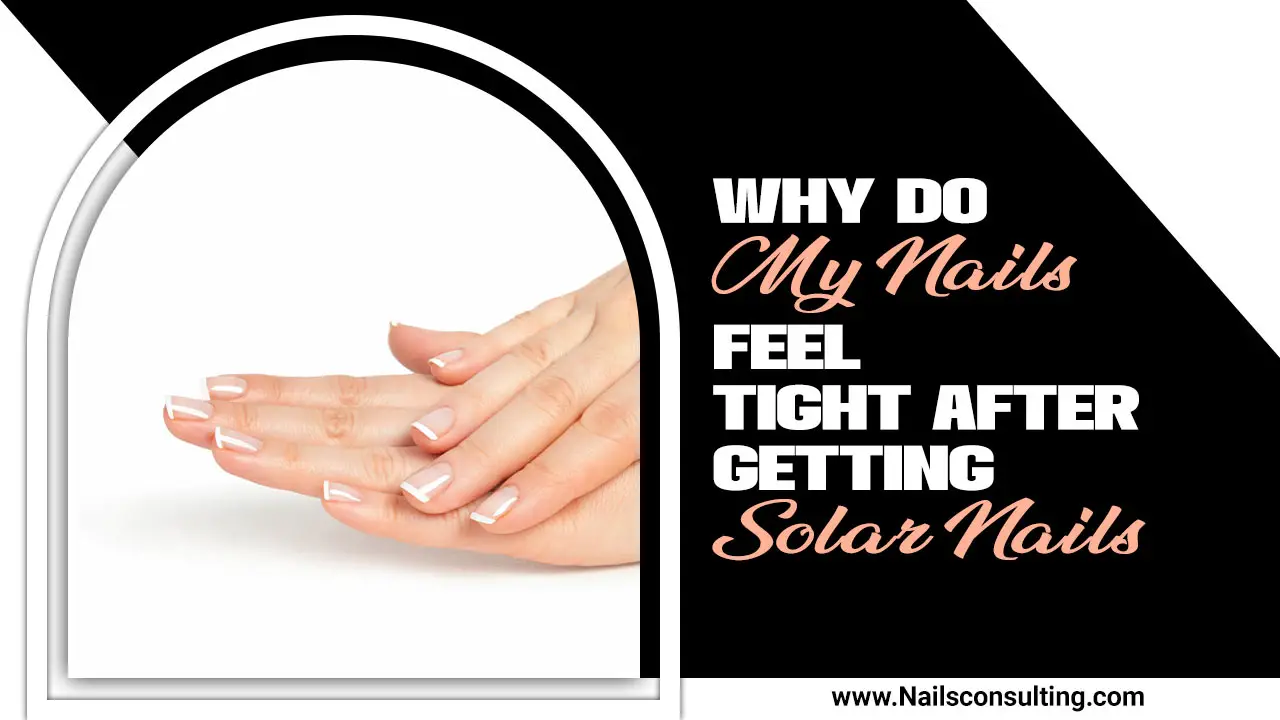
Minimal nude nails with a single accent offer a chic, sophisticated, and effortlessly stylish look perfect for any occasion. This design balances understated elegance with a touch of personal flair, making it a go-to for those who appreciate subtle yet impactful beauty.
Are you dreaming of nails that are elegant, chic, and incredibly easy to achieve? Sometimes, less truly is more when it comes to nail art. Minimal nude nails with a single accent are the perfect way to elevate your look without being over the top. They’re versatile, timeless, and speak volumes with just a touch of detail. If you’ve ever felt overwhelmed by complex nail designs or struggled to find an elegant style that works for everyday life, you’ve come to the right place! We’re going to break down how to create this stunning, understated look that will make your hands the star of the show. Get ready to discover your new favorite nail essential!
Why Minimal Nude Nails with a Single Accent are a Must-Try
This trend is taking the beauty world by storm, and for good reason! It’s the ultimate blend of sophistication and subtle personality. Think of it as the little black dress of manicures – always appropriate, always stylish, and endlessly adaptable. If you’re new to nail art or simply prefer a cleaner, more polished aesthetic, this is your perfect starting point. It’s approachable, budget-friendly, and incredibly satisfying to achieve!
The Appeal of Nude Tones
Nude nail polish isn’t just one color; it’s a spectrum! From soft beiges and creamy caramels to delicate peachy pinks and warm taupes, there’s a nude shade to complement every skin tone. The beauty of nude tones lies in their ability to:
- Enhance natural beauty: They create a polished, unified look that makes your nails appear longer and healthier.
- Offer versatility: Nude nails go with absolutely everything, from your casual weekend outfits to your most formal work attire.
- Provide a clean canvas: They offer a sophisticated backdrop that allows other elements of your style to shine.
The Power of the Single Accent
The magic happens when you introduce that one special element. A single accent nail can be anything from a subtle shimmer to a delicate pattern. It adds a focal point and a touch of personality without overwhelming the overall minimalist vibe. This little touch of detail transforms a simple manicure into a statement of refined style.
Essential Tools and Products You’ll Need
Don’t let the word “minimal” fool you – having the right tools makes all the difference in achieving a salon-quality finish at home. You don’t need a professional setup, just a few key items!
Your Nail Care Kit
Before you even reach for polish, start with a good foundation:
- Nail File: For shaping your nails. A fine-grit file (240 grit or higher) is gentlest.
- Nail Buffer: To smooth the nail surface and add a natural shine.
- Cuticle Pusher/Orange Stick: To gently tidy up the cuticle area without damage.
- Nail Polish Remover: Acetone-free is best for preventing dryness.
- Cotton Pads or Lint-Free Wipes: For applying remover and cleaning up mistakes.
Polishing Essentials
These are the stars of the show:
- Base Coat: This is crucial! It protects your natural nail from staining and helps polish adhere better. Look for one with strengthening properties if your nails tend to be weak.
- Nude Nail Polish: Choose a shade that complements your skin tone. A good quality crème finish usually works best for a smooth, opaque look.
- Accent Nail Polish/Element: This could be a glitter polish, a metallic shade, a fine-line art pen, or even a tiny sticker!
- Top Coat: The finishing touch that seals your design, adds incredible shine, and protects against chips. A quick-dry top coat is a lifesaver!
Optional (But Helpful!)
- Cuticle Oil: To rehydrate your cuticles after polishing.
- Small Detail Brushes: If you’re feeling adventurous with freehand accent designs.
- Dotting Tools: Perfect for creating small, precise dots on your accent nail.
Step-by-Step Guide to Perfect Minimal Nude Nails with a Single Accent
Ready to create your masterpiece? Follow these simple steps for a flawless finish. We’ll focus on making this process easy and enjoyable!
Step 1: Prep Your Nails
A clean canvas is key for any beautiful manicure. Start by removing any old polish with nail polish remover and cotton pads. Make sure you get all traces off, especially near the cuticles. Then, using your nail file, gently shape your nails. Whether you prefer a round, square, or squoval shape, aim for consistency across all nails. If you choose to push back your cuticles, do so gently with an orange stick or cuticle pusher after the shape is perfected. Avoid cutting them, as this can lead to damage and infection. Finishing with a quick buff to smooth any ridges will leave your nails perfectly prepped.
For more on nail health and proper filing techniques, the Mayo Clinic offers some great general advice on nail care: Mayo Clinic Skin and Hair Care Tips.
Step 2: Apply Base Coat
This is a crucial step many people skip! Apply one thin, even layer of your chosen base coat. This protective shield prevents your natural nails from yellowing or staining, especially from darker polishes. It also creates a smooth surface for your nude polish to adhere to, helping your manicure last longer. Let it dry completely for a minute or two before moving on.
Step 3: The Nude Polish Application
Now for the main event! Apply your chosen nude nail polish.
- First Coat: Apply a thin, even layer. Start your brush stroke in the middle of the nail, then go down to the cuticle, and sweep to one side, then the other. Avoid flooding the cuticle area.
- Drying Time: Let this coat dry for at least 2-3 minutes. Rushing this step can lead to smudging.
- Second Coat: Apply a second thin coat for full opacity and an even color. Most nude polishes need two coats to look their best.
- Curing: Allow the second coat to dry thoroughly. Patience here is your superpower!
Step 4: Create Your Single Accent
This is where your creativity shines! Decide which finger will be your accent nail – traditionally, it’s the ring finger, but you can choose any! Here are some simple yet stunning accent nail ideas:
- A Touch of Glitter: Apply a coat of fine-glitter polish (silver, gold, or iridescent) over your accent nail.
- Metallic Shine: Use a metallic polish (gold, rose gold, silver) for a sophisticated pop.
- Subtle Dots: Use a dotting tool or the tip of your orange stick dipped in a complementary polish (like white, black, or metallic) to create a row of small dots along the cuticle or the tip.
- A Single Line: With a fine-tipped art pen or a thin brush and contrasting polish, draw a single vertical or horizontal line across the accent nail.
- A Hint of Shimmer: A sheer polish with a subtle shimmer or holographic fleck can add just enough interest.
Remember, the key is one accent nail. Keep it simple and elegant!
Step 5: Apply Top Coat
Once your nude polish and accent nail are completely dry to the touch (wait at least 5-10 minutes to be safe!), it’s time for the top coat. Apply a generous layer of your favorite top coat over all nails, including the accent nail. This not only adds a beautiful glossy finish but also locks in your design and protects it from chips and wear. Make sure to cap the free edge of your nails by running the brush along the tip. This helps prevent chipping.
Step 6: Finishing Touches
After your top coat has dried (a quick-dry formula helps immensely here!), apply a drop of cuticle oil to each nail. Gently massage it into the skin around your nails. This rehydrates the area, preventing any dryness or hangnails and giving your manicure a beautifully finished, healthy look.
Accent Nail Ideas: Elevate Your Nude Manicure
The single accent nail is your chance to add a personal touch without going overboard. Here are some curated ideas perfect for beginners and seasoned nail enthusiasts alike. The goal is understated elegance with a hint of something special!
Sparkle and Shine
A touch of glitter is a timeless way to add glamour.
- Fine Glitter: Apply a thin layer of a subtle fine glitter polish (like silver, champagne, or rose gold) over the entire accent nail. Or, try a glitter gradient, starting more densely at the tip and fading down.
- Holographic Fleck: A polish with holographic flecks catches the light beautifully, adding dimension without being too flashy.
Metallic Accents
Metallics are sophisticated and always on-trend.
- Gold Leaf: Carefully place a small piece of gold leaf foil onto the wet top coat of your accent nail for an artisanal, luxurious look. Seal with another top coat.
- Rose Gold Stripe: Use a striping tape or a very fine brush and rose gold polish to create a simple geometric line or stripe across your accent nail.
- Chrome Dust: A subtle application of chrome powder on the accent nail can give a mirror-like finish that’s incredibly modern.
Minimalist Art
Simple designs can make a big impact.
- Delicate Dots: Use a dotting tool or the end of a bobby pin to place tiny, evenly spaced dots of a contrasting color (like black, white, or metallic) near the cuticle or along the tip.
- Single Thin Line: A single, clean line drawn either vertically or horizontally across the accent nail adds a modern, architectural touch.
- Tiny Star or Moon: Use a nail art pen or a small stencil to add a tiny celestial element.
Matte Finish
Transforming your accent nail with a matte top coat can add a unique texture. Apply your nude polish as usual, add your desired minimal design to the accent nail and then apply a matte top coat over everything. This creates a sophisticated, velvety finish.
Choosing the Right Nude Shade for Your Skin Tone
Finding the perfect nude isn’t a one-size-fits-all situation. The goal is for your nude polish to look like your natural nail, but better! Here’s a quick guide:
| Skin Tone | Recommended Nude Shades | Accent Color Suggestions |
|---|---|---|
| Fair/Porcelain | Pale pinks, light beige with cool undertones, sheer milky whites. | Silver, soft rose gold, iridescent glitter, pale blue. |
| Light to Medium | Peachy nudes, creamy beige, light caramel, warm taupes. | Gold, rose gold, subtle bronze, mint green, coral. |
| Olive/Medium Tan | Warm caramel, deeper beige, honey tones, muted peachy-browns. | Gold, copper, deep burgundy, forest green, slate grey. |
| Deep/Ebony | Rich chocolate browns, deep espresso, warm terracotta, deep berry tones. | Gold, bronze, deep jewel tones (emerald, sapphire), black, white. |
Don’t be afraid to experiment! Swatching polishes on your arm can give you a rough idea, but seeing them on your actual nails is the best test. Your perfect nude should essentially blend in while making your nail bed look smooth and even.
Maintaining Your Minimal Nude Manicure
The great thing about a minimal nude look is that it naturally hides minor chips and grows out quite gracefully compared to bold colors. However, a little TLC goes a long way to keep it looking fresh!
- Reapply Top Coat: Every 2-3 days, add another layer of top coat to your nails. This refreshes the shine and adds an extra layer of protection.
- Protect Your Hands: Wear gloves when doing household chores, especially with cleaning chemicals, as they can break down the polish and dry out your nails.
- Hydrate: Keep your cuticles and hands moisturized with hand cream and cuticle oil daily. Healthy cuticles make any manicure look better.
- Carry a Small File: If you notice a snag or rough edge, a tiny nail file can be a lifesaver for quick touch-ups.
Frequently Asked Questions (FAQ)
Q1: What is “minimal nude nails with a single accent”?
It’s a nail design where most nails are painted in a nude shade, and one chosen nail (the accent nail) has a small, special detail – like glitter, a metallic finish, or a tiny design – while the others remain plain nude.
Q2: Why choose nude polish for my nails?
Nude polish is versatile, chic, and makes hands look polished and tidy. It’s a classic choice that complements any outfit and skin tone, offering a clean, sophisticated base.
Q3: How do I find the right nude shade for my skin tone?
Consider your undertones. Fair skin often suits pale pinks and cool beiges. Medium skin tones look great in peachy or caramel nudes. Deeper skin tones shine with rich chocolates and warm browns. It’s all about finding a shade that enhances your natural complexion.
Q4: What kind of designs work best for a single accent nail?
Keep it simple! Think a touch of glitter, a metallic stripe, a few tiny dots, or a single fine line. The goal is a subtle, elegant detail that complements without overpowering the nude base.
Q5: How long should I let my polish dry between coats?
Allow about 2-3 minutes between coats of color polish and at least 5-10 minutes before applying top coat, especially if you’re not using a quick-dry formula. Patience prevents smudging!
Q6: Can I do this at home if I’m a beginner?
Absolutely! This design is perfect for beginners. The base and nude color are easy to apply, and accent details like glitter or dots are very forgiving. You’ll be amazed at how professional your nails can look!
Q7: How can I make my minimal nude manicure last longer?
Always use a base coat and a good quality top coat. Reapply top coat every few days, wear gloves for chores, and keep your hands and cuticles moisturized. This simple care routine will extend the life of your manicure.
Conclusion
There you have it – the simple, stylish, and incredibly achievable minimal nude nail with a single accent! We’ve walked through the essential tools, the step-by-step process, and even delved into finding your perfect nude shade and accent ideas. This manicure is more than just polish; it’s a subtle nod to confidence, elegance, and personal style. It’s proof that you don’t need elaborate designs to make a statement. Whether you’re heading to an important meeting, a casual brunch, or just want to feel a little more polished in your everyday life, this nail look has you covered. So go ahead, embrace the beauty of simplicity, experiment with your perfect nude, and let that single accent nail be your signature touch. Happy polishing!</p


